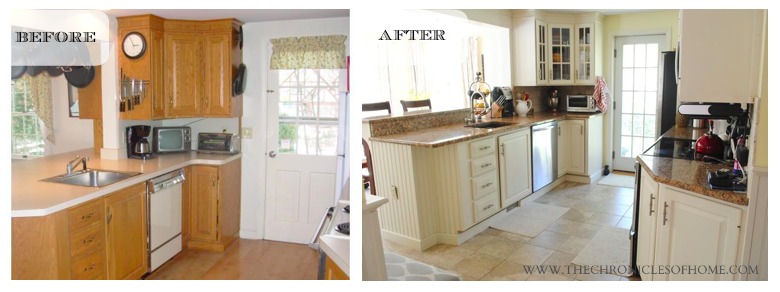
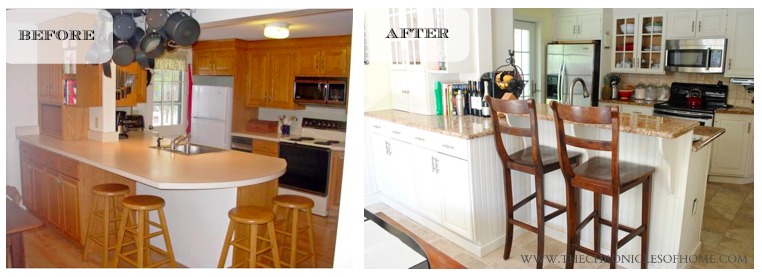
An alternative title for this post is, “How To Make All Your Friends Think You’re Nuts.” Because that’s what most people say, or are obviously thinking based on their expressions, when it comes out that I painted our kitchen cabinets as part of our kitchen update five years ago.
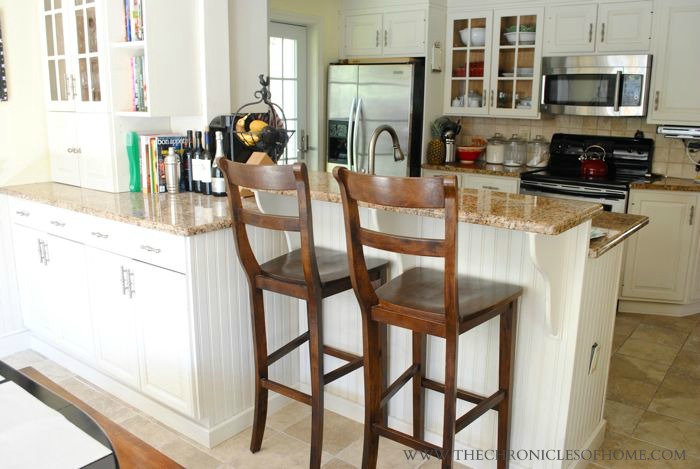
I think having kitchen cabinets painted has become more mainstream lately, but doing it yourself seems completely overwhelming. And, to be totally honest, it is a big project, and a little overwhelming, and kind of tedious, and sort of messy.
But, you see, we’d gotten quotes on replacing our kitchen cabinets as part of a total kitchen overhaul and the cabinets alone were tens of thousands of dollars. So the way I figure, if someone offered me tens of thousands of dollars to do a big, tedious, messy project, I would do it. Which is pretty much what happened here.
We also had one contractor who looked very carefully at the cabinets we had and said they were really good quality, well-built, and in good shape…except for their outdated, orangey-oak finish.
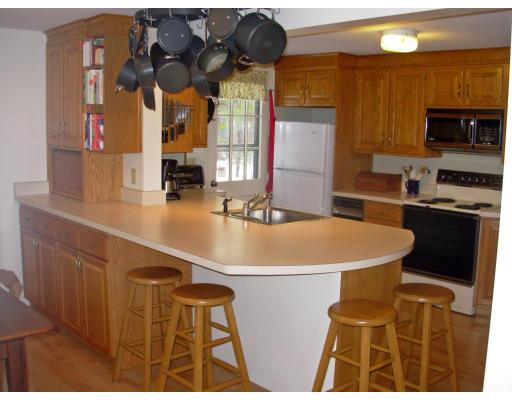
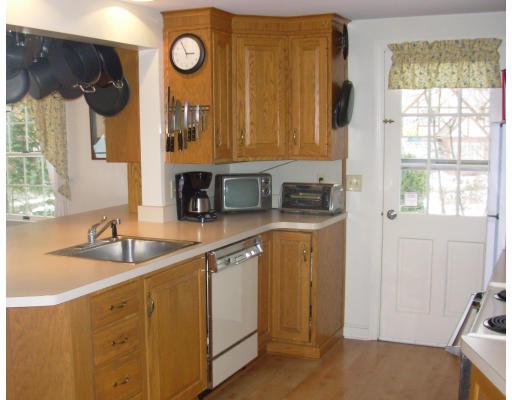
For some of you, who have been reading for awhile, this might seem like old news – I shared photos of our kitchen update and some details on how we did it on a budget back in May.
Well, as it turns out, as part of getting our house ready to list for sale, I wound up revisiting the kitchen cabinets last week, because of some things I didn’t do quite right the first time around.

And (lucky you!) I am going to share some do’s and don’ts so you can learn from my mistakes and get fresh, professional-looking cabinets and save yourself tens of thousands of dollars. Doesn’t that sound great??
Here we go…
- Remove all cabinet doors and drawer fronts, hinges, and hardware – using an electric drill will make this task go much faster than using a manual screwdriver.
- Lay all the doors and drawer fronts on a plastic painting drop cloth.
- Use painter’s tape to tape any edges around the wall cabinets that you want to protect from the new paint (along the ceiling, countertops, etc.).
- Use a high quality paint brush (I like Purdy) and a small foam roller (I used the brush on the paneled parts of the doors and the roller on all flat parts) to apply a heavy duty primer (I used Zinsser Bulls Eye) to all surfaces that are going to be painted. This step is very, very important to the paint sticking and forming a durable finish, so do not skip it!
- Once the primer is fully dry, you’re ready to apply your new paint color. Make sure you have gotten a paint formulation meant for kitchens and/or baths – they are easier to wipe clean and will stand up better to water exposure. Semi-gloss is the most traditional finish – not what I used initially, but what I went back and did a second time last week! I like the slight sheen on kitchen cabinets and semi-gloss cleans so much more easily than more matte finishes.
- Use a brush and roller (as mentioned above) to paint the sides and backs of your doors and drawer fronts (if necessary for the drawer fronts). While they’re drying, paint a coat on the wall cabinets. Use the foam roller wherever possible – it gives a much smoother finish than a brush.
- When the paint on the backs of the doors and drawers has dried, you can opt for a second coat (I did not) or flip them over and get to work on the fronts.
- A painting tip – wrap brushes and rollers very well with plastic wrap and store them in the fridge between uses. If you’re going to be painting for several days, this is so much easier than washing them each time!
- Follow the same process – use a brush and roller to paint the fronts of the doors and drawers and then go do a second coat on the wall cabinets.
- You should definitely do a second coat of paint on the fronts of the doors and drawers.
- Let everything dry for a full 24 hours before handling and reassembling with hardware and hinges.
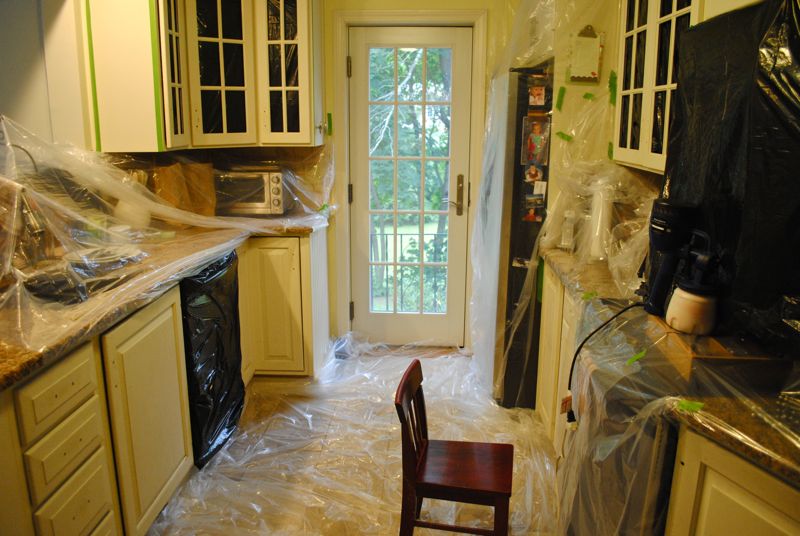
Alternatively, you could use a paint sprayer, which would give you an ultra-smooth finish. You’ve heard me sing the praises of this one before and my love affair with it has continued. Should you choose to go this route, you’ll have more prep work to protect your floors and surrounding areas from the spray, but the painting itself goes much, much faster.
I went the spray route last week and didn’t even remove the doors since all I really needed to do was give the door and drawer fronts a freshening. My whole kitchen was covered in plastic trash bags and plastic tarps, but that fine spray goes far, so I’m glad I took the extra precautions and covered everything.
If it’s your initial paint job though, make sure you remove those doors and drawer fronts for the most professional-looking results.
If I were doing it again from the beginning, knowing what I know now and having done it both ways, I’d take the time to cover everything in plastic and use the sprayer. I love the super smooth finish and how fast the painting goes.
However…the brush and roller route keeps your kitchen more functional and also allows you to push the work out over a longer period of time. So, if you’re going to be doing the work slowly, over the course of a few weeks, I’d use a brush and roller.
And that, my friends, is how you can save yourself tens of thousands of dollars by painting your own kitchen cabinets.
