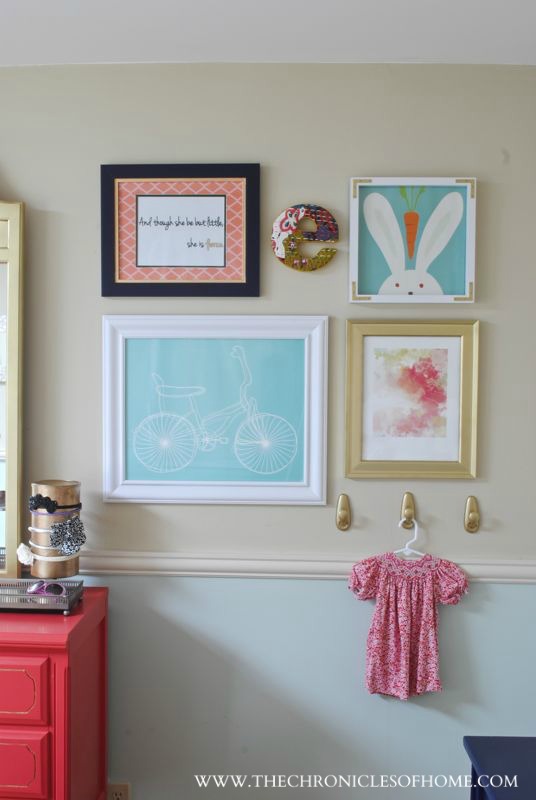
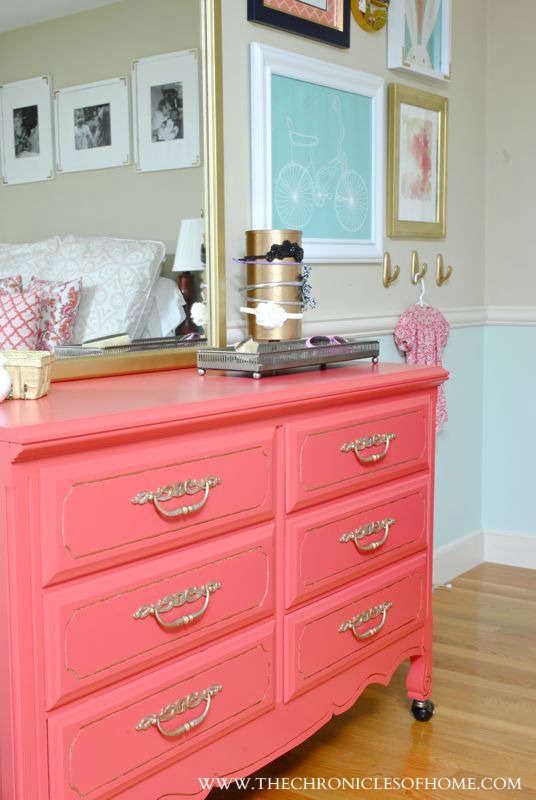
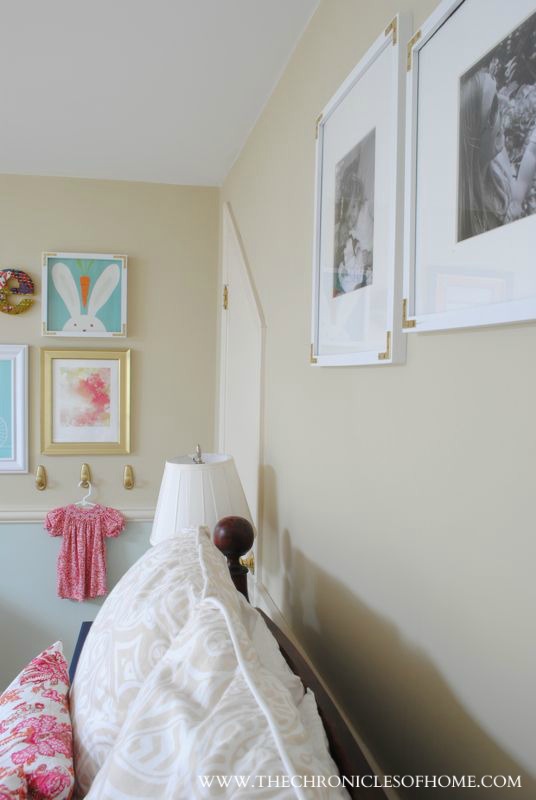
When I set out to make a little gallery wall in my daughter Ellie’s room, I never expected it to turn into a weeks-long project that I would change three times in the midst of getting our house ready for sale. But…so it goes sometimes. Almost without exception, I’m glad in the end that I kept at it until I was completely happy with the result.
And now, I am happy.
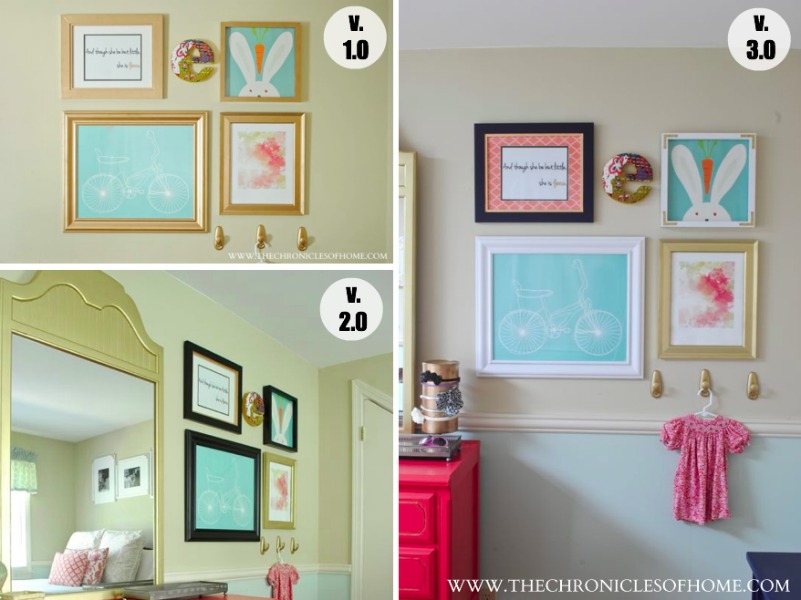
Let’s take a walk down memory lane and revisit gallery wall v 1.0 and v 2.0.
In v 1.0, I spray painted all the frames gold, hung them on the wall, and walked away happy. Until, that is, I hung the very large gold mirror right next to the gold gallery wall and nearly died of a gold overdose.
I know – I didn’t think it was possible to overdose on gold either – but it is.
So I went for a quick fix in v 2.0 and spray painted all of the frames except one black. Eeeee…in person the black looked really harsh and much too dark and dull in the room. What I thought would be a nice pop of gold on the one frame ended up looking like an odd little black (ahem, gold) sheep.
Before launching into v 3.0 I really sat and thought about how to fix the problem and also took lots of your comments into consideration when I asked what you would do with the black overload. I never doubted it, but you guys are super smart.
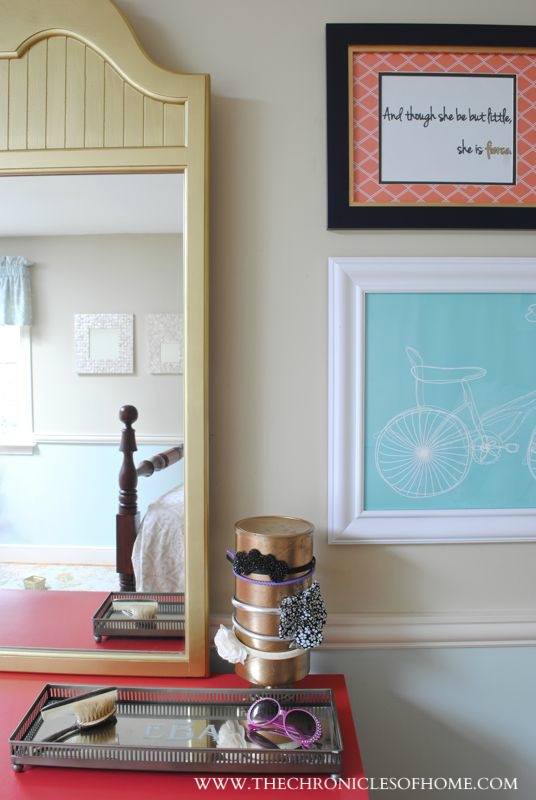
My solution to tie it all together but keep everything looking like they belonged together was this:
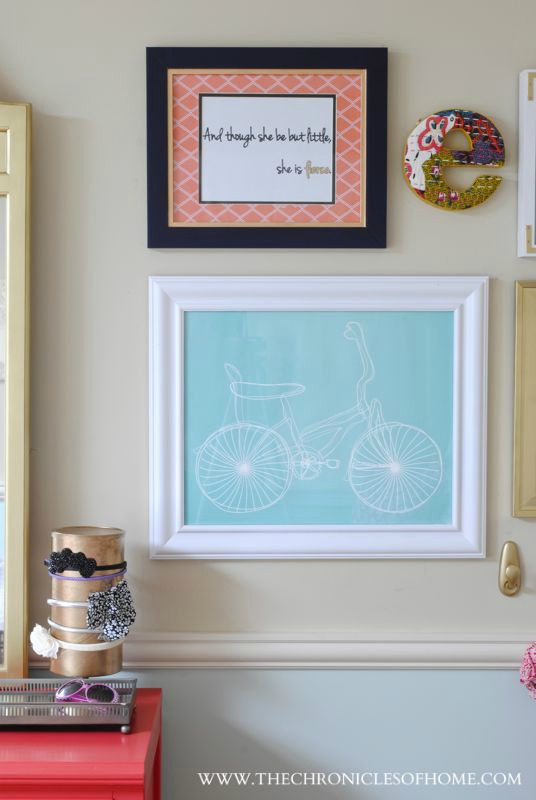
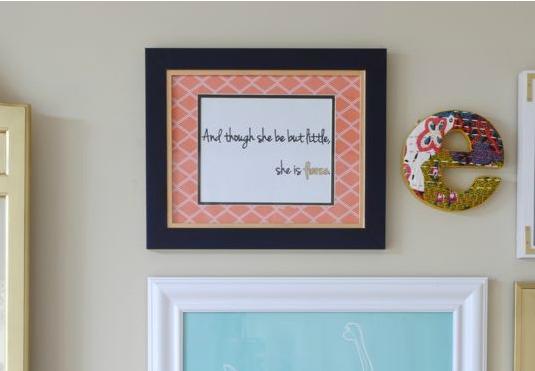
I had already painted the inside rim of the quote art with liquid gold leaf to bring in just a touch of gold and left that as is. Then I used the same navy blue paint I painted Ellie’s nightstand with on the main part of the frame. I also used a razor blade to cut some cute coral wrapping paper to the size of the mat and attached it using spray adhesive. The coral mat is a perfect tie-in with the coral and gold dresser.
The frame of the bike print I spray painted in glossy white.
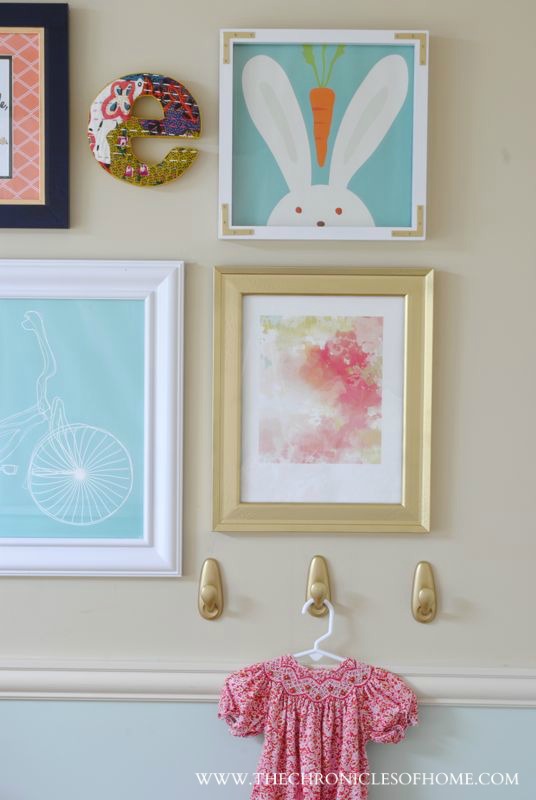
For the rabbit print, I spray painted the frame in the same glossy white and added gold corner brackets to tie the gold in again.
I left the Minted print in a plain gold frame.
Let’s also take a closer look at that quote art, which I never explained very well when I showed it to you the first time.
This is such a cheap, easy way to add some custom art to any room.
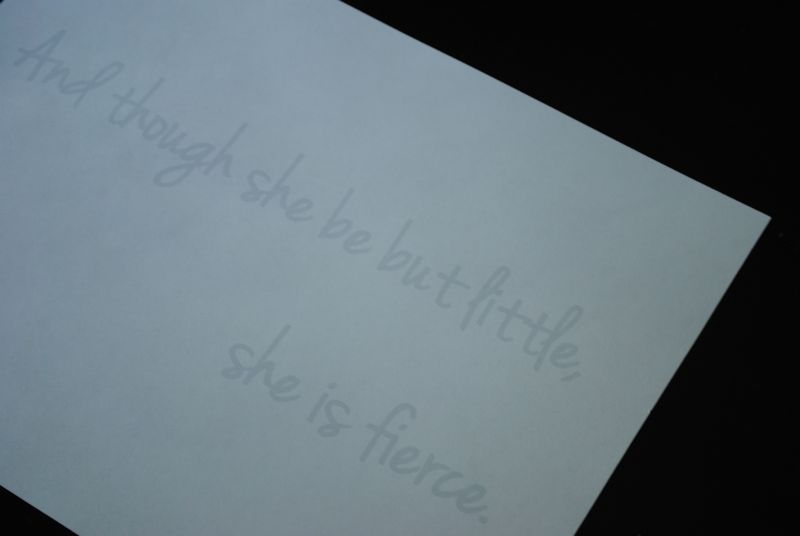
You print out a quote you like on plain white paper in a pale greyscale (I did this because I wanted to use the basic shape of the font but connect the letters more to make it look handwritten).
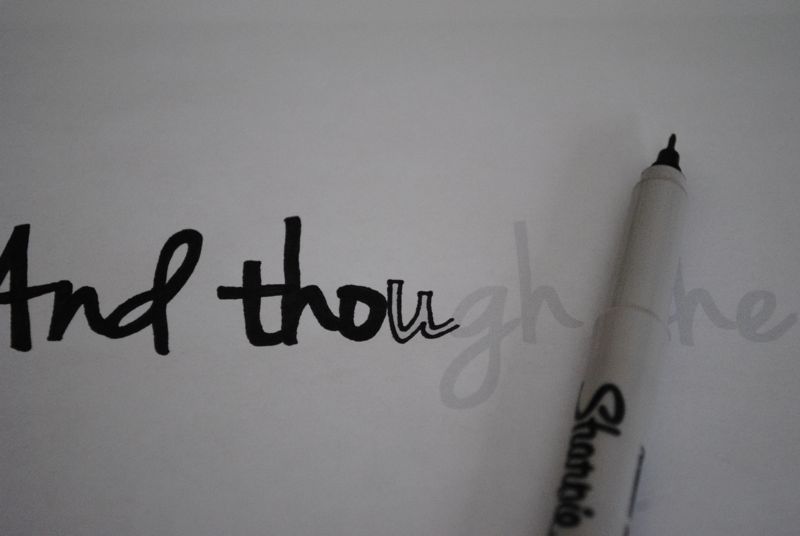
Then use a fine-tipped Sharpie to outline and fill in the text.
I also used a gold leaf pen to fill in one word to add a little emphasis.
Pop it into a pretty frame and you are done! – gold leaf rim, navy blue paint, and wrapping paper mat are optional but highly recommended :)
Now I feel like everything has at least a nod to another piece in the room and looks eclectic but also like they belong together. As soon as I hung the pieces together like this, I knew it was “right.”
So, the moral of this story – trust your gut and if, at first, you don’t succeed, don’t throw in the towel and live with “good enough.” Plan carefully and do it again! It also helps to keep extra cans of white spray paint, gold brackets, pretty wrapping paper, and liquid gold leaf around…
