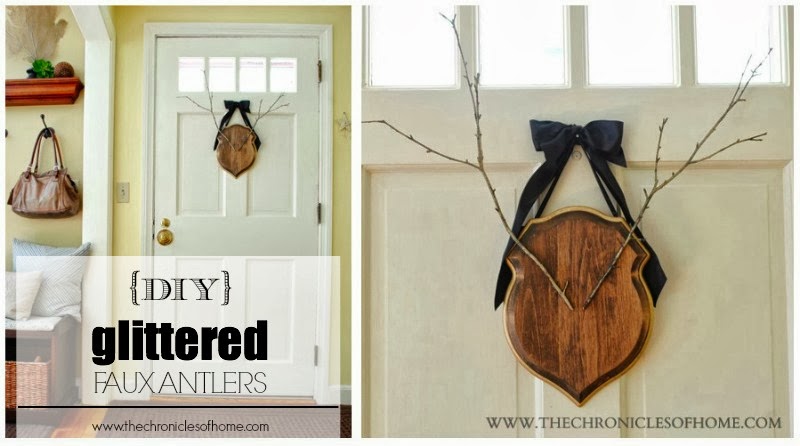
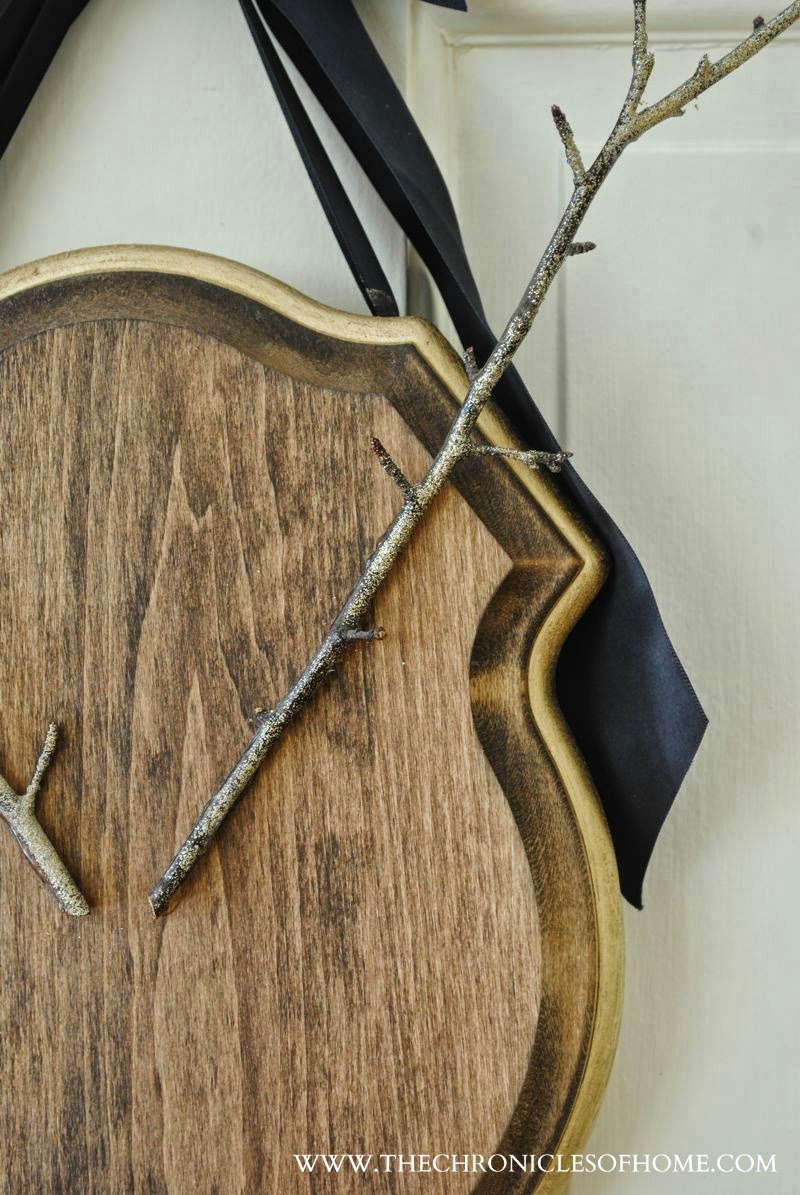
Thanks for all of your nice comments on my fall tour earlier this week. As promised, I’m sharing the unbelievably easy (and inexpensive) tutorial on how to make those glittered faux antlers today.
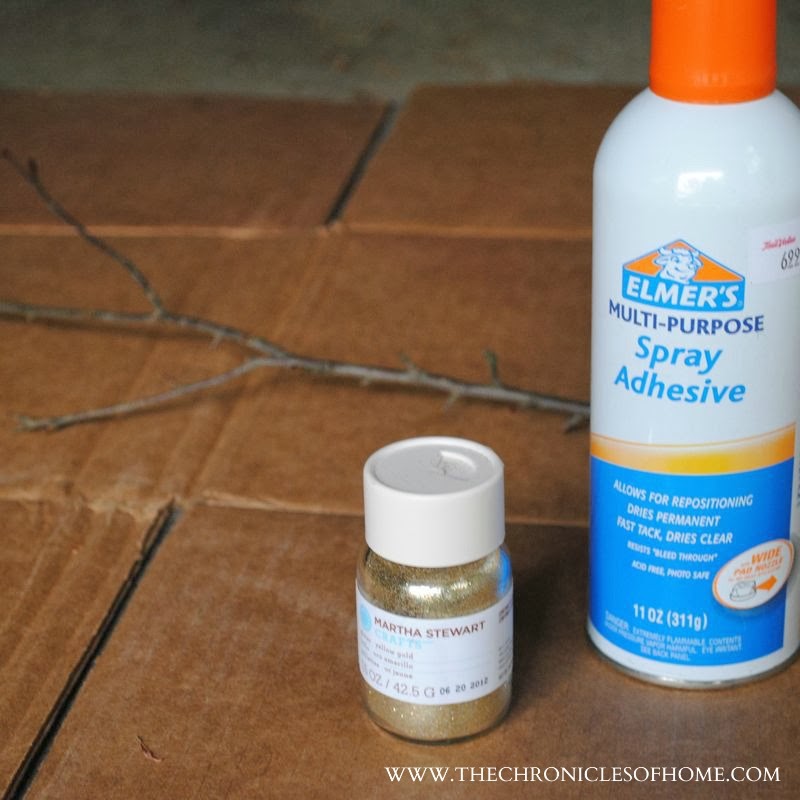
Here’s what you’ll need for this project:
- Two antler-esque branches
- Spray adhesive
- Fine glitter in gold
- A wooden plaque (I got mine at Michaels – under $7 with a coupon!)
- Wood stain (I used Minwax Early American)
- Krylon gold leaf marker in gold
- Hot glue gun and glue sticks
- 2 picture hanging rings for the back
- Black satin ribbon – I used both thin and thick
I had most of these supplies on hand so this was an especially inexpensive project for me.
Lay the branches on a drop cloth or cardboard box and gather your spray adhesive and glitter.
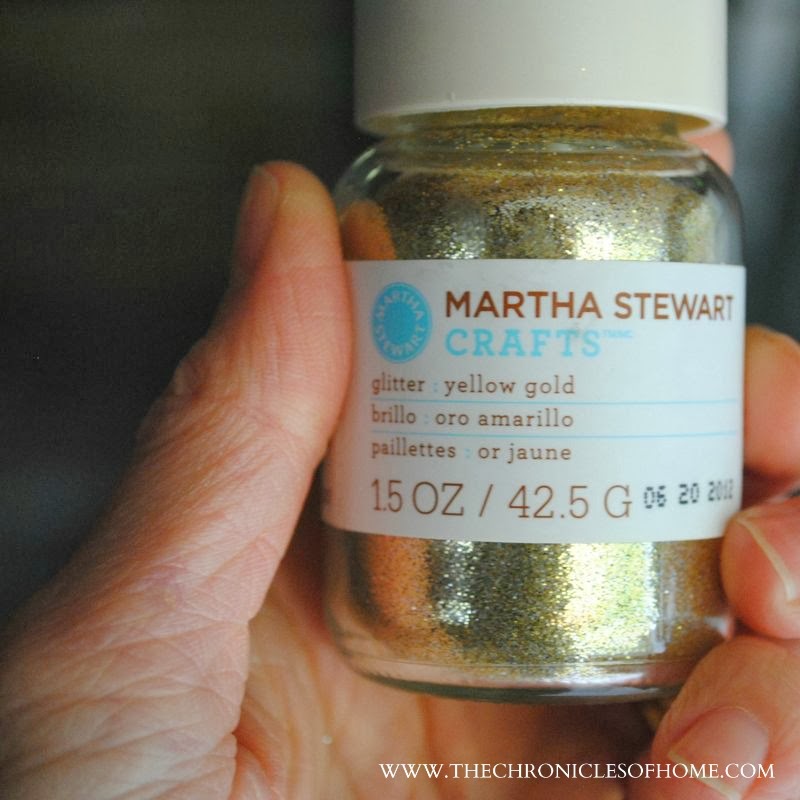
My favorite glitter is Martha Stewart fine glitter – if pixie dust were a real thing, this would be it. It’s impossibly fine and sparkly.
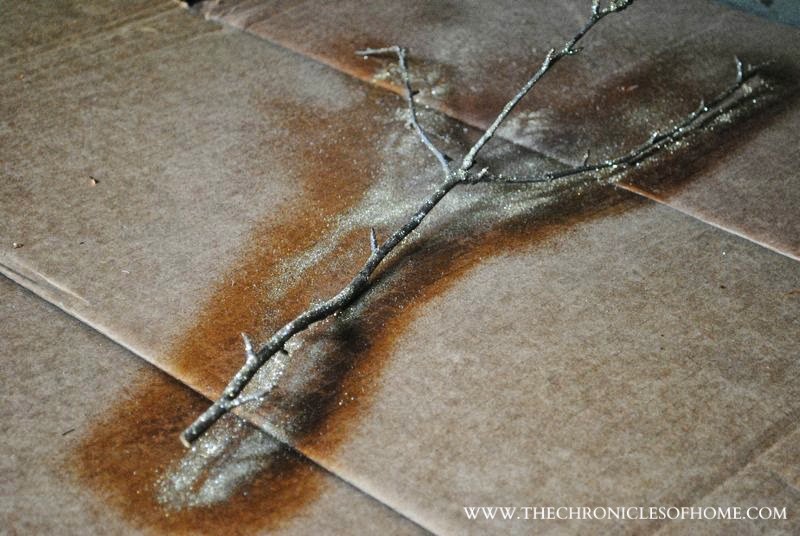
Spray one side of the branches well with the spray adhesive and immediately dust with the glitter. Let it dry for 10-15 minutes then flip the branches to the other side and repeat.
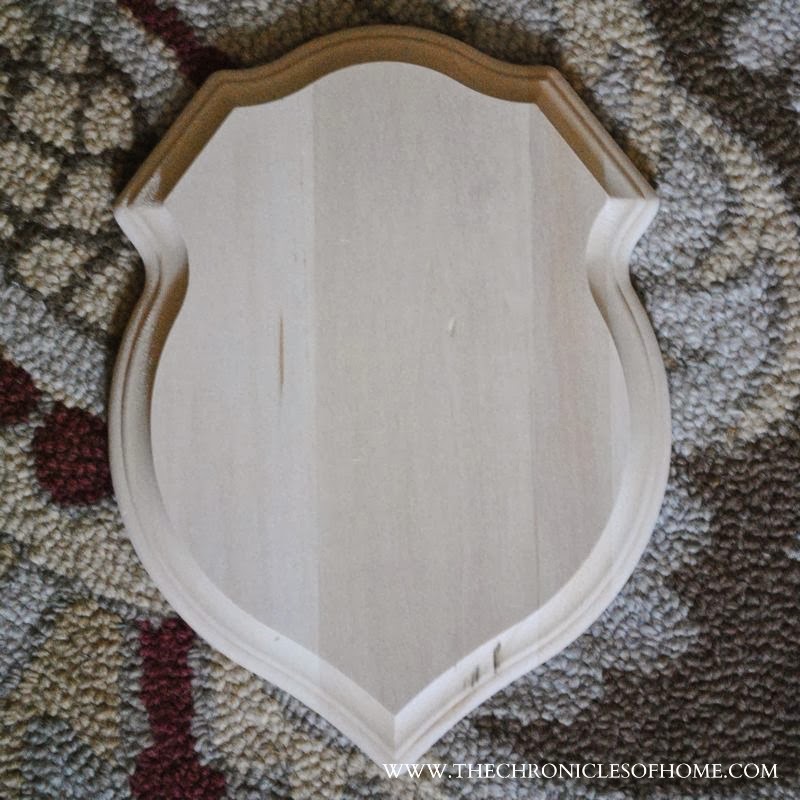
Next, you’ll take the wooden plaque and stain it. This is what mine looked like when I bought it.
I wore rubber gloves and applied the stain with a paper towel using long strokes. I immediately wiped it down with a clean paper towel to avoid any blotchiness and let it dry overnight to be sure the stain was fully dry.
The next day I used the Krylon gold leaf pen to outline the outside of the plaque, then flipped it over and attached ring picture hangers on either side on the back.
Flip back over to the right side and position your branches where you want them to be. Trace their outline on the plaque and then set them aside and apply hot glue where you marked on the plaque. Do one line of glue at a time and immediately press the branch into the glue. Repeat on the other side.
I tied thin black satin ribbon onto the ring pulls and hung on a nail on my front door. I used the thicker black satin ribbon to tie a drapey bow over the nail.
You could also skip the ring pulls and ribbon and use picture hanging hardware to mount on your wall. I love the contrast of the black satin ribbon against the rustic wood grain and gold edging, though.
And that’s all there is to it. Not counting drying time, I don’t think this whole project took me more than 15-20 minutes of active time.
If you missed the fall tour make sure to take a peek for other easy fall decorating ideas. I’ll be sharing how I made the wooden box centerpiece out of scrap wood next week!
* * * * * * *
