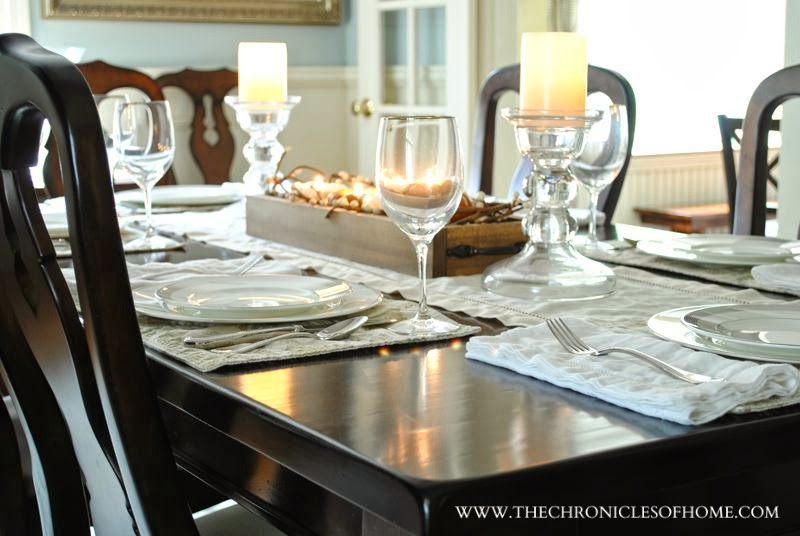
This easy tutorial is long overdue – I shared the finished project about a month ago now as part of my Fall Home Tour!
It’s a nice adaptable project – you can adjust the dimensions to make any sized box you want. If you have scrapwood, wood stain, and some extra cabinet pulls lying around (which I did) this is also a super inexpensive way to add a new element to your dining table, coffee table, or a side table this year. It would also make a great handmade holiday gift filled with some goodies!
I wanted something narrow I could use in the the center of my dining room table through the holiday season. It’s perfect for corralling any number of seasonal decorations and I love the high-low effect I get when it’s paired with my silver and white china and glittery glass candlesticks.
Abilify No Prescription
buy super Cialis
Here’s what you’ll need to complete this project:
- fine grit sandpaper block
- 1×3 pine board cut into four pieces – 2@20 1/2″ and 2@5 1/2″
- 1×6 pine board cut to 19″
- wood stain (I used Minwax Early American)
- drill
- 2 cabinet pulls
- corner clamp
- nail gun with 3/4″ nails or 3/4″ finishing nails and a hammer
The very first step is giving all of the boards a light sanding to get rid of any rough spots. Wipe clean with a dry or slightly damp cloth.
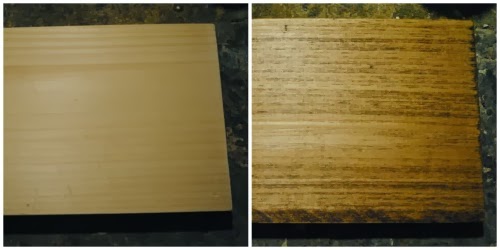
Apply your stain by wiping a thin coat on with a paper towel or rag. Let soak in a moment before wiping down with another dry paper towel or rag. You can also opt to apply a wood conditioner before the stain but for this project I wanted the slightly streaky look you get applying stain straight to pine so skipped the wood conditioner this time around.
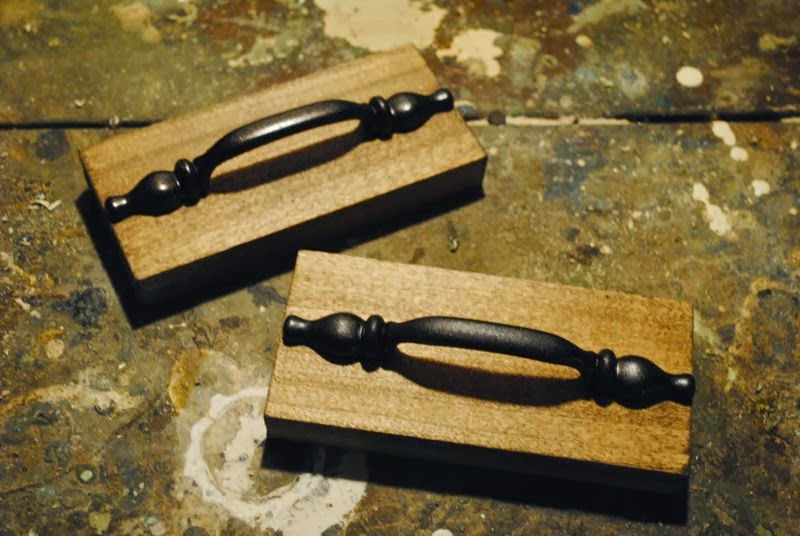
Center the cabinet pulls on the 5 1/2 pieces of pine and mark where the holes should be drilled to attach the hardware. Drill holes then attach hardware with screws (included with most pulls).
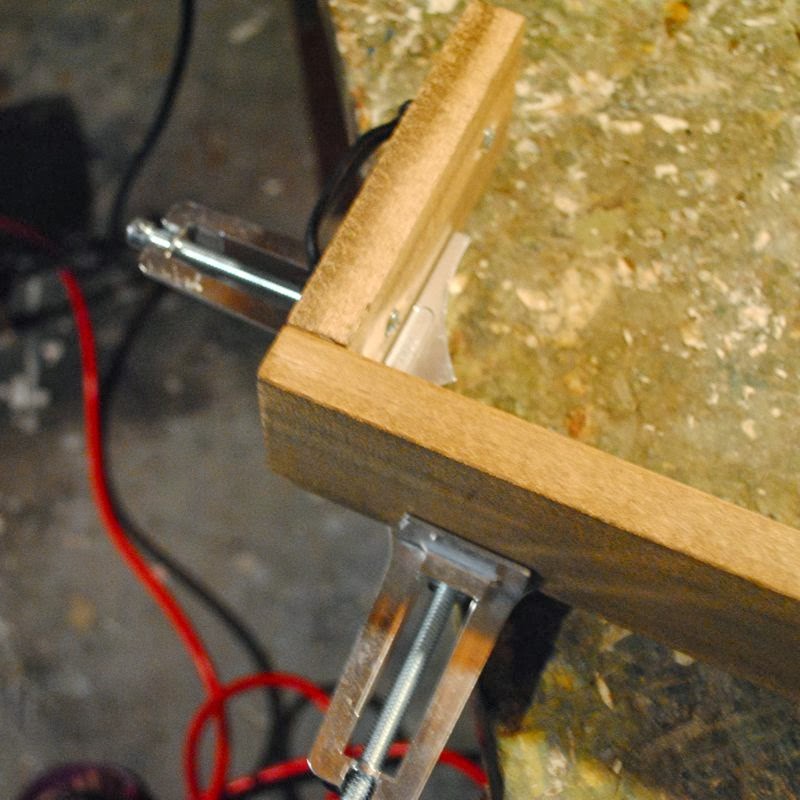
Use a corner clamp to hold one 20 1/2″ piece of pine and one 5 1/2″ piece together so they are perpendicular. Drive a few nails through the side of the long piece into the short piece to hold them together. Repeat on the other side with the other 20 1/2″ piece.
Take the 1×6 and lay it on a flat surface. Slide the partially constructed frame over it and attach the bottom to the sides by driving nails through the 20 1/2″ pieces into the 1×6 bottom piece. Finish the box by attaching the remaining 5 1/2″ piece to the other end.
I added a faux berry garland and some mini gourd candles to my tray for the fall and Thanksgiving and will probably fill it with greenery, some votives, and mini gold ornaments for some Christmas sparkle…well, for Christmas next year since this year we will be homeless!
The whole project took me an hour, at the very most, and cost me $0 in new materials. My favorite kind :)
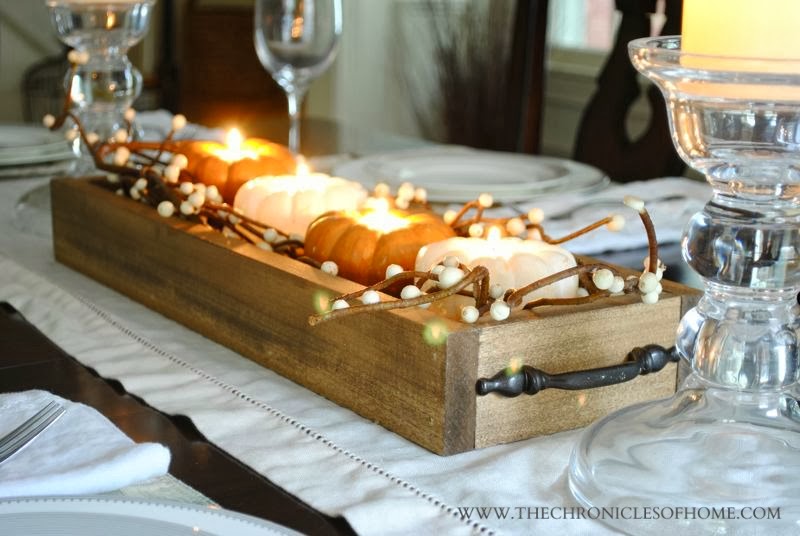
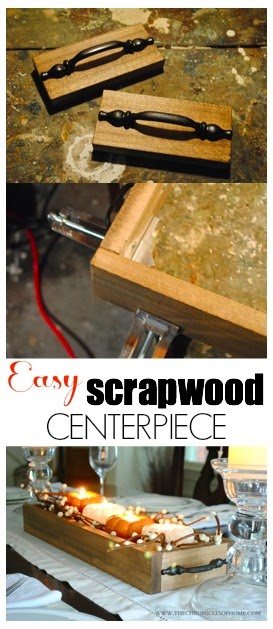

I love it and it could be used for so many different things!
Thanks! The technique is so adaptable. I have a feeling I’ll be busting out some decorative trays in the new house :)
I made one very similar to this last year for fall! I love the cabinet pull idea…mine has mini pumpkins and spray painted acorns in it :)
Sounds adorable! Perfect for fall.
that looks adorable- love the handles!
Thanks! – they are so old, can’t even remember what they’re originally from. Not like vintage-old…like early 2000’s old :)
So cute! You’re so creative….and WHERE do you find the time?! I’m exhausted just reading this ;)
That is sweet – this was a quickie project, though! My answer to the where do I find the time question is a big fat question mark myself! I’m not feeling so great at time management lately and need to figure some things out…
Thanks for sharing. I think I will make this and give it a live edge. Yours looks fantastic.
I LOVE the live edge idea!
so so pretty! Love the handles on it and the shape! Great DIY!!
Laura
Thanks, Laura. Seriously was so easy!
Love it! I would like to use this for all kinds of different things
I am feeling quite sure that I will be piling all kinds of different things into it! Was also thinking it could be a good keys catch-all for by the door.
Looks great Jen! Perfect for your table :) xo Kristin
Where did you get 1×3’s? Did you cut it yourself?
Lowes. I cut the length myself but I bought them at that width – 1x3s are actually only 2 1/2″ wide though.