I used to moon over my parents’ moudlings, especially the chair rail in their dining room, which is really wide and substantial and gorgeous. I was sort of sighing to my mom one day about how I couldn’t find anything so beautiful in the stores near my house, when she revealed that the chair rail of my dreams was not just a chair rail purchased off the shelf and nailed to the wall, it was several pieces of moulding stacked together to get that really grand look.
This conversation happened years ago and I finally gave it a shot myself during the powder room makeover.
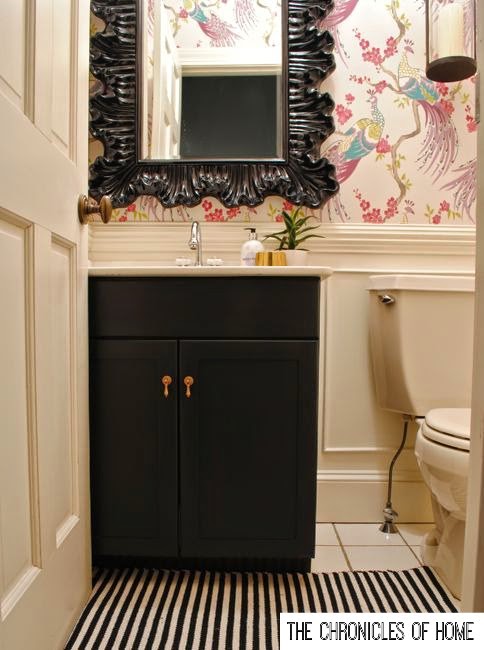
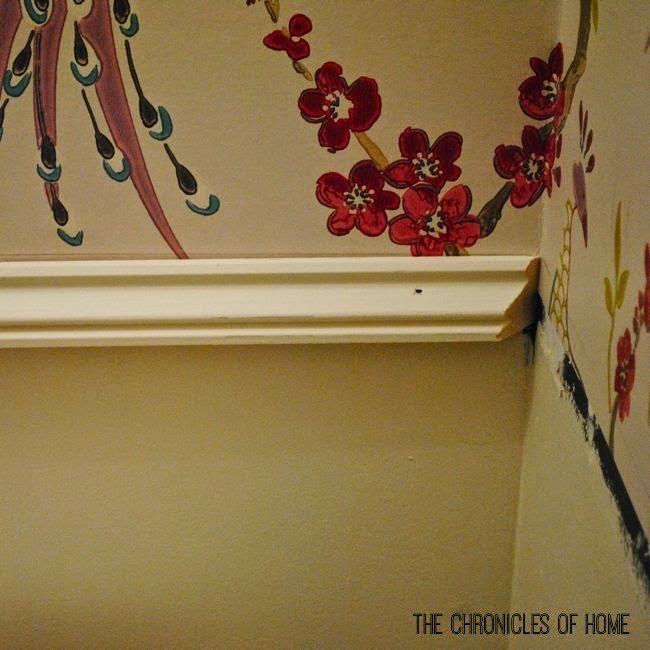
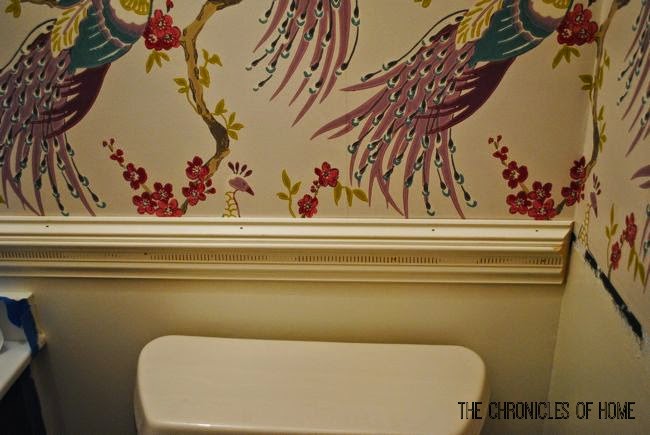
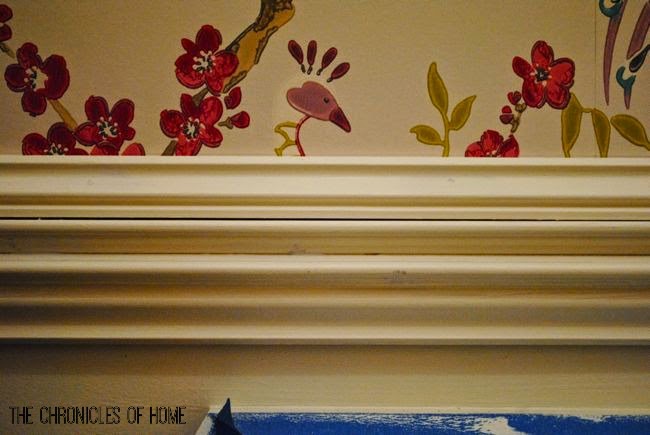
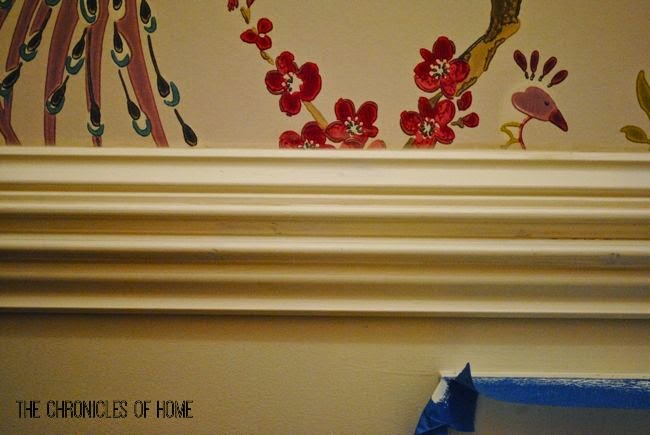
See that wide curvy, chair rail?
There are endless possibilities for building compound chair rails, and most home improvement stores will even have some boards with ideas for compound mouldings. I played around with different pieces in the moulding aisle for a little while before deciding on this combination.
Here’s how you can get the look with simple mouldings from any home improvement store.
I like to paint the wall and the moudling pieces before I get started. You can absolutely paint everything afterwards, I’ve just found it easier to paint first and then just touch up scuffs and marks after everything is installed.
To begin, you will want to draw a level line across the entire room where the chair rail will be.
Once that is finished, choose a wall to start on and measure the distance from one corner to the next. Be as accurate as possible to ensure your moulding will fit snugly. I usually cut an eighth of an inch or so longer than my measurements – I’ve learned the hard way that you can always shave a little more off but you can’t make a too-short piece longer :)
Use a miter saw to cut one end of your top piece of moulding at a 45º angle, making sure you cut from the front to the back, so the angle is oriented the correct way.
You now need to cut the piece to be exactly the length of the wall you measured. To do this, measure from the back of your moulding (the longest point) and mark the opposite end. Then cut another 45º angle so the long end of this side hits right at your marked measurement. Remember to err on the side of too long if you’re still learning your way around accurate cuts.
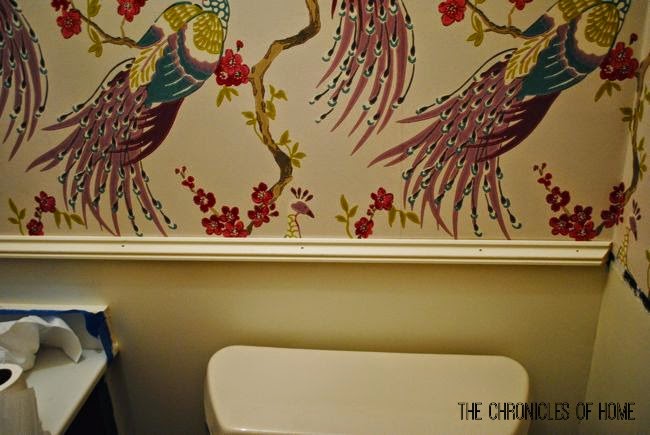
Nail the cut piece up on the wall using a nailgun and finishing or brad nails, or a hammer and small finishing nails, making sure it sits right along your marked level line.
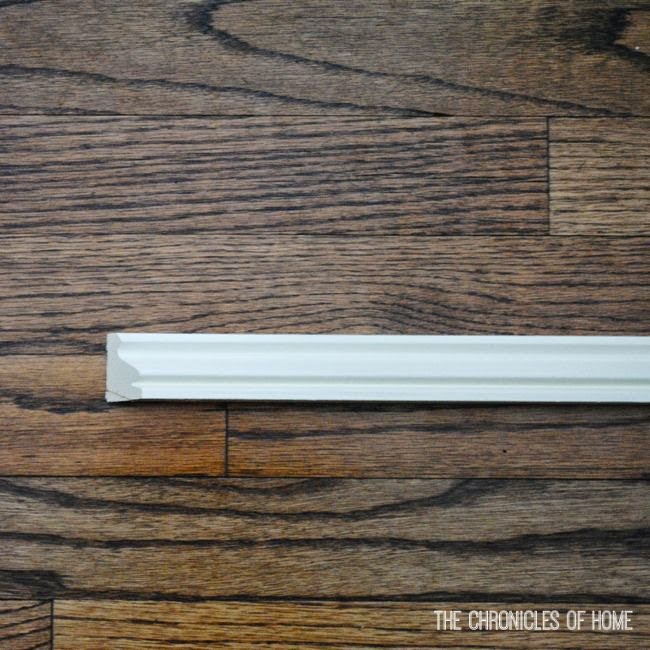
The piece of moulding I used for the top is actually oriented upside down from the way it usually goes, because of how it functions within the compound design. Remember when you’re planning that you can flip moulding any way you want it to go!
Next, you’ll attach the piece of moulding that will go underneath the top piece. I chose a simple chair rail for this piece, and measured, cut, and attached exactly as I did for the piece above.
Repeat this process until you have finished all the walls in your room.
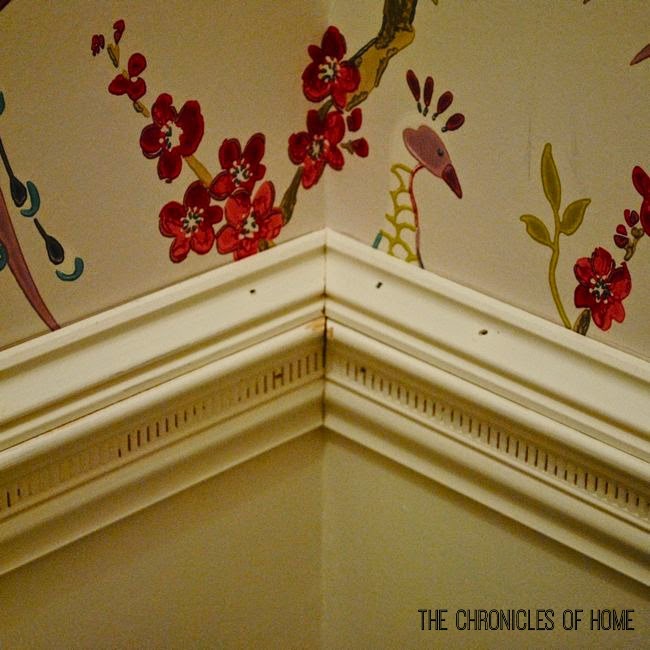
The final piece in my compound design was a thin rounded moulding to cover up the striped detail on the chair rail and to add another layer of depth. For this, I also measured, cut, and attached as described above.
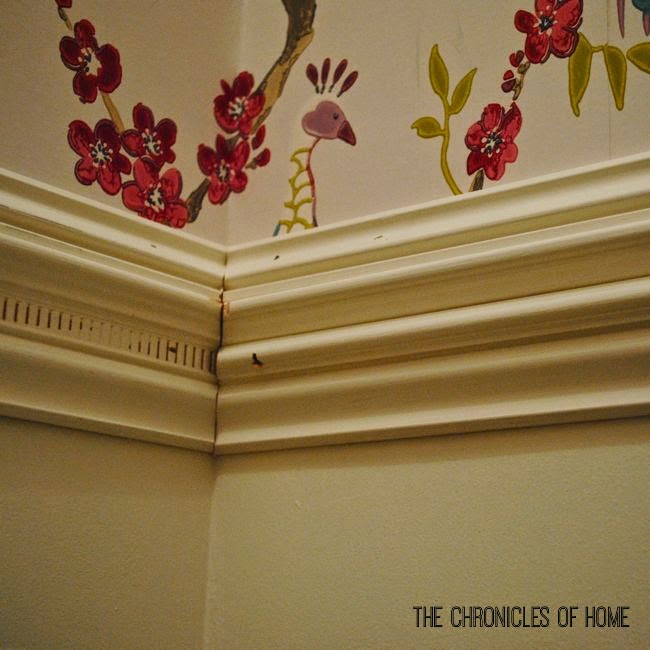
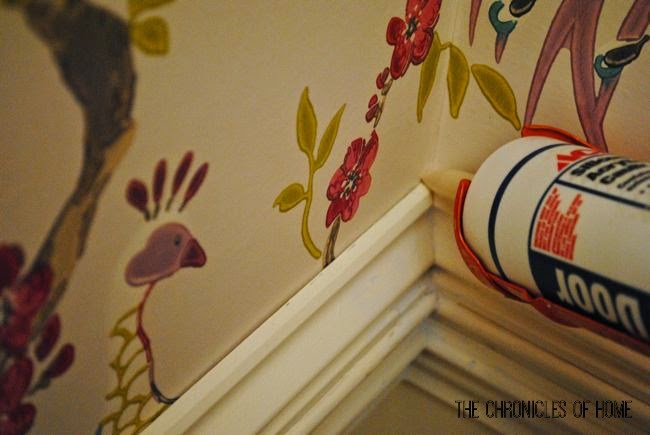
When all the moulding pieces were in place, I filled any nail holes with lightweight spackle and looked for gaps that needed some caulk, like in the corners and the space between the top and bottom pieces of moulding.
Do any touch up painting needed to finish everything up.
Wimpy chair rails no longer! The custom look you get from a compound chair rail like this really adds an extra bit of polish to a room and will make it look like you hired a master carpenter to do your finish work :)
 Stop back tomorrow for a tutorial on installing the boxes you see below the chair rail for a finished wainscoting look!
Details on the wallpaper can be found HERE.


I love molding and yours looks great!
I love it too – never used to pay attention to it and now it’s the first thing I notice in other people’s houses!
The chair rail looks amazing! x
Thanks, Danielle!
it looks so good! you are so talented!
You are the sweetest and very good for my ego :)
Looks great!!!
Thanks, Sarah!
great tutorial Jen and again, it looks fabulous!
Thanks so much, Erin!
It would be so nice to know what your “go to” tools and equipment are for projects like this. Nice tutorial. Tool specifics would be even more informative. Many thanks.
I bought a compound miter saw years ago and that’s what I used to make all the cuts here. A regular miter saw works just as well for this kind of thing, though, since it’s just simple 45º cuts. I also used a brad nailer with air compressor to attach everything. Hammer and nails work too (I’ve done it this way) but the pneumatic nailer is SO much faster!
That’s awesome Jen! It looks amazing and oh so glamorous!
It’s one sexy chair rail, right?! ;)
Great tutorial Jen. Ive always been a bit intimidated by mouldings, but you make it look easy enough. It looks awesome:)
Oh you should totally go for it. It looks so nice when it’s finished it should be harder. The trickiest part is getting good at exact measuring. With a miter saw the cutting is easy! Next house, next house!!
Holy cow! Way to do that yourself! Looks great and I think molding is what sends a room to a whole other level, it separates the mediocre spaces from the high end spaces!
Hands down, it’s my favorite room feature to add. I want to be really thoughtful about in this house since we plan to be here for a long time, but I’m already buzzing with moulding ideas for some of the other rooms!