I’ve always thought electrical work seems a bit scary. And to a small extent, it’s good to be a little scared. Speaking from experience, minor electrocutions do not feel good. At all. But I’ve recently learned that swapping out an existing hardwired light is super, super easy, and it’s one of the easiest ways to update the look of a space in your house. There are just a few basic steps:
- Turn off power at your circuit breaker box. If you can find the circuit for the fixture you’re working on, just shut that off. If not, shut power to the house.
- Remove the existing fixture.
- Match up the color coded wires and twist them together.
- Screw the new fixture in place.
- Turn power back on at the circuit breaker box.
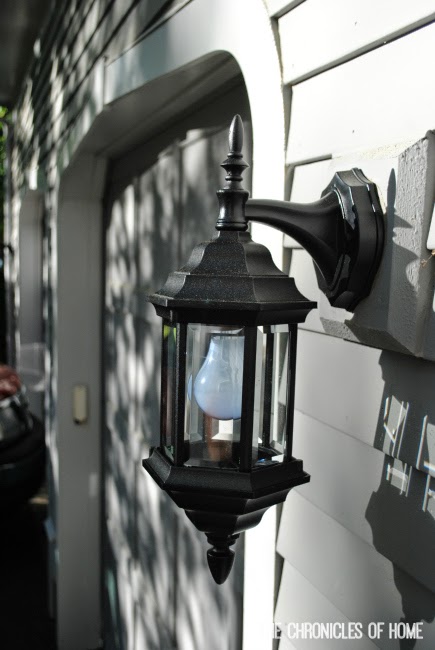
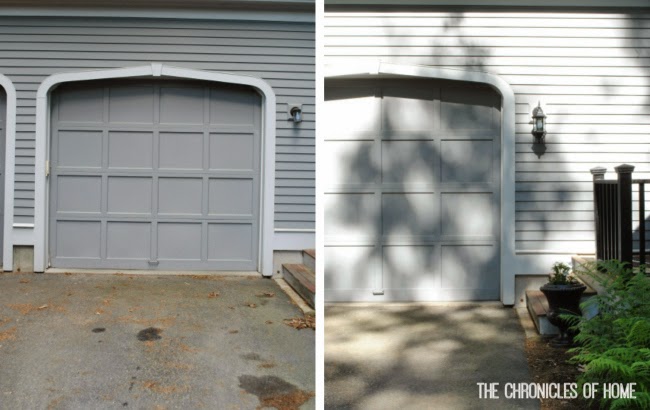
Seriously, that’s it. I’ll break it down for you in a little more detail by showing you how I recently swapped out my rather ho-hum exterior garage lights with these outdoor lanterns from Kenroy Home.
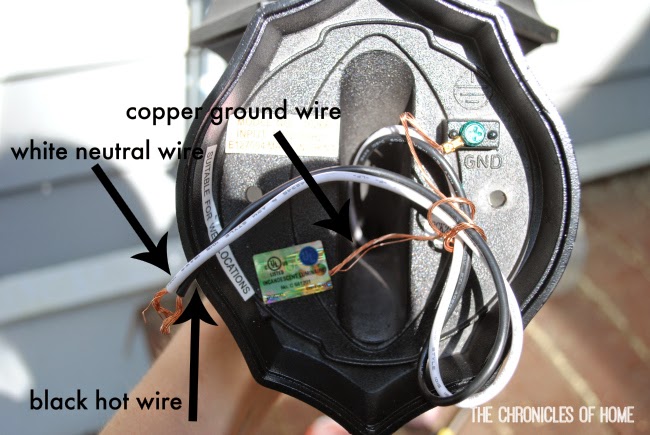
Take a look at the back of your new light fixture and you should see three wires – a black “hot” wire, and white “neutral” wire, and a copper “ground” wire.
Remember that STEP ONE is always making sure power is shut off at the circuit breaker box! Once that’s done, remove the existing light fixture. You should see screws holding it in place somewhere, and you just unscrew, then remove any little plastic caps you see (they typically twist off), and unwind wires that are twisted together. Remove any mounting plate that is screwed to the wall.
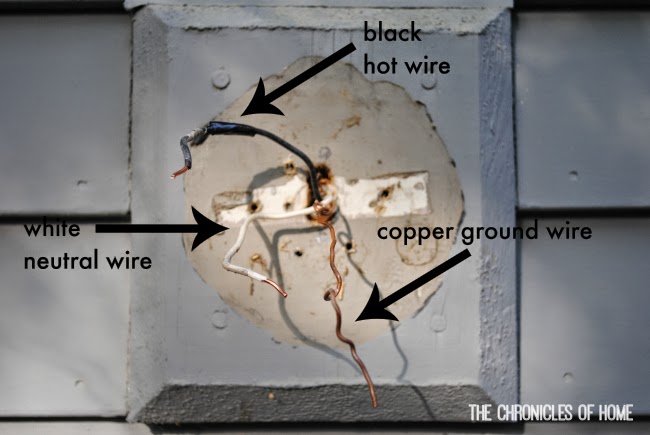
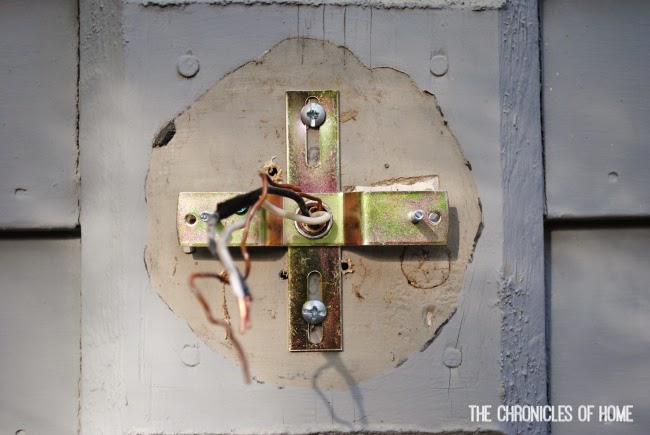
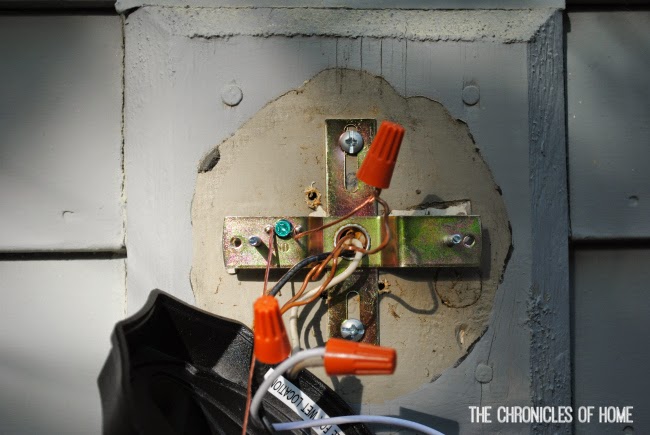
Coming out of the wall where the fixture was, you’ll see three wires that are color coded to match the wires on the back of your light fixture.
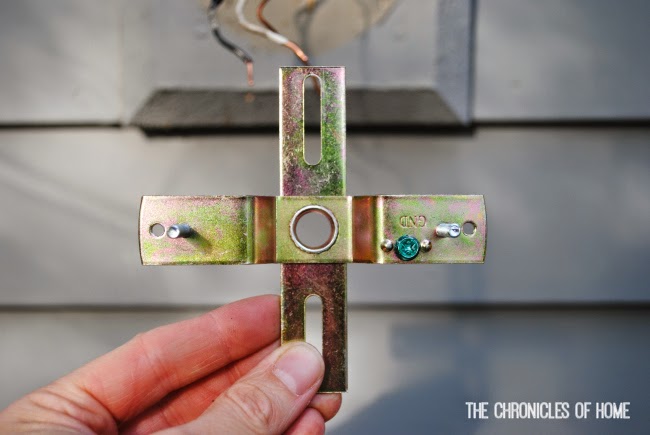
The new fixture should come with some kind of mounting plate. This fixture had one that looked like this.
Attach the mounting plate to the wall where your new fixture will go, making sure the black, white, and copper wires thread through the hole in the middle.
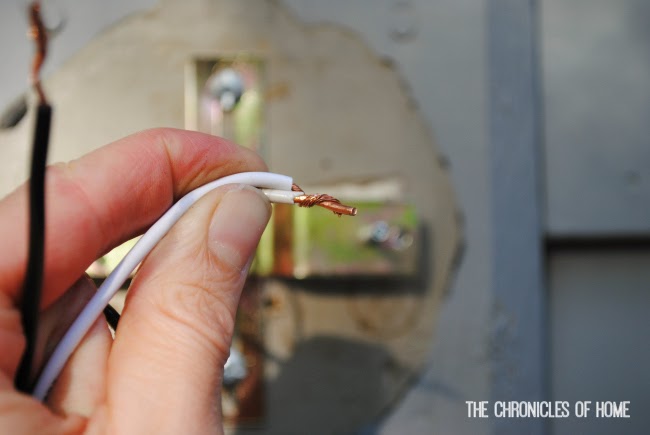
Start by taking the white wire on the back of your light fixture and twisting the exposed end around the exposed end of the white wire coming out of the wall.
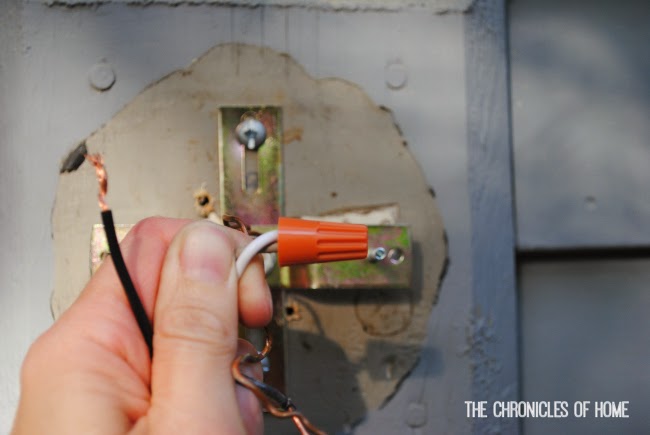
Either reuse the plastic cap that was on the old fixture or use the new ones that come with your new fixture. To attach, you simply twist it on the ends of the wires clockwise.
Repeat with the black wires.
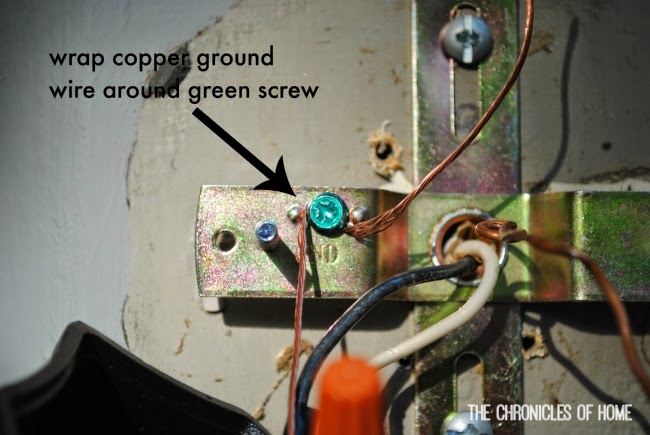
To attach the copper ground wire, loosen the green screw on your mounting plate and twist the copper wire on your fixture around it once, then tighten the screw.
Then twist the ends together and attach the plastic cap just like you did for the white and black wires.
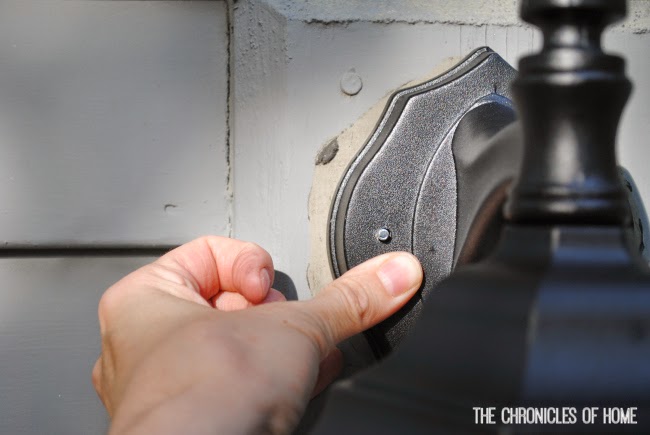
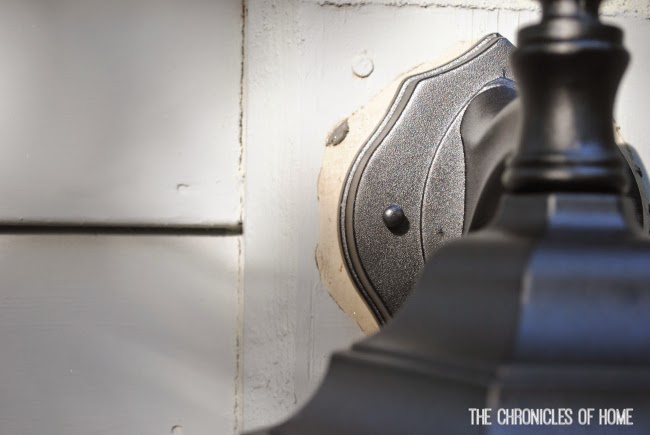
Screw the new fixture onto the mounting plate using attached hardware.
With that step complete, you’re ready to turn power back on at the source and test out your new light!
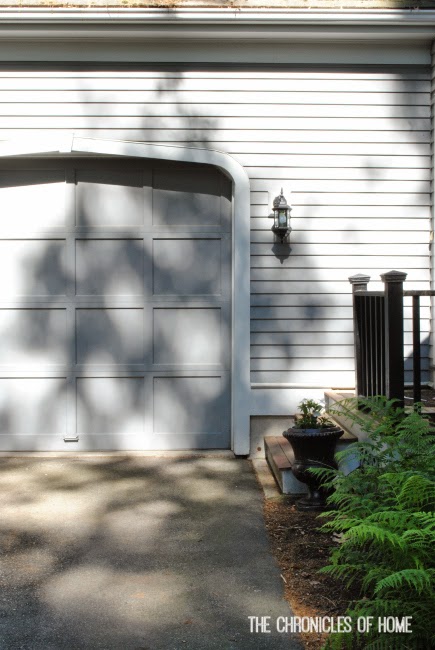
I really love this classic lantern style, and it was, truly, so easy to install. The other cool thing about this particular fixture is that is can be hung two different ways – hanging down (like I did) or flipped and standing upright – and has several different finial options to customize the look. You can purchase HERE.
It only took me about an hour to install two lights, and it really transformed the look of my garage area. I still want to install some black hardware to the doors to add some contrast against all the grey.
What do you think? Are you ready to tackle an electrical project? Like so many things I’ve learned to do around the house, 75% of the battle is swallowing my fears and just going for it!
Disclosure: Kenroy Home sent me these lanterns to review but all opinions expressed are, as always, both my own and sincere. Post contains affiliate links.
______________________
LET’S STAY IN TOUCH!


[…] To install the pendant kit I followed the directions included in the package. Its’ pretty simple matching of colored wires – I talked about how to swap/install hard wired light fixtures HERE. […]