As promised last week, I’m planning to share more of what I’m working on week-to-week. The thing about DIY, and perhaps especially the kind of DIY I tend to do – furniture making, upholstery, etc – is that it takes awhile to finish a project. Which often leaves me feeling like I have nothing new to share with you.
I love a pretty finished picture as much as anyone, but I also start to think that constantly showing only styled, finished photos here on the blog undermines the process. I want to show you that you can DIY too. And when I don’t make a peep about a project for weeks and then, BAM! I’m showing off the inspiration and finished product is one big reveal, it makes the whole thing seem sort of superhuman and unattainable.
What I’ve learned about these kinds of projects is if you want to do them well and have them look legit and not “homemade” it takes some time, a lot of attention to detail, patience, and usually some problem solving. I believe it’s doable for anyone who wants to do it, but it doesn’t happen overnight.
HGTV shows are awesome, and I love the quick turnaround in an hour from drab-to-fab, but I’m not an HGTV show with a crew. It’s just me, working on projects a few hours a day at most while my girls are at preschool. I do it around naptimes, mealtimes, and after everyone else is in bed. I hit roadblocks and things almost always take me longer than I think they’re going to.
That’s the reality of how projects go for me, and I bet it’s closer to your own reality than a “reality” home improvement TV show.
So in the spirit of pulling the curtain back, here’s what I’ve been working on the past several weeks.
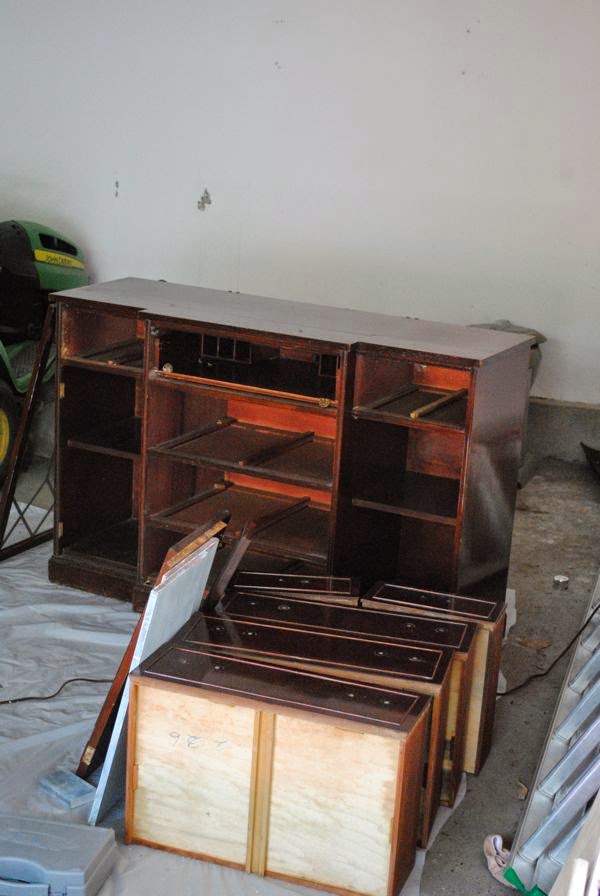
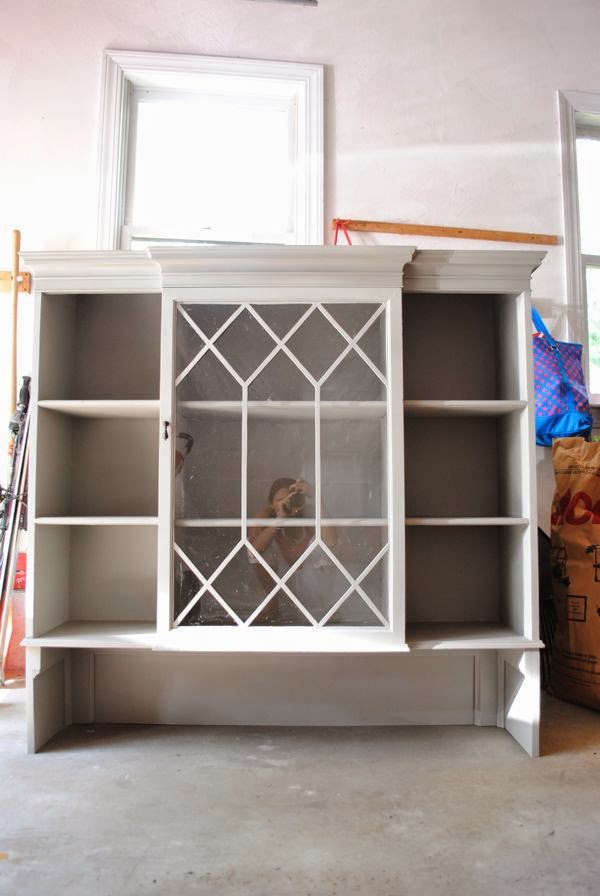
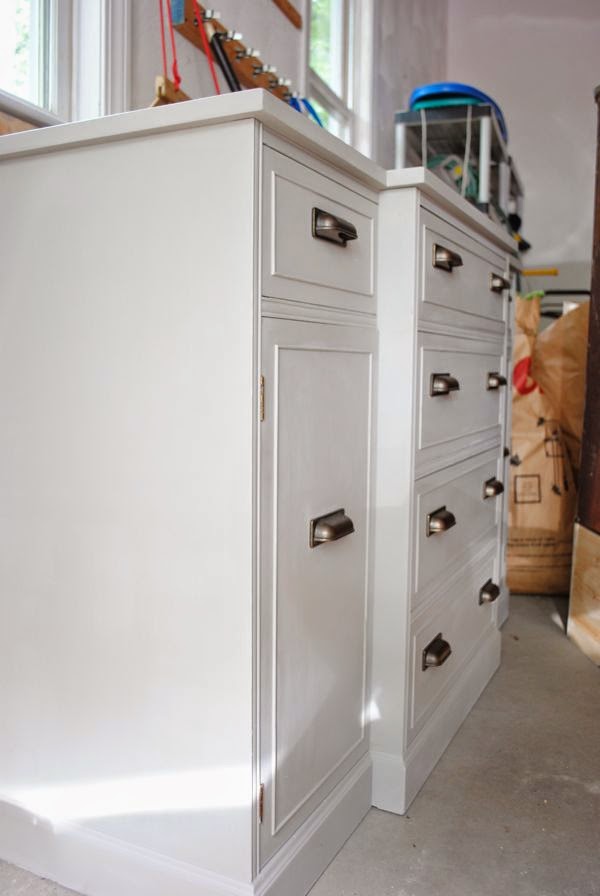
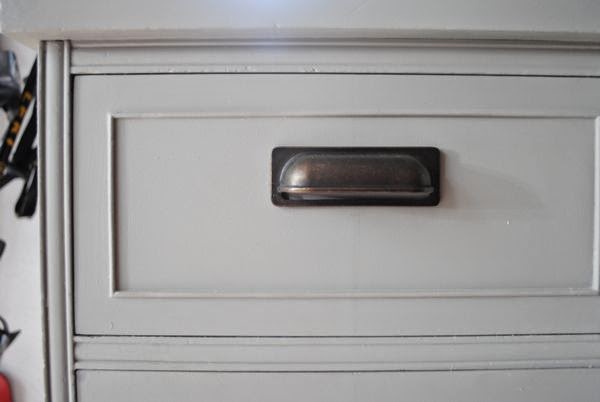
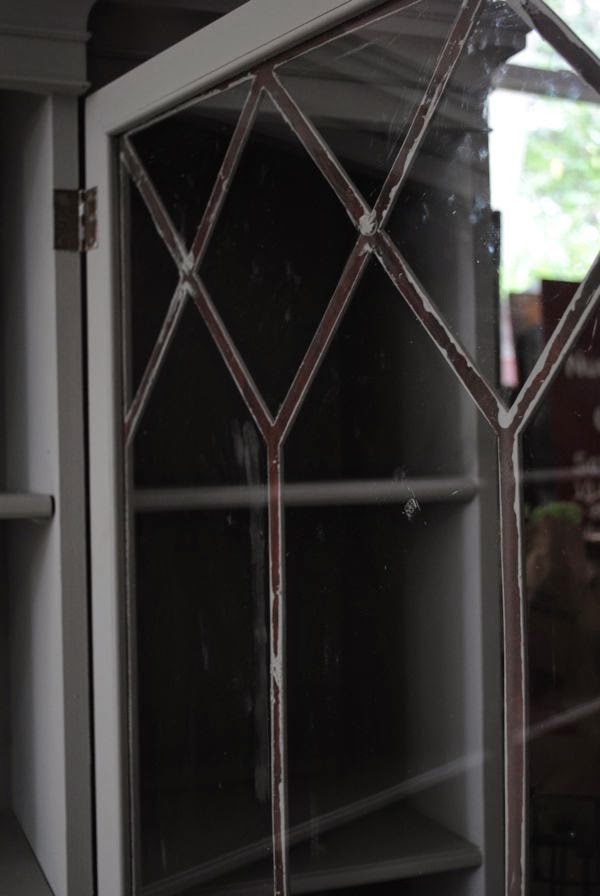
A friend hired me to paint and retrofit her vintage china cabinet. The top hutch piece sat flush on top of the bottom sideboard part and she wanted one that had space between the top and bottom so there was a serving surface in the dining room.
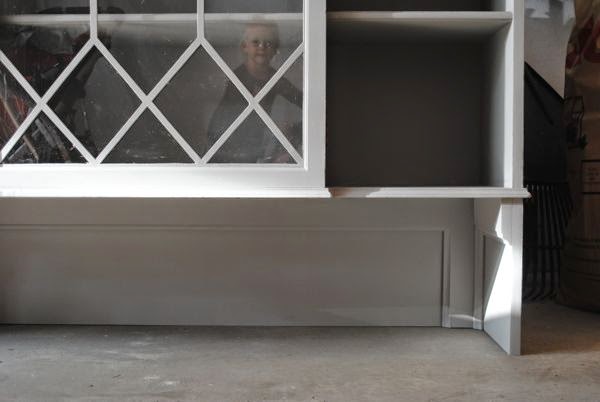
I built a new base for the top piece so it would sit elevated above the bottom – specific details to come when I have it all completely finished and back together!

[…] hutch makeover I’ve been working on for a friend (updates you might have missed can be found HERE and HERE) and today I’m showing you the finished piece and sharing how I raised the top […]