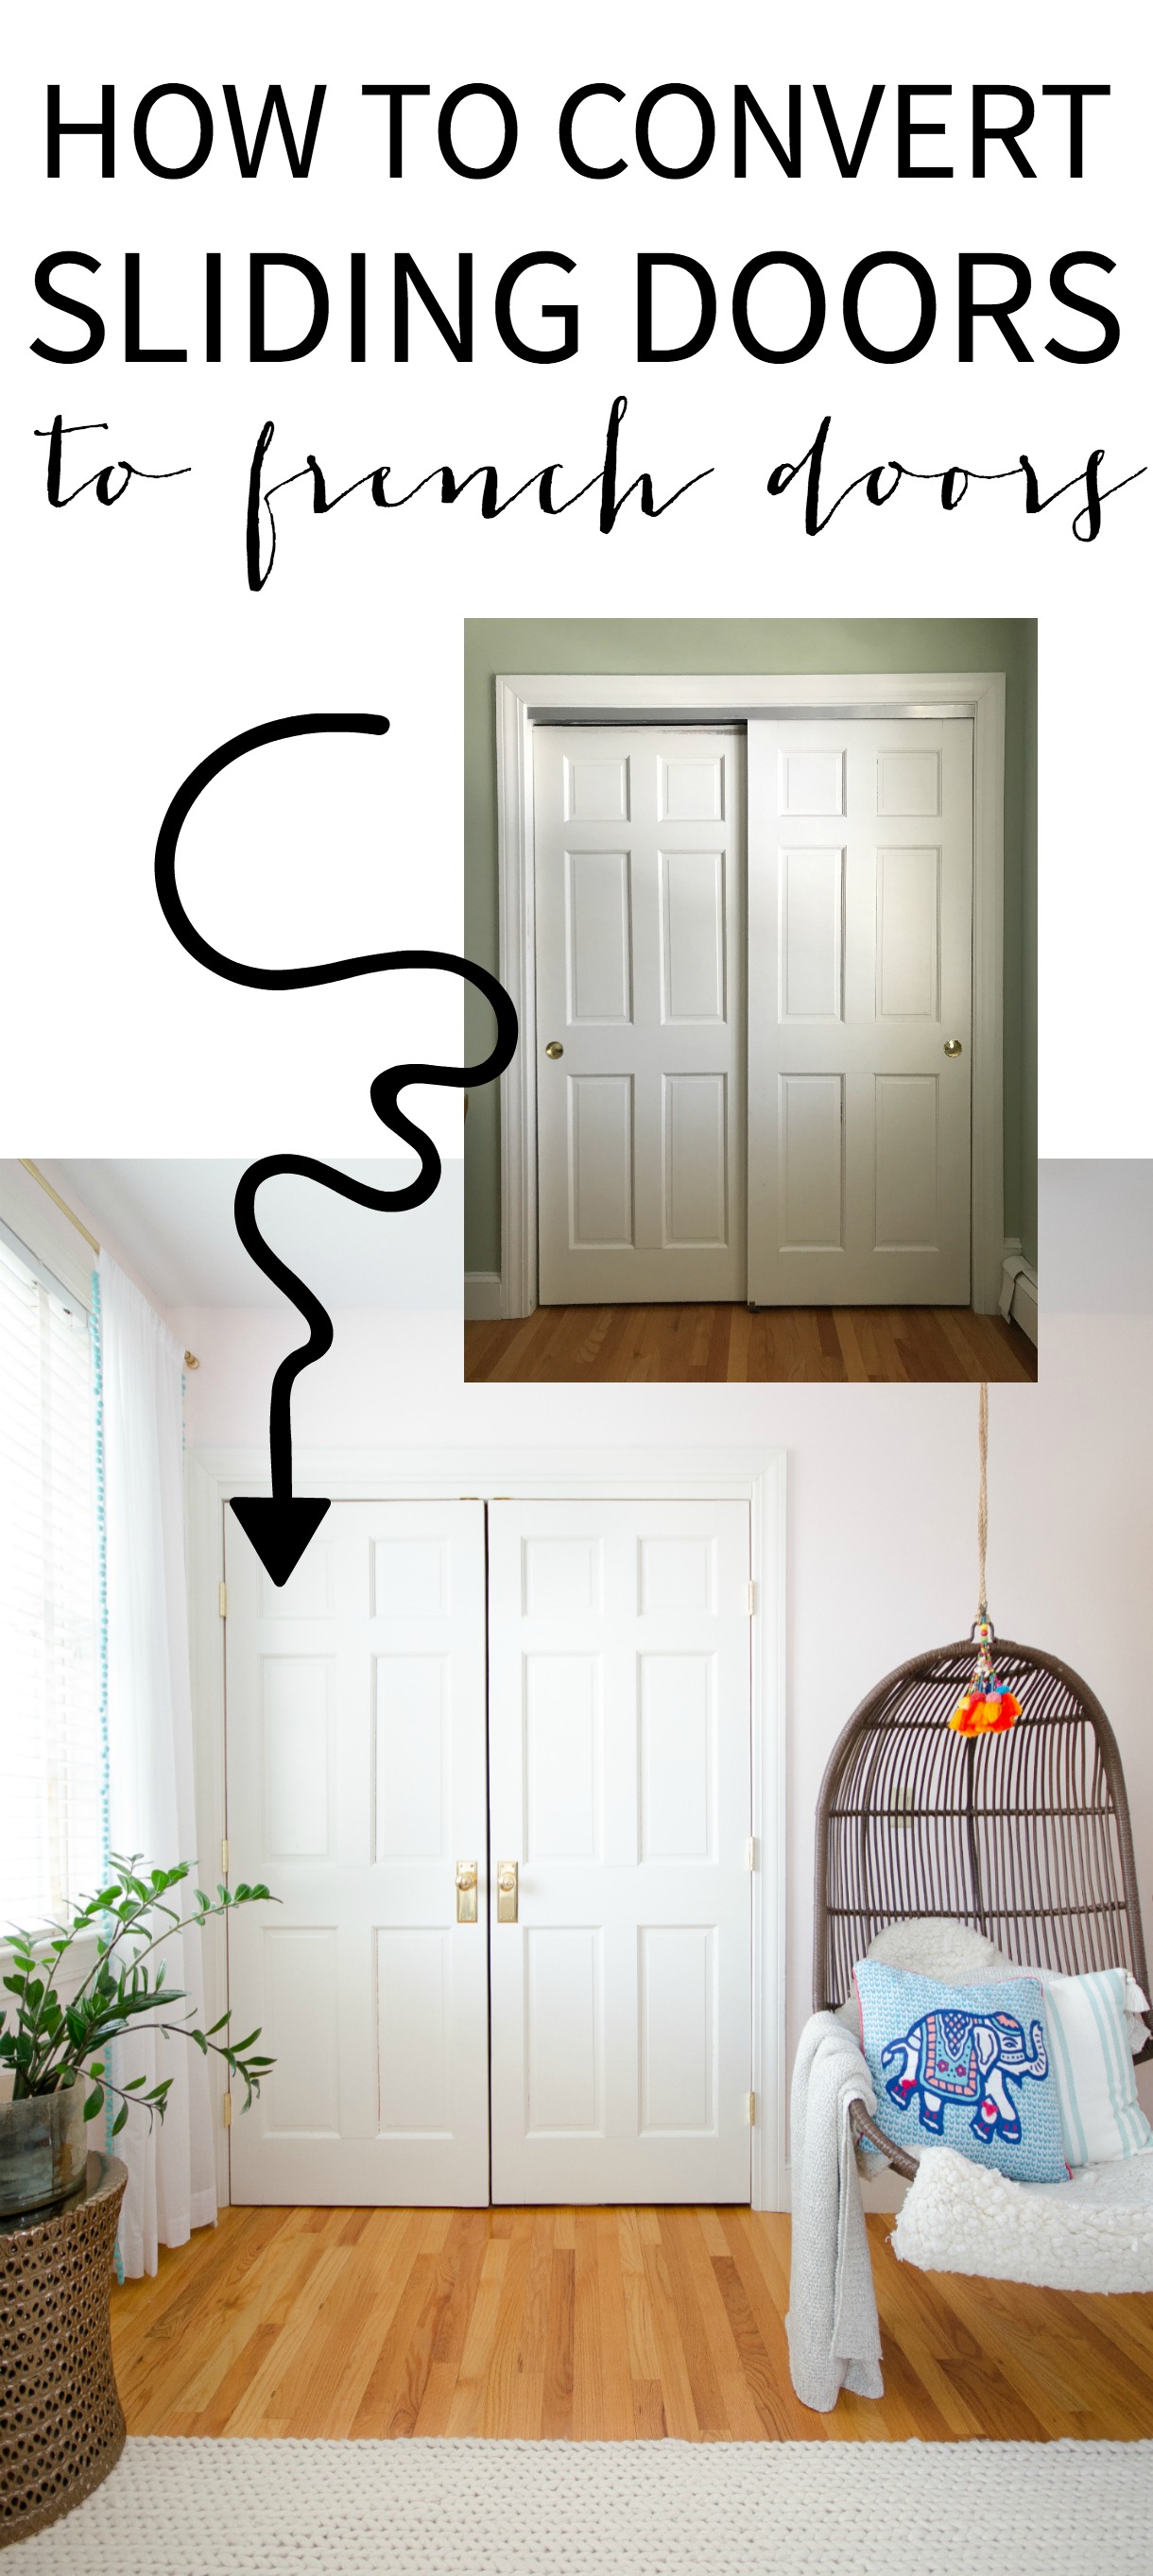
A step by step tutorial showing you how to convert sliding doors to hinged doors.
One of the things that I never thought about before we bought this house was how inconvenient sliding doors are on closets. And then I realized that all of the bedroom closets in this house except for mine have sliding doors. Sure, they come in handy if you have a small space and don’t want the swing of doors out into the room, but that aside, they’re kind of a pain in the neck. You can only see and access half the closet at a time. I figured there had to be a way to convert sliding doors to hinged doors.
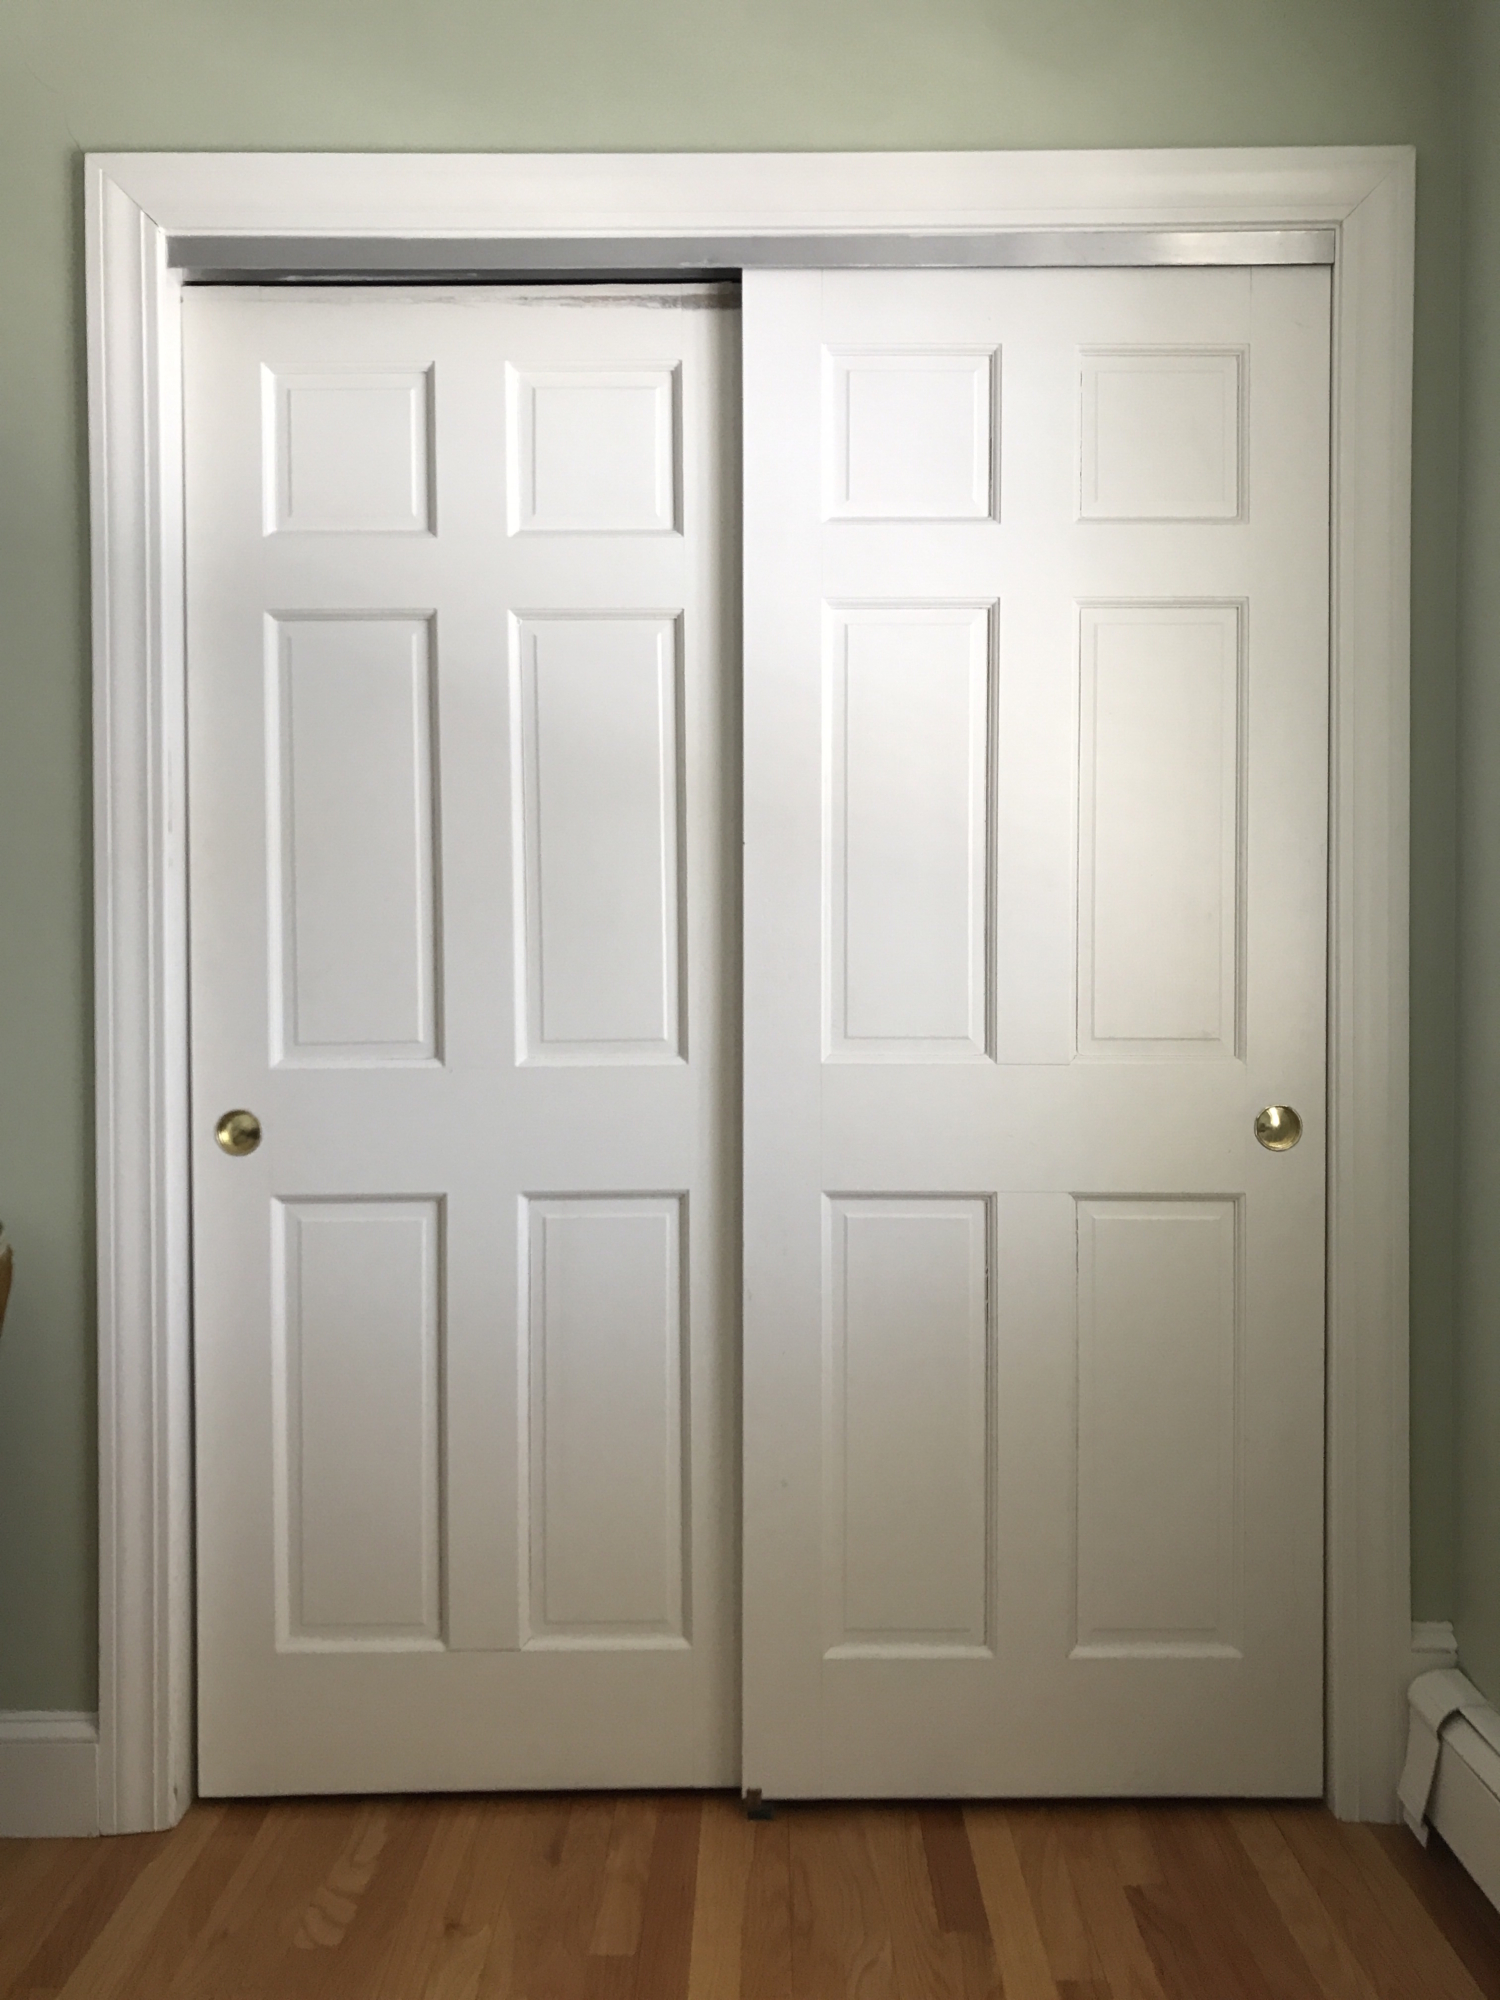
I also figured why throw away perfectly good doors? Even though I didn’t like the sliding aspect of the ones we have, they’re good, solid wood doors and I wanted to try to reuse them if I could. Good news, guys. Not only can it be done, but it’s also not super hard and doesn’t take very long. So if you have the same situation, here’s how you convert sliding doors to hinged doors.
Materials for Converting Sliding Doors to Hinged Doors
- Existing closet doors
- 2×2 board (at least as long as the closet opening)
- 1×4 board of the same length (optional…I’ll get to that below)
- 2 1/2″ wood screws
- Tape measure
- Pencil
- A circular saw
- Sandpaper
- Chisel
- Hammer
- 7/8″ or 1″ drill bit
- Cordless drill
- Touch up paint
- Paintbrush (I’m obsessed with this one, it’s the only one I buy!)
- Six door hinges
- Two ball catches
- Dummy doorknobs (these are the ones I used. They can be pricey but I love the look!)
Directions for Converting Sliding Doors to Hinged Doors
The first step to convert sliding doors to hinged doors is to remove the sliding doors from their track. They should be hanging from the track by wheels at the tops of the doors. You may have to wiggle them a bit, but once they come off remove the wheels from the doors and remove the track from the closet opening.
Measure the width of the opening and use the circular saw (or a miter saw/chop saw) to cut the 2×2 to this width. Attach the 2×2 to the top of the closet opening where the sliding track had been using 2 1/2″ wood screws. Also, ignore any terrible messes you have let accumulate behind those pesky sliding doors…
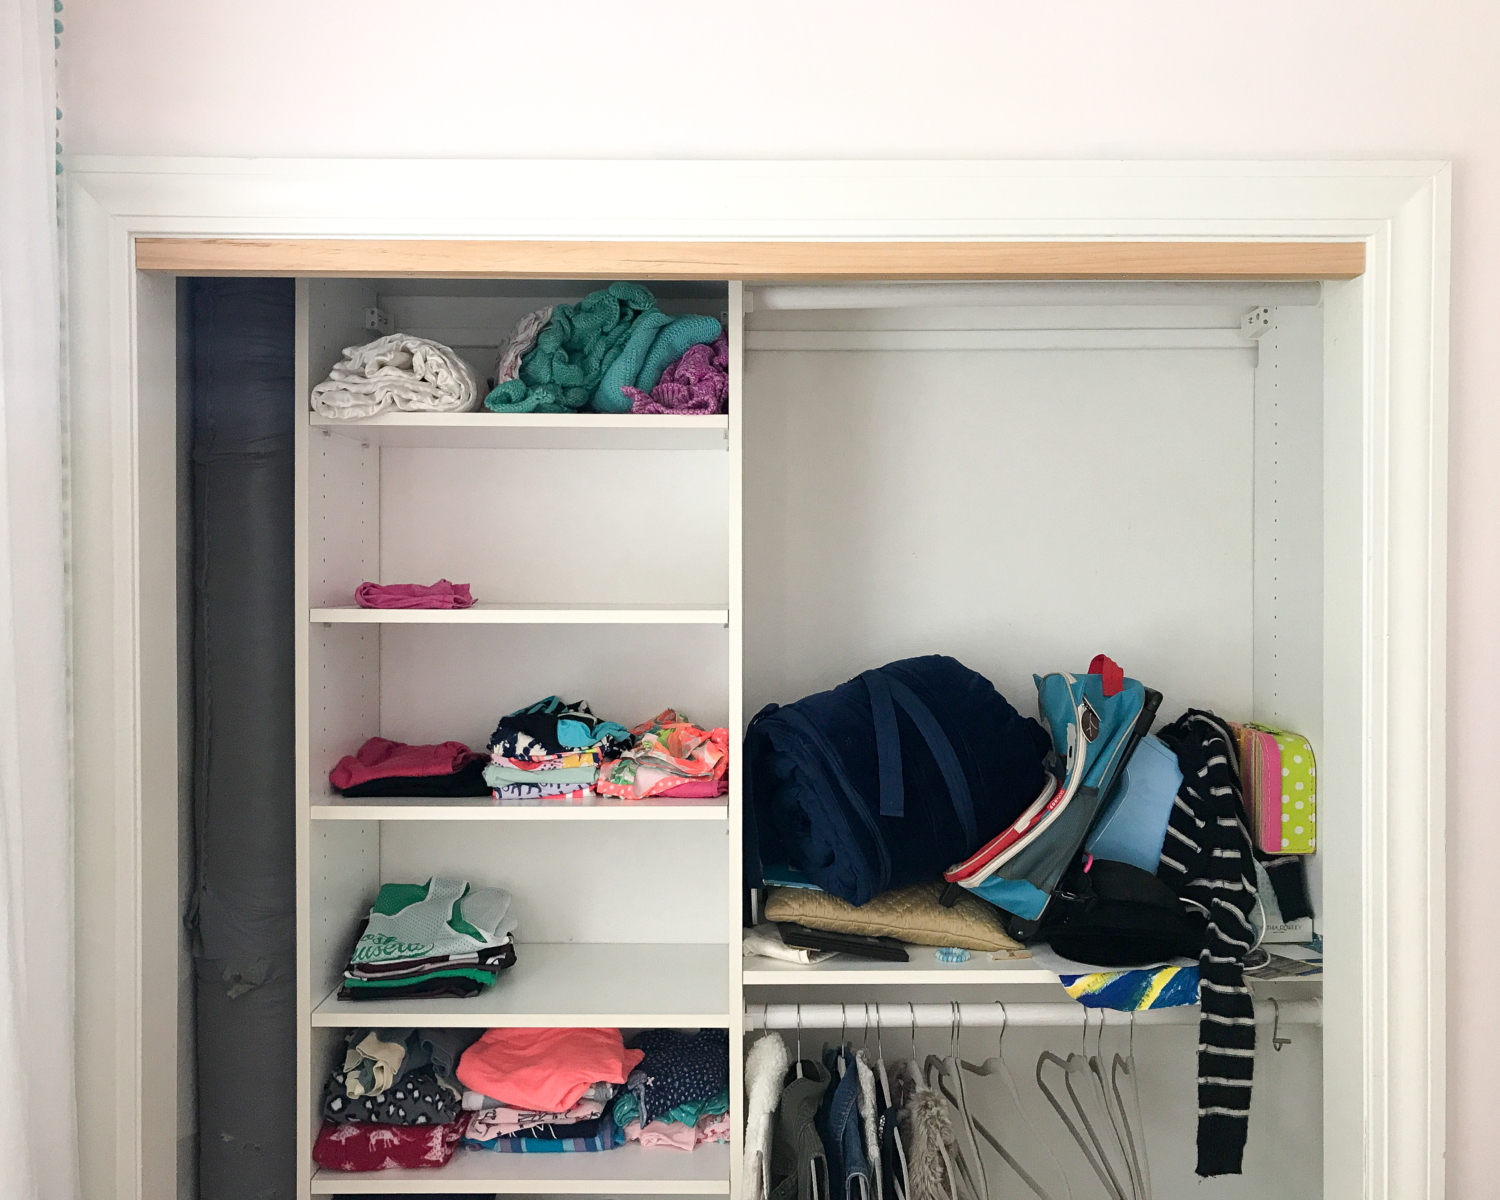
Remember that optional 1×4 I mentioned in the materials list? If you would like to have a stop piece for your doors, cut it to the same length as the 2×2. I haven’t done this part yet, but would recommend it so you don’t have issues with your doors swinging inward past the ball catches you’ll install later. If you’re using the 1×4, you’d want to attach it to the 2×2 before screwing the 2×2 to the top of the closet opening. Attach so the 1×4 is behind the 2×2, with the top edges lined up and the bottom of the 1×4 hanging down below the bottom edge of the 2×2. I’ll update with a photo once I install this piece myself!
Now onto the doors themselves! Take that same width measurement of the closet opening and subtract 3/8″ from it. Divide the number in half to get the width you’ll need each of your doors to be. You’ll likely have to cut a small amount off of each door to get them to fit. Take the measurement of the existing door, subtract the measurement you need the door to be, and then divide that number in half. You should be left with a small number, probably somewhere around 3/8″, which is what you’ll need to cut off each long side of the doors. Mark this on the doors with a pencil and a straight edge.
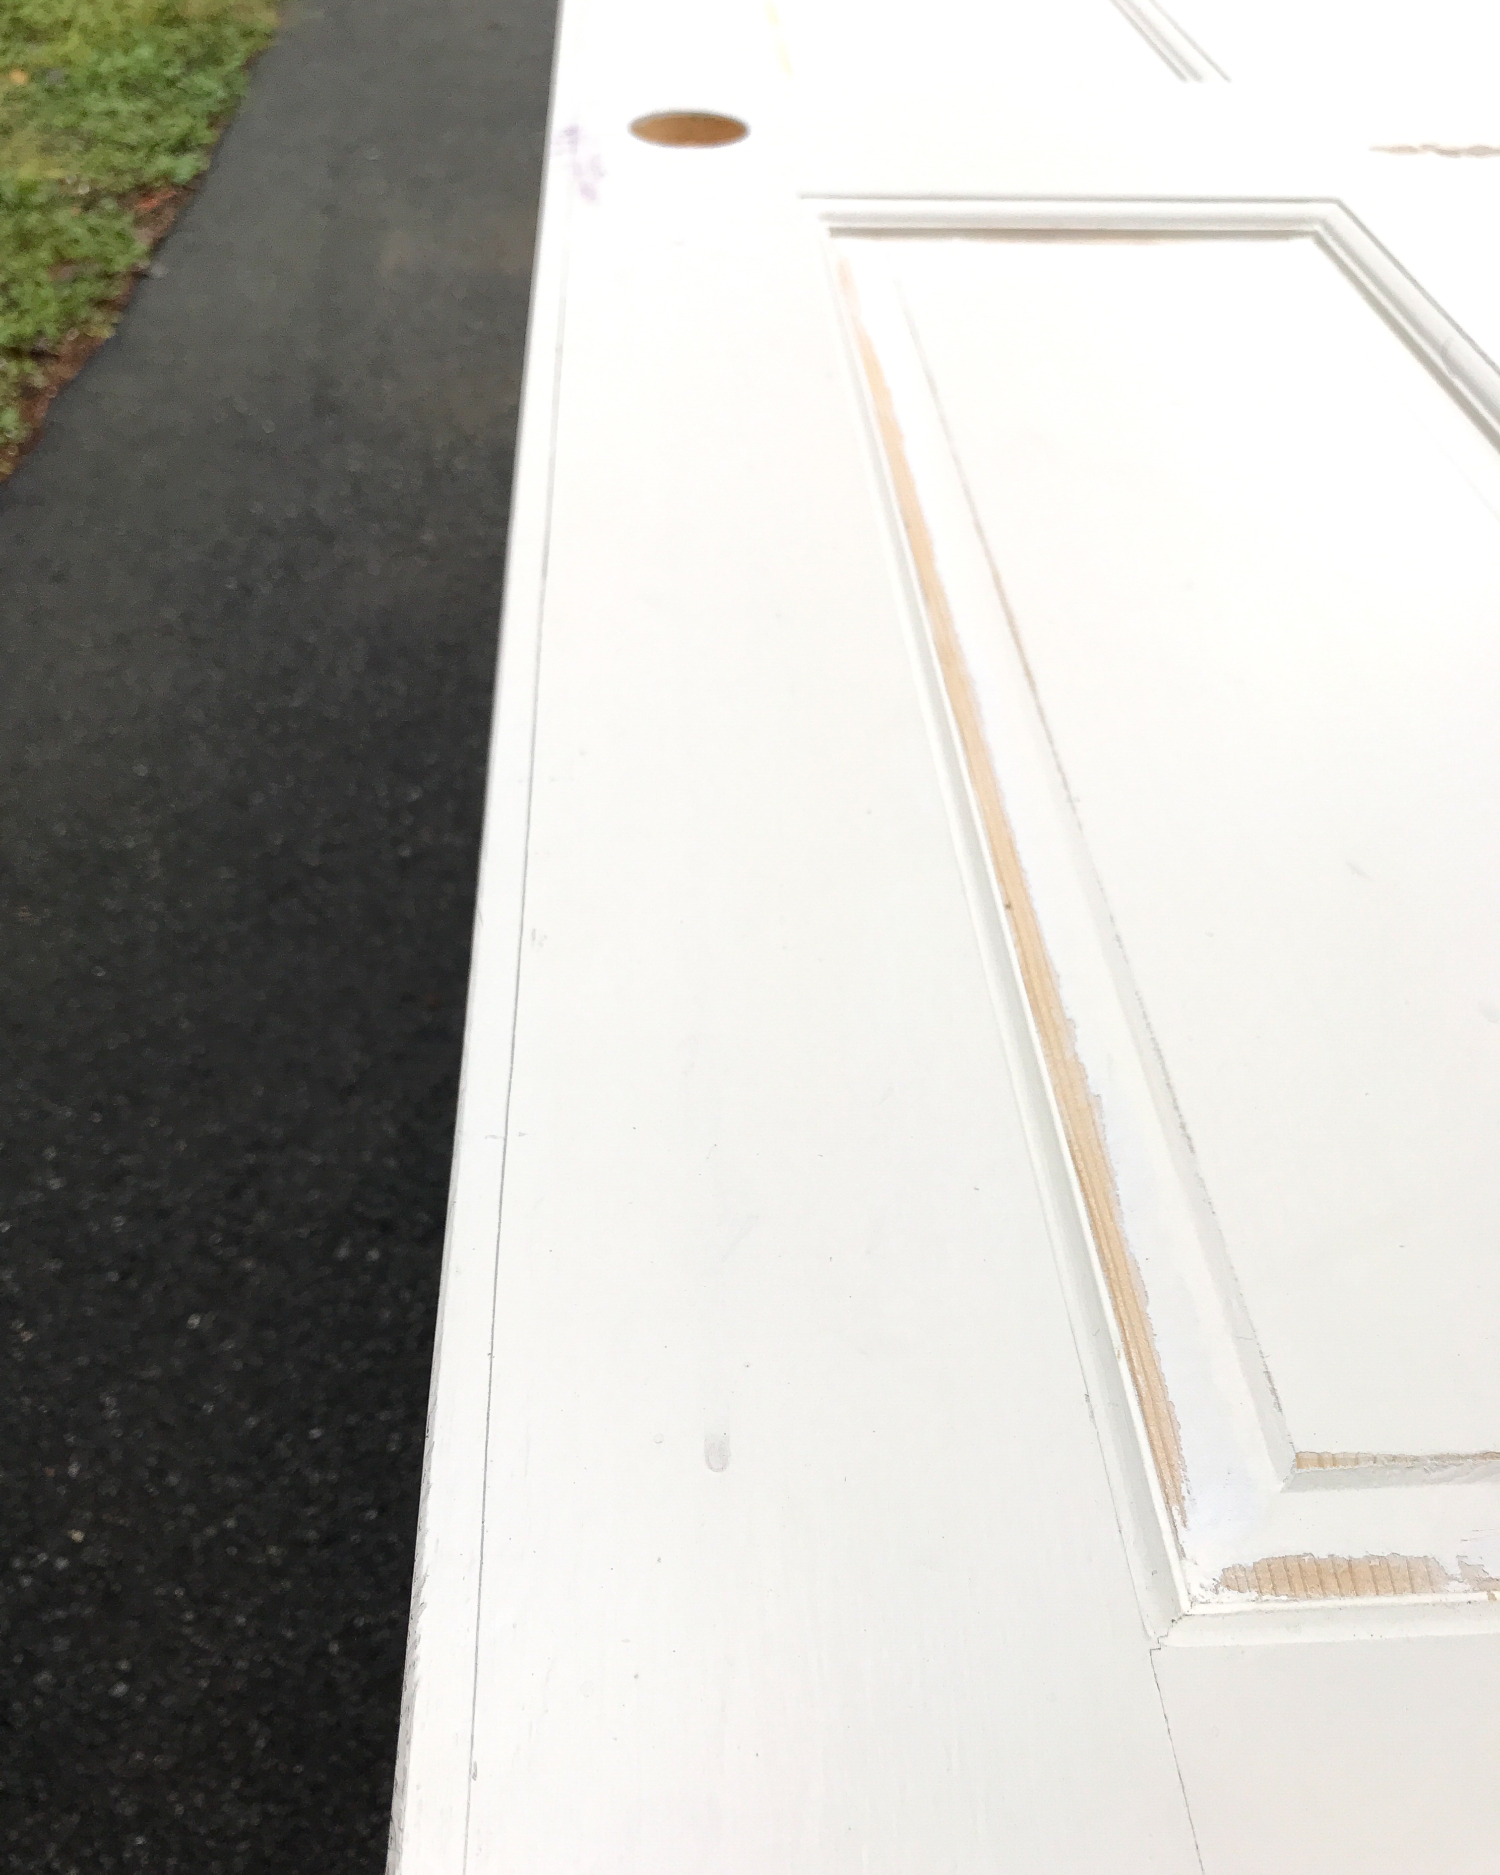
Use a circular saw to cut the marked areas off of the doors. Make sure you mark and cut equal amounts on both sides of the doors so they doesn’t have an odd, off-center look! Sand the cut sides to get rid of any rough or uneven spots.
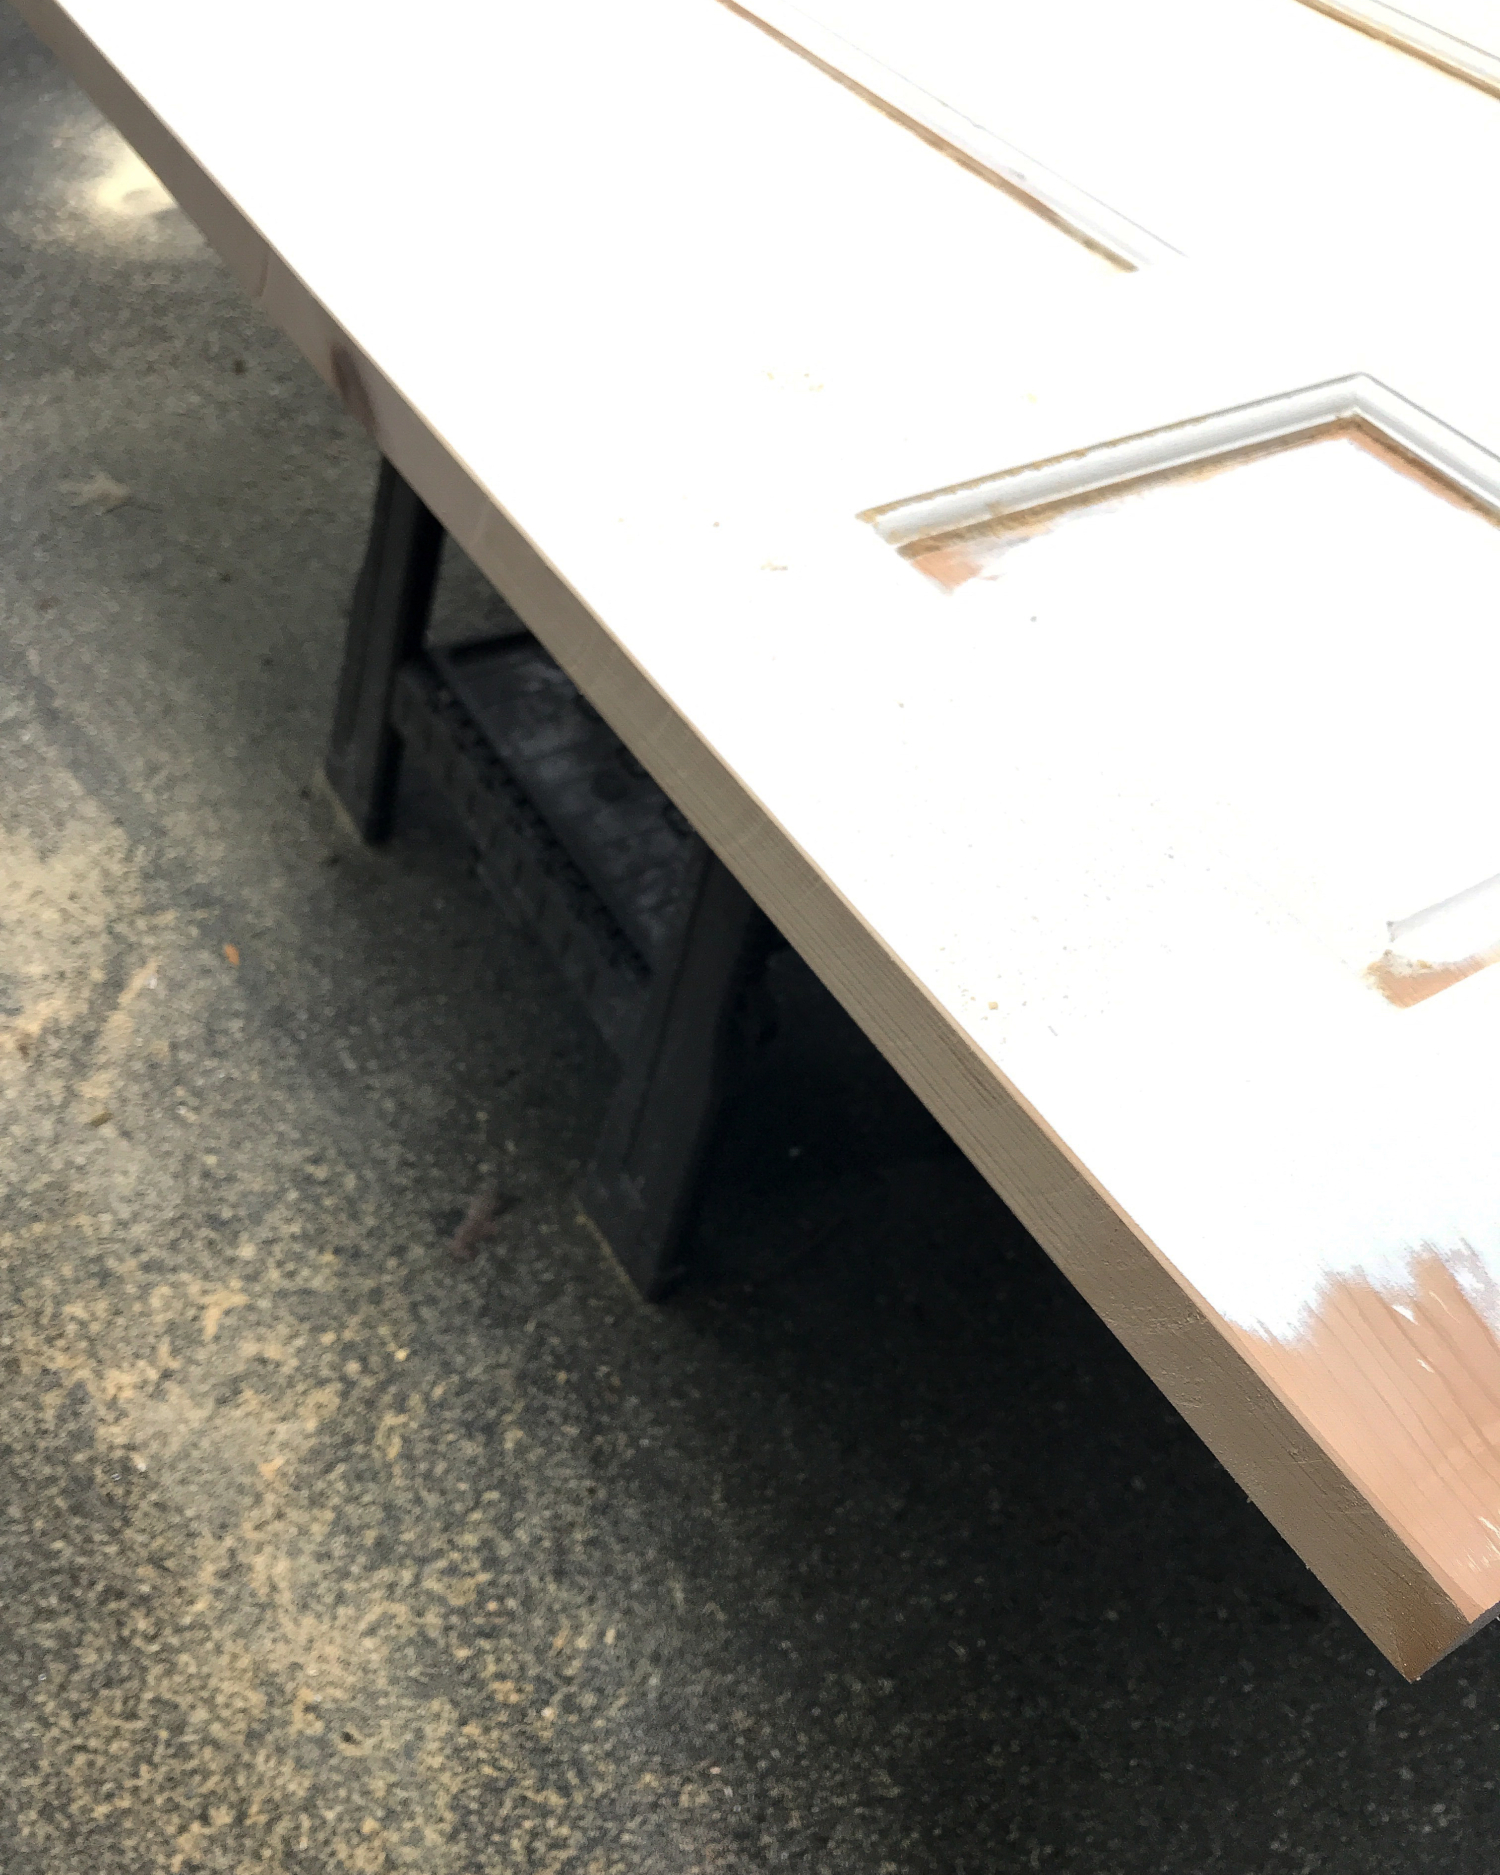
Mark the location for hinges along the outside edge of each door. The outer edge will be opposite where the recessed finger slide area is. I’d recommend three hinges per door, with one centered and the top and bottom hinges beginning 9 1/4″ from the edges. Trace the outline of the hinges to mark where they’ll go, then use a chisel and hammer to carve out shallow recesses for the hinges to sit inside. If you’re not sure how to position them, look at another hinged door in your house for reference – that’s what I did!
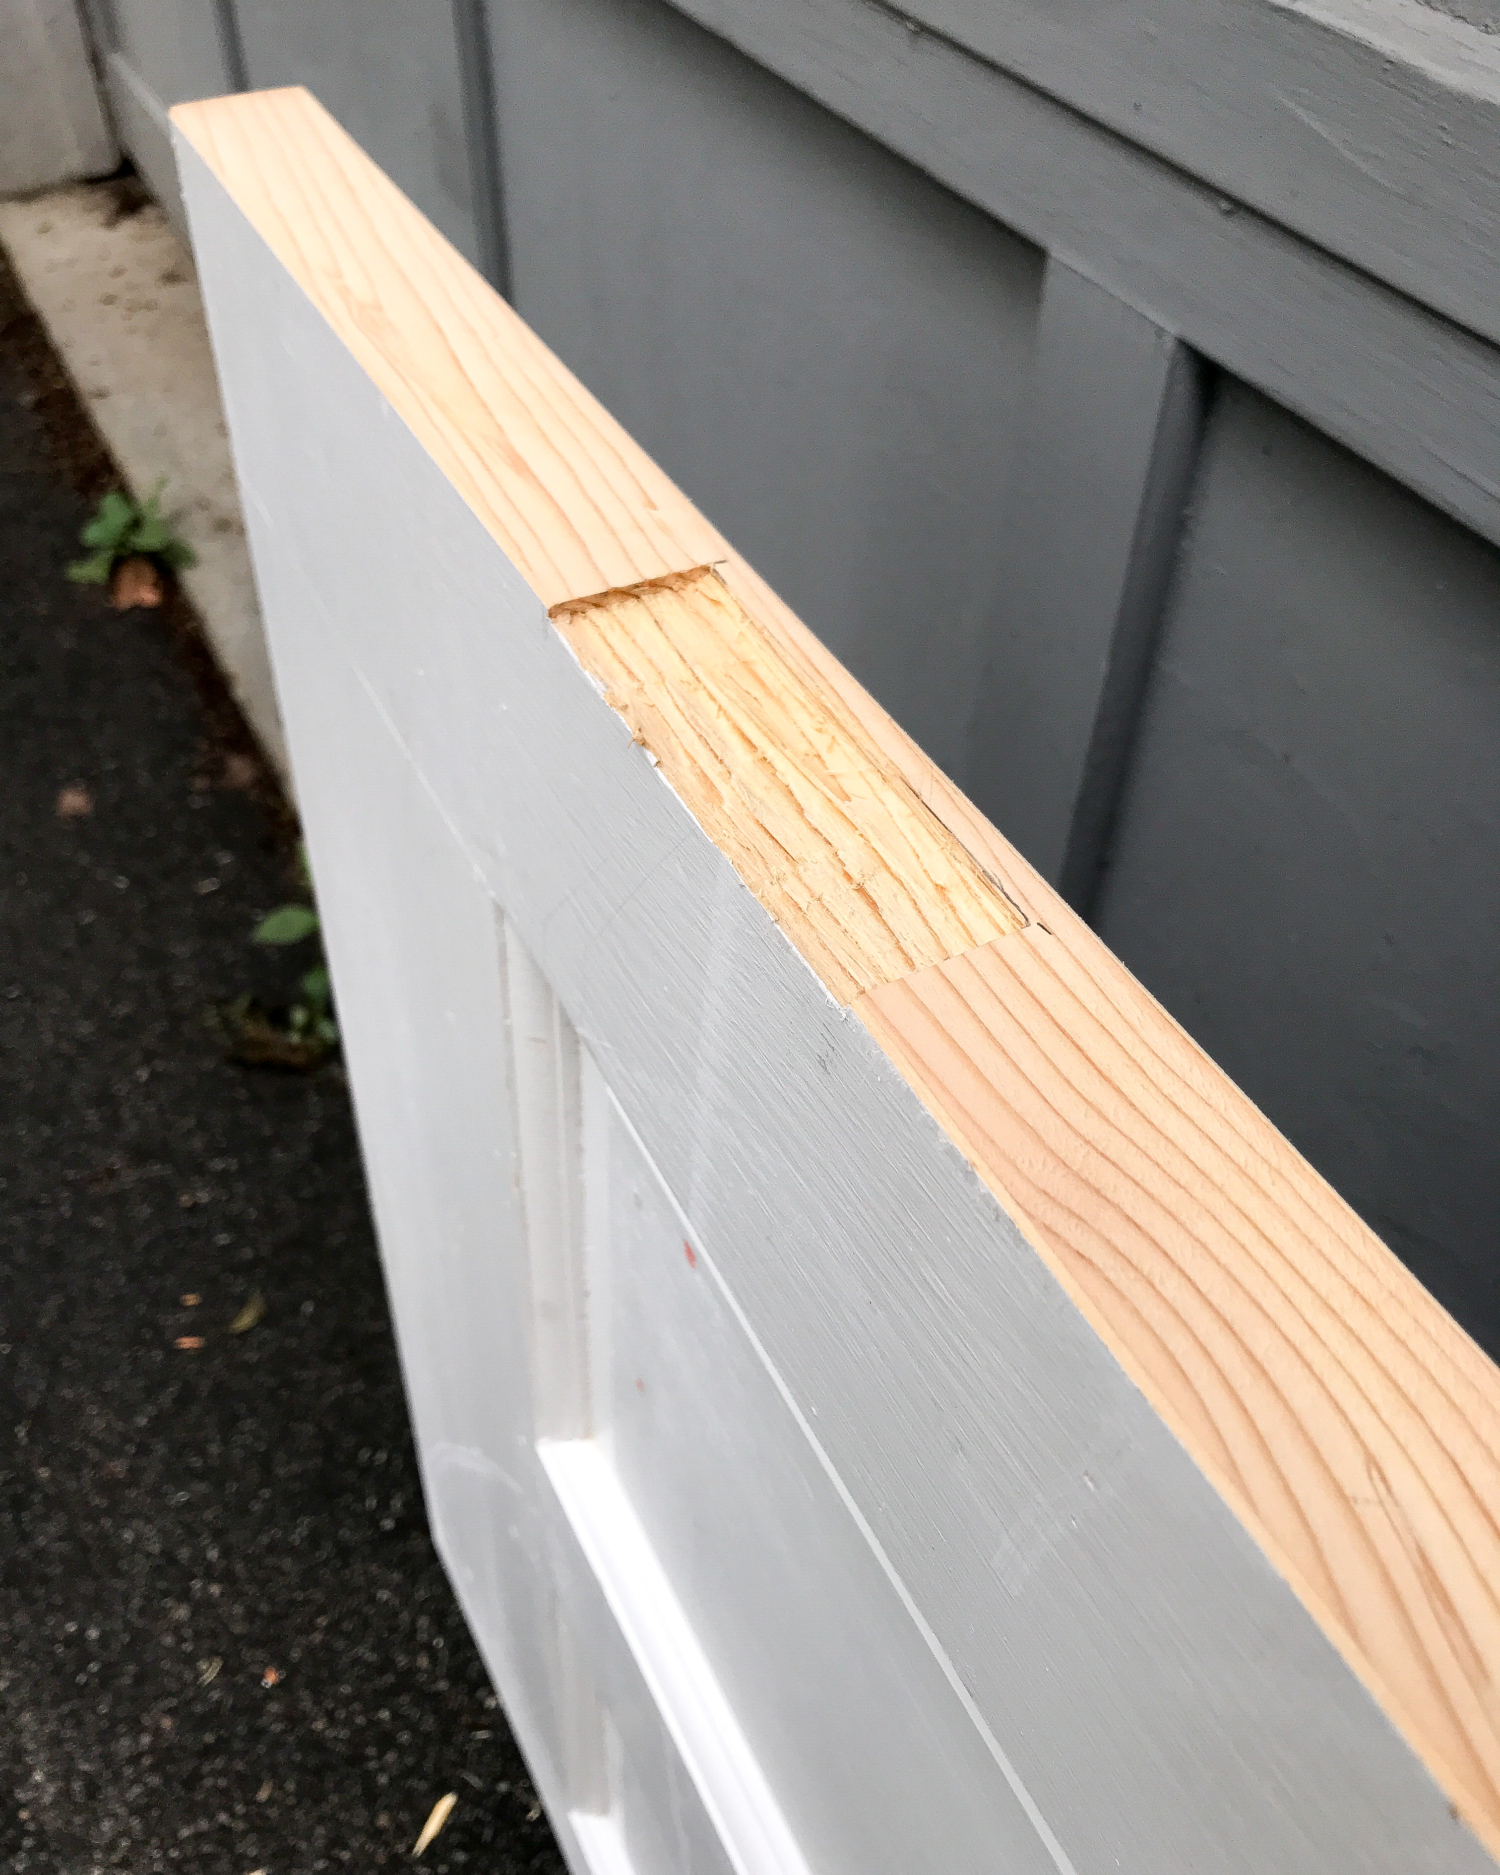
Attach the hinges to the doors using the included screws. You want the hinge part facing the front of the doors so the doors will swing outward once mounted. The front is the side with the recessed finger slide.
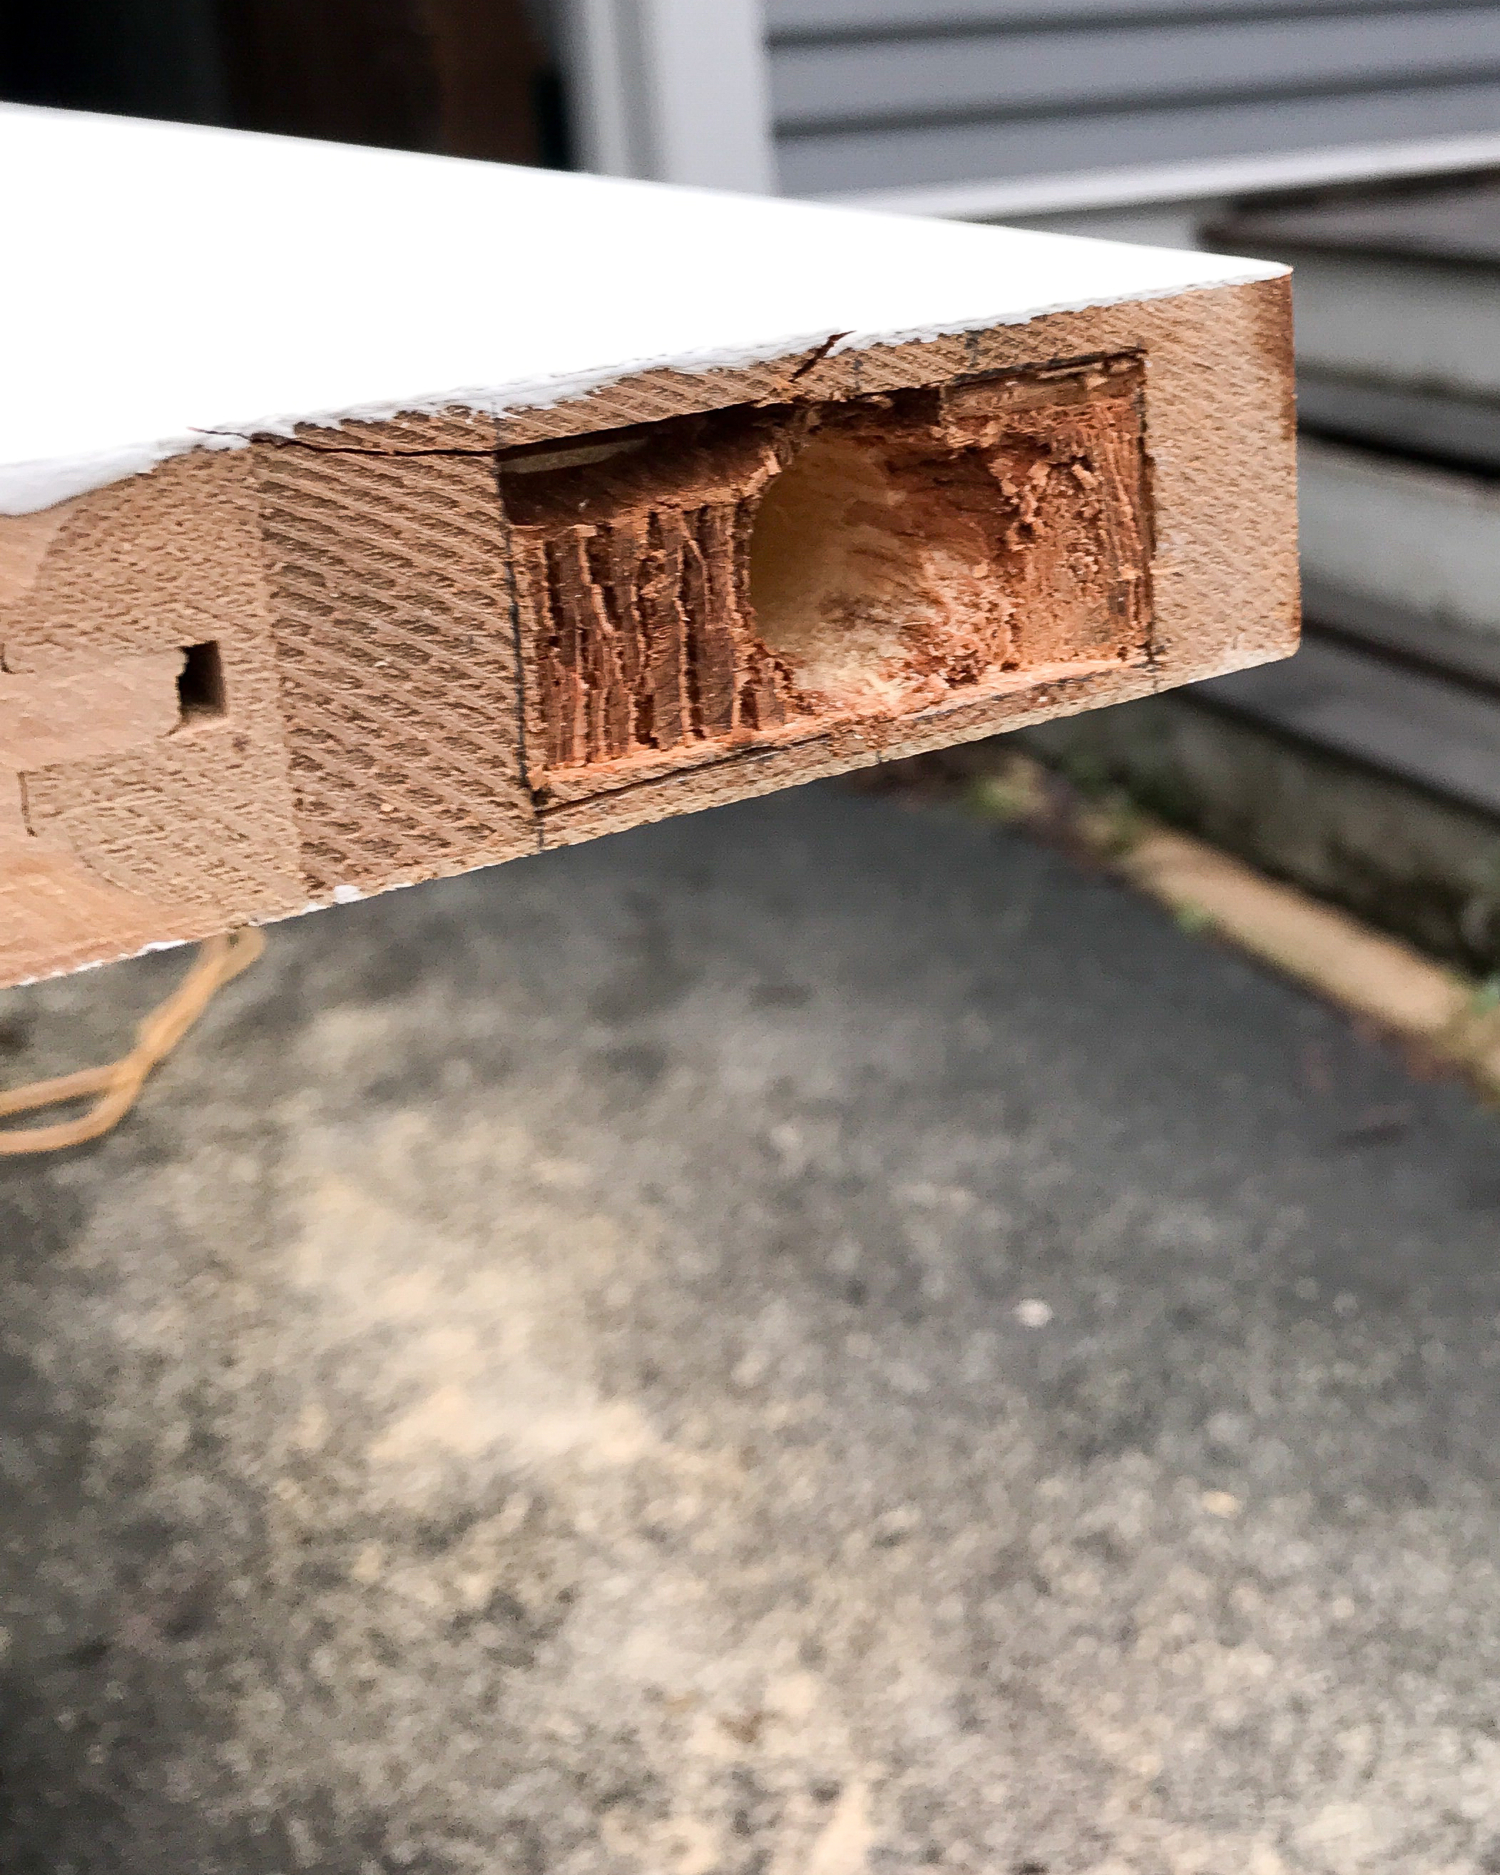
Mark the location on the tops of the doors for the ball catches. You want to position the ball catch on the opposite side of the door from the hinges, with the edge of the ball catch 5/8″ from the corner of the door. Trace the outline of the ball catch like you did with the hinges then chisel a shallow recess and drill a hole for the cylinder part. This is where you’ll need that 7/8″ or 1″ drill bit.
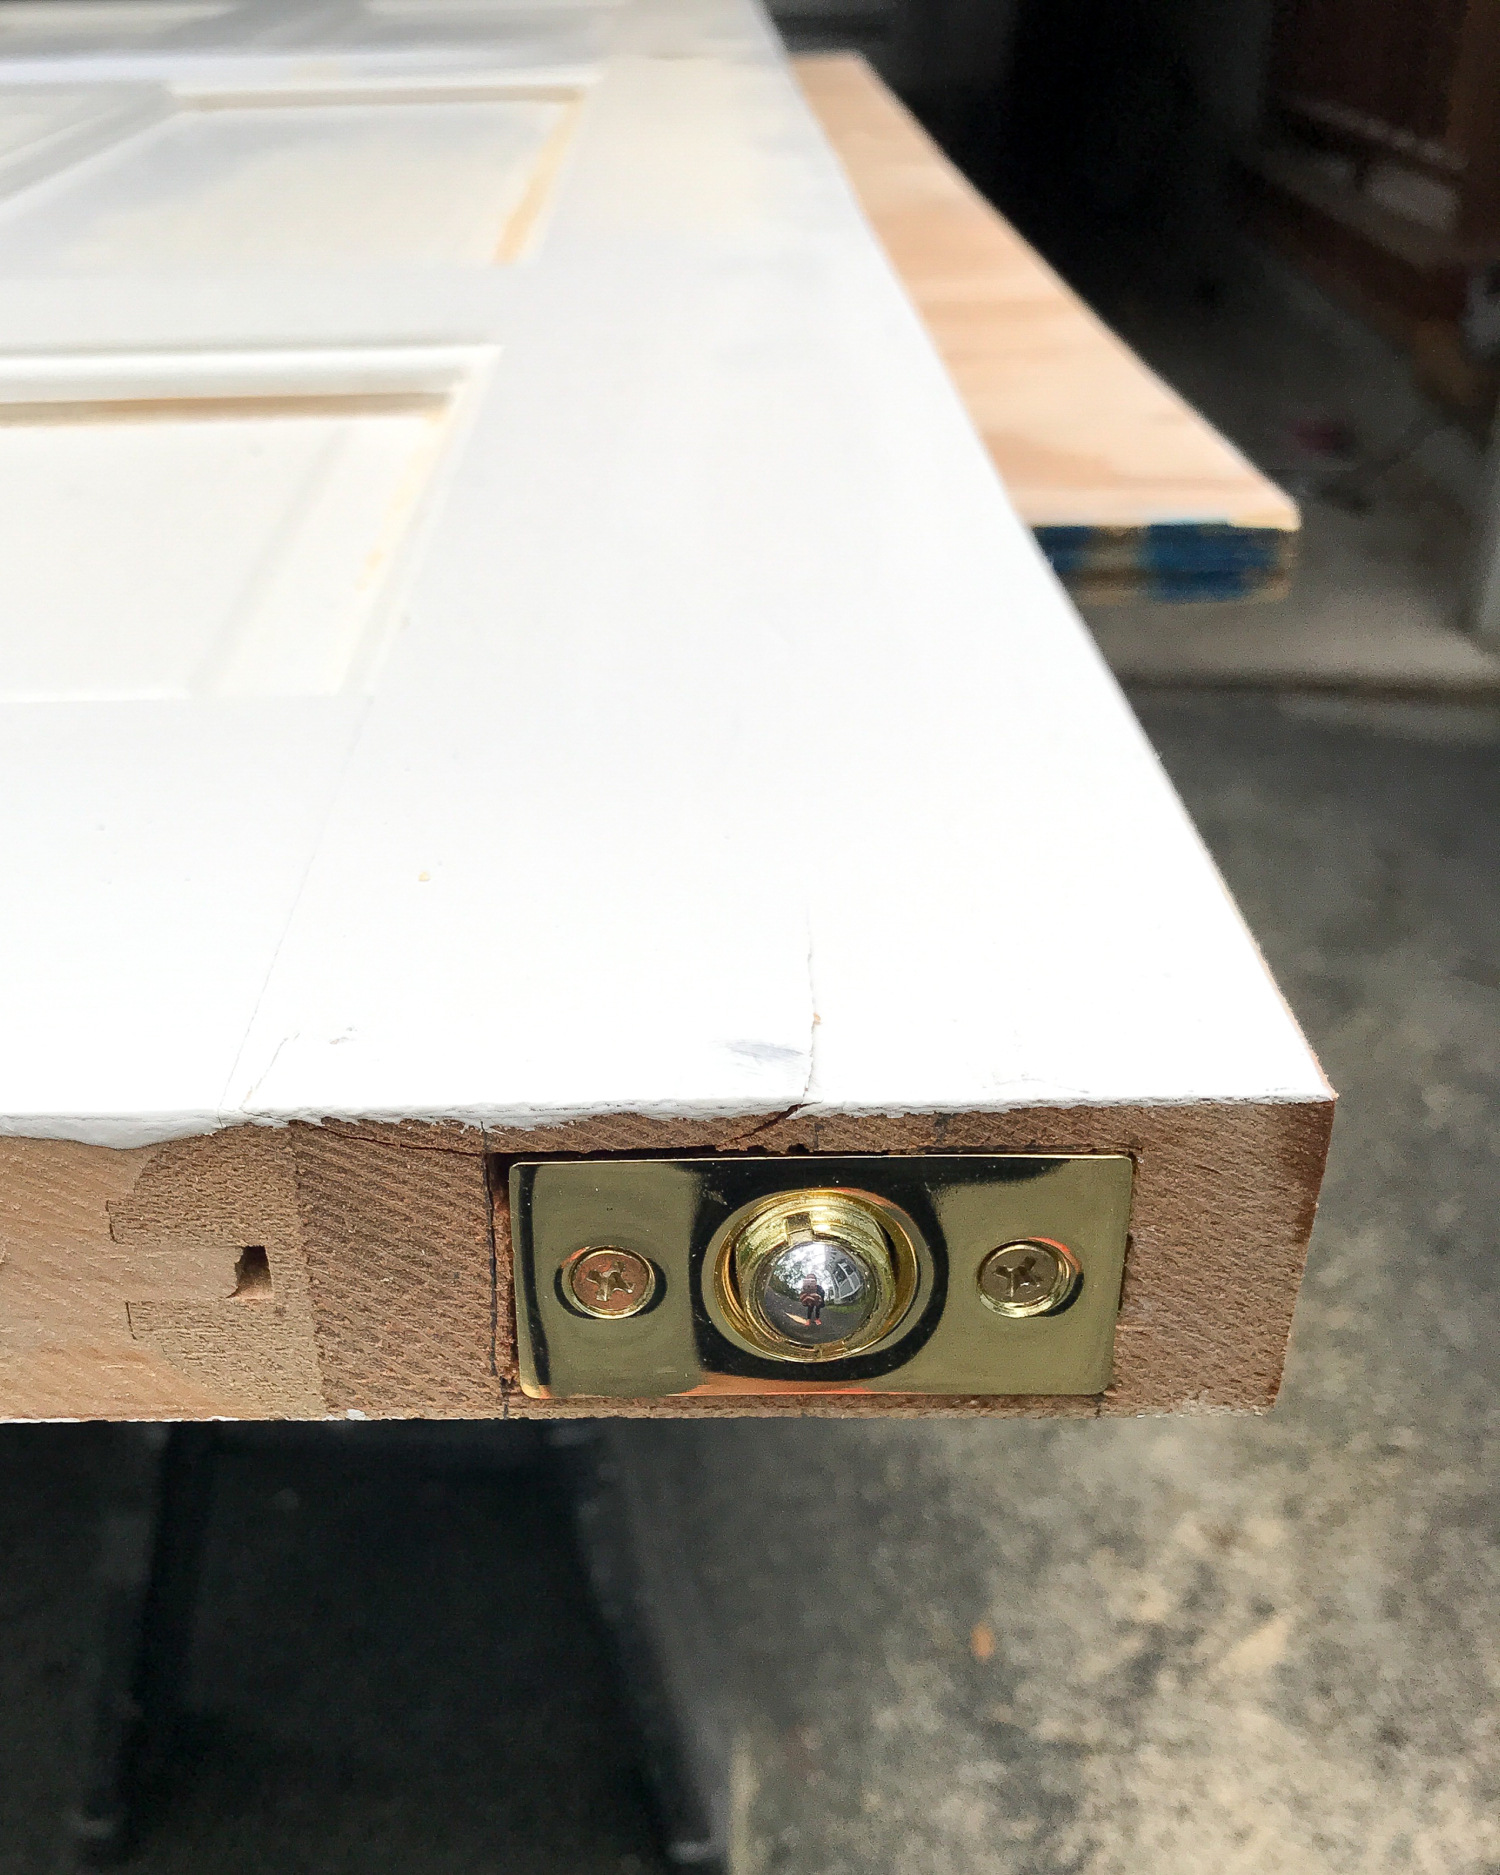
Insert the ball catch into the door and secure with the included screws. You can adjust the depth of the ball part by twisting it left or right so it either sinks farther into the cylinder or pokes out more.
This is a good time to do any touchup painting you need to do on the doors and the frame. You don’t need to paint the tops of the door or the sides where the hinges are since they won’t be visible.
Attaching your doorknob could be different from what I did if you use a different style knob, but you want to make sure you get a dummy knob (this means the knob doesn’t turn, you just pull on it to open the door) and you want to make sure that whatever kind of backplate it has is big enough to cover the indent where the old finger slide was installed. I’ve slowly been updating the doorknobs in my house to these knobs and while they can be pricey, if you’re patient you can usually find good deals on them and they are just so stunning. To install the dummy knobs I used, I just had to screw them right onto the surfaces of the doors.
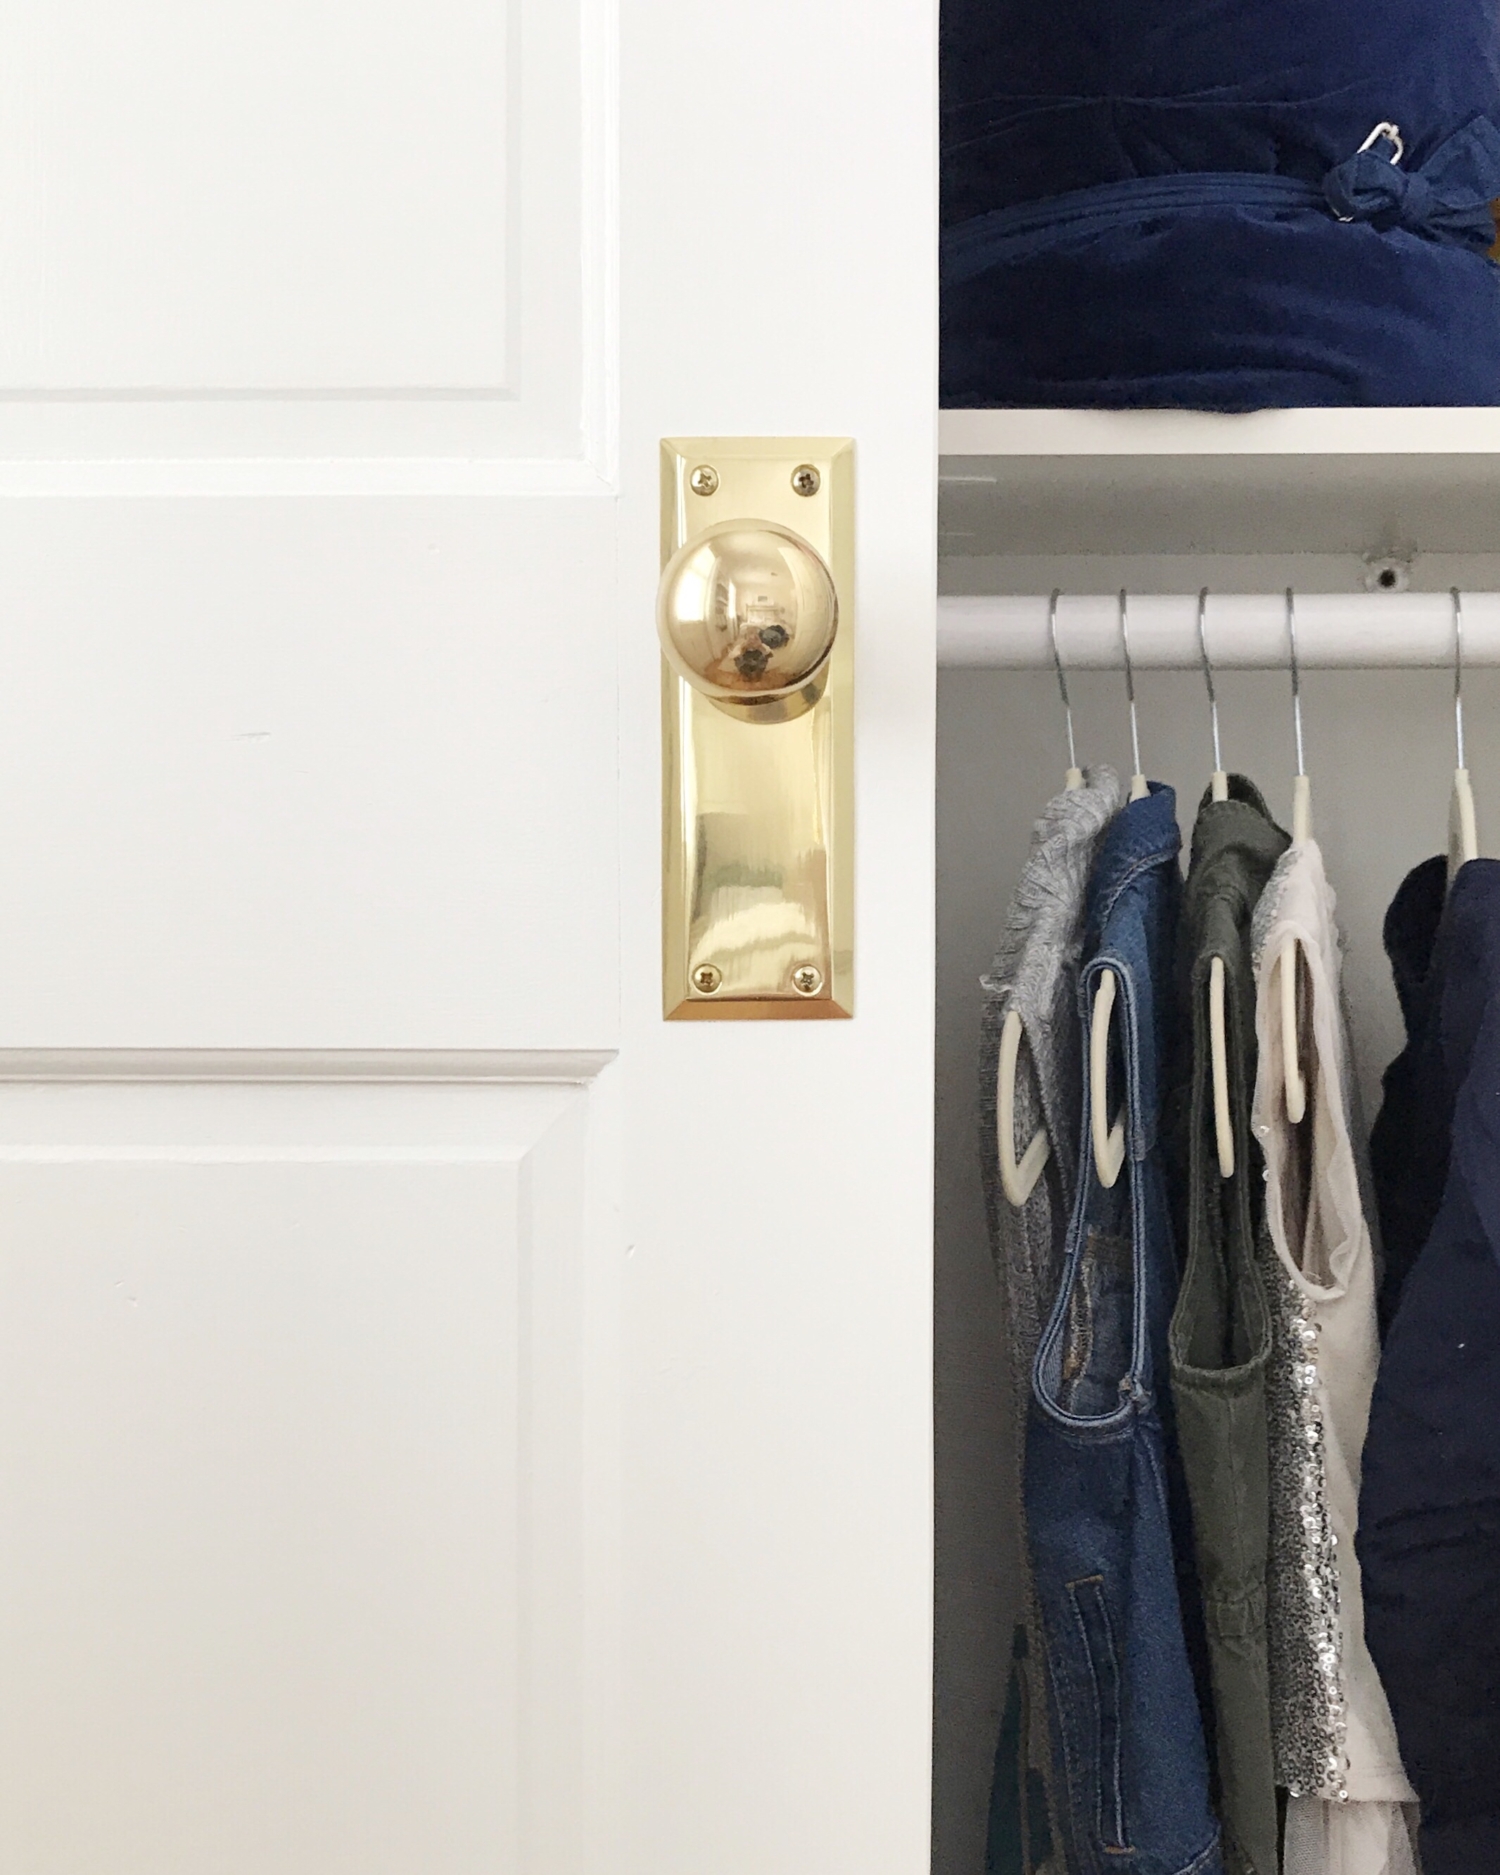
I wasn’t able to photograph the hanging of the doors because they’re heavy and require two hands and I was doing this solo! But basically use anything you have on hand (wood shims, paint stir sticks, thin books) to prop the door up a bit from underneath so there’s a small gap at both the bottom and the top of the door. Mark where the screws for the hinges will go along the side of the door frame. Again, I found it helpful to look at another hinged door in my house to see the positioning of the hinge on the door frame. Screw the hinges to the door frame (you may want to drill pilot holes first).
Swing the door to a shut position and mark where the ball on the ball catch hits the top of the door frame. Center the catch plate part of the ball catch on the marked spot and screw it into the top of the door frame (the 2×2 you attached earlier) using the included screws.
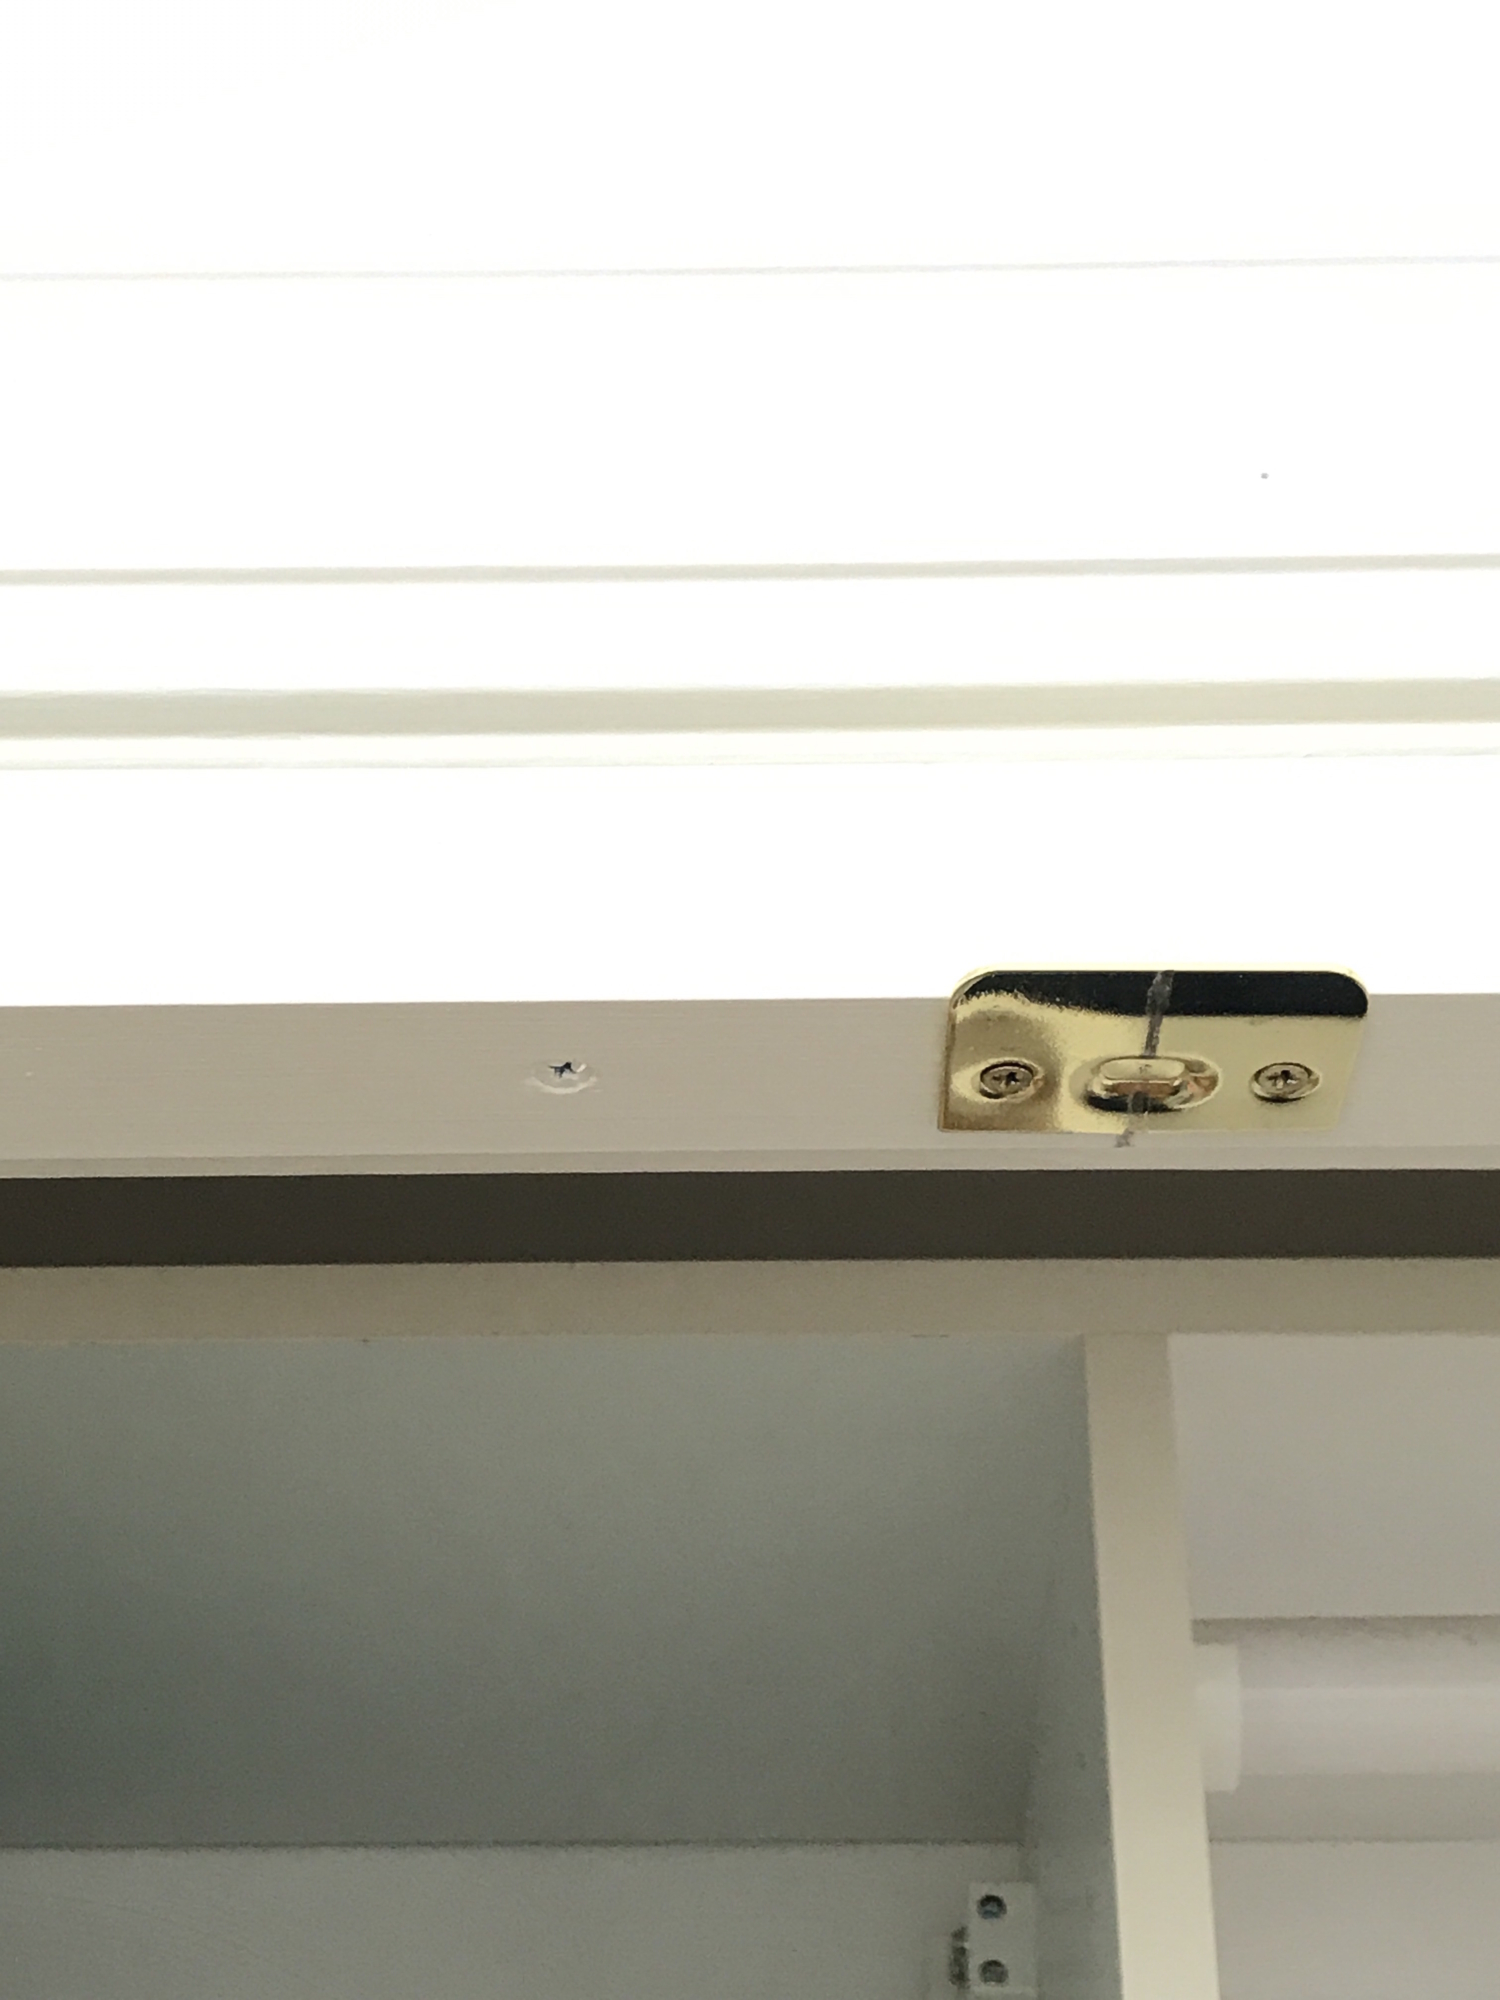
Attach the other door and then do a happy dance because you have managed to convert sliding doors to hinged doors and can now access your entire closet at one time by opening both of the doors at once. Hooooooray for that!!!
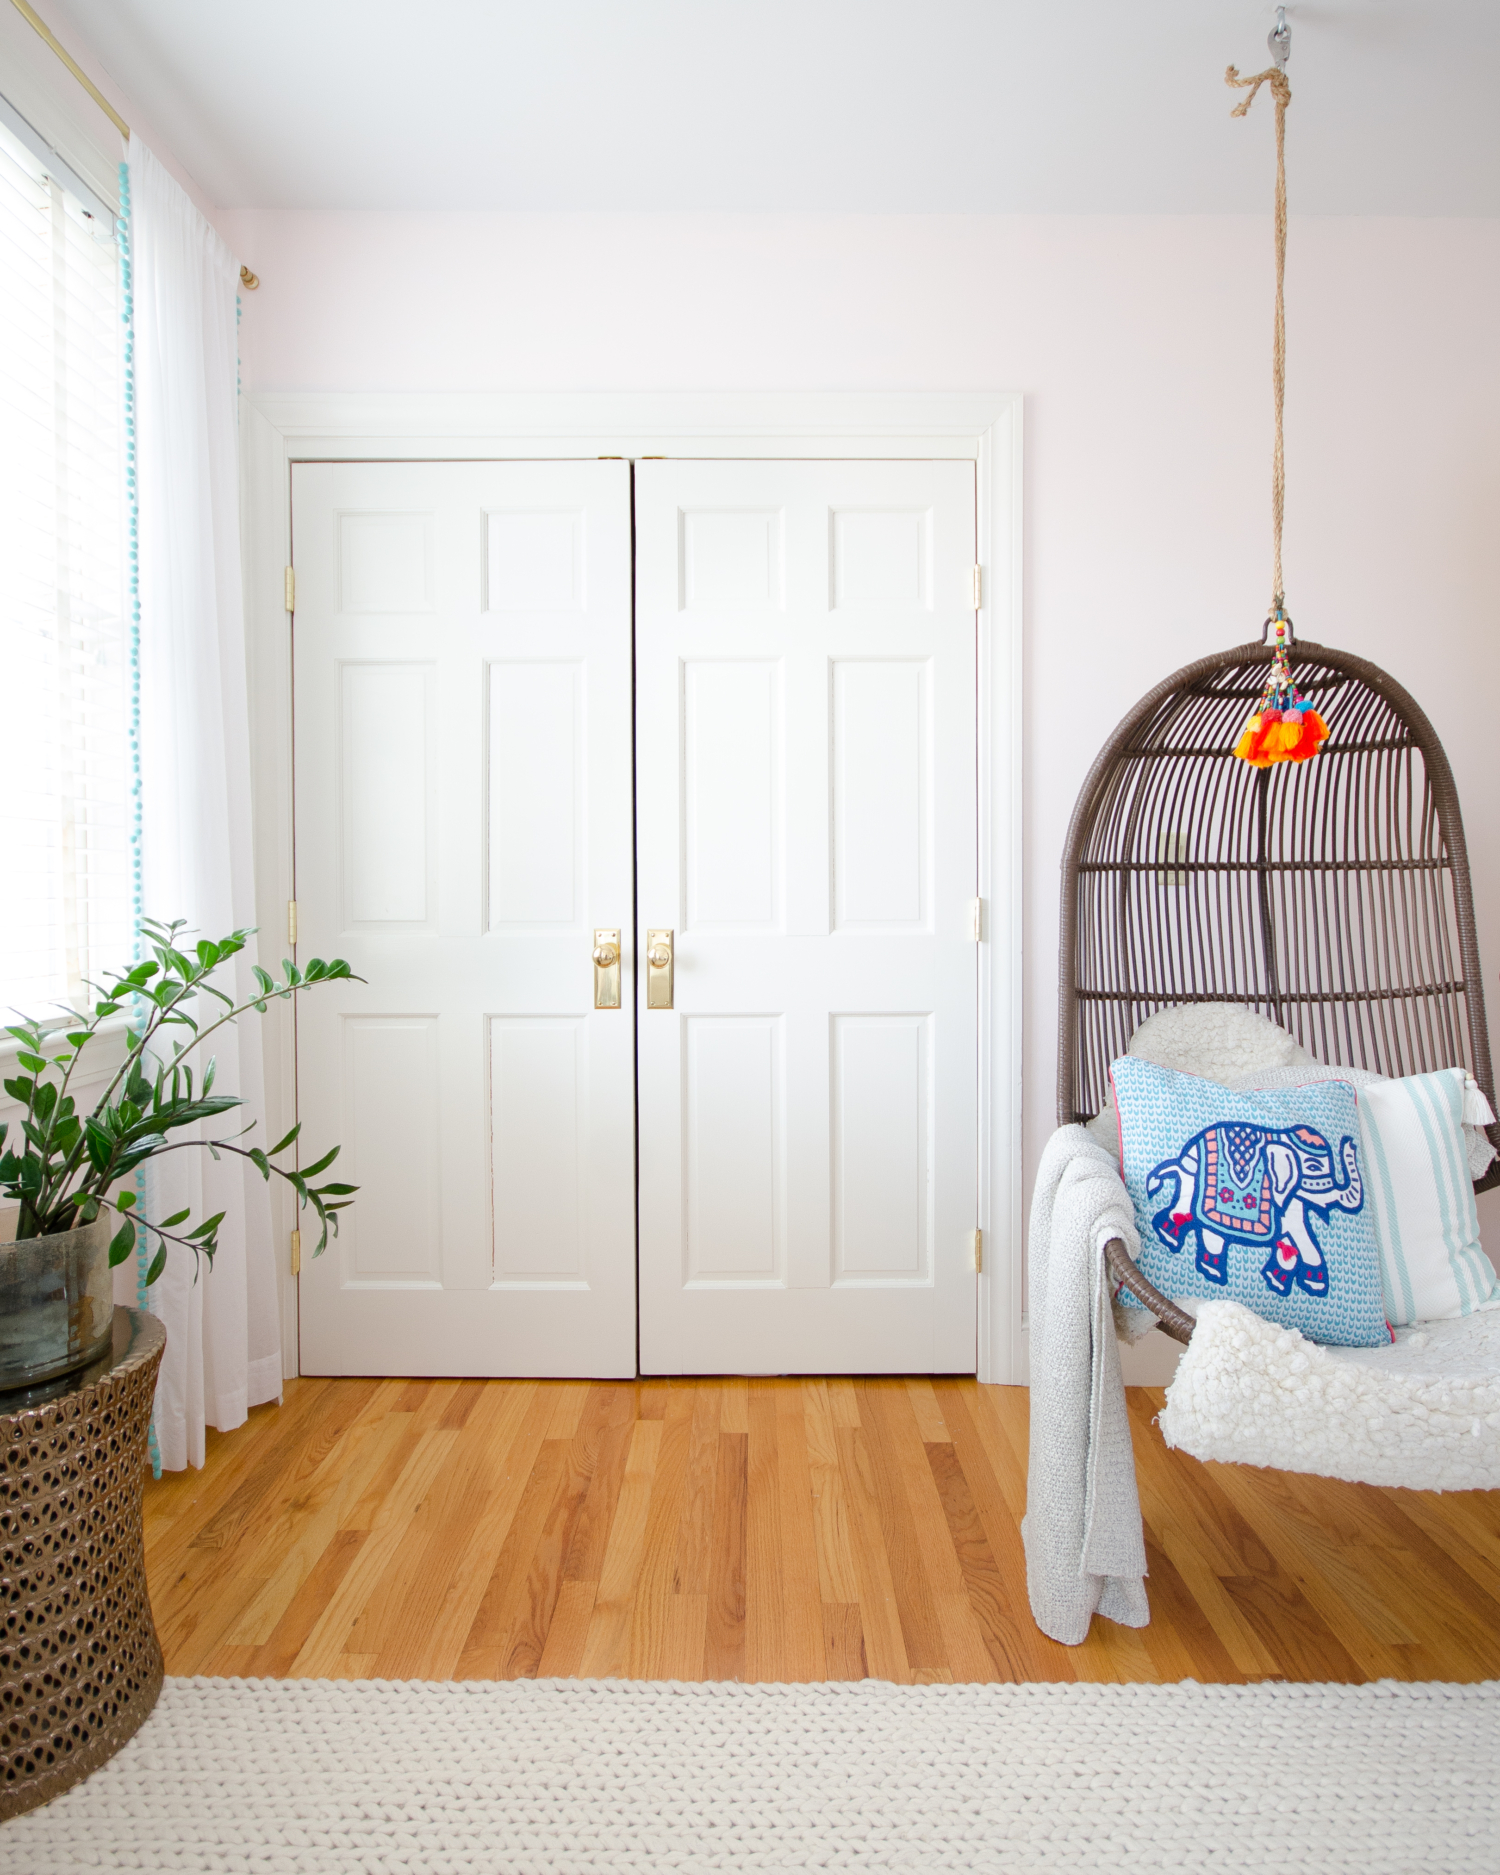
It functions SO much better and doesn’t it look prettier too? If you have closets like this, it really is an easy upgrade in both form and function to convert those sliding doors into hinged doors!
If you’re looking for more home improvement ideas, check out these posts!
- How to Install a Stair Runner
- How to Turn Ikea Billy Bookcases into Built-Ins
- How to Turn Basement Support Poles into Columns
- How to Install Laminate Flooring

