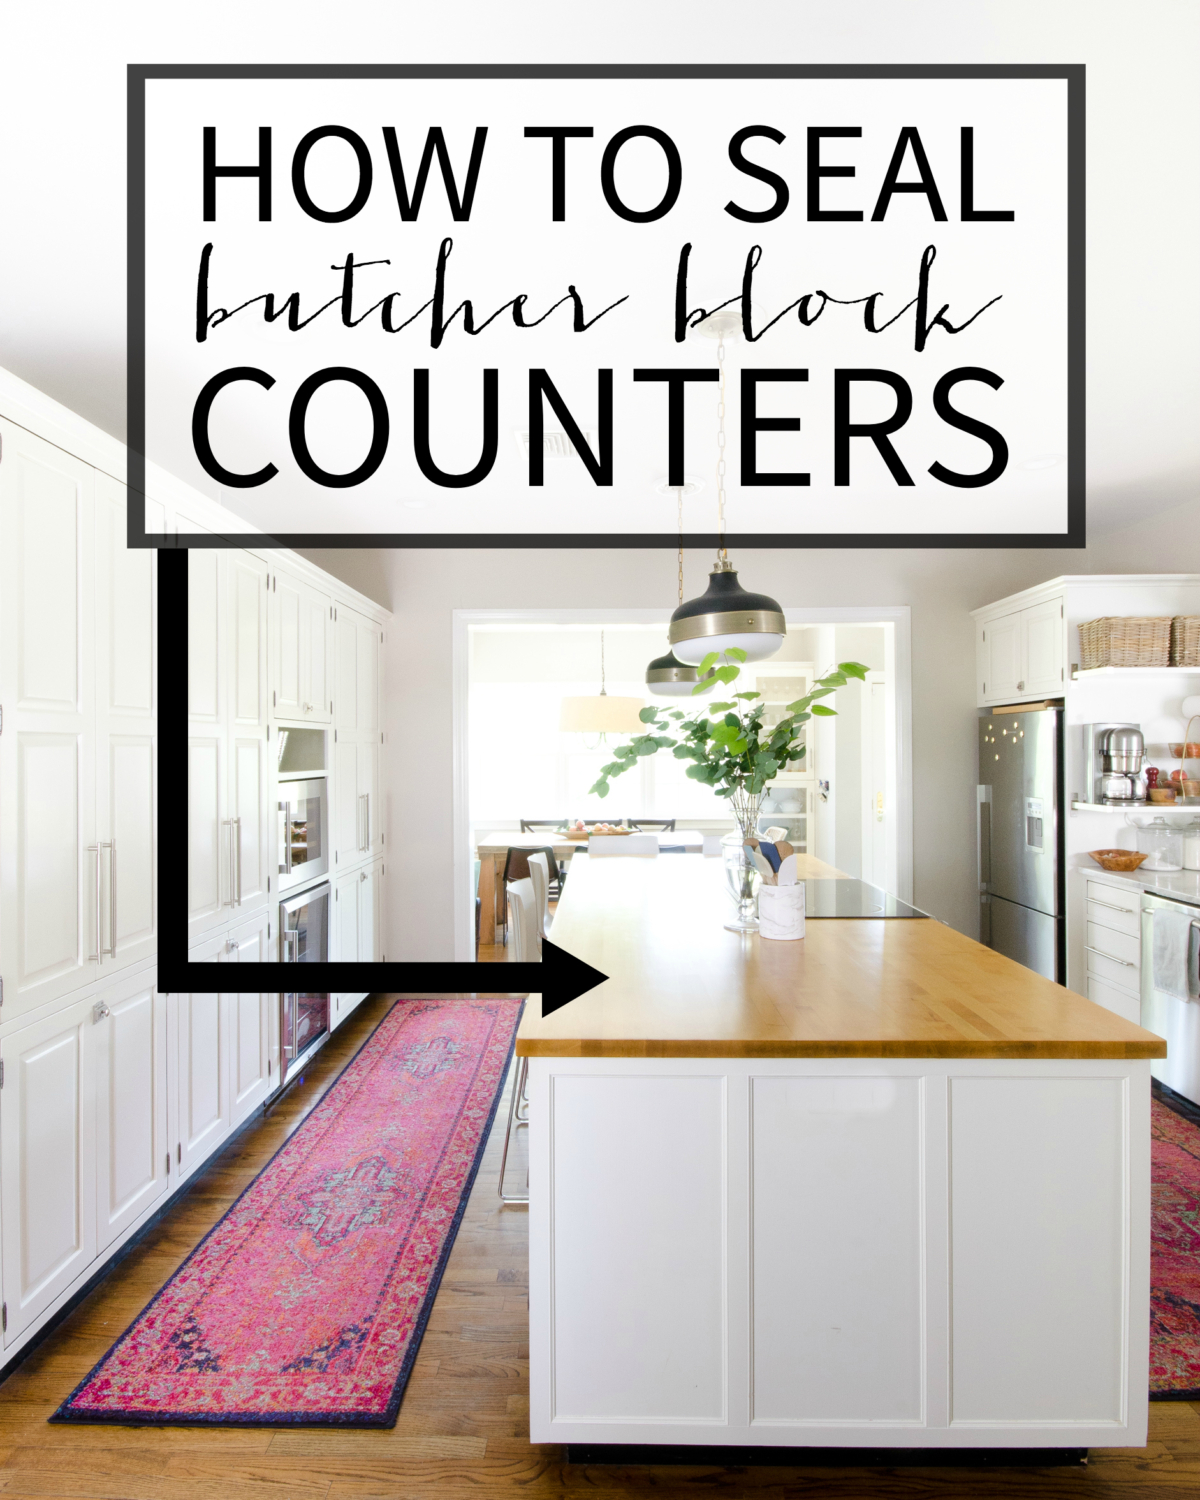
If you’ve been here with me for awhile, this may seem like an odd post, because three and a half years ago I published a post called “How to Stain and Seal Butcher Block Counters” and now I’m writing a post called “How to Seal Butcher Block Counters.” Sounds like basically the same thing, right? But I’ve now lived with these butcher block counters for nearly four years and I have some updates and changes in opinion over what I posted the first time. So this is like How to Seal Butcher Block Counters 2.0.

This post all came about rather accidentally. After I finished staining and sealing the wood counter in my kitchen back in 2014, I figured every few years I’d give the surface a light sanding, a fresh topcoat, and move on along with life. I set out to do just that for the first time a few weeks ago armed with 320 grit sandpaper (very fine). And almost as soon as I started sanding, the stain I’d applied three years ago, which was under three coats of sealer, started coming off in splotches. And I kind of freaked. Because I knew this meant I was going to have to sand the WHOLE COUNTER down to bare wood and start over. And this was not something I’d been banking on doing. But it had to be done, so I took the counter down to bare wood and then sat and thought about the past three and a half years with the butcher block counters and started to assess my options.
Even though I was initially kind of bummed at the thought of keeping my counters their lighter natural color, I knew this was a better long term decision than re-staining. I do NOT want to have to sand my entire counter down to bare wood every couple of years to repeat the whole sealing process and it would seem that staining was going to require just that. No thanks. I like my kitchen to be functional and pretty, but also low-maintenance.
There are a lot of options for butcher block countertop sealing products but I chose to use Waterlox again (same as the first time), which is a tung oil and resin compound. It gives you the best of an oil sealer combined with the best of a poly-type sealer but without the finickiness of oil or the issues repairing worn areas you have with poly. It works really well to seal out spills and avoid damage to the counters and without the wood stain underneath will be easy to topcoat when the counters need it (probably every one – three years depending on use). There was a lot of debate in the comments of my last post about How to Seal Butcher Block Counters as to whether Waterlox is a food-safe sealant. Once Waterlox is fully cured, it IS considered food safe. Full curing takes 30 – 90 days, but don’t freak out…you can use the counters with care after a couple days and can put items back on and resume normal use after 7-14 days from the final coat. According to Waterlox’s instructions, the product reaches 95% – 98% of its cure cycle in 7 – 14 days with proper ventilation; full cure, film hardness and chemical resistance properties are achieved in 30 – 90 days with continued adequate ventilation. The solvent portion of the formula (the really stinky part) is gone within 2 – 4 hours of application with proper cross-ventilation techniques. After that, any odor that remains is likely from the Tung oil itself, which is pressed from the nut of the Tung tree, is not petroleum based, and is not toxic.
As for the food safety-ness of the counters before that 30-90 days mark, I would recommend using a cutting board for food prep and keeping food mostly on plates while within that window. I ALWAYS use a cutting board anyway because I don’t want to cover my counters with thousands of knife marks over the years, and we generally eat off plates, but we do set food on the counters once the cure cycle is complete…and honestly, probably before!
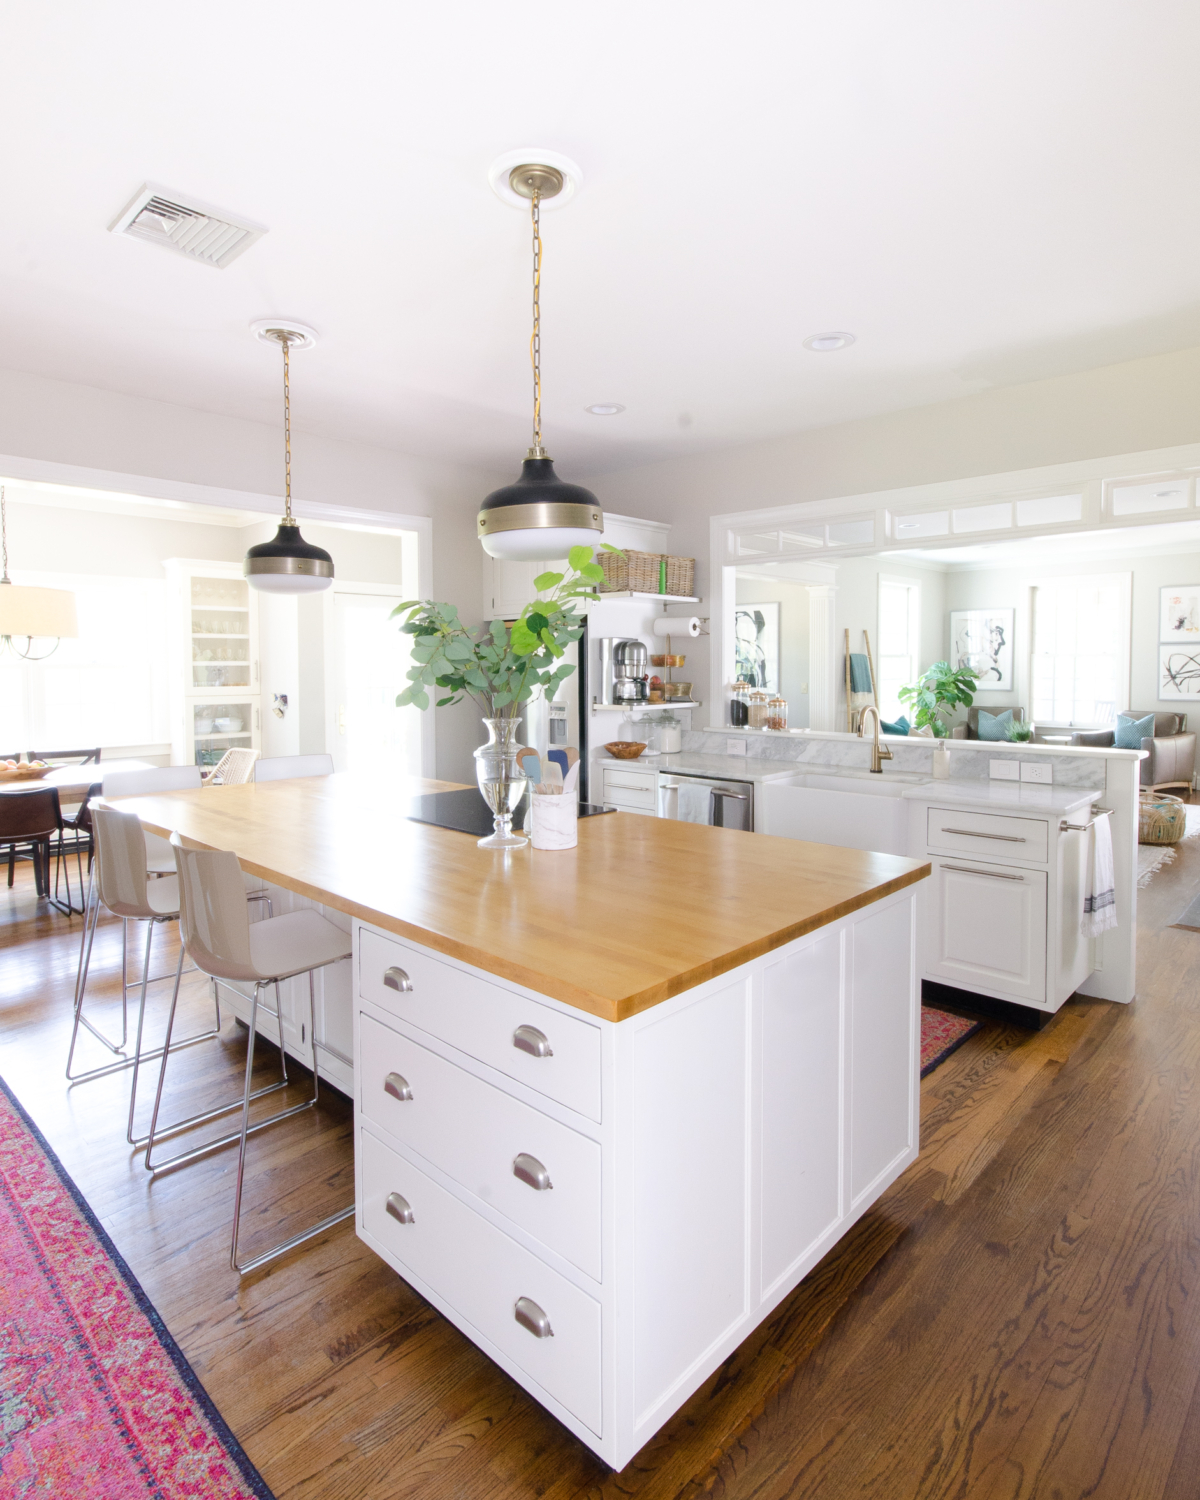
As for the look, you have two options with Waterlox that I’d recommend when you’re considering how to seal butcher block counters. There’s also a high-gloss option but I wouldn’t suggest it for counters. You need to use Waterlox Original, which has a semi-gloss finish, for most of the sealing process regardless of what finished shine level you want for your counters. You can leave the final coat in the Original for a semi-gloss finished look – this is what I did the first time I sealed my butcher block counters. This time around I decided I wanted a softer shine so used the Waterlox Satin for my final coat to give the counters a more quiet shine. Having done it both ways, I really like the look better in the satin finish than the original but that is totally a matter of preference and your counters will be fully sealed and protected either way you choose to end the process.
Now that all that information is out of the way, here are my round two instructions for how to seal butcher block counters.
How to Seal Butcher Block Counters
Materials
- Orbital sander
- 100 grit coarse sanding disks
- 320 grit fine sanding disks
- Dust extractor (You don’t need this but it changed by life as far as household sanding projects – NO more sawdust everywhere when you sand!)
- Vacuum cleaner
- Waterlox Original
- Foam paintbrushes (5)
- Waterlox Satin (optional)
Steps
- If you’re refinishing butcher block counters, use an orbital sander and 100 grit sandpaper to sand the entire surface down to bare wood. If you’re starting with a new butcher block counter, skip to step 2. A dust extractor helps tremendously in keeping sawdust from blowing all over your house. You attach your sander to the dust extractor and it acts like a vacuum to directly suck the sawdust into the extractor instead of blowing it everywhere! You don’t need this but it’s about the best money I’ve ever spent on a home improvement tool.
- Sand the surface with an orbital sander and 320 grit sandpaper. You want the wood to be very smooth.
- Vacuum the entire surface thoroughly. You want NO bits of sawdust left on the counter when you start applying the sealer.
- You can use a bristle brush to apply the Waterlox (Waterlox suggests this) but I found cleaning them to be a colossal pain so chose to use inexpensive foam brushes that I disposed of after each coat. Apply a generous coat of Waterlox Original to the entire surface, including the sides of the butcher block. Let dry for 24 hours. Do not put anything on the surface during this time. Do not freak out if it looks blotchy when dry! My counters looked blotchy for several coats and it really wasn’t until the final coat that the appearance was uniform.
- Repeat with the Waterlox Original two more times (3 coats total) for hardwoods (red/white oak, maple, Brazilian cherry, etc.) and three more times (4 coats total) for softwoods (white/yellow pine, fir, spruce, cherry, walnut, etc.). You do not have to sand between coats but if you’re going for an ultra-smooth finish, you may want to do a light pass with 320 grit sandpaper between coats of Waterlox. Make sure you vacuum thoroughly before applying the next coat of sealer if you decide to sand between coats.
- If you want a satin finish, apply a final fourth or fifth coat (depending on the hardness of your counters) using Waterlox Satin.
- Let the final coat, whether Original or Satin, dry for 7 days before returning any items to the surface. If you live in a humid climate you may need longer. As mentioned above, full cure of the finish will occur in 30 – 90 days so while you can use your counters after a week or two, try to be gentle for those first few months.

Wood counters add so much warmth and character in a kitchen and are pretty forgiving as countertop surfaces go. The process of how to seal butcher block counters is actually really easy too. Once you finish the sanding part, the many coats go really quickly. There is a lot of drying time in between but it’s very little active labor. If you have any questions about the process or care of butcher block counters just shoot me an e-mail or leave a comment and I’ll do my best to help based on my experience with butcher block counters these past four years. You can also find extensive information on Waterlox’s website.
