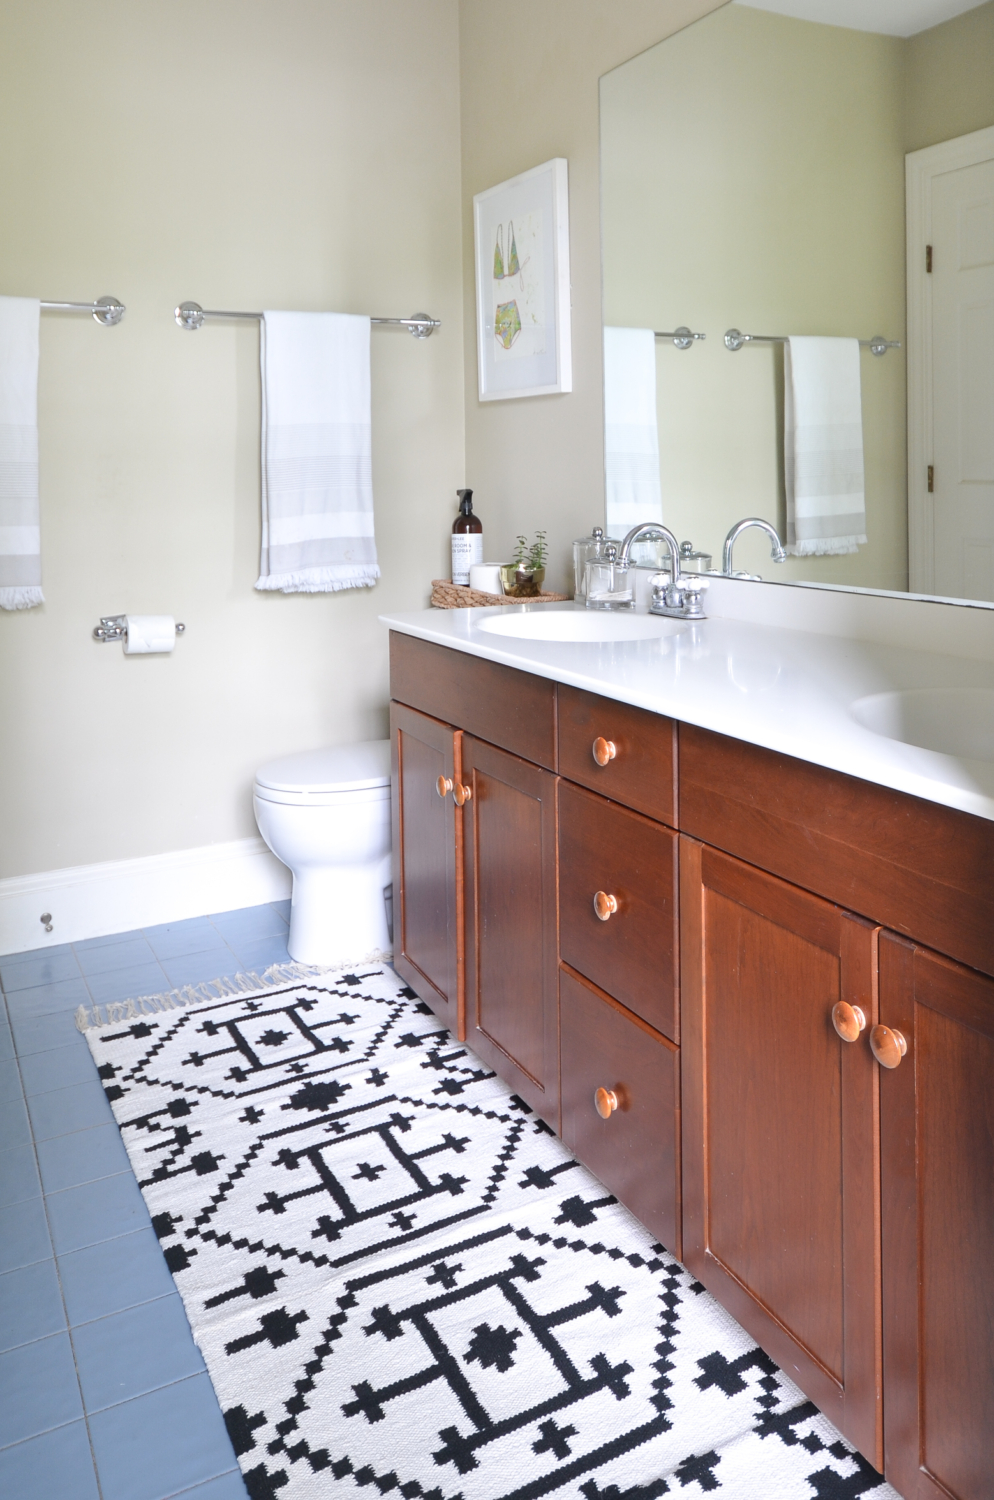
You guys. This is the easiest quickie project and I am not exaggerating when I say it turned my daughters’ outdated bathroom from one that made me kind of sad because I want to renovate it immediately to one that I actually kind of like and no longer feel totally depressed about living with until we save the money to totally overhaul it. And that’s my less dramatic, shorter description of the situation ;) A new paint color would definitely improve the room further in the short term but this crisp black and white kilim runner makes the blue tile look kind of pretty and I really love the look of it against the stained cabinets. But guess what?… That pretty runner didn’t start as a runner. It started as two $18 2×3 rugs that I Macgyvered into a custom runner to fit the space in front of the sink. You’ll want to tuck away this easy tutorial for how to sew two small rugs together next time you need a large rug on a budget or you need a special size rug for a space. There are endless possibilities!
Before we get into the tutorial for how to sew two small rugs together, there are two things I would consider before jumping into this project. First, the best kind of rug for this tutorial is a flat weave. Anything thicker will be a little too cumbersome to sew. Second, you could absolutely sew this by hand, but sewing with a machine made for fast work and also really tight stitching, which will give you the best results. It’s an investment, but buying this sewing machine a few years ago really changed my life. It sews with such ease and has made every sewing project an absolute breeze (and I used to go into machine-sewing projects with total dread since they often ended in total frustration).
Here’s what you need to complete this project.
- Two small flatweave rugs (I used two 2×3 kilim rugs)
- Scissors
- Sewing machine
- Upholstery thread
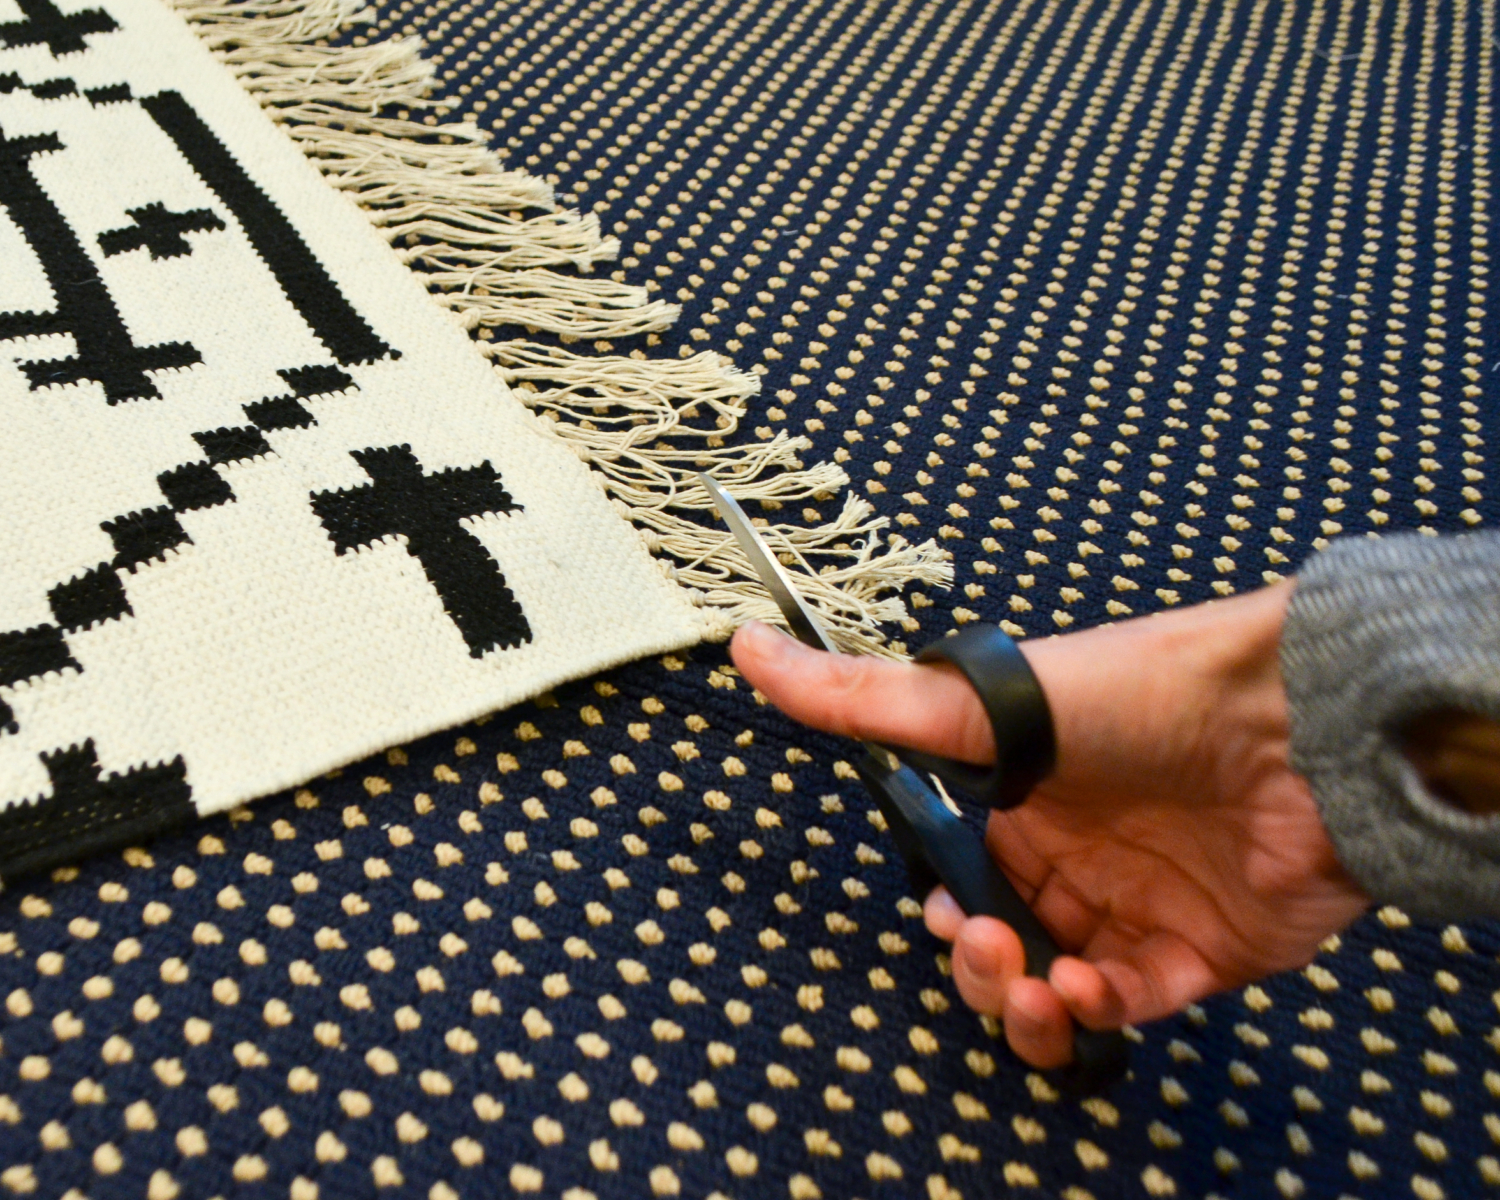
Okay, now we’re ready to talk about how to sew two small rugs together, and there are really only three steps to follow. If there’s a thick band or fringe at the ends of the rugs, cut this off one side of each rug so you are sewing a flat edge to a flat edge. Make sure you cut the right side from one rug and the left from the other.
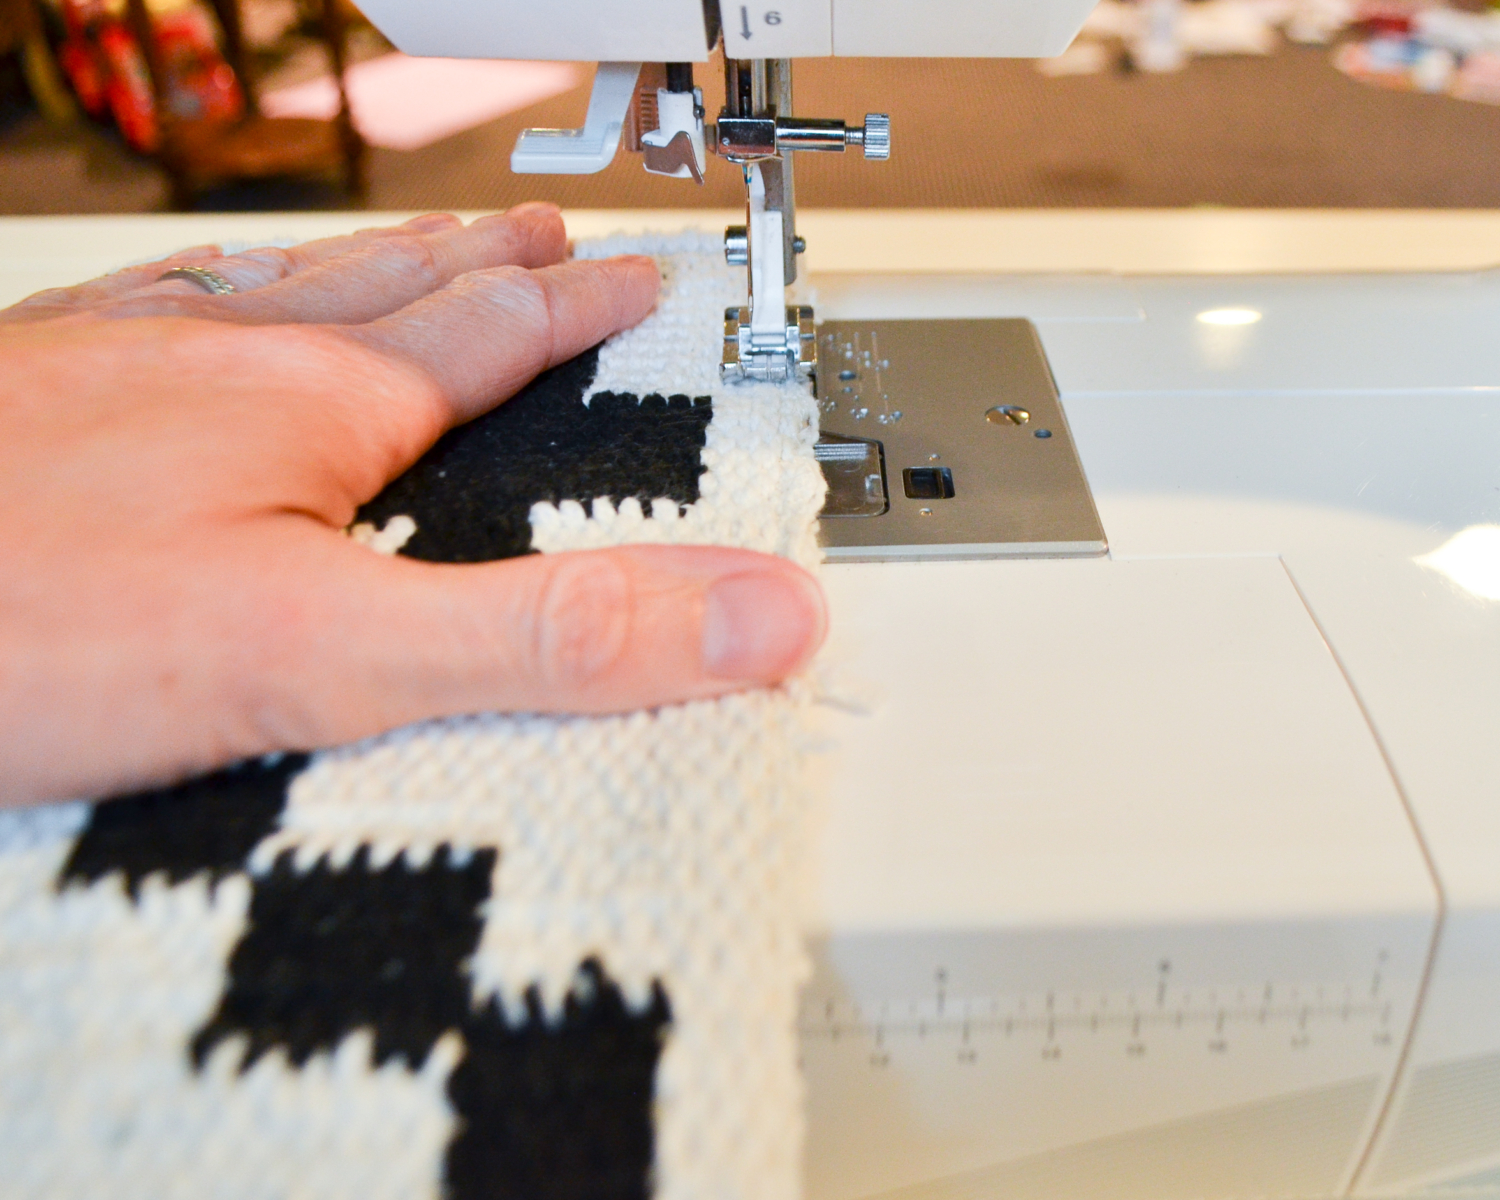
Handle the rugs carefully at this point , as they may start to unravel a bit. I sewed a quick zigzag stitch over the cut edges to make sure they didn’t unravel further, but this is optional. Lay the rugs one on top of the other, with the right sides facing in. Make sure the cut edges are lined up and sew the two rugs together using a straight stitch.
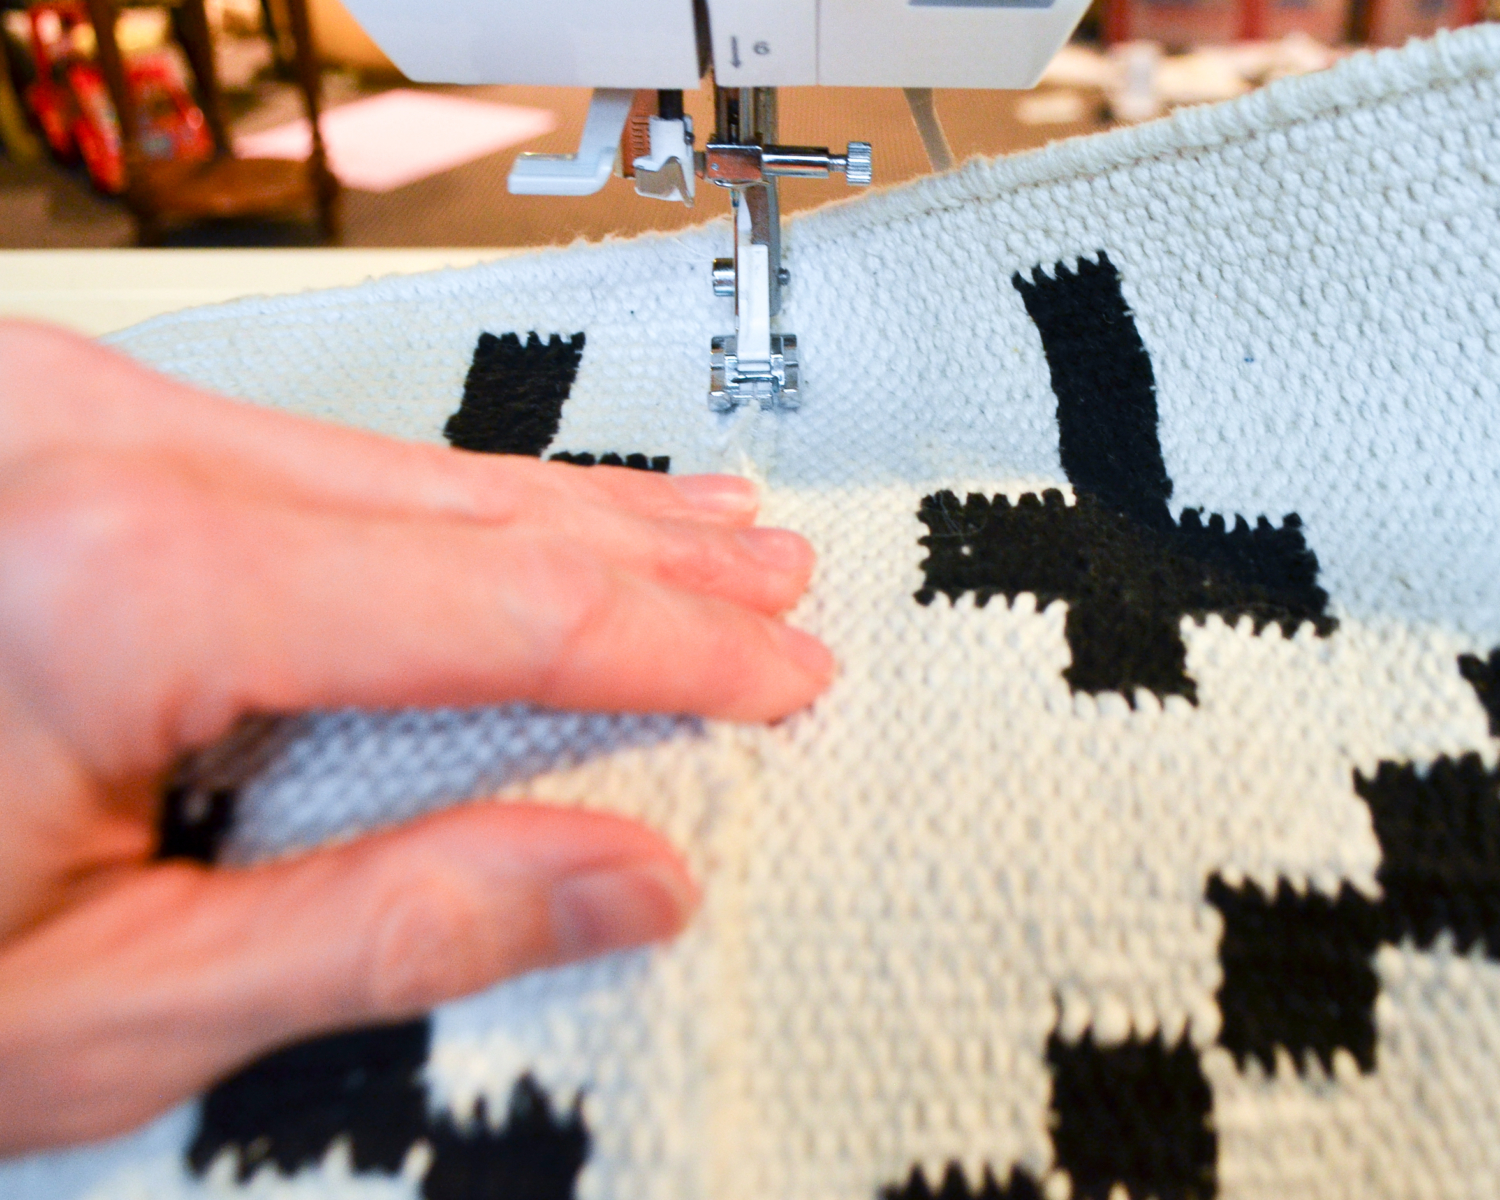
Then open the rugs, now sewn together, so the back side is facing up. Spread the seam open and sew a wide zigzag stitch over the seam to help it lay flat.
Flip the rug over, put it in place, and pat yourself on the back for saving a bundle over a custom runner. This rug actually does come in a runner size, but it was too big for the space in my girls’ bathroom. The two 2×3 rugs sewn together, however, are absolutely perfect.
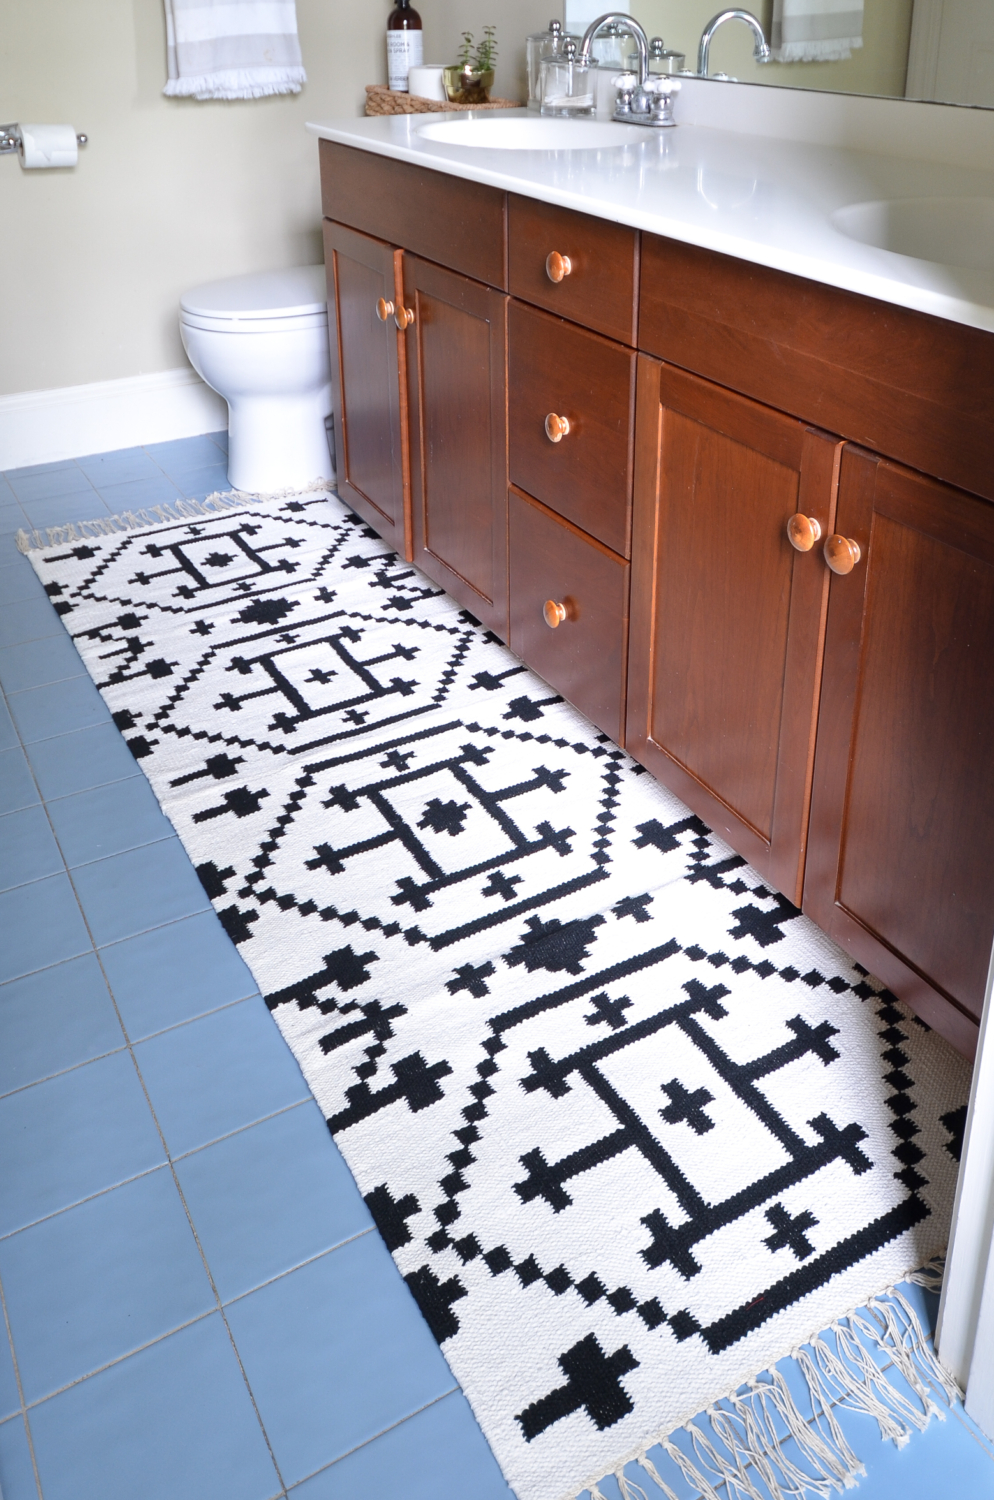
You can see the seam if you look closely but it’s practically invisible in person. I am so thrilled with how this rug has transformed the bathroom, and for $36 total I don’t have to be too worried about the inevitable toothpaste spills that will happen in here. I haven’t tried yet but I suspect I might even be able to toss this rug in the washer if/when it gets stained!
What do you think? Would you give this a try? I think knowing how to sew two small rugs together to make a bigger one is a great, versatile skill to have for when you’re decorating on a budget or need to tweak ready-made rugs to fit a space in your house!


