This shop has been compensated by Collective Bias, Inc. and its advertiser. All opinions are mine alone. #FreeYourClutter #CollectiveBias
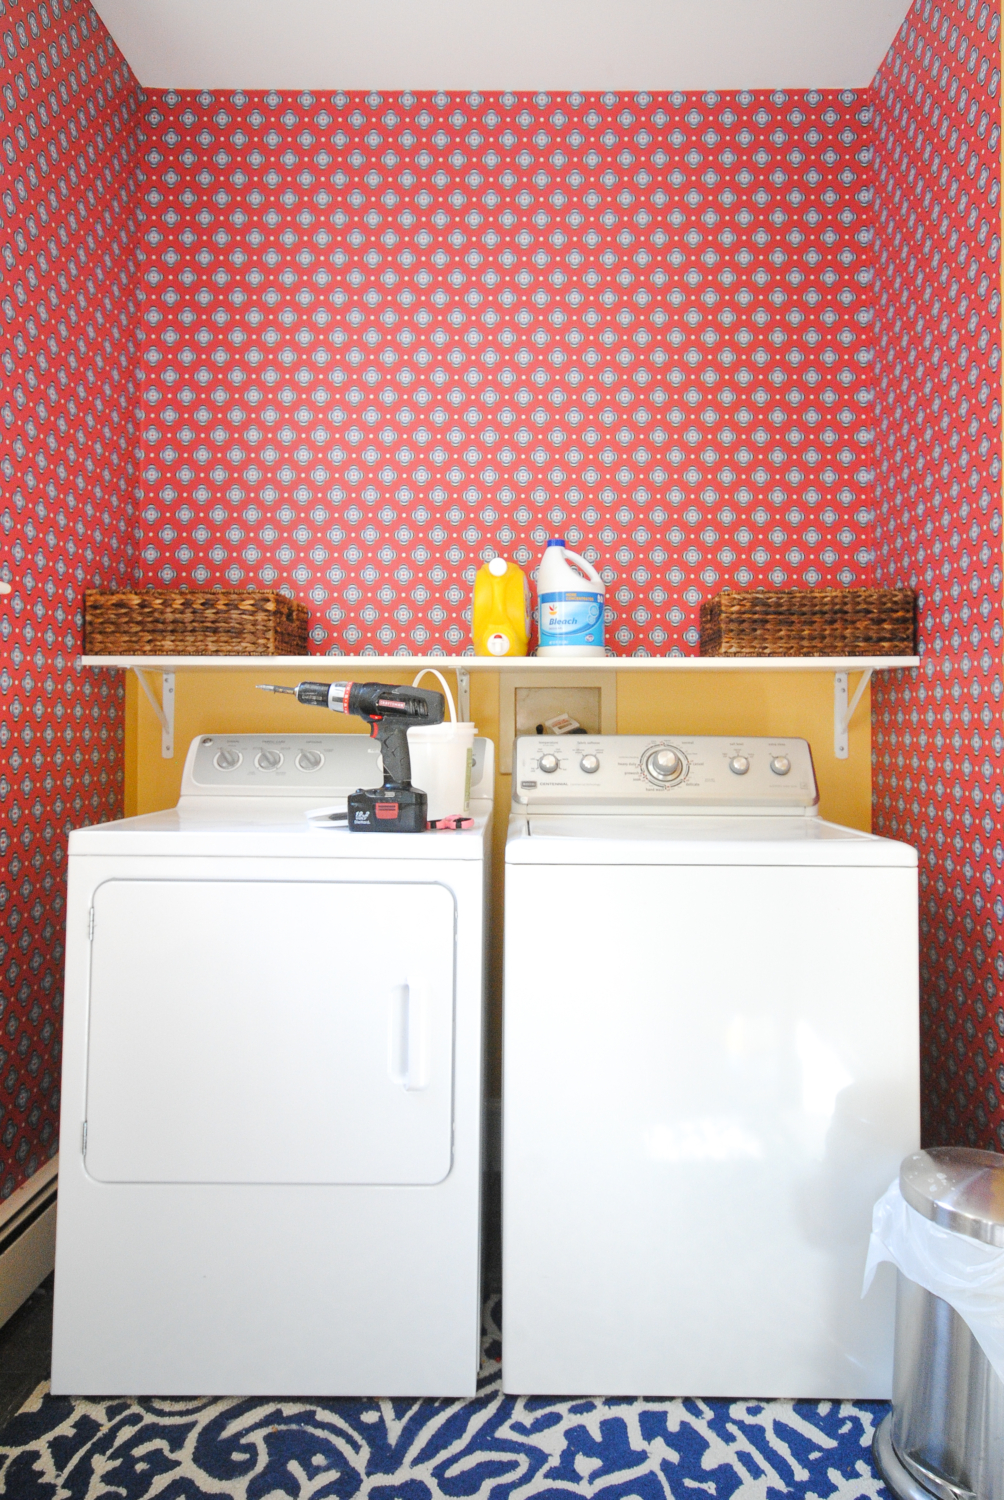
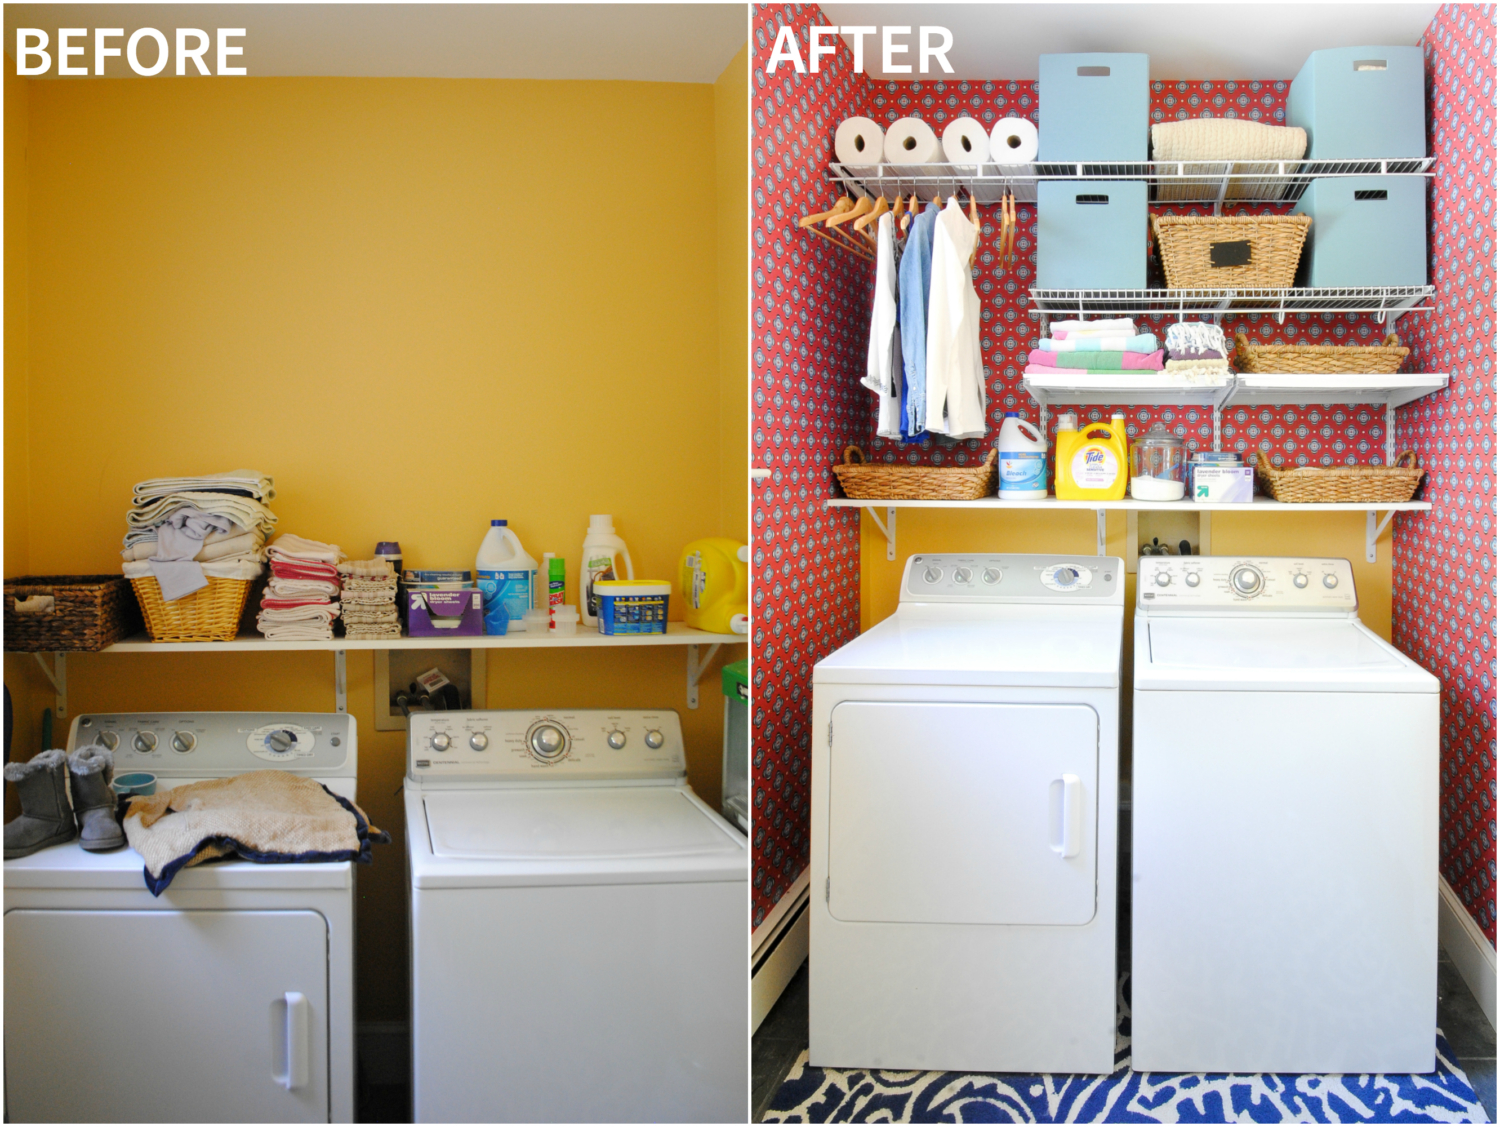
After doing laundry in a dark, unfinished basement for six and a half years in our last house, having a laundry room on the first floor of our current house with two windows and built-in shelving felt like a tremendous luxury. Even after living here for two and a half years, I am still so happy to have this laundry room. That does not, however, mean that it’s been living up to its full potential. This time last week, my laundry room organization system (ahem…) looked like this:
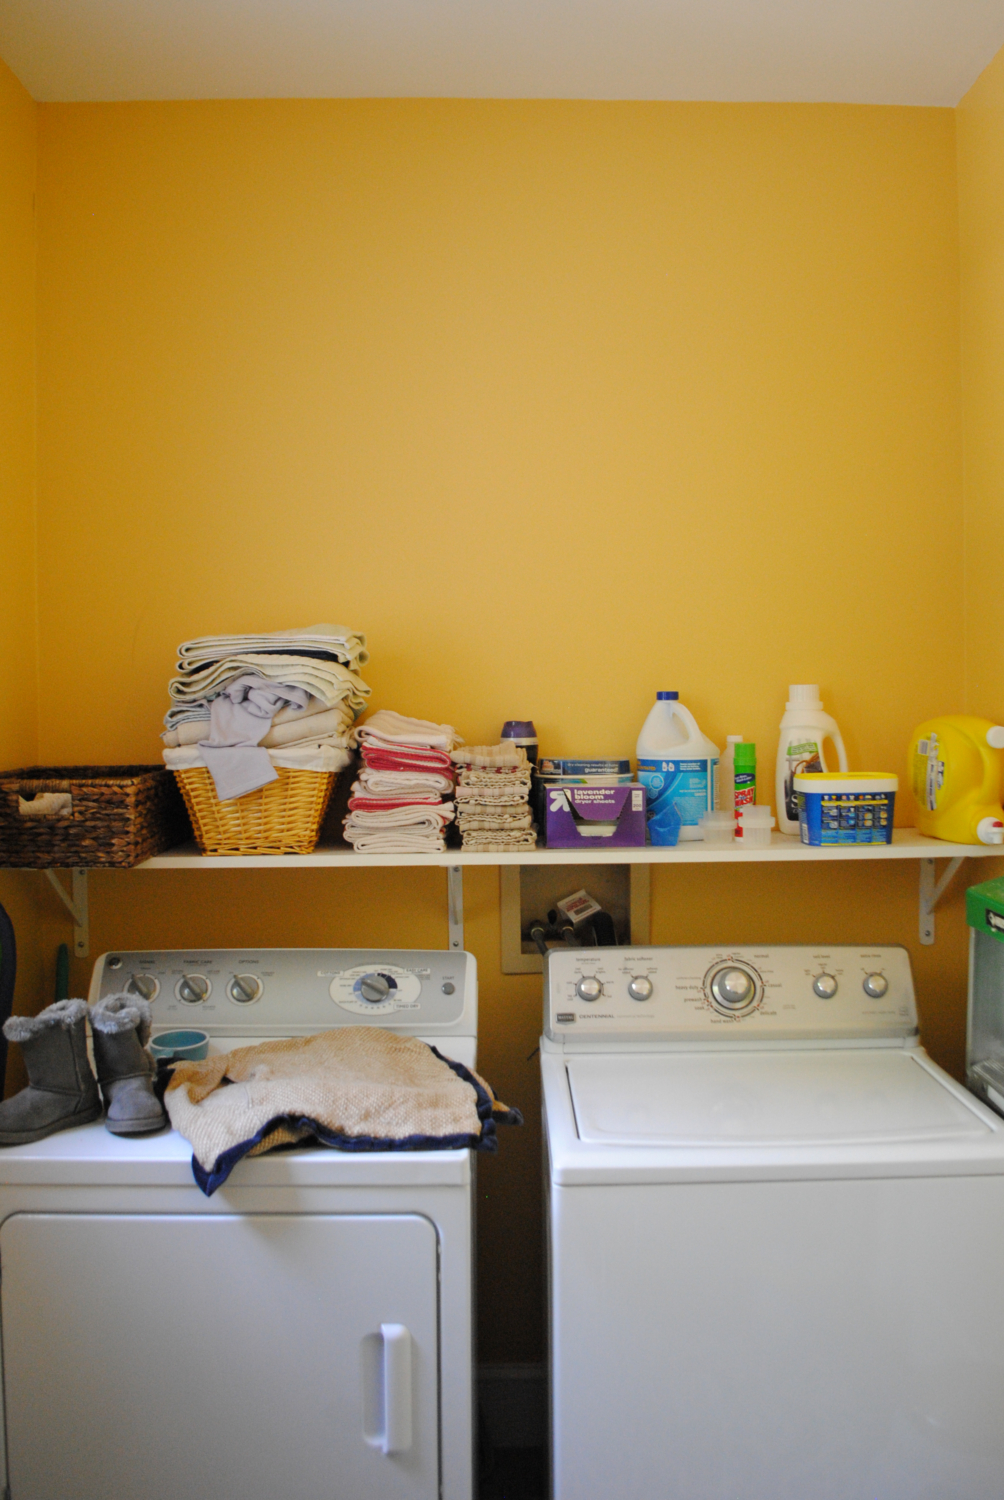
The HUGE amount of wasted space above the shelf has felt like a missed opportunity since we moved in to this house, and I finally got around to doing something about it. And, as is so often the case, I now wonder why it took me so long to just do this! In one single afternoon, I went from that photo above to this:
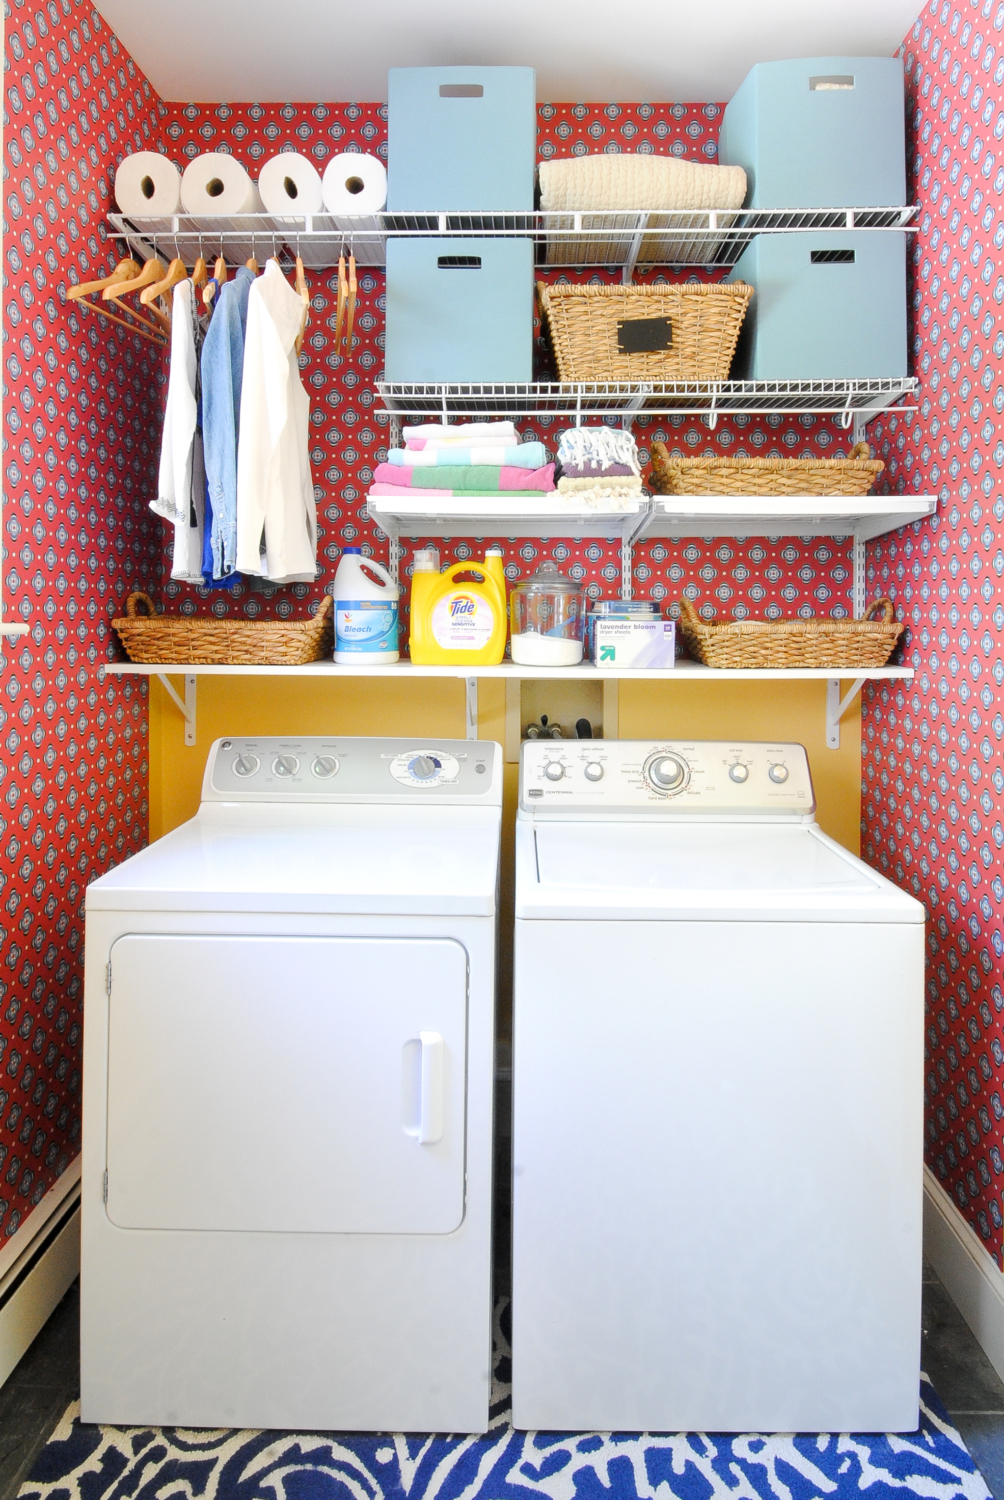
I held off wallpapering underneath the bottom shelf because I think I want to paint that wall white so the washer and dryer blend in, but I want to sit on that decision for a little while to be sure. I also still need to finish wallpapering the rest of the room. So this is more a before-and-middle than a before-and-after but what a tremendous difference already, huh?!
I’ve worked with Rubbermaid® FastTrack® products before and knew they would be the quickest and easiest way to make all that wall space functional. I started online with the Rubbermaid® Storage Planner, where I selected the room I was working with, the style of the room (walk-in), entered the room dimensions, and then chose which wall I wanted to work with. From there, I was given a suggested layout that I tweaked to fit my washer and dryer and to make sure I had ample hanging space for air drying clothes – one of the major things I’ve been lacking in the laundry room as it was.
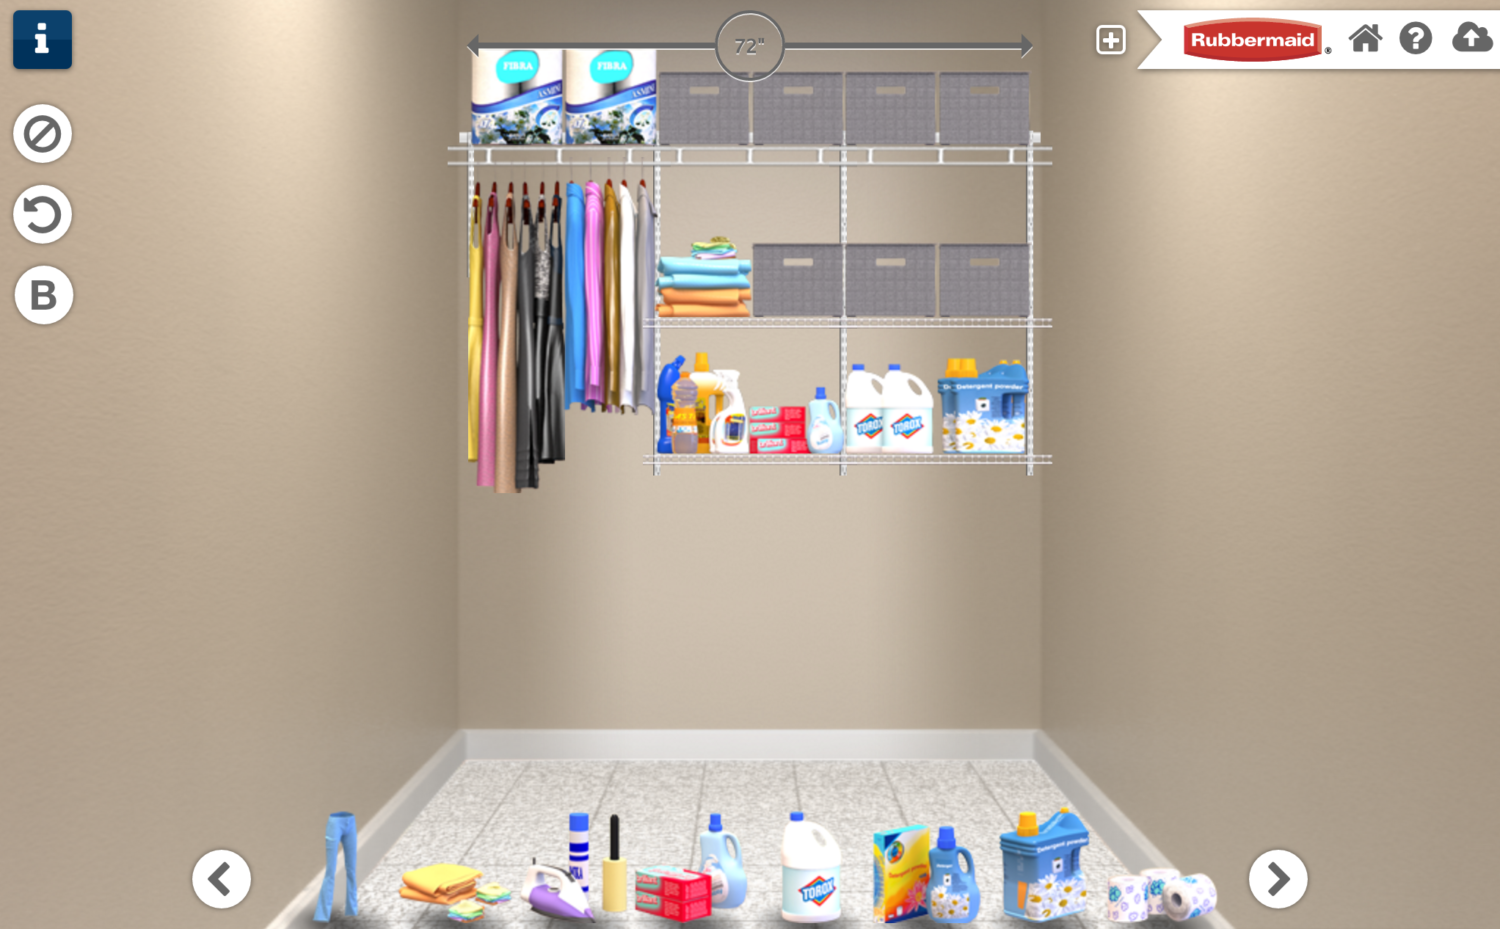
As you can see, I didn’t organize my actual shelves exactly like in the planner, but having this program to play with and see how items might fit was a huge help in the planning process. Once I had the general layout I wanted I clicked to the next page and was given a list of the items I needed to make it all happen.
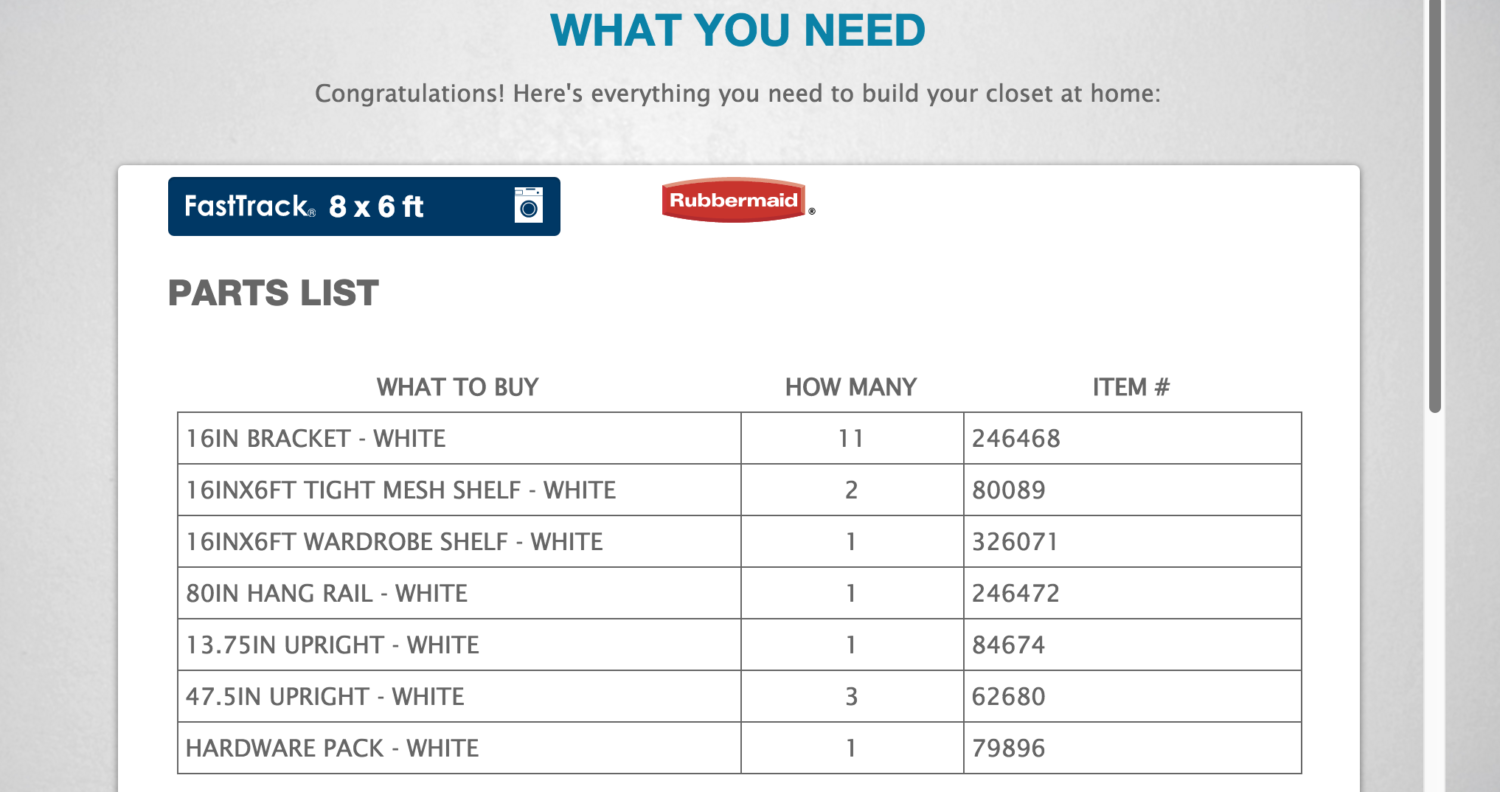
I did double check the list against my actual measurements just to be sure, and also tweaked a few things (I substituted two Rubbermaid® FastTrack® White Plastic Sliding Shelves for a 4FT Tight Mesh Shelf). Once I was sure I had my list just as I wanted it, I headed to Lowes to purchase everything.
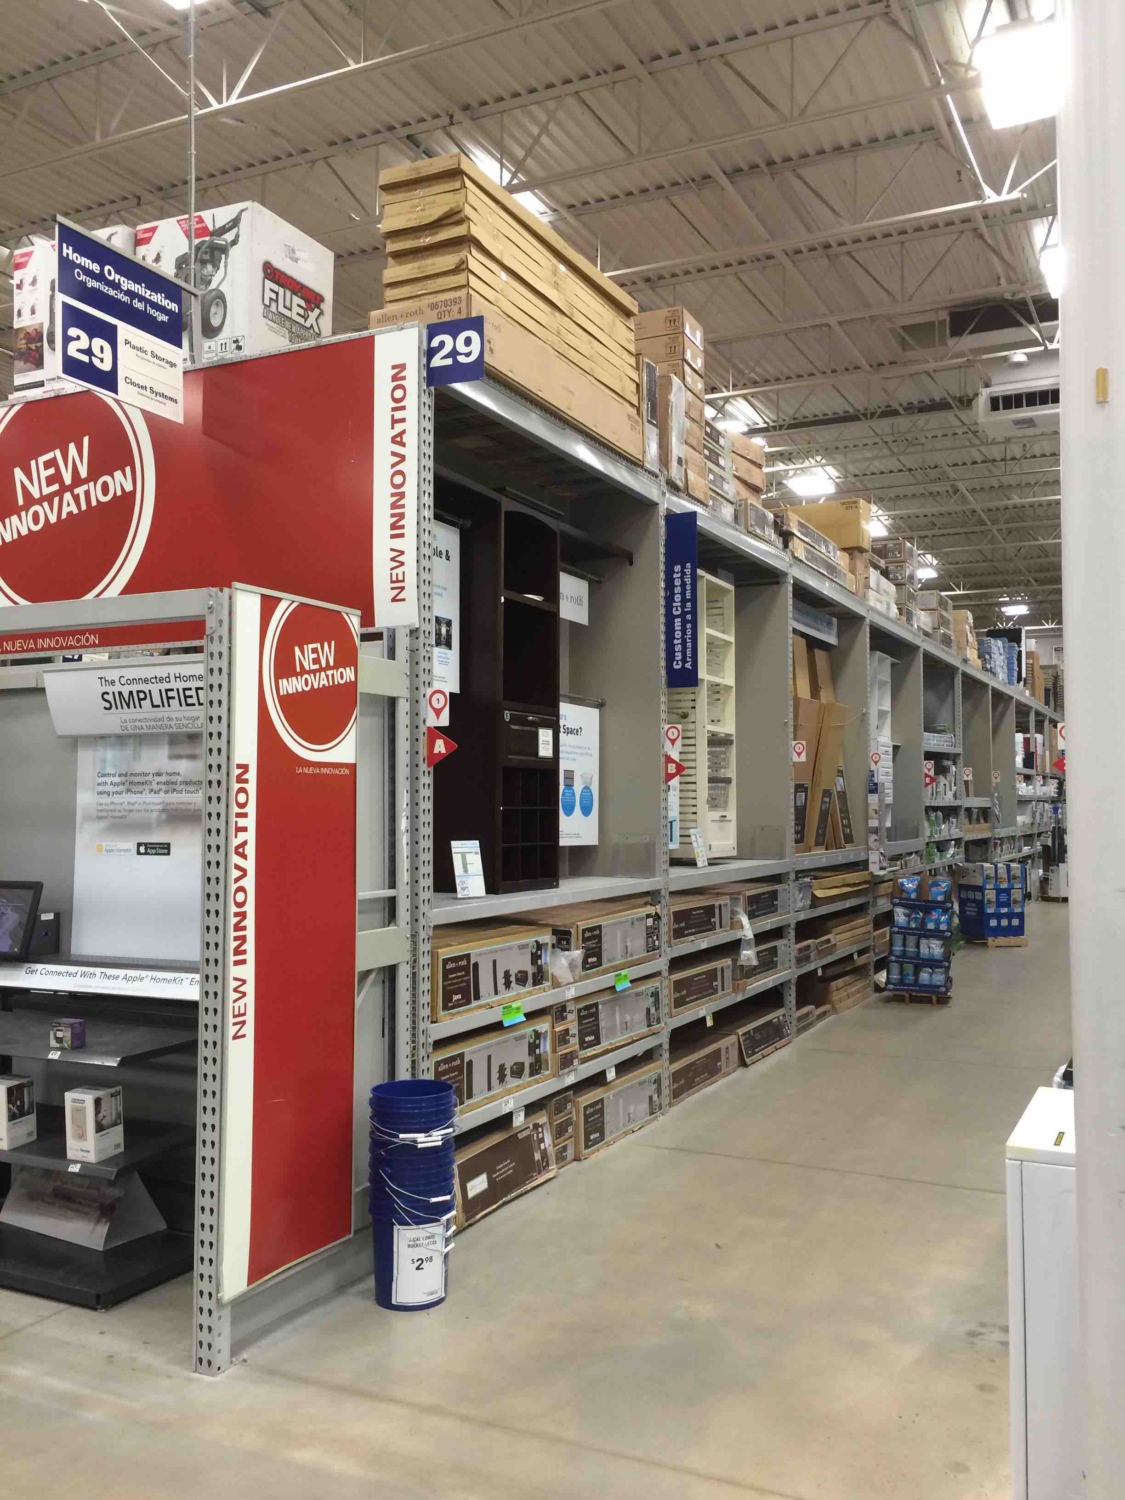
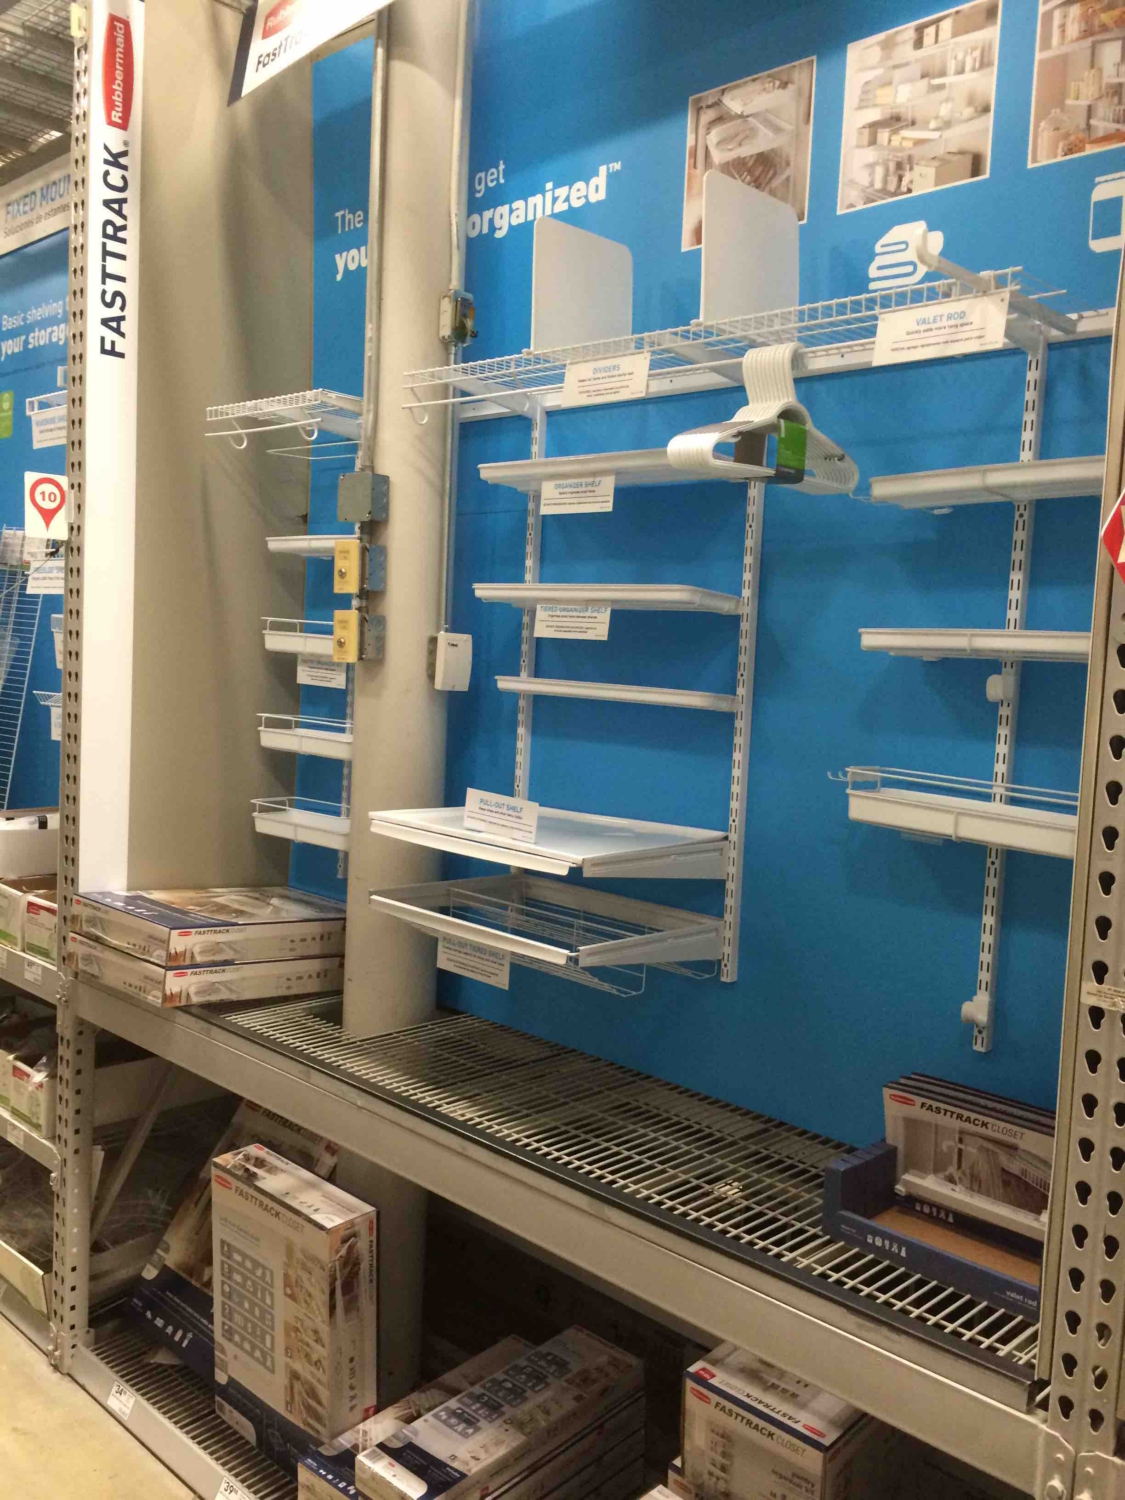
And then I was so excited to get started. Just from the general plan I had from the Storage Planner I knew this was going to be such a game changer for the organization and functionality of the laundry room. I’ve had wallpaper for the laundry room for two years after getting it on major sale and I decided to hang the part that would be behind the new shelving unit so I didn’t have to take all the shelves apart later to hang the wallpaper.
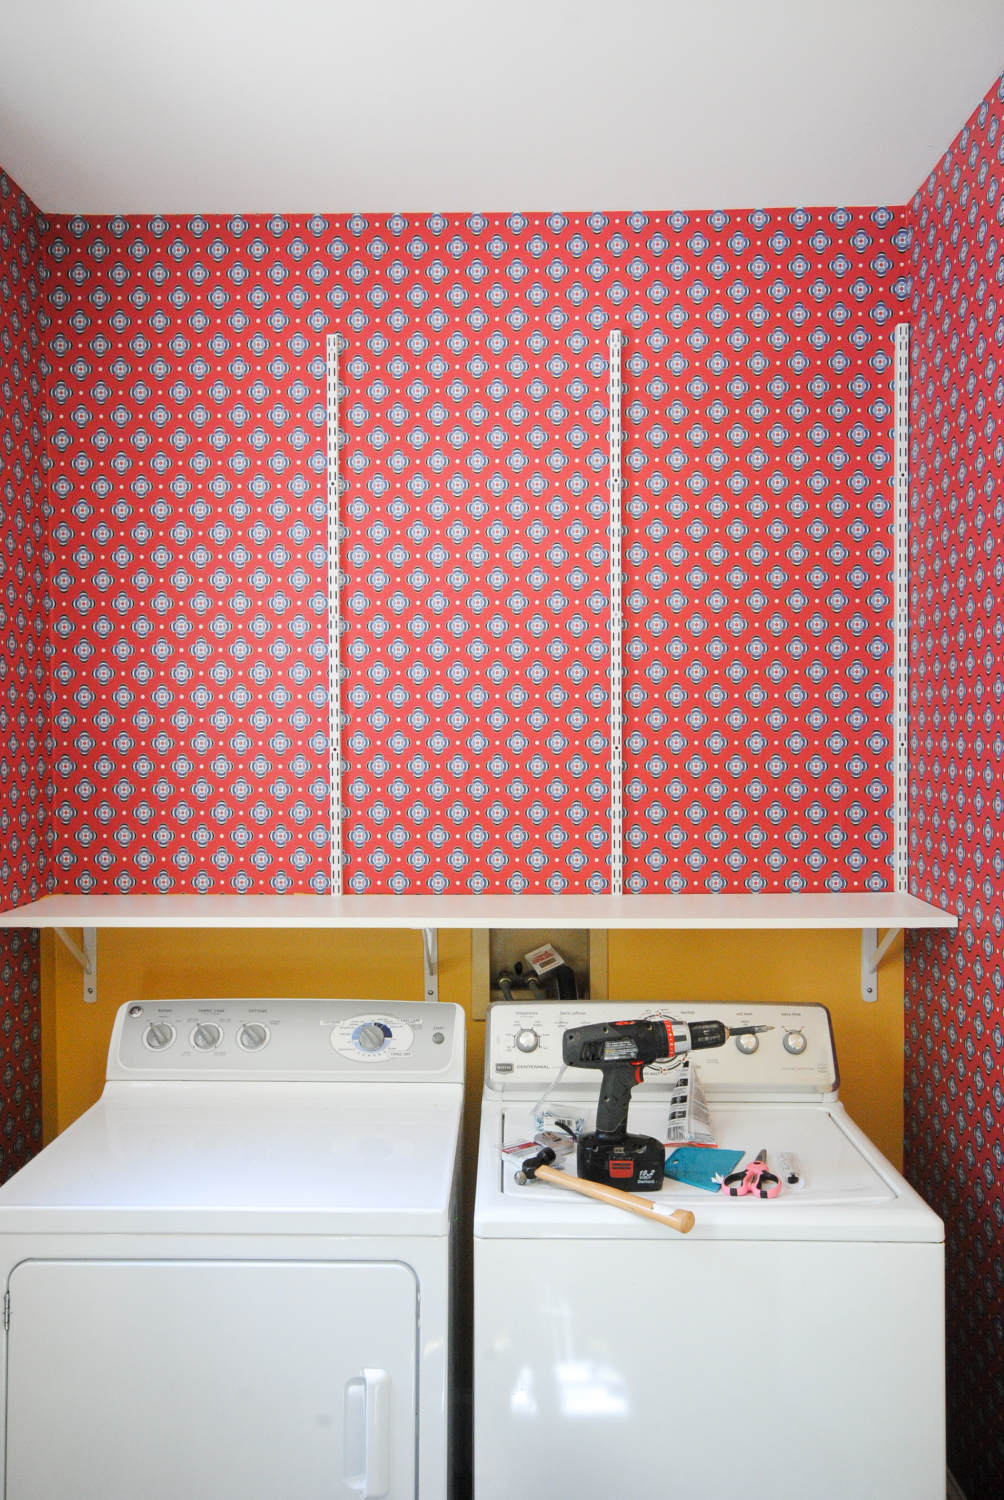
The first step in getting the shelving unit assembled was hanging the uprights. I opted to forego the hang rail along the top because of space constraints, though you can trim the hang rails if necessary. To attach the uprights to the wall, I used a level, drywall anchors, and 1 3/4″ screws to hang three rails 24″ apart (center to center).
From there, it’s so simple – you just snap brackets and accessories into the rails. I got so excited about how quickly it was coming together and how vastly improved it was over the previous blank wall, I had it all done and organized before I even remembered to snap a photo of the middle stage here. But that really is how quickly it goes together. *BLINK* and you’re organized!
The space for hang drying laundry is one of the features I know I’ll use and appreciate the most. I’ve had every chair in our kitchen draped with wet laundry for the past two years and this was the absolute easiest way to solve that problem.
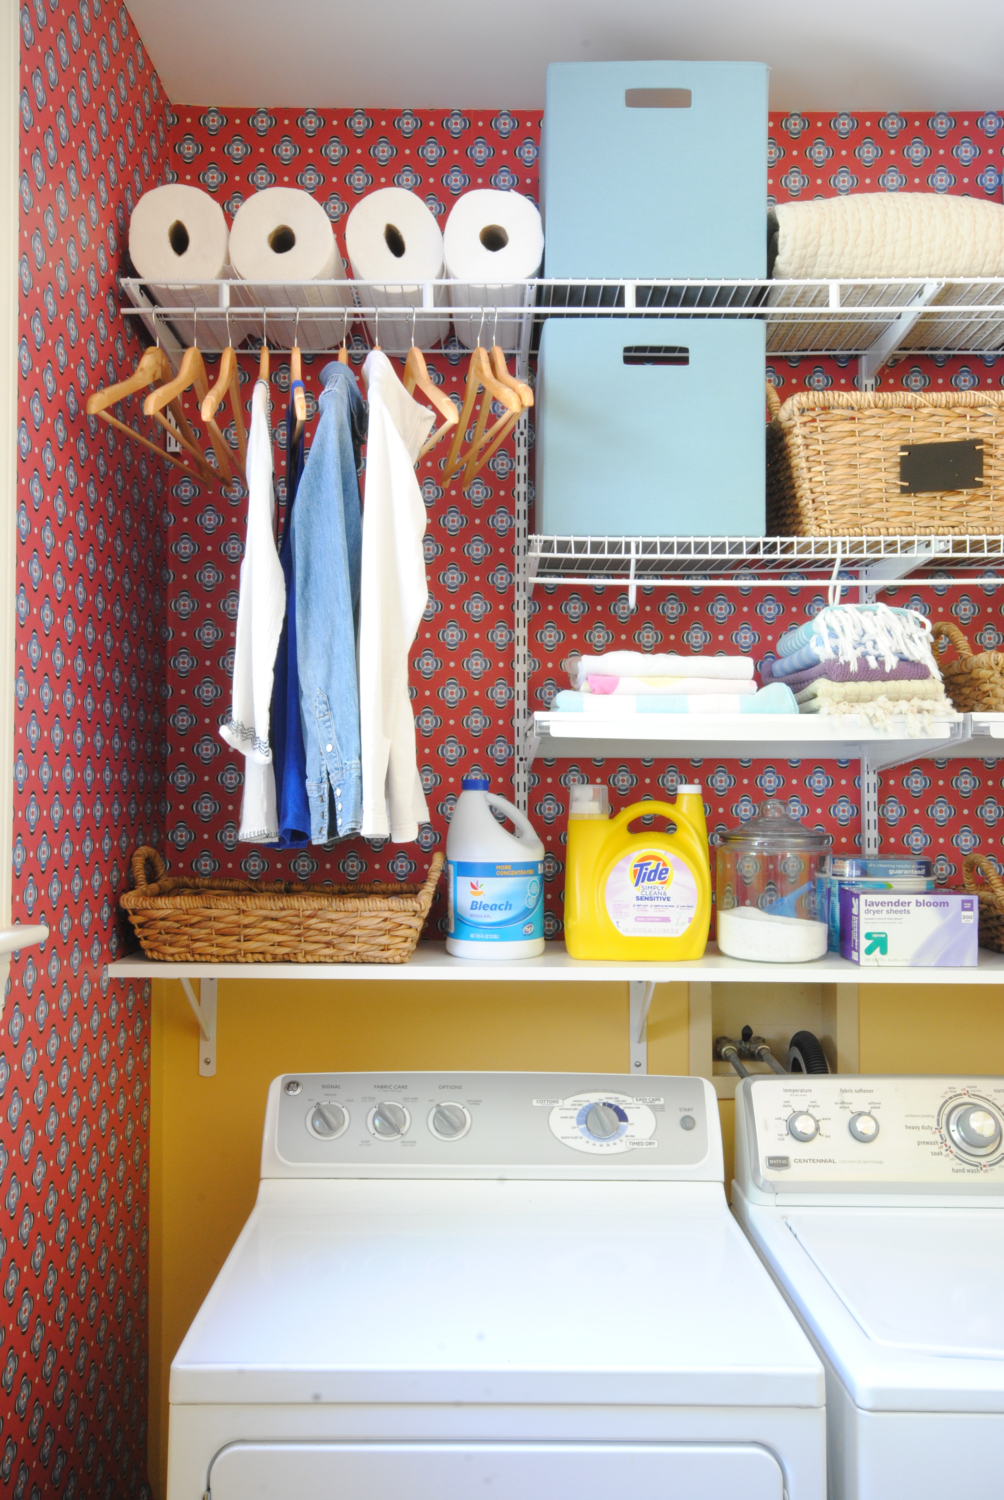
I used woven baskets and fabric bins to corral other things I like to keep in the laundry room. I really put a lot of thought into the things it made sense to keep here – the laundry room is right off of the mudroom and right next to the kitchen so I wanted to use the extra storage space for things I find myself going for most often.
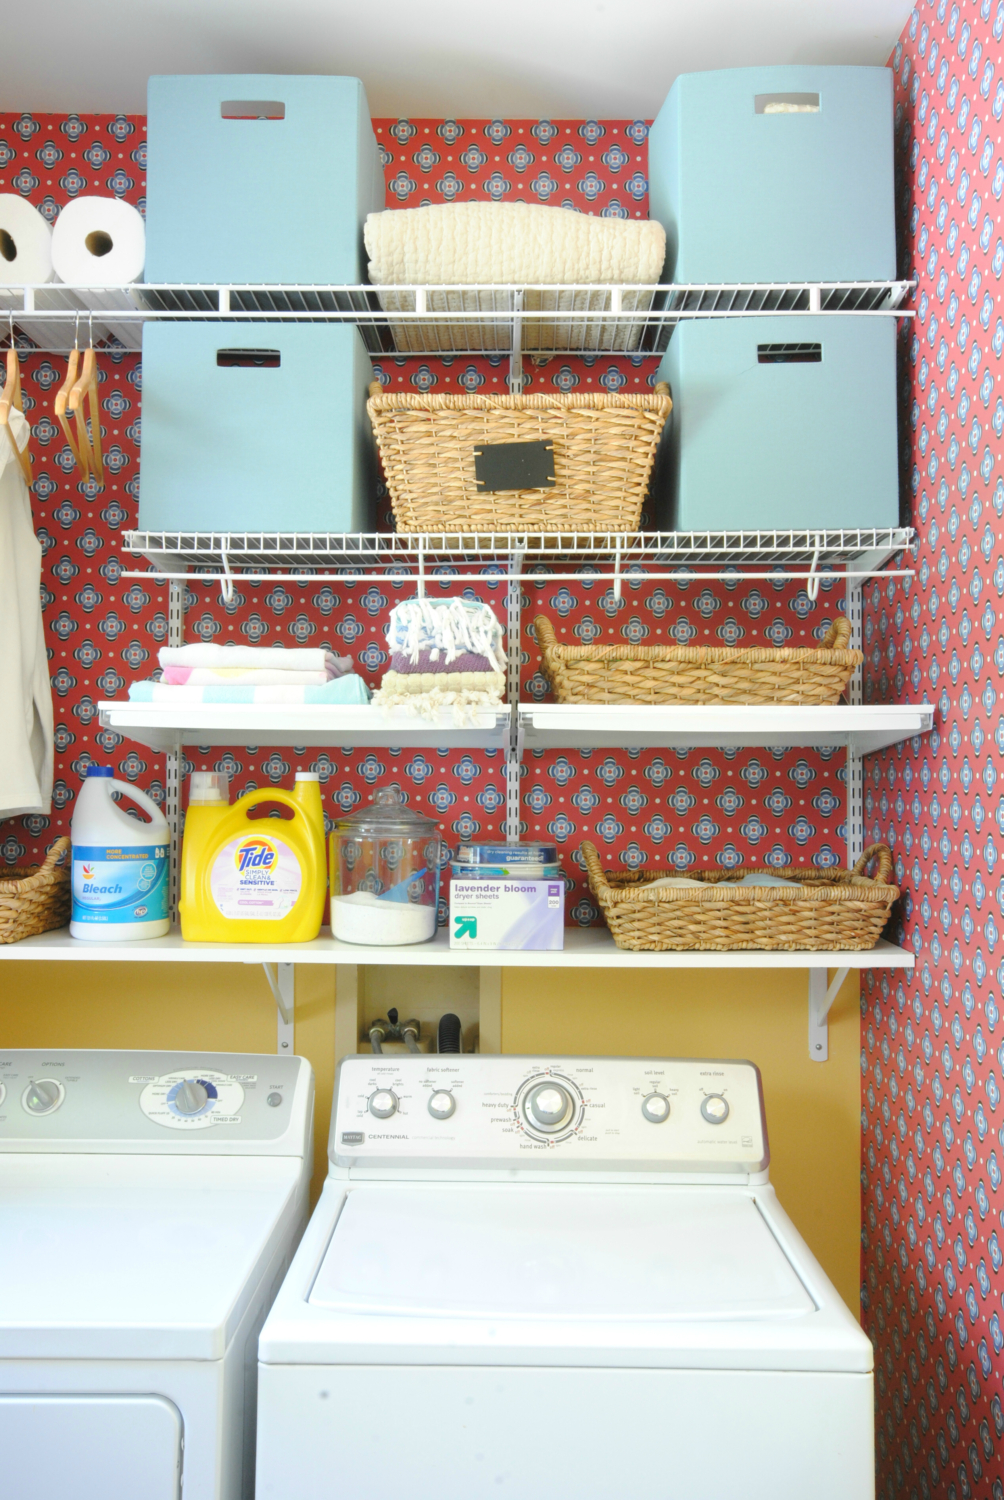
Here’s a little breakdown of how I organized the new shelving to be a workhorse for me.
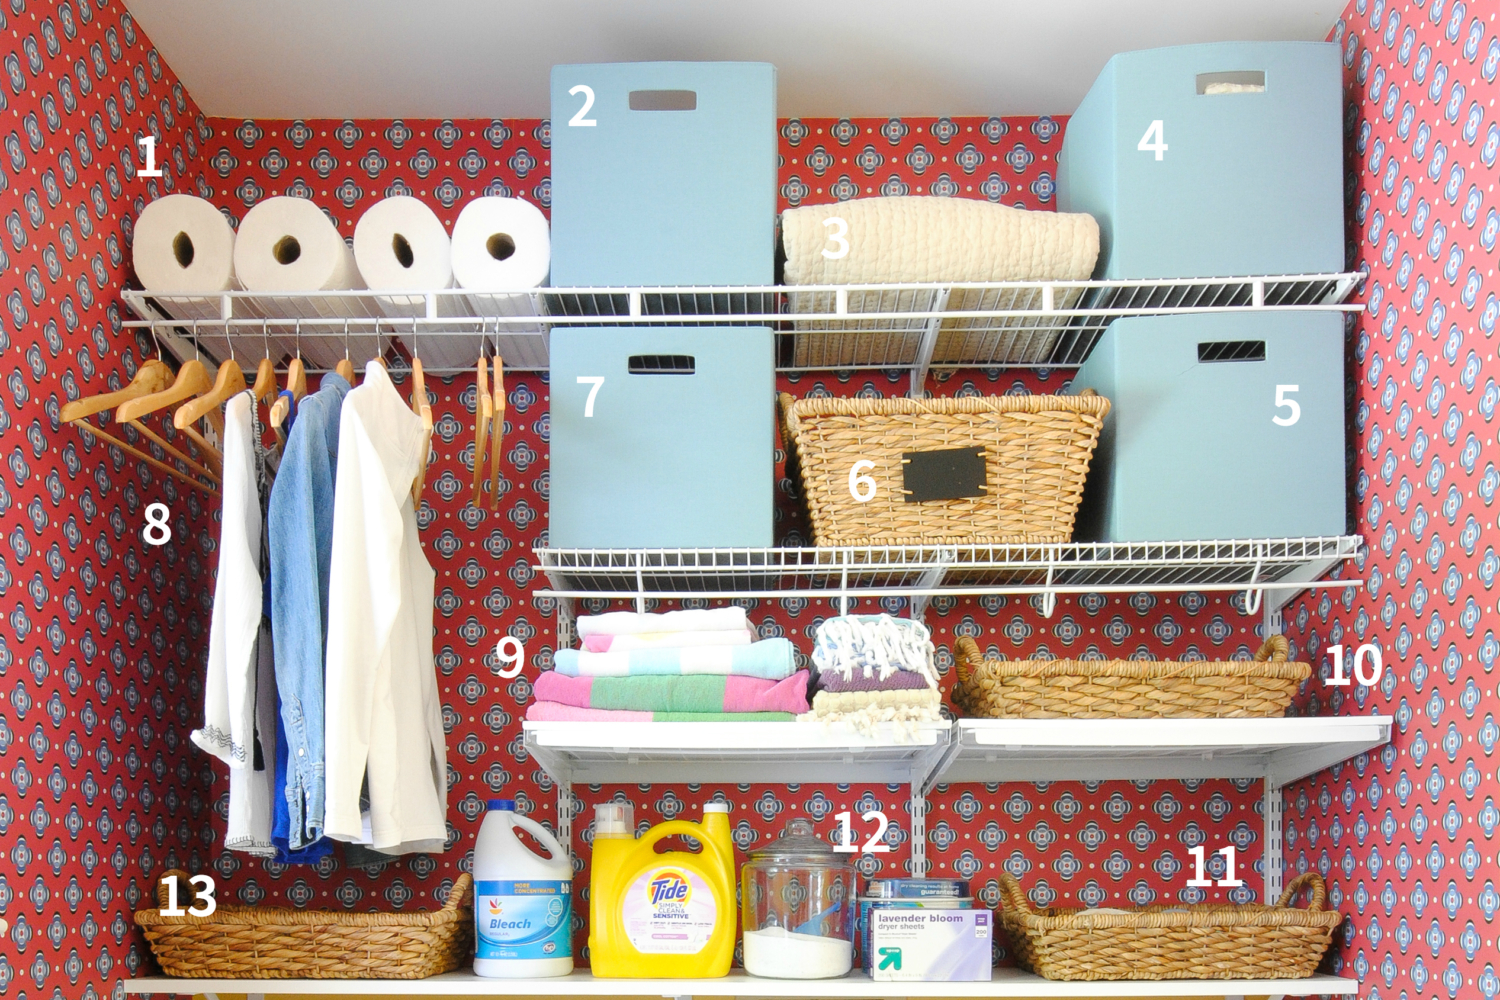
(1) paper towel storage space
(2) extra candles
(3) outdoor blanket
(4) cleaning rags
(5) light bulbs
(6) cleaning supplies
(7) cleaning supplies
(8) hanging space for air drying clothes
(9) beach and hand towels
(10) tape and glue
(11) delicate laundry
(12) laundry supplies
(13) kitchen towels to be washed
I can’t bring myself to show you the other side of the room yet but let’s just say getting this side with the washer and dryer so nicely organized has me fired up to finish the rest of the room. I spend a lot of time in here so it should be a room I want to spend time in, that makes me feel relaxed and ready to tackle the tasks at hand rather than frustrated and irritated at the mess. It’s pretty amazing what one afternoon of time did to transform this room…well half of it ;)


This is seriously inspiring me to get moving on my own laundry room renovation – and how SIMPLE!!! I love the wallpaper you selected too – what a big difference! #client
Thanks, Samantha! I’m even surprised at how much bang I got for just an afternoon of work!
What a great solution. I love that wallpaper and the blue bins look fantastic. You got so much storage out of it. Love it.
SO much storage. I have shelving on the other side of the room too and once I sift through it all I think I may actually have some empty space! Hallelujah!
That’s quite the transformation! I love how everything came together and you have a place for everything. The space above my washer and dryer is desperately in need of some shelving to improve efficiency too! #client
Thanks, Kelly! It’s made a big difference already, amazing what some quick storage solutions can do to make everything feel and work better!
looks sooo amazing, Jen!!! What a difference!