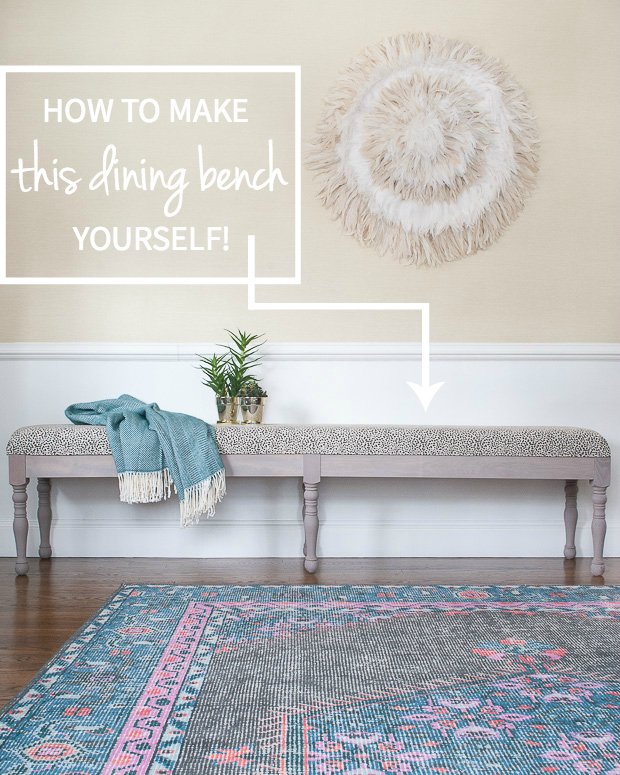
Gosh, it feels like forever since I built something. And I have to say, making this DIY upholstered dining bench felt so good.
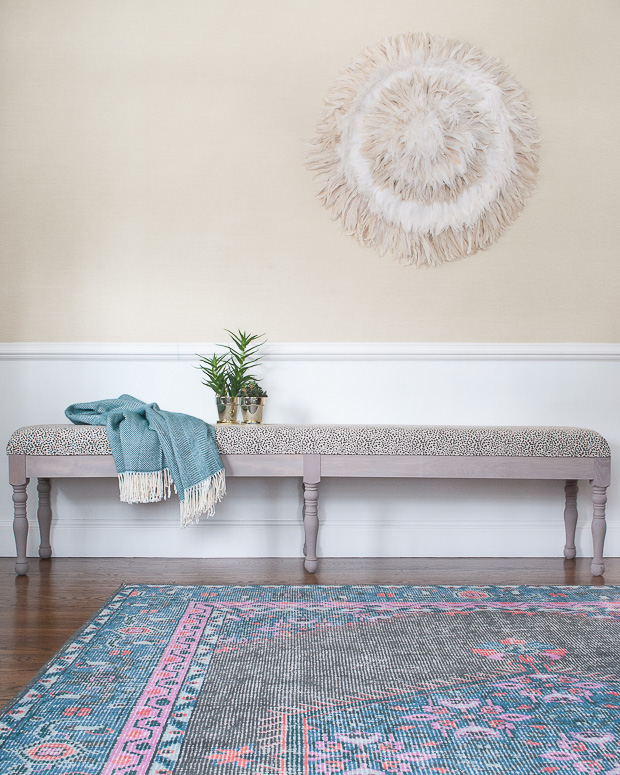
Making, building, beautiful fabric – these were my first DIY loves and even though I do all kinds of general home improvement projects now, those original ones still have my whole DIY heart. So this bench was pretty fun for me to make, and it solved a seating issue I’d been having in the dining room. Namely, that there weren’t enough seats if we had more than eight people around the table. Which was happening often enough that it had to be addressed, and my chairs (which I reupholstered last year) had been discontinued. The finished bench measures 17″ x 90″ and comfortably seats four adults, five if you’re willing to squeeze! You can adapt the instructions here to make any size bench, you’d just need to change the lengths of the longer 1x4s (see below for details).
Here’s a materials list of the things I used to make the bench. Some of these links are affiliate links, so if you choose to purchase I will make a small commission, but your purchase price remains exactly the same. Thank you so much for supporting this blog by using these links to make your purchases.
- Two eight-foot long select pine 1x4s (If you are very careful with your cuts you’ll have just enough. If you’d like a little wiggle room, purchase an extra four-foot piece.)
- Miter saw (the one I have here, a less expensive version here)
- Measuring tape
- Pencil
- Ear and eye protection
- Fine grit sanding sponge
- Kreg jig
- Drill
- Six pine coffee table legs
- Minwax Classic Gray stain
- Minwax Rosewood stain
- 1″ pocket hole screws
- Plywood cut to 17″ x 90″ (most home improvement stores and lumber yards will do this for you)
- High density foam, cut to 17″ x 90″ (I used 4″ thick but wish I had used 2″ or 3″. I usually buy with a coupon from Joann Fabrics since foam can be expensive. The best way to cut the foam is with an electric knife.)
- Upholstery batting (at least three yards long and 30″ wide)
- Staple gun and staples (inexpensive version here, Spotnails one I use here – you need an air compressor for the Spotnails stapler)
- Four yards of upholstery weight fabric (I used Lacefield Cub Fossil. You will only need three yards if you choose not to add the welting at the edges – see below for details).
- 1/4″ welt cord (optional)
- sewing machine (optional – this is the one I use)
Use a miter saw to cut the 1x4s into six pieces – four at 41 1/4″ long and two at 12″ long. Use a sanding sponge to smooth any rough edges.
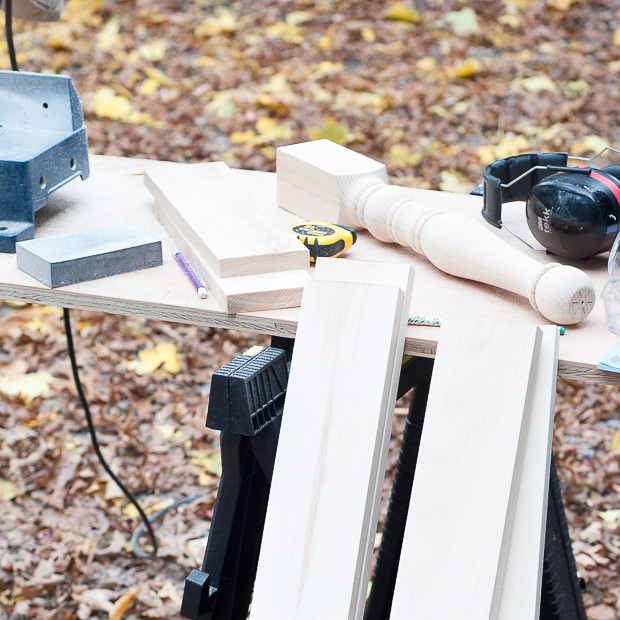
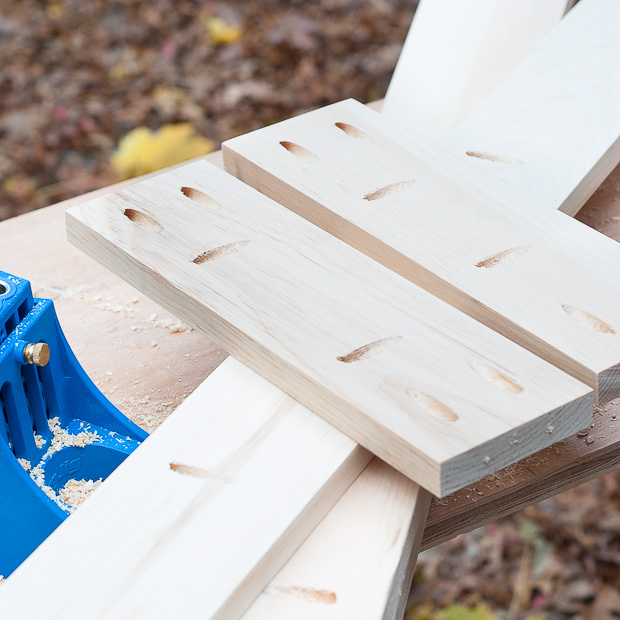
Drill pocket holes into all of the cut 1x4s using a Kreg jig. The 12″ pieces should have two pocket holes on each short side and two pocket holes on just one of the long sides. The 41 1/4″ pieces should have two pocket holes on each short side and four pocket holes along just one of the longer sides.
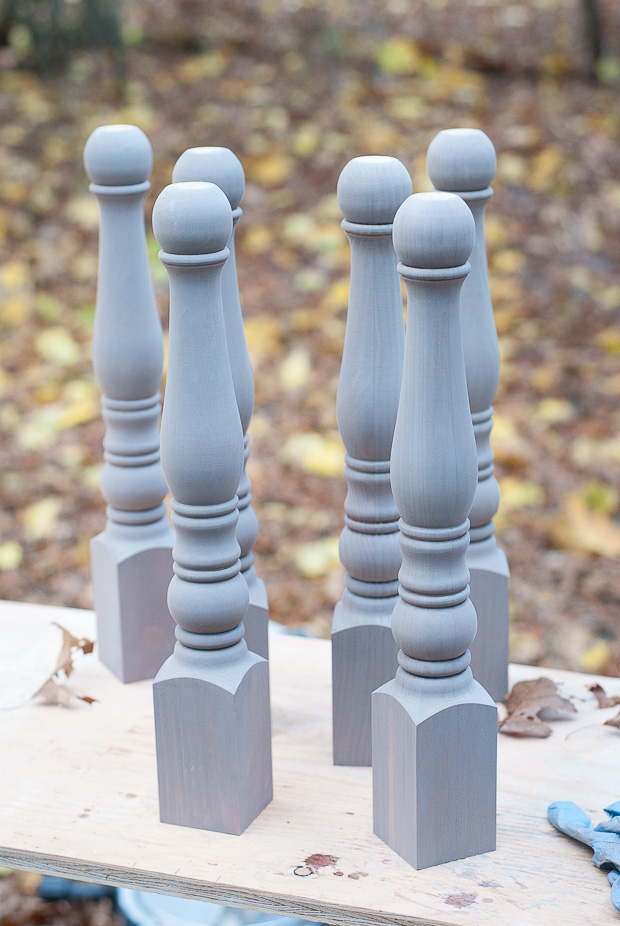
To achieve the color on the legs of my finished bench I first applied a coat of Minwax Classic Gray to the 1x4s and to the legs. Then I rubbed on a coat of water-based Minwax Rosewood to warm the gray a bit. Using water-based over oil-based got me just the color I was after, but if you’d like more warmth, do oil-based over oil-based so the top rosewood layer soaks in more. The photo below is of just the gray stain.
To make the top of the bench you lay the foam on top of the plywood. I used an electric knife to trim the corners down a bit so they would look rounded once upholstered.
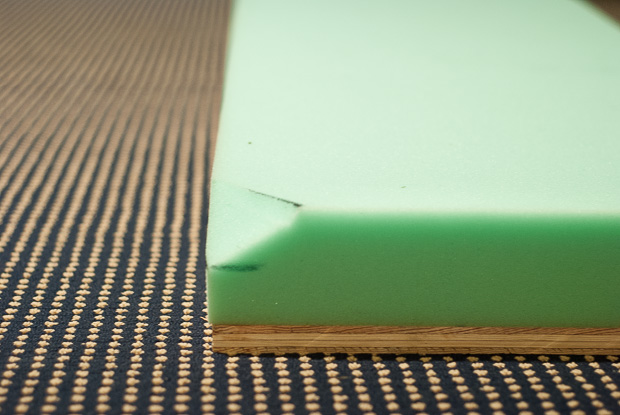
Cut a piece of batting about 12″ longer and wider than the plywood, so about 29″ x 102″. Flip the top upside down so the foam in on top of the batting and the plywood is on top of the foam and roughly centered on the batting.
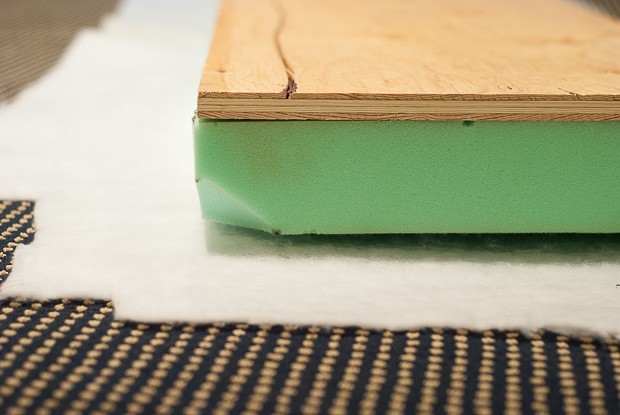
Starting at one side, wrap the batting around the foam and plywood and staple on the underside of the plywood. Keep things as smooth as possible as any big bumps might show through the finished upholstery. You want the batting to be fairly snug.
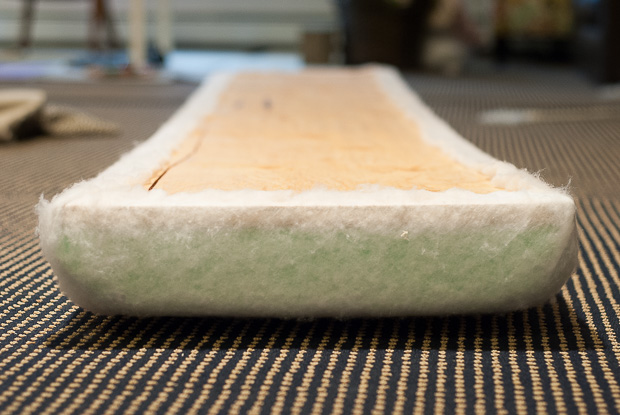
At the corners, trim any excess so you can fold the corners neatly. Flip the batting-wrapped top over again so the foam layer in on top.
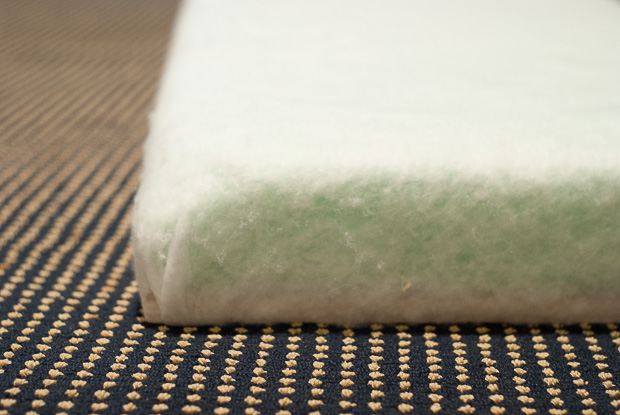
Cut your fabric the same size you did the batting – about 29″ x 102″. Lay over the top and arrange so there is about the same amount of overhang on all sides.
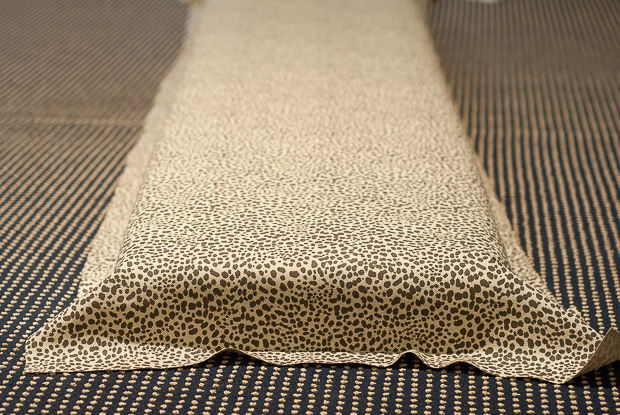
When the fabric is oriented to your liking, flip everything over and start pulling and stapling on the underside of the bench top. I used a similar folding and stapling technique to the one I described in this post.
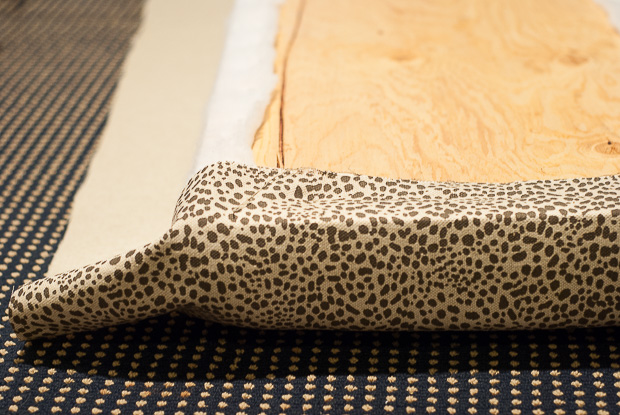
When everything has been folded and stapled you should have a nice smooth finished top.
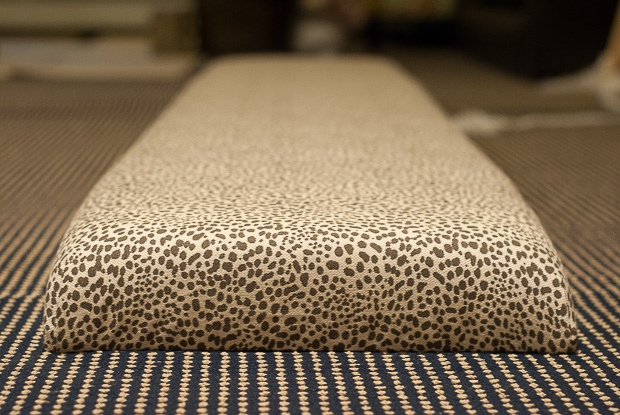
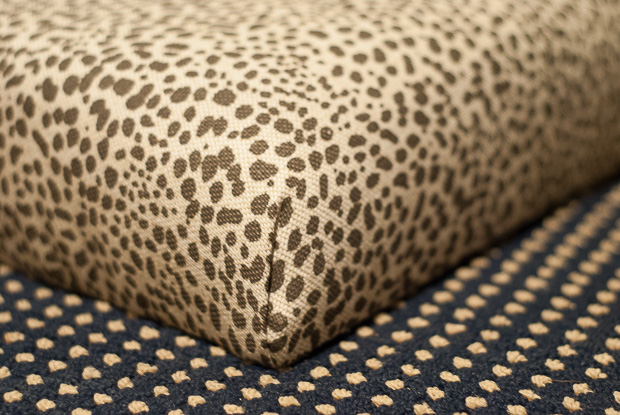
If you want to add welting between the upholstered top and the bench legs, you can use the extra yard of fabric to sew enough welting to go around the entire outer edge of the top – about 220″. I explain how to sew custom welting in this post. You’ll staple the finished welting along the whole edge of the underside of the bench so the sewn welt cord is facing outward and the unfinished edge is facing inward. I show this in a little more detail in this post about recovering dining room chairs.
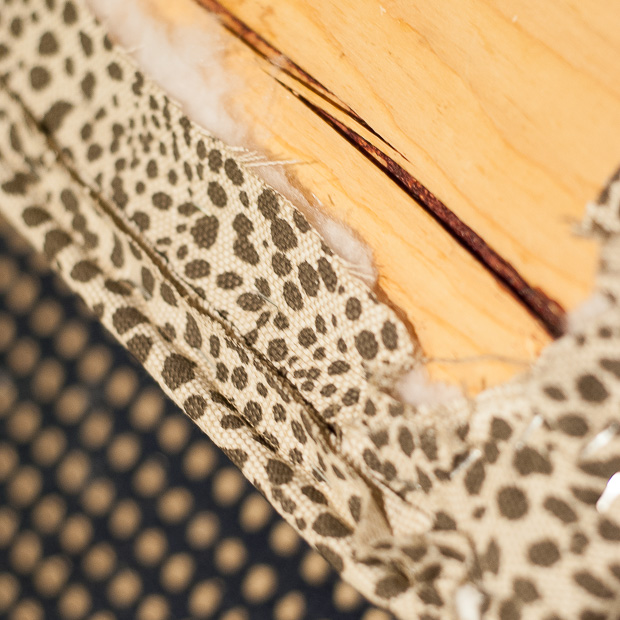
Now…oh my gosh, you guys. Can I tell you how confused I was when I went into my camera to upload the photos for this post and there was not a single one of assembling the base? I am so sorry!! I was rushing to finish the bench before having a big crowd over and I obviously completely spaced on photographing that part. The good news is you pretty much just use the pocket holes as your guide. Drive 1″ pocket hole screws through the pocket holes on the short sides of the 1x4s to attach the 1x4s to the legs – the tops of the legs and the 1x4s should be even. Also make sure that the pocket holes drilled on the long sides of the 1x4s are facing up, where you’ll use them to attach to the upholstered top. When the frame has been assembled, flip the upholstered top upside down on the floor and lay the frame on top of it, so the pocket holes on the long sides of the 1x4s are facing down toward the plywood of the upholstered top. Drive 1″ screws through the pocket holes to attach the frame to the top, making sure the edges of the frame sit just inside the welt cord, or even with the edge of the top if you didn’t use the welting.
Please e-mail me with any questions about this part or leave questions in the comments since I’ve given you such a pathetic lack of photos to help explain!
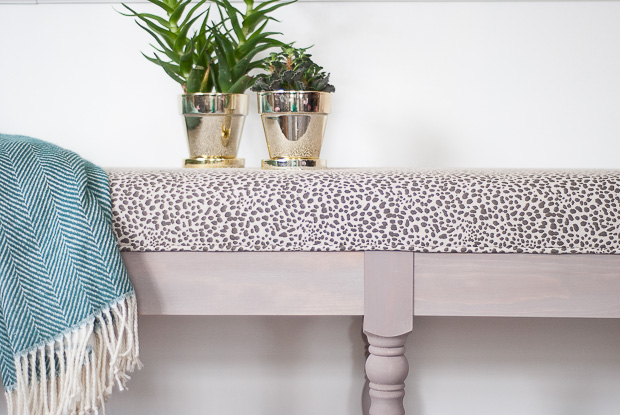
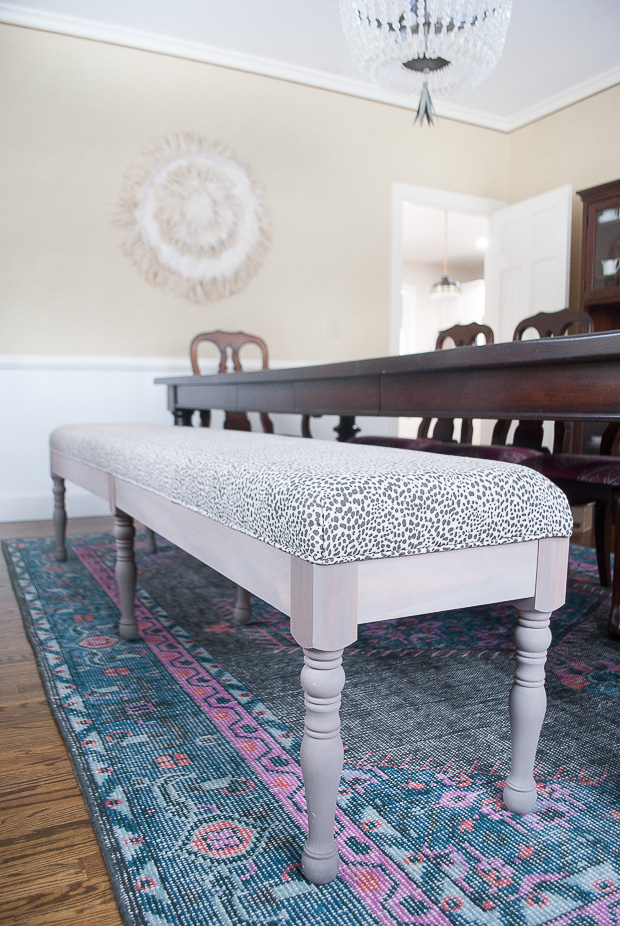
Here is the finished bench pulled up to the table – I’m a big fan of the warmed grey legs against all the other darker wood in the room. And I think the fabric is the most perfect subtle animal print I have ever seen. My dining room is practically a shrine to Lacefield Designs’ fabrics – the drapes, chairs, and now bench are all covered in Lacefield’s gorgeous textiles.
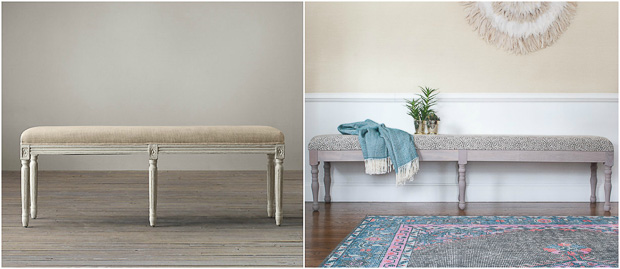
I based the style of the bench on a Restoration Hardware one and am pretty pleased with the resemblance. Making my own allowed me to add a full 40″ to the length and customize the fabric and finish on the wood.
So I consider my little dining room seating issue effectively solved. I now have seating for 10-12 people and I absolutely love how this bench came out, as well as the addition of a different wood color and fabric to the dining room.
Oh and if you are wondering about that glorious fluffy wall hanging…details are coming very soon!
Looking for more DIY upholstery inspiration? Check out these posts!
DIY Sofa Upholstery – Sources and Tips
How to Upholster a Chair
Cane Chair Makeover
How to Upholster a Bench
DIY Upholstered X Bench
DIY Upholstered Bench

Wow, just wow! You are so so good! It really did turn out fabulous
Well thanks :) I’m excited about it. My only issue is it’s a little too high – I should have used thinner foam. I measured so carefully but it wound up a little too high. Maybe someday I will take it apart and trim the foam down but for now people will just have to squeeze their legs under the table!
I’m sure the kids like sitting up higher ;)
wow, jennifer! that is incredible! love the look and the friendly budget!
Thanks, Cassie! Yes, it was totally win-win for me – I liked building it anyway, I could customize everything about it, and it cost way less than buying the same-sized piece already made. So actually I guess win-win-win :)
This is gorgeous!
Thanks so much, Sarah!
That’s a great size and I love the fabric mixed in with your other textiles!
Thanks, Beth! It is pretty huge but just what I needed :)
Thanks, Beth! It is pretty huge but just what I needed :)
That’s a great size and I love the fabric mixed in with your other textiles!
LOVE this so much! I am so inspired to try it myself!!!! Great job!
What a great compliment, Megan – I’m so glad and I hope you do try it! As furniture building projects go, it’s a fairly easy one :)
It’s just so good! I love the shape and the lines!
Thanks, Gwen! Me too, I’m really happy with the end piece :) It’s just what I’d pictured for the room.
Very impressive-and you make it seem so easy! Love your style and always look forward to reading your posts :)
What a nice comment, Amanda – thank you :) It took some time to get all the bench pieces done and together but this was one of the simpler furniture building projects I’ve done!
What a nice comment, Amanda – thank you :) It took some time to get all the bench pieces done and together but this was one of the simpler furniture building projects I’ve done!
This is so overwhelming and motivating at the same time!! You are incredible, Jennifer!
Haha! This made me laugh – overwhelming and motivating :) Thanks for the sweet comment!
Haha! This made me laugh – overwhelming and motivating :) Thanks for the sweet comment!
I love the stain and fabric combo you used. So pretty!
Thanks, Whitney! I actually never sealed the wood because I wasn’t sure if I’d want to go darker but the longer I left it the more I liked that gray with the other dark wood in the room.
Thanks, Whitney! I actually never sealed the wood because I wasn’t sure if I’d want to go darker but the longer I left it the more I liked that gray with the other dark wood in the room.
I love the stain and fabric combo you used. So pretty!
that is one seriously pretty bench! the stain color is so perfect! love :)
Thanks so much, Gretchen :)
This is incredible, Jen! Looks so great in your dining room too. x
Thanks, Danielle! I do love it :)
Looks SO good, Jen. You are a rock star builder! ;) I’m wanting to build a simple table for my son’s room and I think I could use the same principles here… just fewer legs.
Haha, thank you :) It’s a really simple process – you could definitely follow the same general process and I KNOW you could do it!