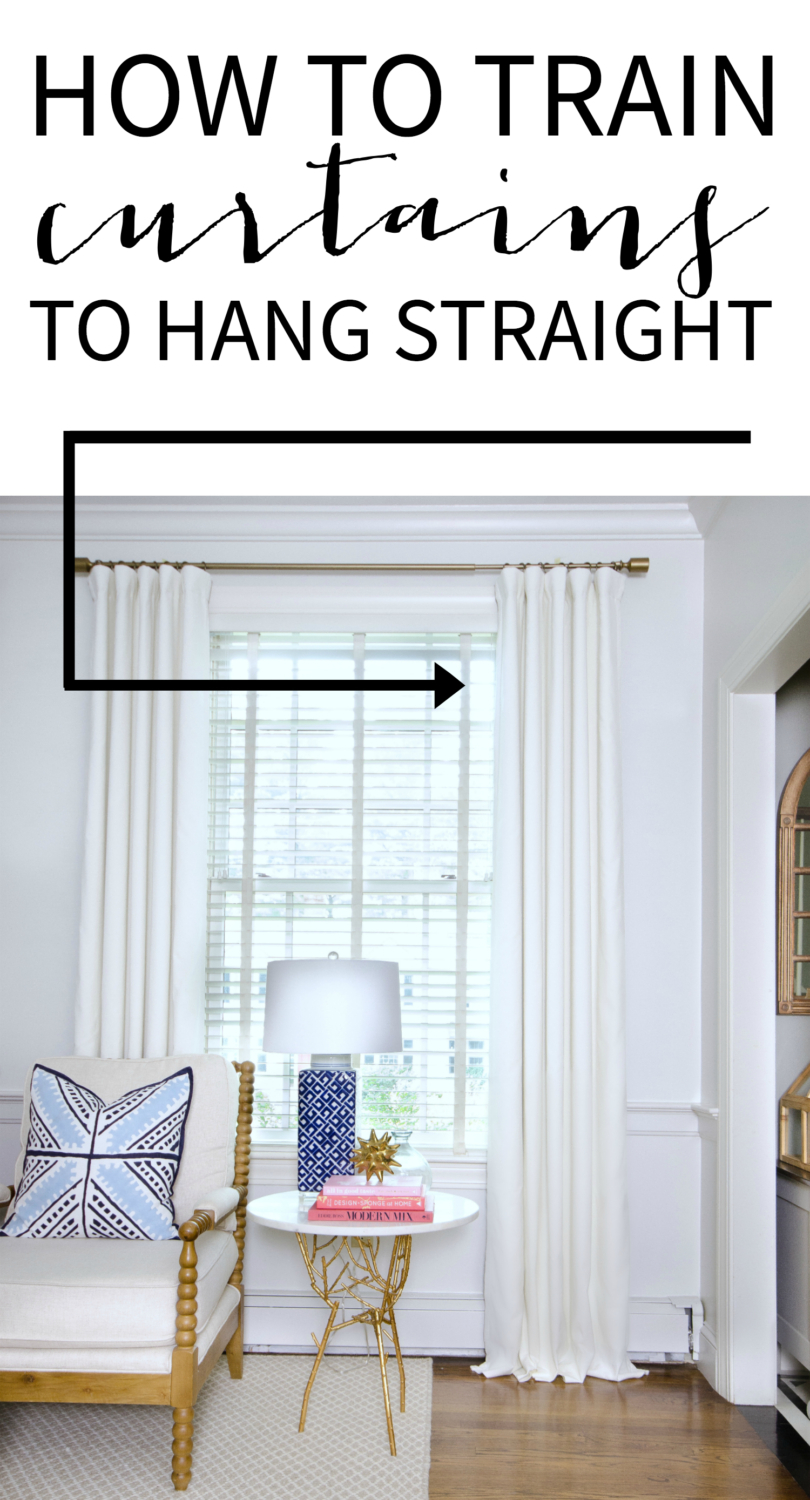
The surprisingly simple secret for how to get curtains to hang straight (how to train curtains).
I have a little secret to tell you. Actually, two secrets. First of all, almost every time I’ve shared a photo of my living room with you for the past five years I’ve photoshopped out the curtain brackets that hung sad and empty on the walls. There was actually a little black bracket at each corner of the windows in this photo but they looked weird and unsightly so I got rid of them for the sake of the photo.
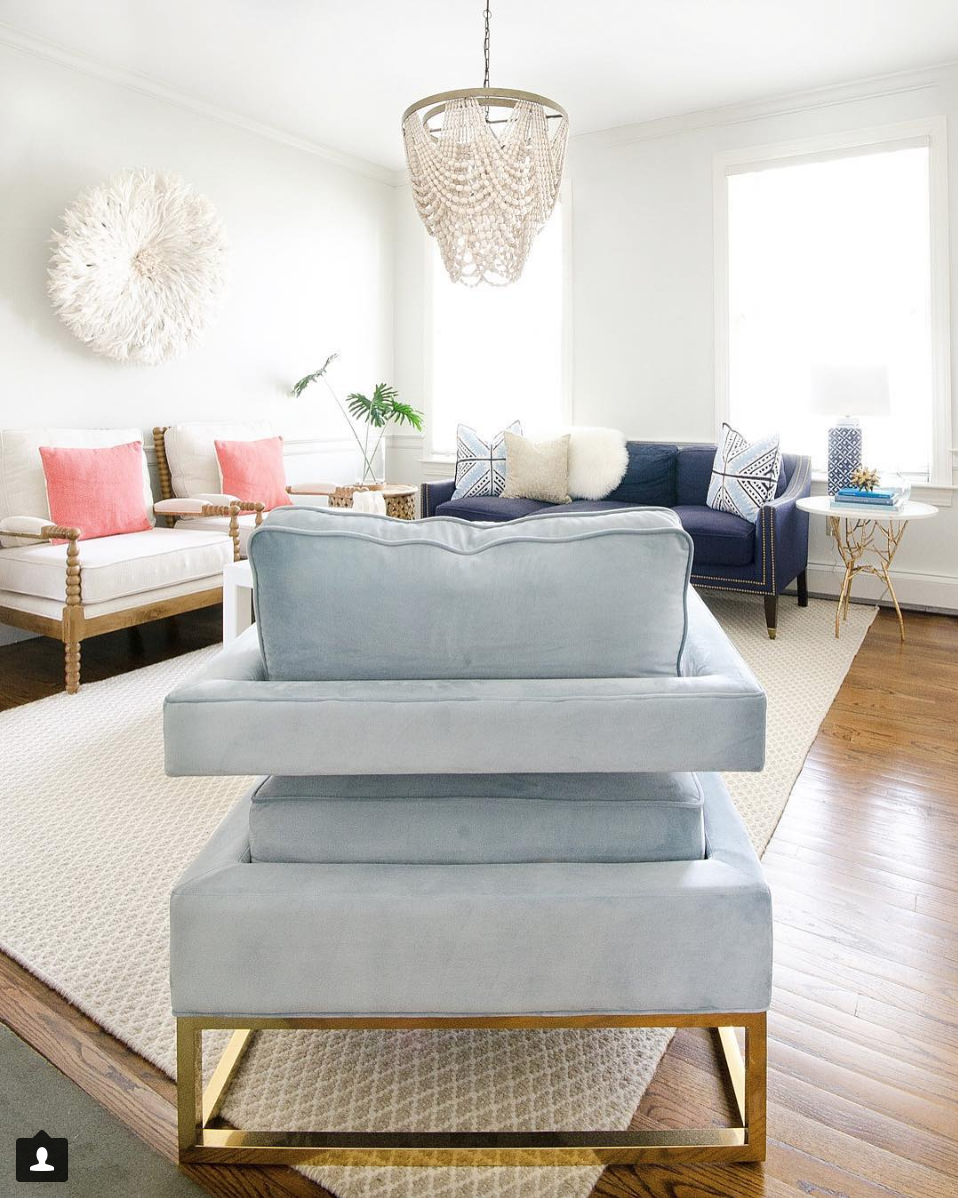
I don’t know why I dragged my feet so long on hanging curtains in here. I knew I wanted drapes in the room but wasn’t sure what kind and then I suppose I just got swept up in other projects and kind of forgot about it. For almost five years. Toward the end of the summer, however, I came across these velvet drapes, and they were the perfect soft color for my living room, fully lined, and an amazing price for high-quality drapes. So I pulled the trigger. And a couple weeks ago, finally, I hung them.
 Velvet drapes
Curtain rods
Wood bead pendant light
Spool chairs
Coral pillows
Feather juju hat wall hanging
Rug
Branch side table
Marble side table
Carved side table
Velvet chair
Blue and white lamps
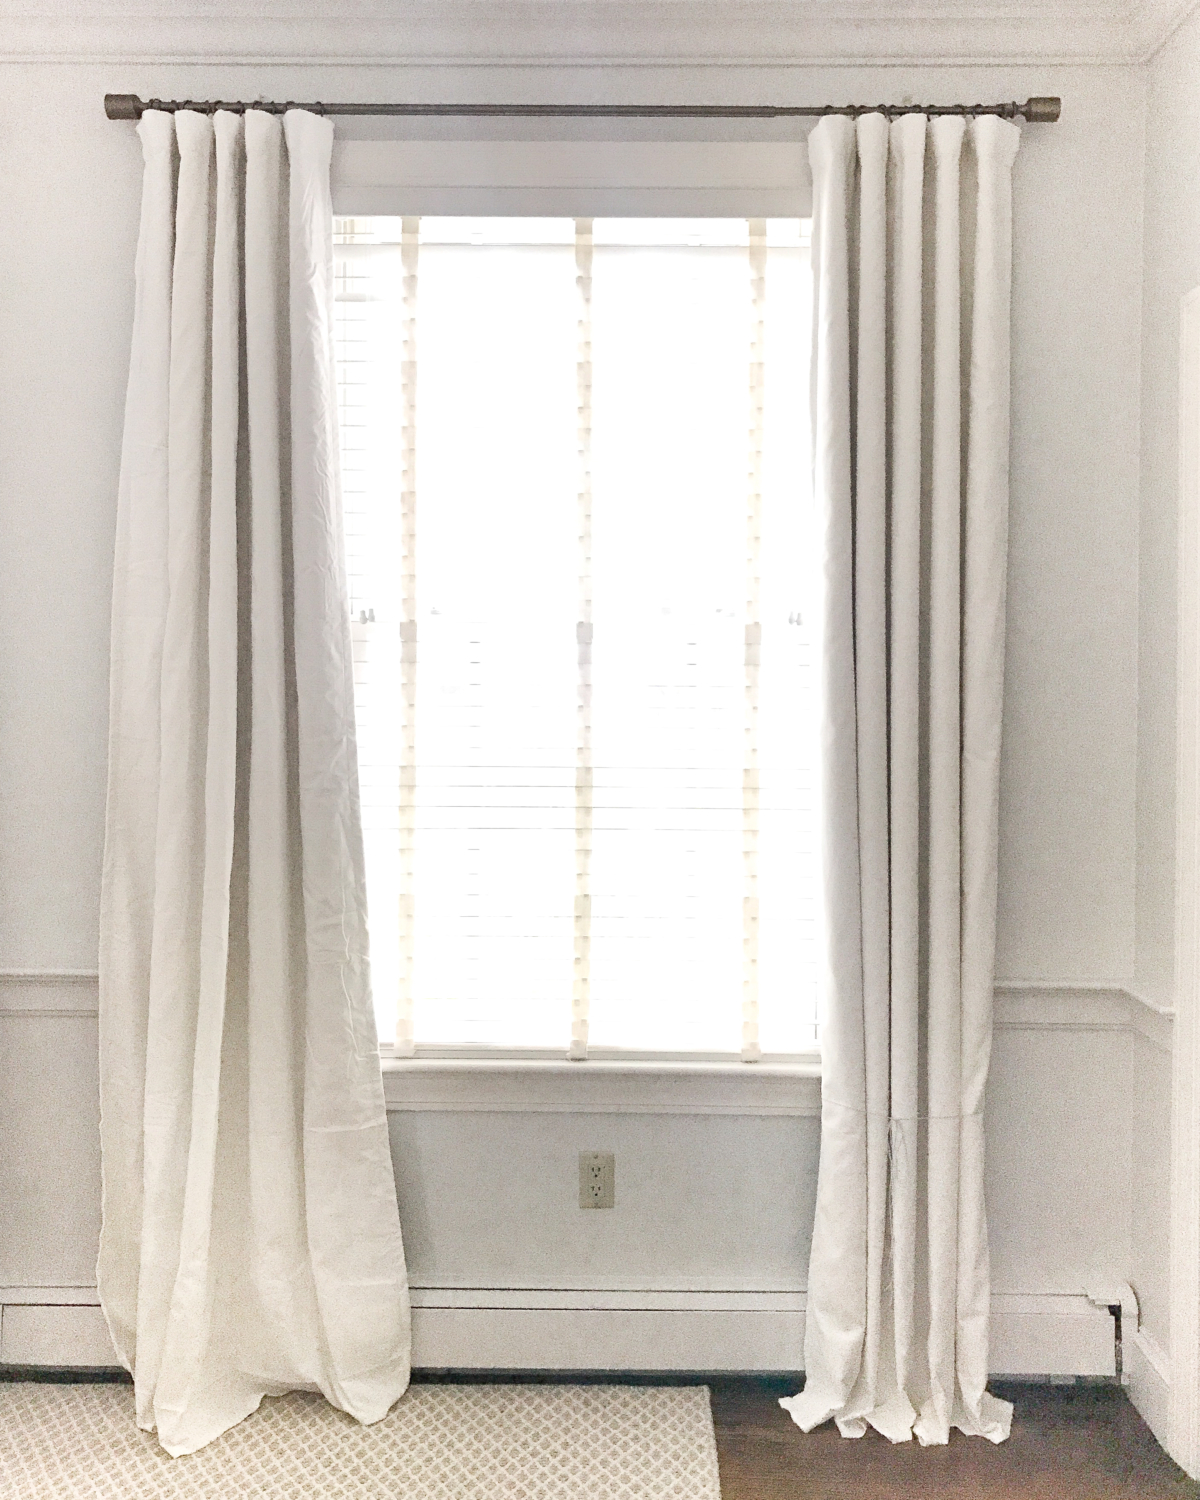
Which brings me to my second little secret – how to get curtains to hang straight. Technically “how to train curtains” but if you don’t know what training curtains is then you don’t know to search for that phrase! Usually when you put curtains on their rods, they look something like the panel on the left in the photo below – held together at the top but sort of splayed out at the bottom. The panel on the right is already in training, (I’ll explain that process in just a moment).
The first important step in how to make your curtains hang straight is purchasing quality curtains. Unlined curtains are cheaper than lined ones…but they will look cheaper too and they won’t have the same weight and drape as curtains that are lined. Lined curtains have enough substance to hold the folds that you see on high-end curtains. Unlined ones tend to crease over on themselves because they’re not thick enough. This doesn’t mean you have to break the bank though! PB Teen, PB Kids, and West Elm are my favorite sources for affordable lined curtains. Sure, you can buy cheaper ones from Target, Home Goods, or Walmart, but they won’t look as nice and I think if you’re going to spend the money to buy drapes at all, buy ones that are going to look great.
Once you have your drapes in hand, there’s an easy process to follow for how to get curtains to hang straight. You need very few supplies – a handheld steamer (Once you own one you will use it for everything and will barely need an iron anymore. Can I get an amen?), a step ladder, and some twine.
The first step in how to get curtains to hang straight is to steam the panels once they’re hung on your rods. This is so much easier than ironing them by hand and the steamer really gives you a smooth finish that an iron can’t quite produce.
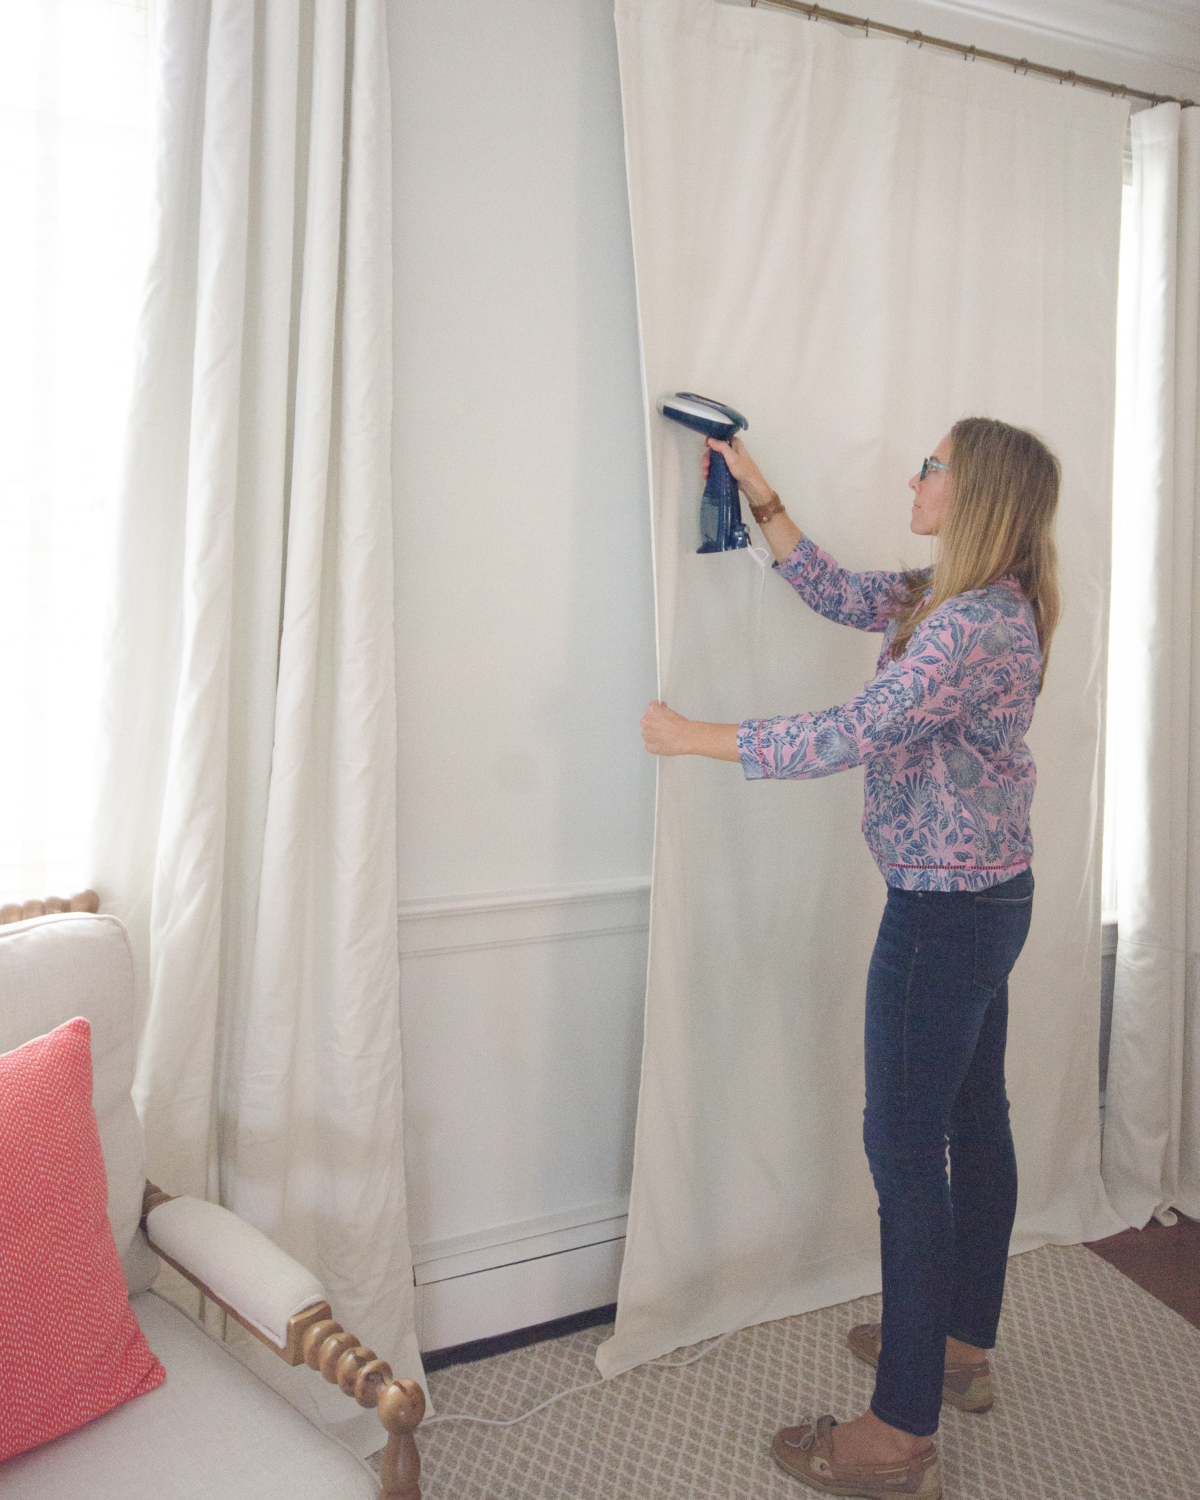
The next step is to climb up on your ladder and arrange the folds at the top of the panel. I arranged my drapes into five soft folds. Once you have these set at the top, get off your ladder and use your hands to smooth each fold all the way down to the bottom. If you’re using a quality, lined curtain, the folds should start to hold in place already.
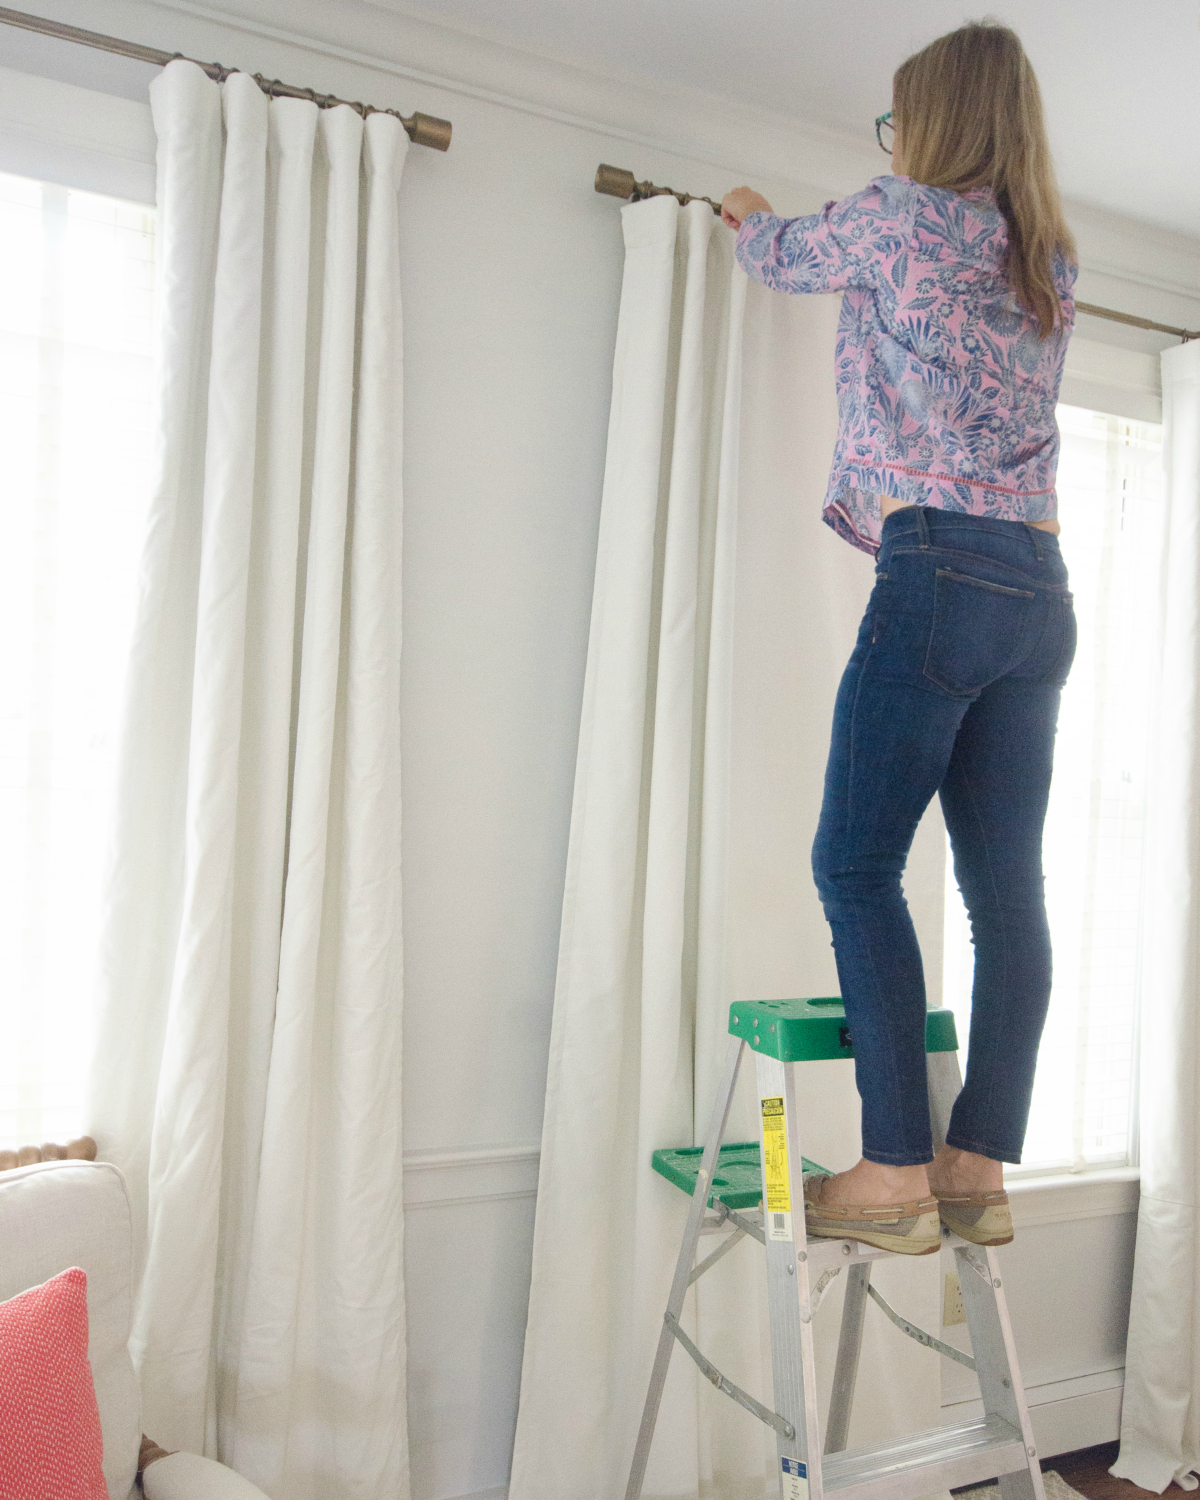
The final step in how to get your curtains to hang straight is to take some twine and loosely tie it around the bottom folds to hold them in place.
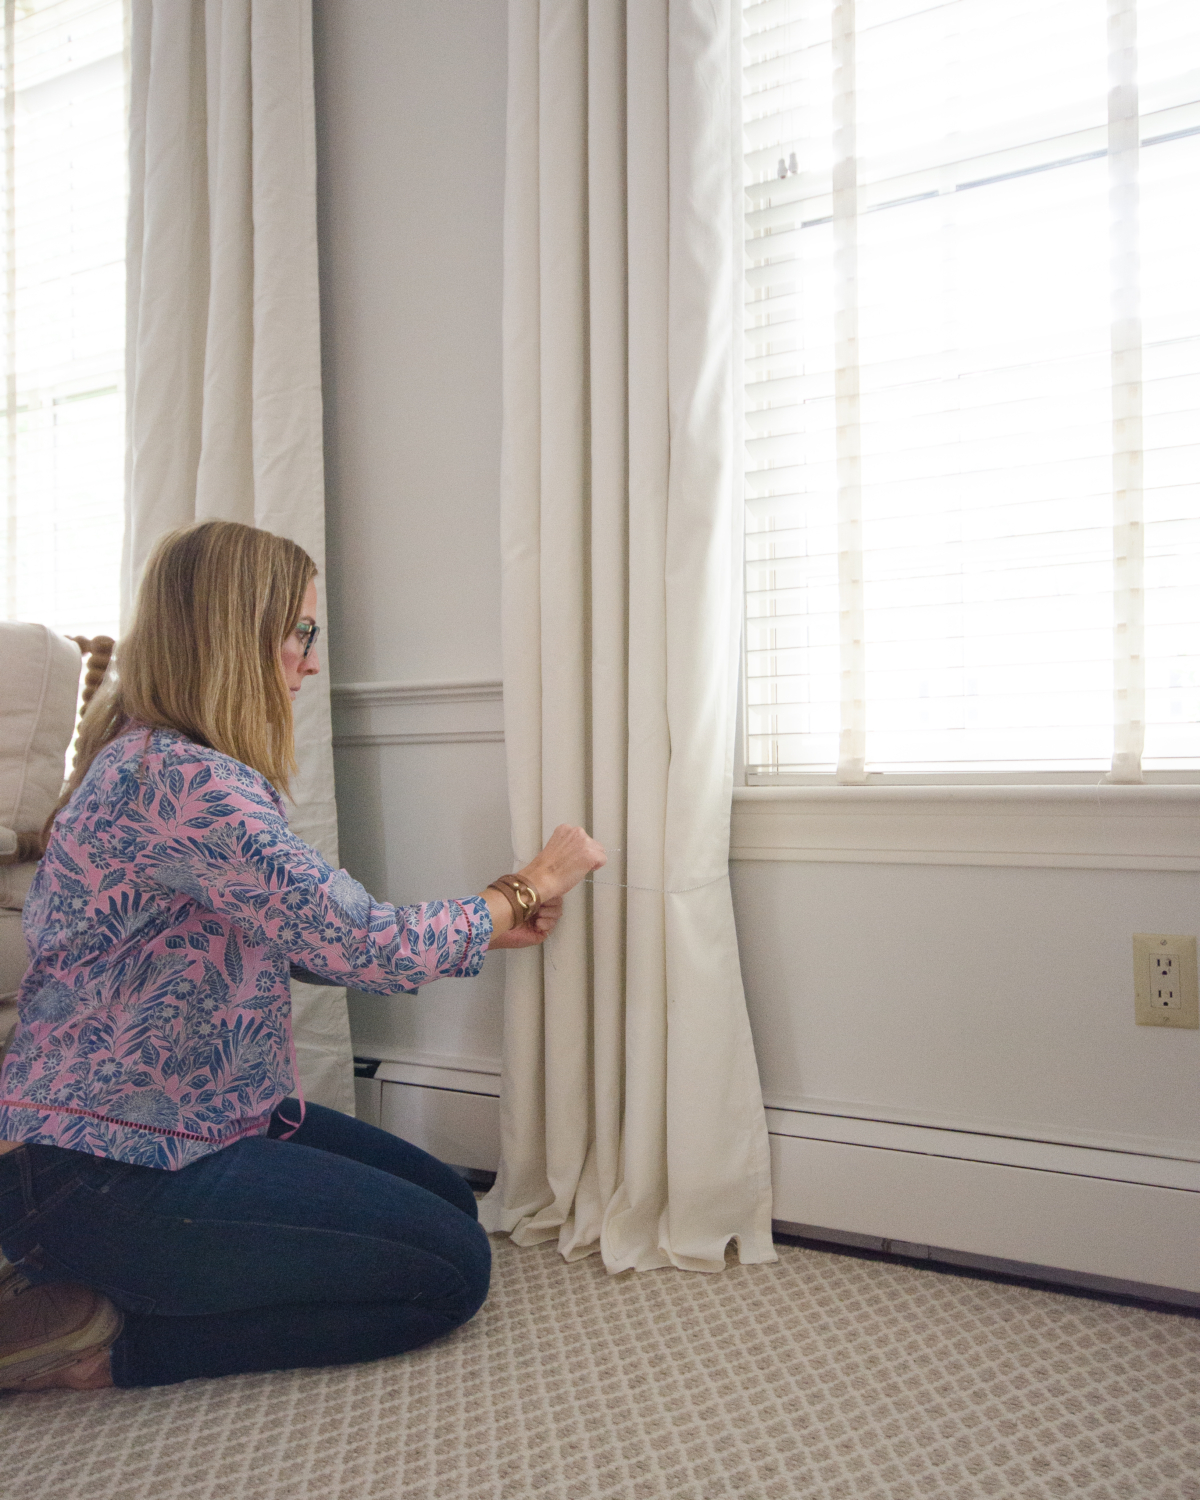
Then walk away for several days. I think I left my curtains tied for nearly a week, but 3-4 days should be fine for most drapes. When you untie the twine your drapes should hang in nice straight folds, all the way from top to bottom.
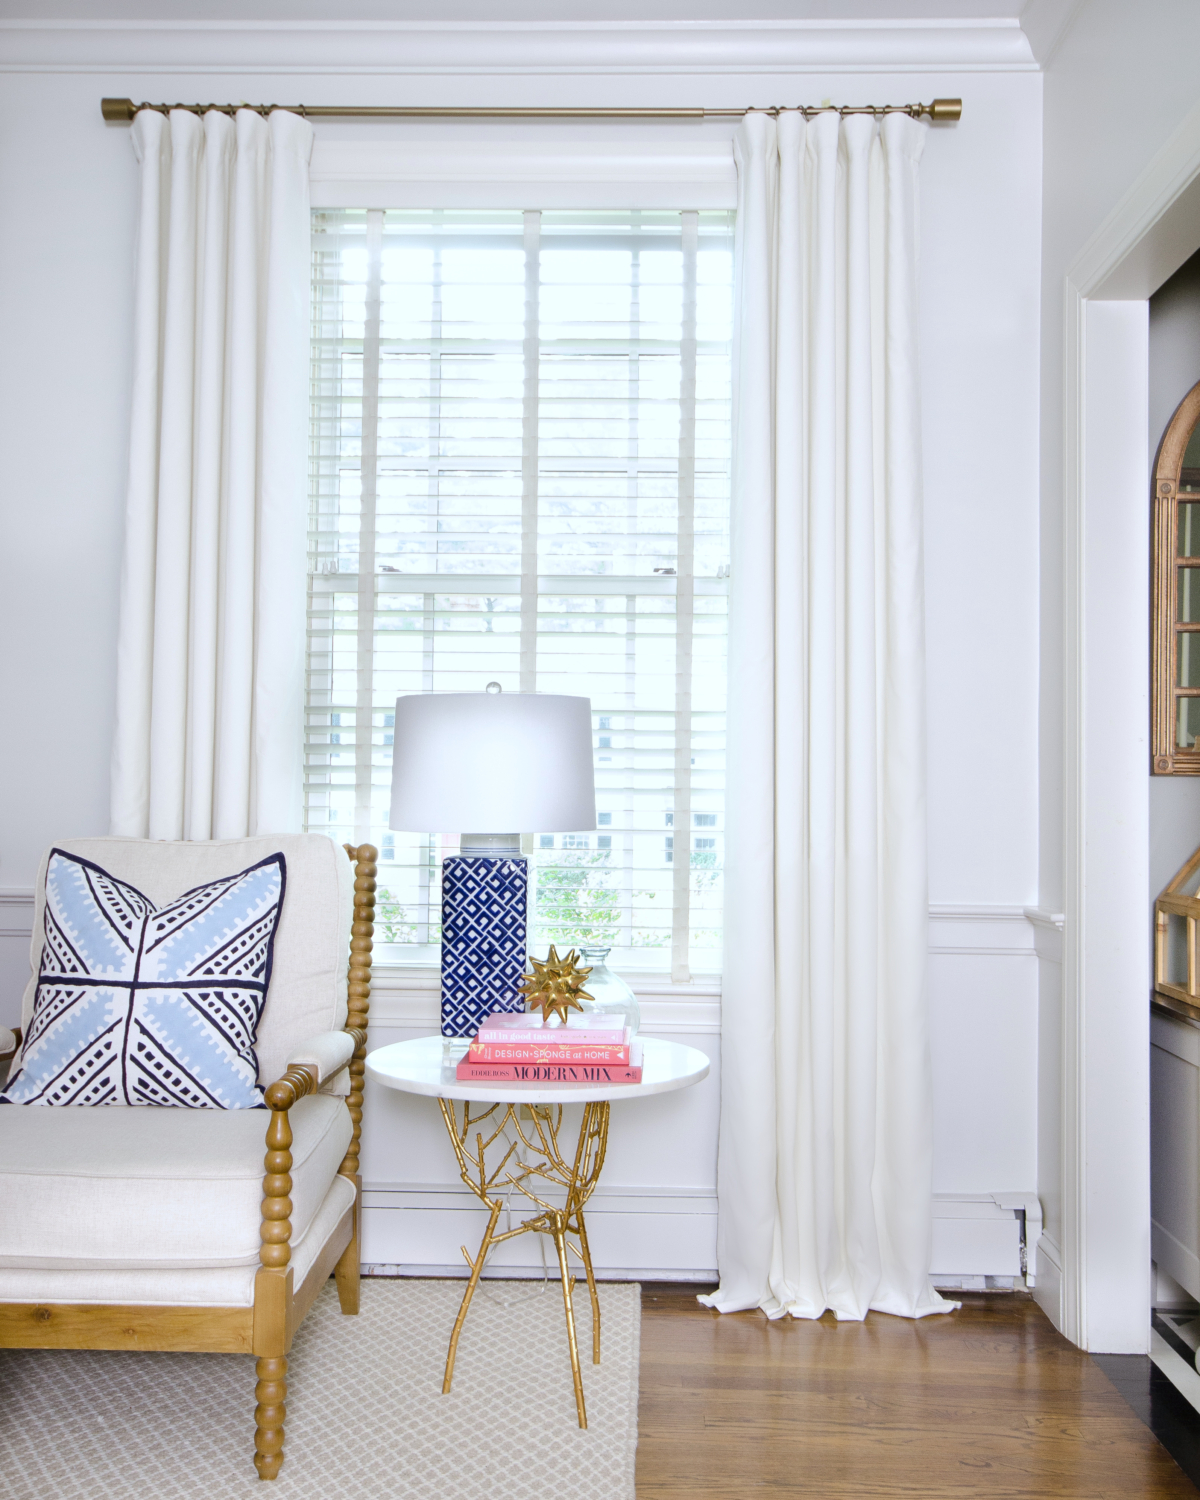
The whole process takes very little time but makes a tremendous difference in the finished look of your drapes. Trained drapes look higher-end than ones that have just been hung and walked away from, so it is very worthwhile if you’ve already spent the money on quality curtains.
I have some more changes coming to this room soon but hanging the curtains has done wonders for making it look more finished and put together. I can’t wait to show you the rest of what I have up my sleeve here!

