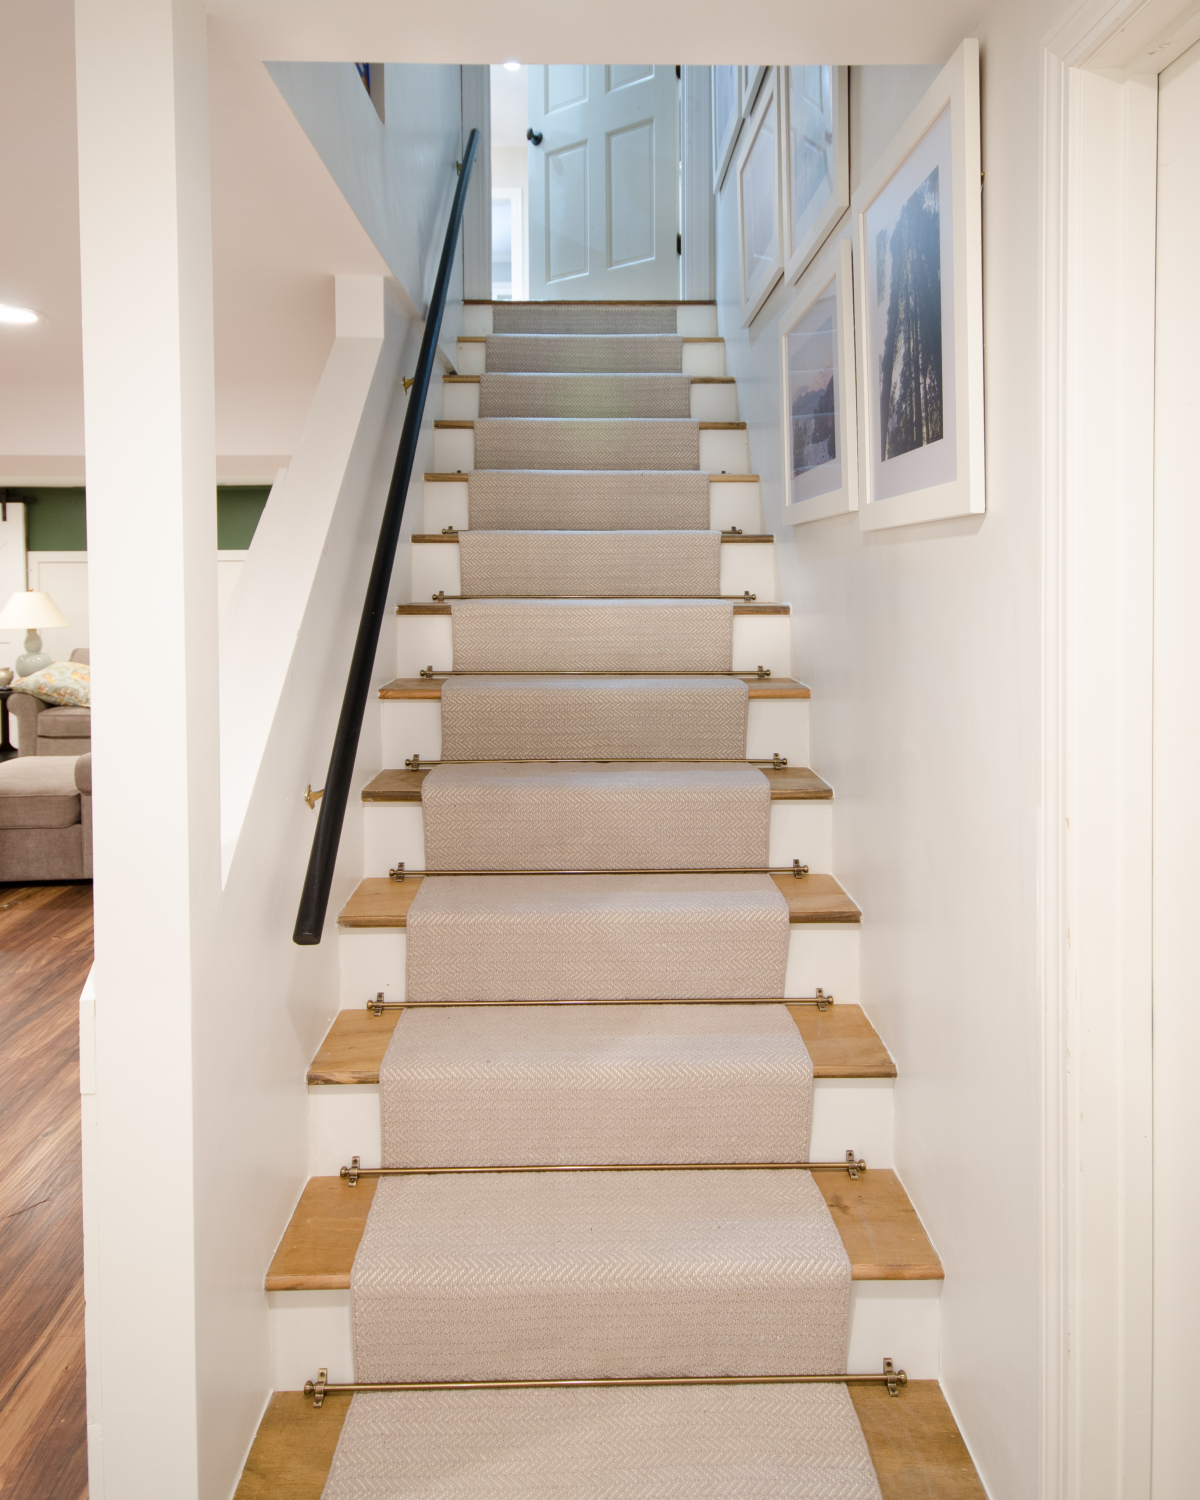
An easy-to-follow tutorial showing you how to install a stair runner. Take a plain staircase and turn it into a polished and pretty entry point without breaking the bank!
My finished basement has been harboring a dirty little secret. The way that you got to the pretty new space…
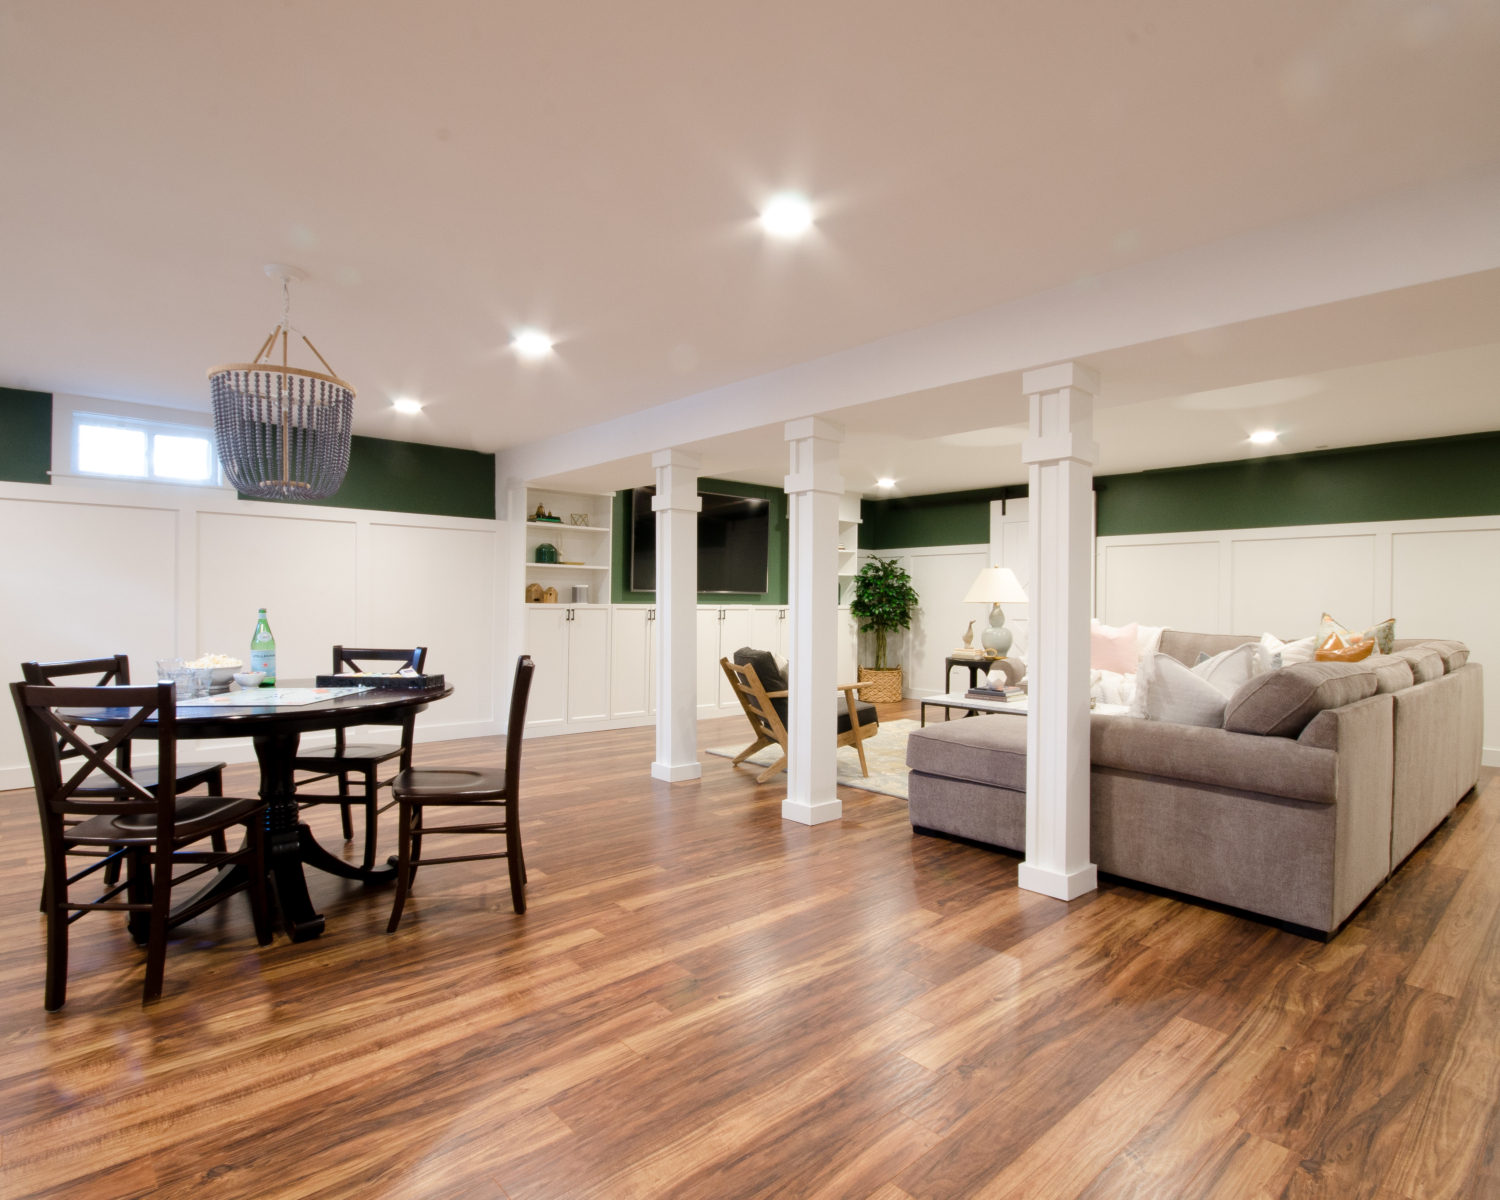
…was by walking down this.
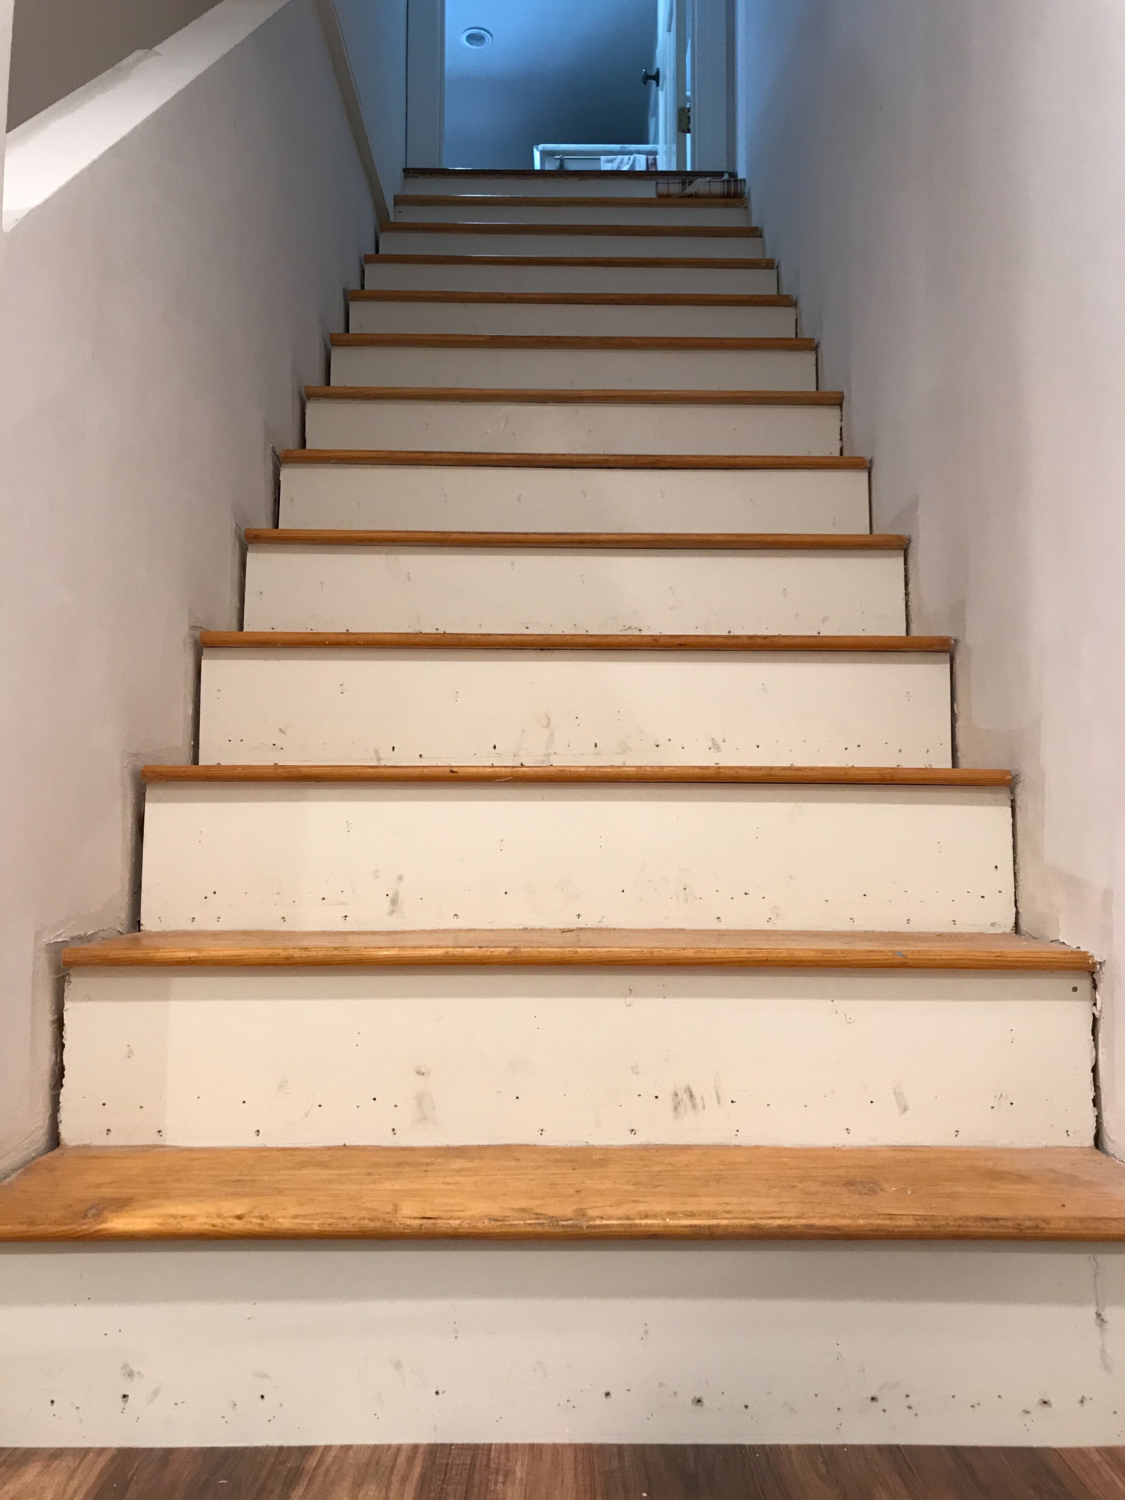
Clearly something had to be done. I had originally hoped to salvage the risers and treads but they were in such bad shape that I ultimately decided to rip them out and rebuild them. I promise it wasn’t as hard as it sounds – just banging the old pieces off with a hammer then cutting and nailing new treads and risers onto the supports (stringers) – but if you are looking for how to install a stair runner and your actual stairs are in good shape, use them as they are!
I was already in a far better place after replacing the treads and risers.
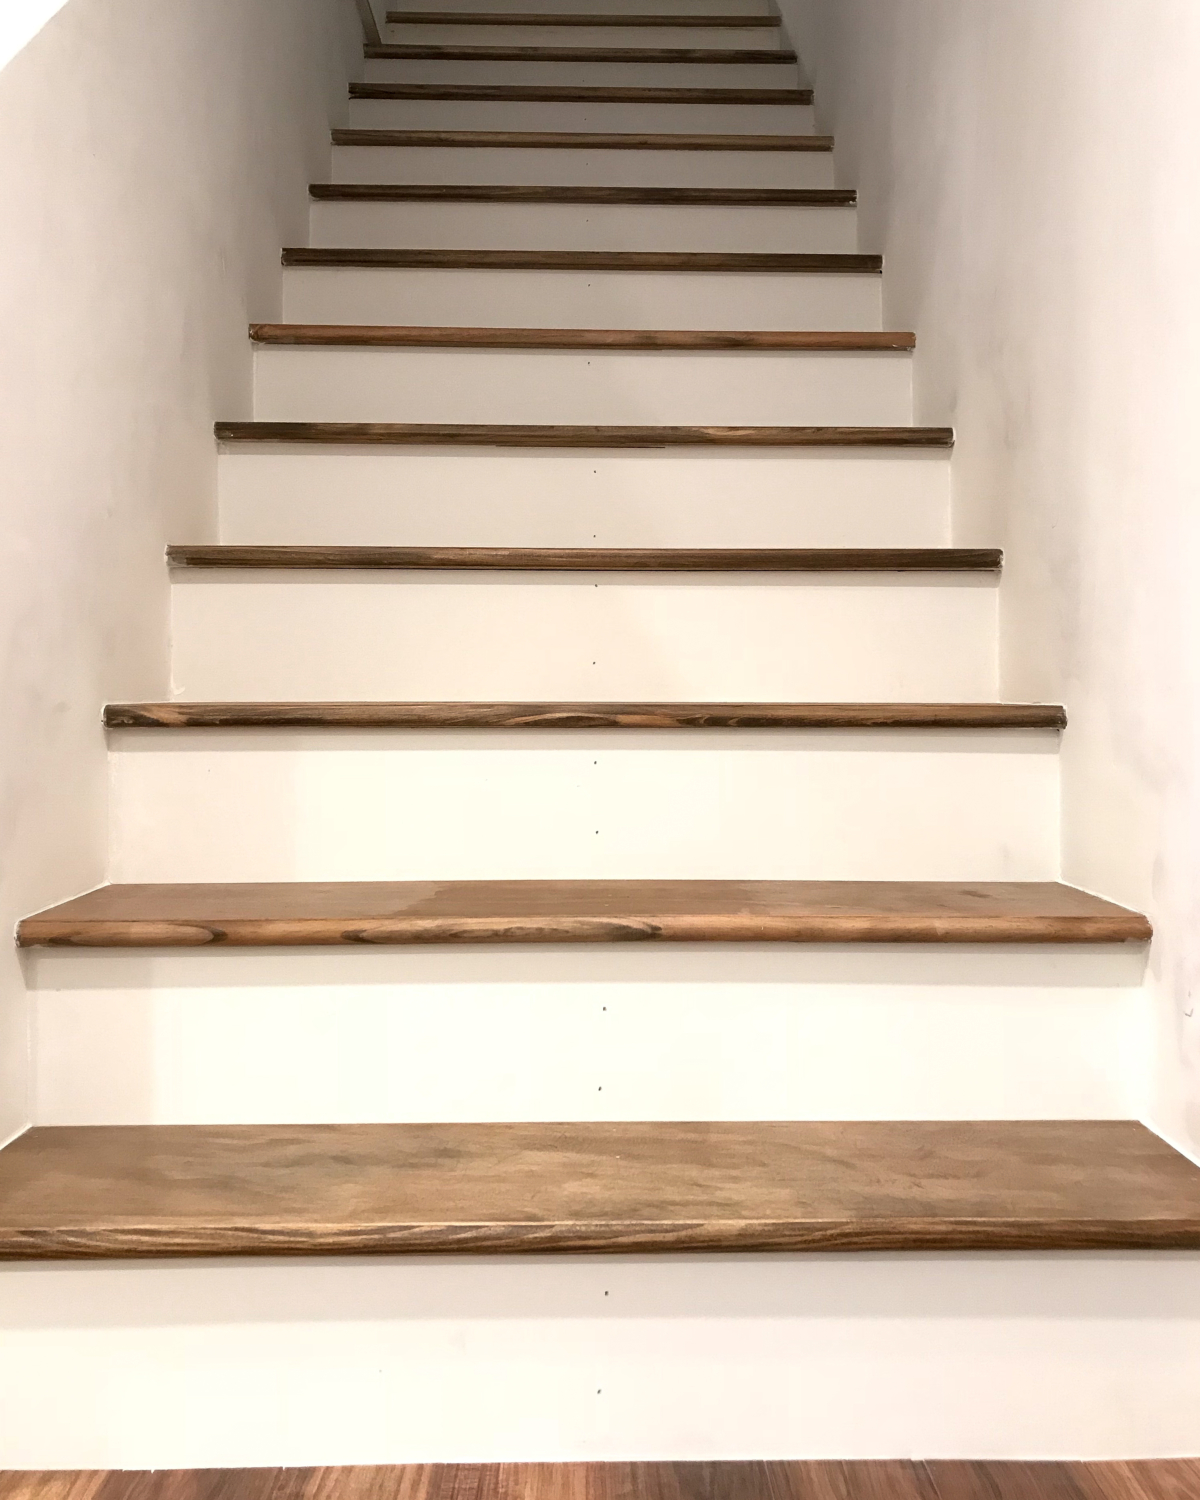
I wanted the softness of a runner on the stairs though, so I did a little research on how to install a stair runner, chose the carpet I wanted to use, and got to it! Below I’m sharing both what I did and a couple things I’ll do differently next time I take on this project.
How to Install a Stair Runner
Before beginning, measure the length of carpet that you’ll need. I used a tape measure and placed it under the nose of my top step and then carefully wrapped it around each step until I got to the bottom. Chances are you’ll need two rug runners for a standard staircase but always measure just in case!
Here’s what you need:
- Rug pads
- Rug runner long enough to wrap around all of your stairs (or multiple ones, I’ll be showing you how to join them below).
- Painters tape
- Bolster chisel
- Long nose staple gun
- Air compressor
- Stair rods (optional)
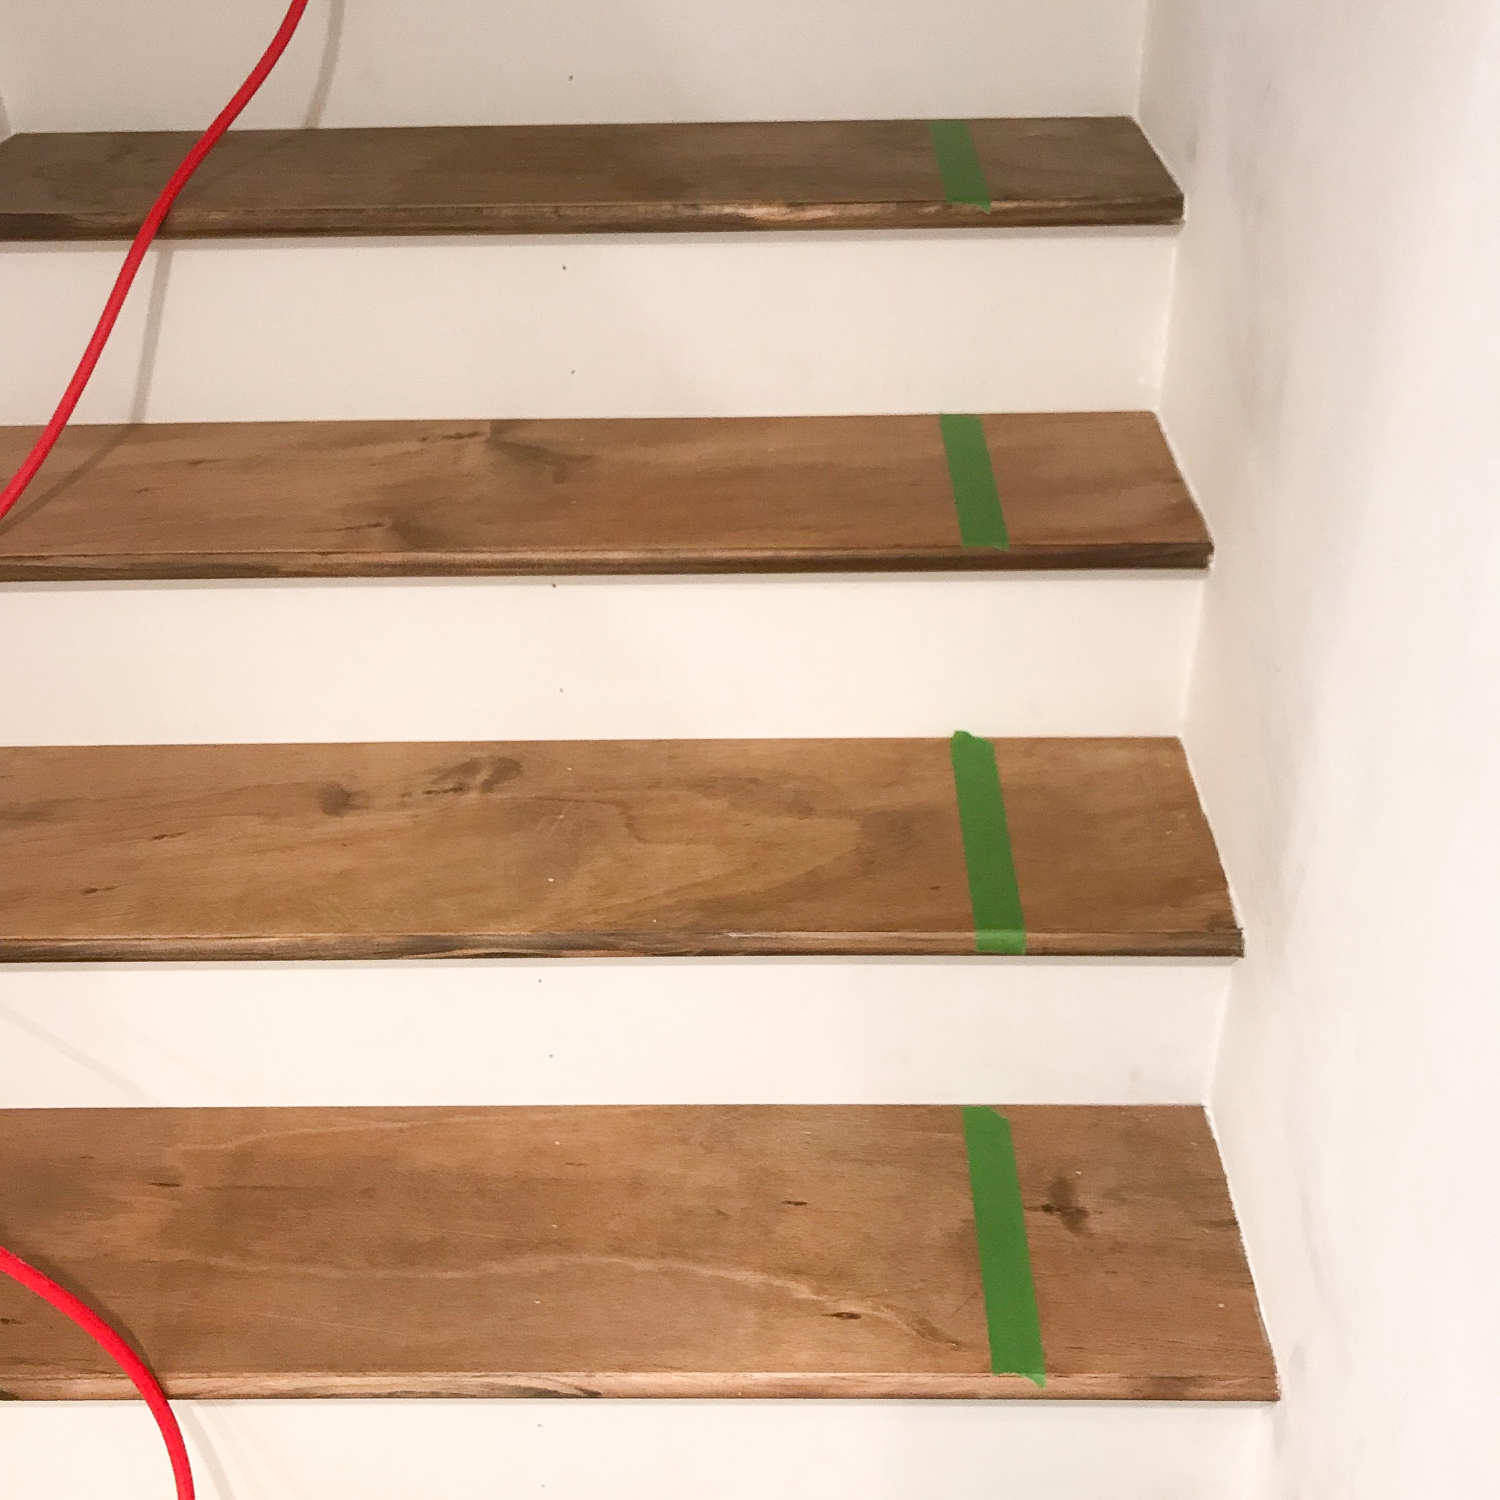
For a professional look, you want to make sure the edges of your runner are straight for the entire length of the stairs. To do this, measure the width of your stair treads and subtract the width of the carpet runner from that number. Split the remaining number in half and that is the number of inches you want to have on either side of your runner. To ensure you stay straight, measure the distance out from the wall on every tread and mark it with painters tape so you have a guide for your rug installation.
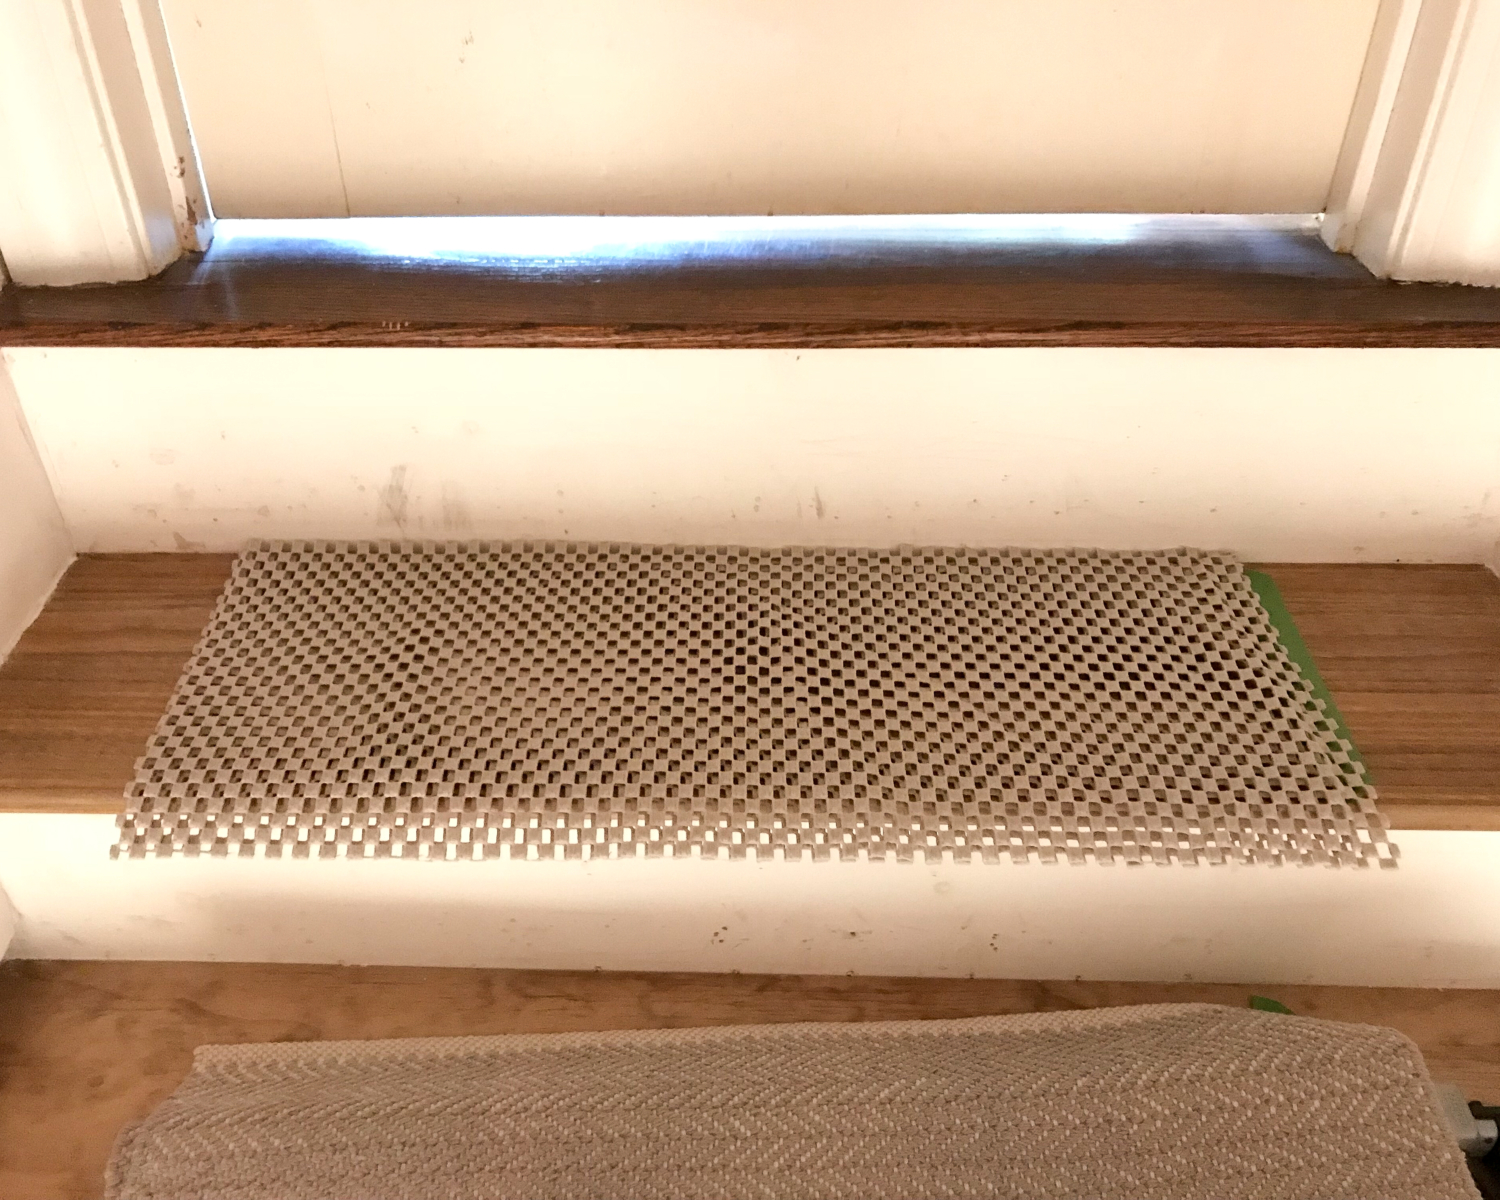
Next, cut a piece of rug pad about an inch smaller in width than your runner and just longer than the depth of your tread. Place it on the tread so it sits about a half inch in from from the edge of your painters tape guide.
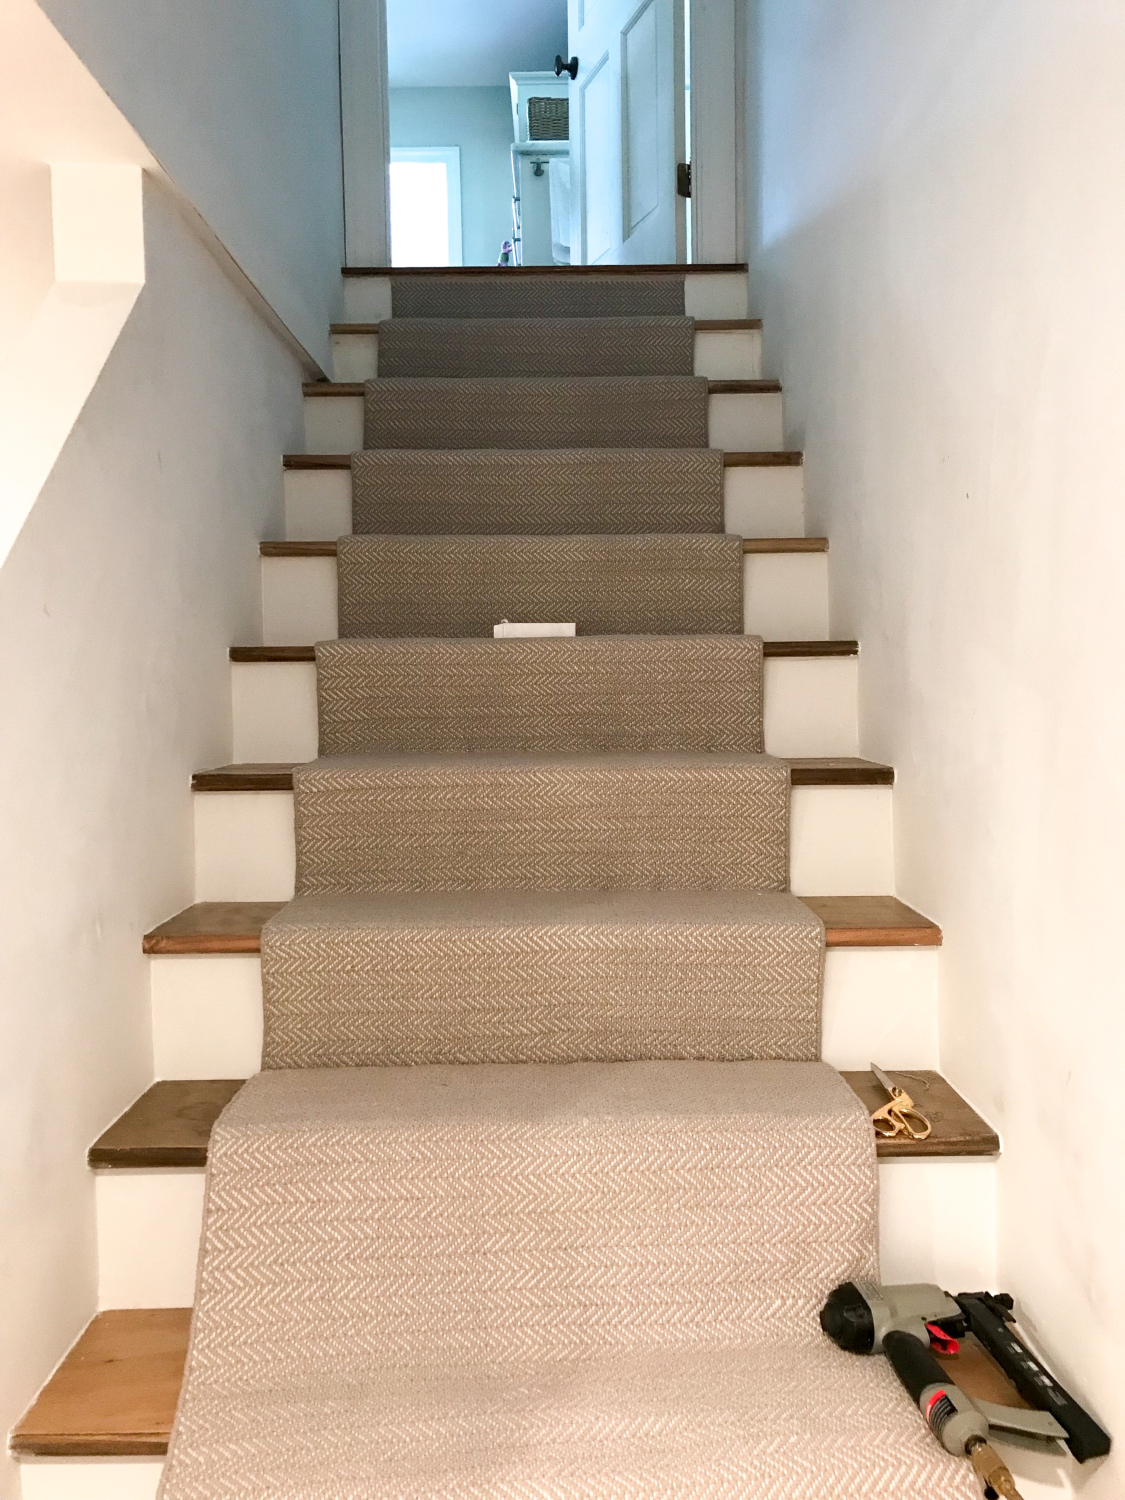
To begin your runner installation, place the top edge of your rug runner right up against the underside of your top step. Staple it in place as close to the top as you can, placing staples a few inches apart.
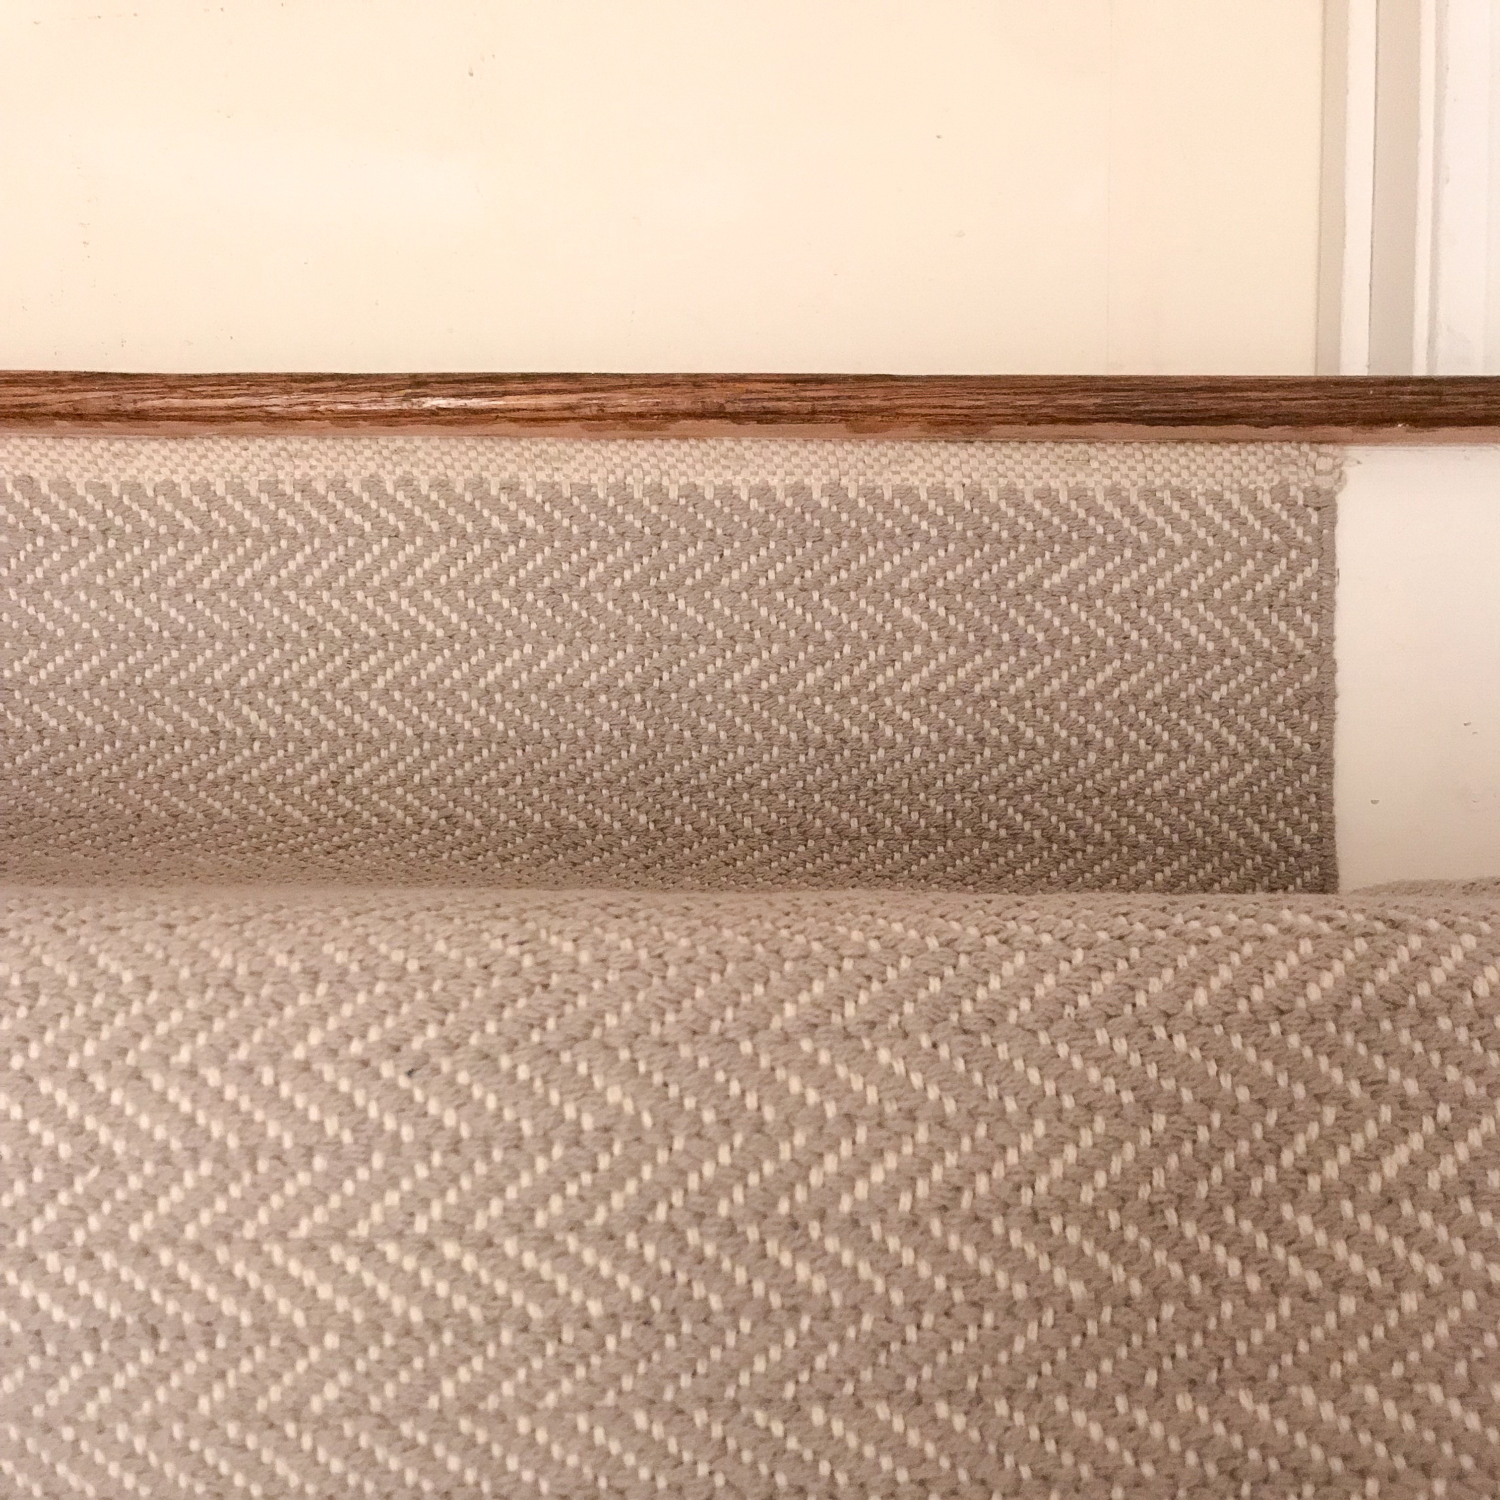
There are two different styles you’ll see when you’re looking for how to install a stair runner – wrap and waterfall. For a wrap style installation the runner is stapled both underneath each stair tread and at the joint where the bottom of each riser meets a new tread. Waterfall installation is only stapled at the joints where the bottom of the riser meets the back of a new tread. I chose to do a waterfall style here.
Two things I wish I had used that I didn’t were a bolster chisel (to really make crisp seams in the rug) and a long nose staple gun. I used the upholstery stapler that I have and because the stapling angle was a little off my staples were more noticeable than I would have liked. I came up with a solution that I love, but those are two products I didn’t have that I’d recommend!
If you’re approaching how to install a stair runner using a waterfall installation like I did, pull your rug tight and even and staple at the bottom of each riser, then repeat with additional rug pad pieces on treads, and stapling at the bottom of each riser, until you get to the end of your runner.
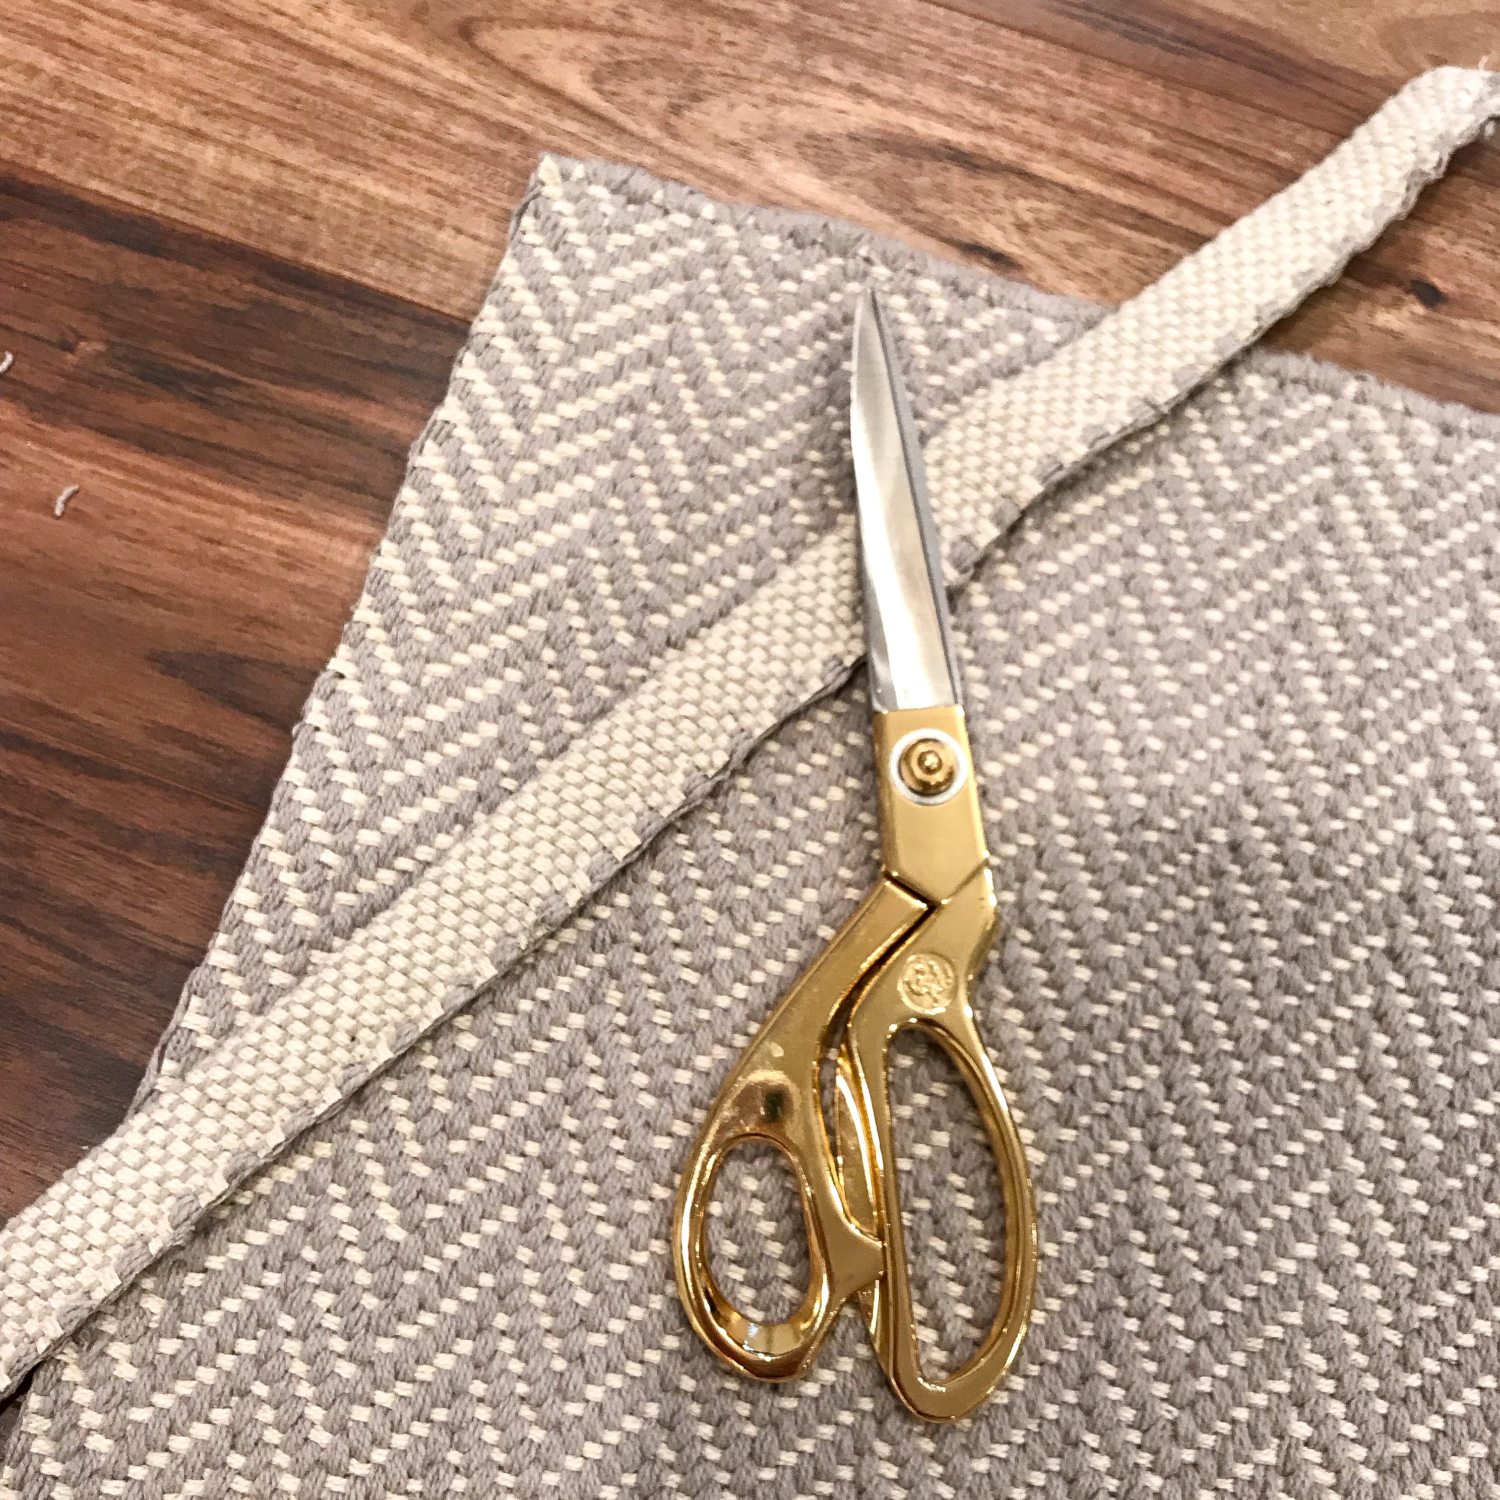
Cut the thick binding off the bottom of your first runner and the top of your second one. Leave enough length on the runner that’s already on the stairs to go under the end of the new runner.
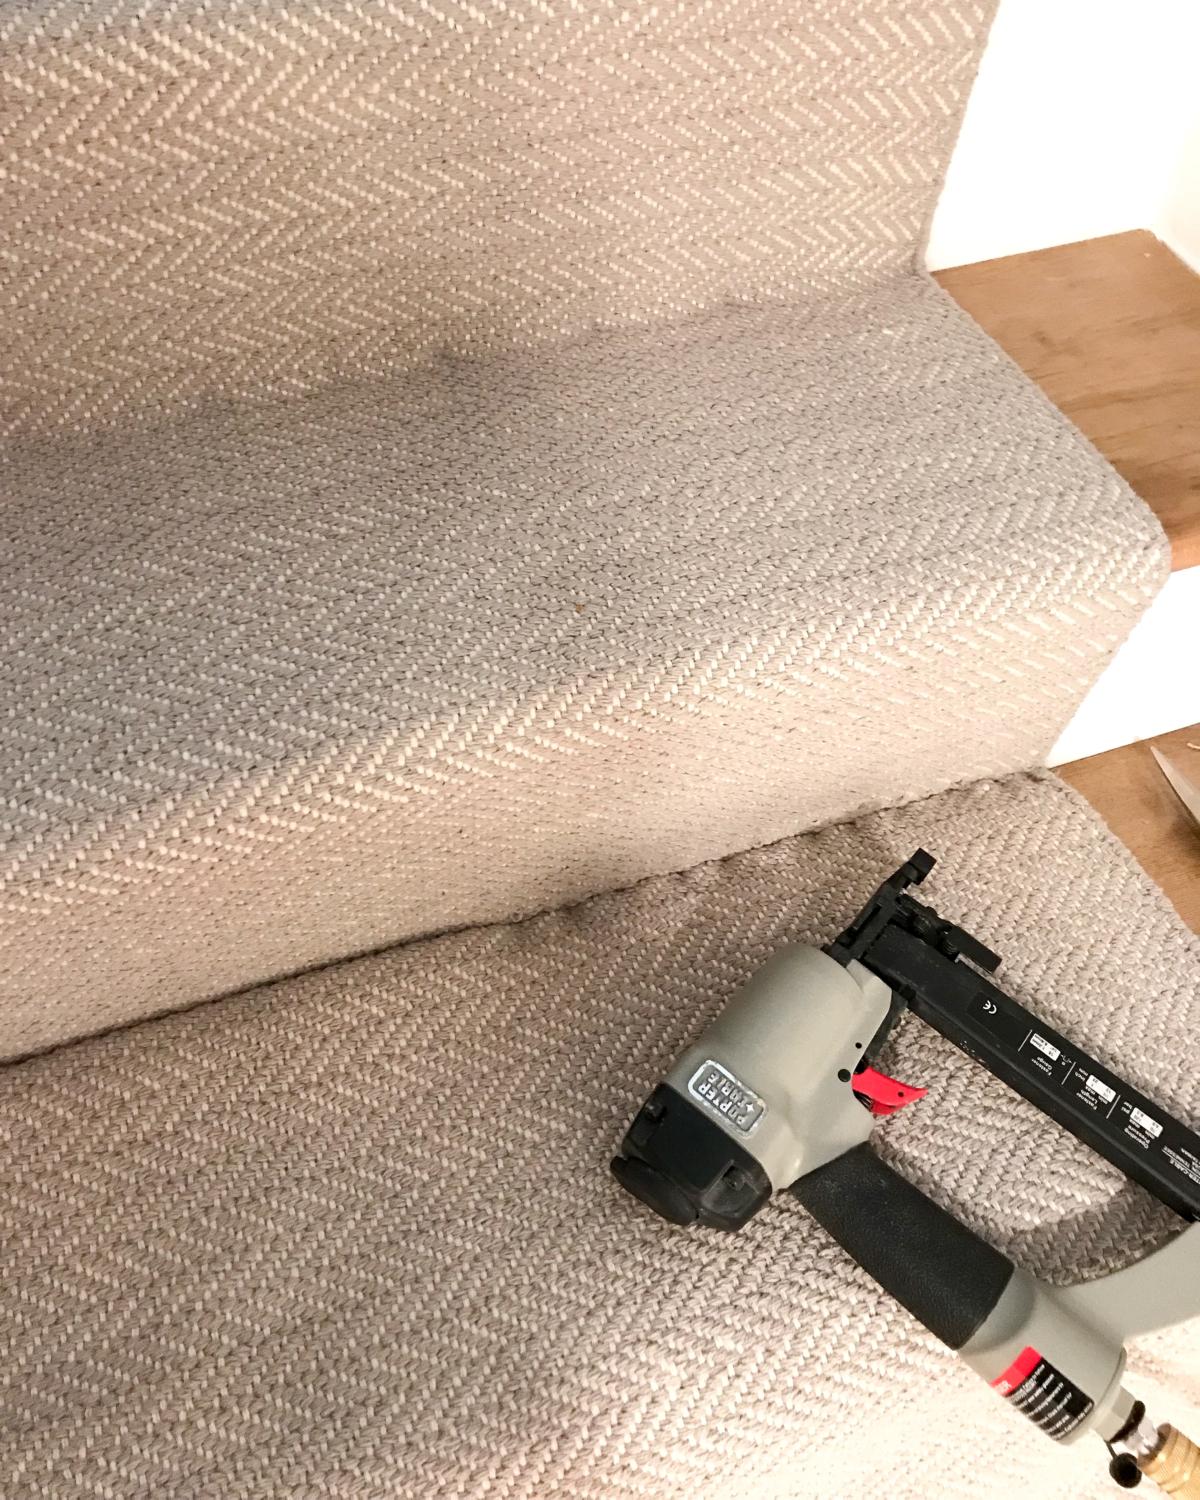
Fold the rough edge of the new runner under and staple it in place along a tread and riser seam. You might want more stapes than usual along this seam.
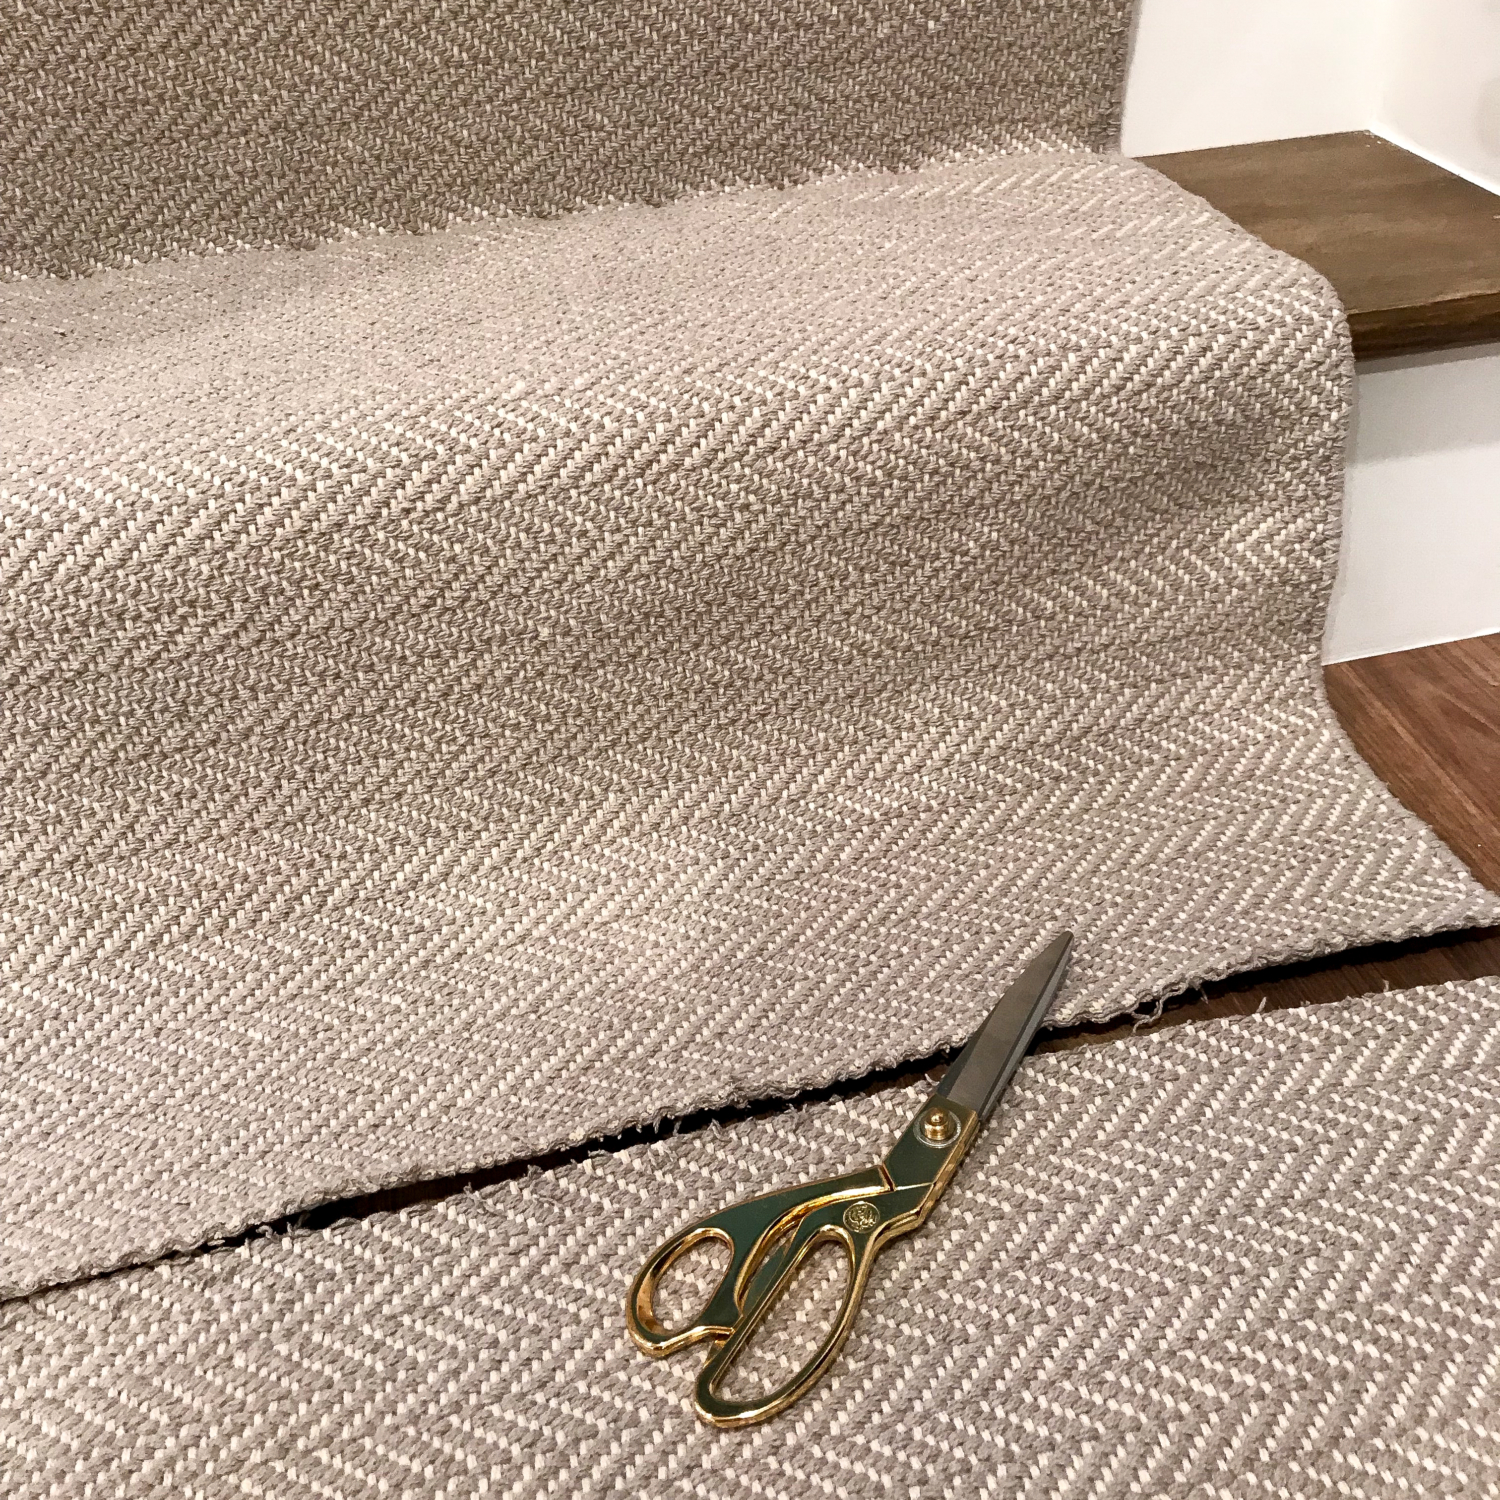
When you get to the bottom of your stairs, cut the runner again so you can tuck at least a couple inches under and still reach the bottom of the final riser. Fold it and staple along the bottom of the final riser to secure it.
I’ve always liked the look of stair rods and they were the perfect solution both for adding a little extra interest to my staircase and for covering up the staple dimples that I didn’t like. They’re super easy to install too. Just center them on your rug runner and screw them in.
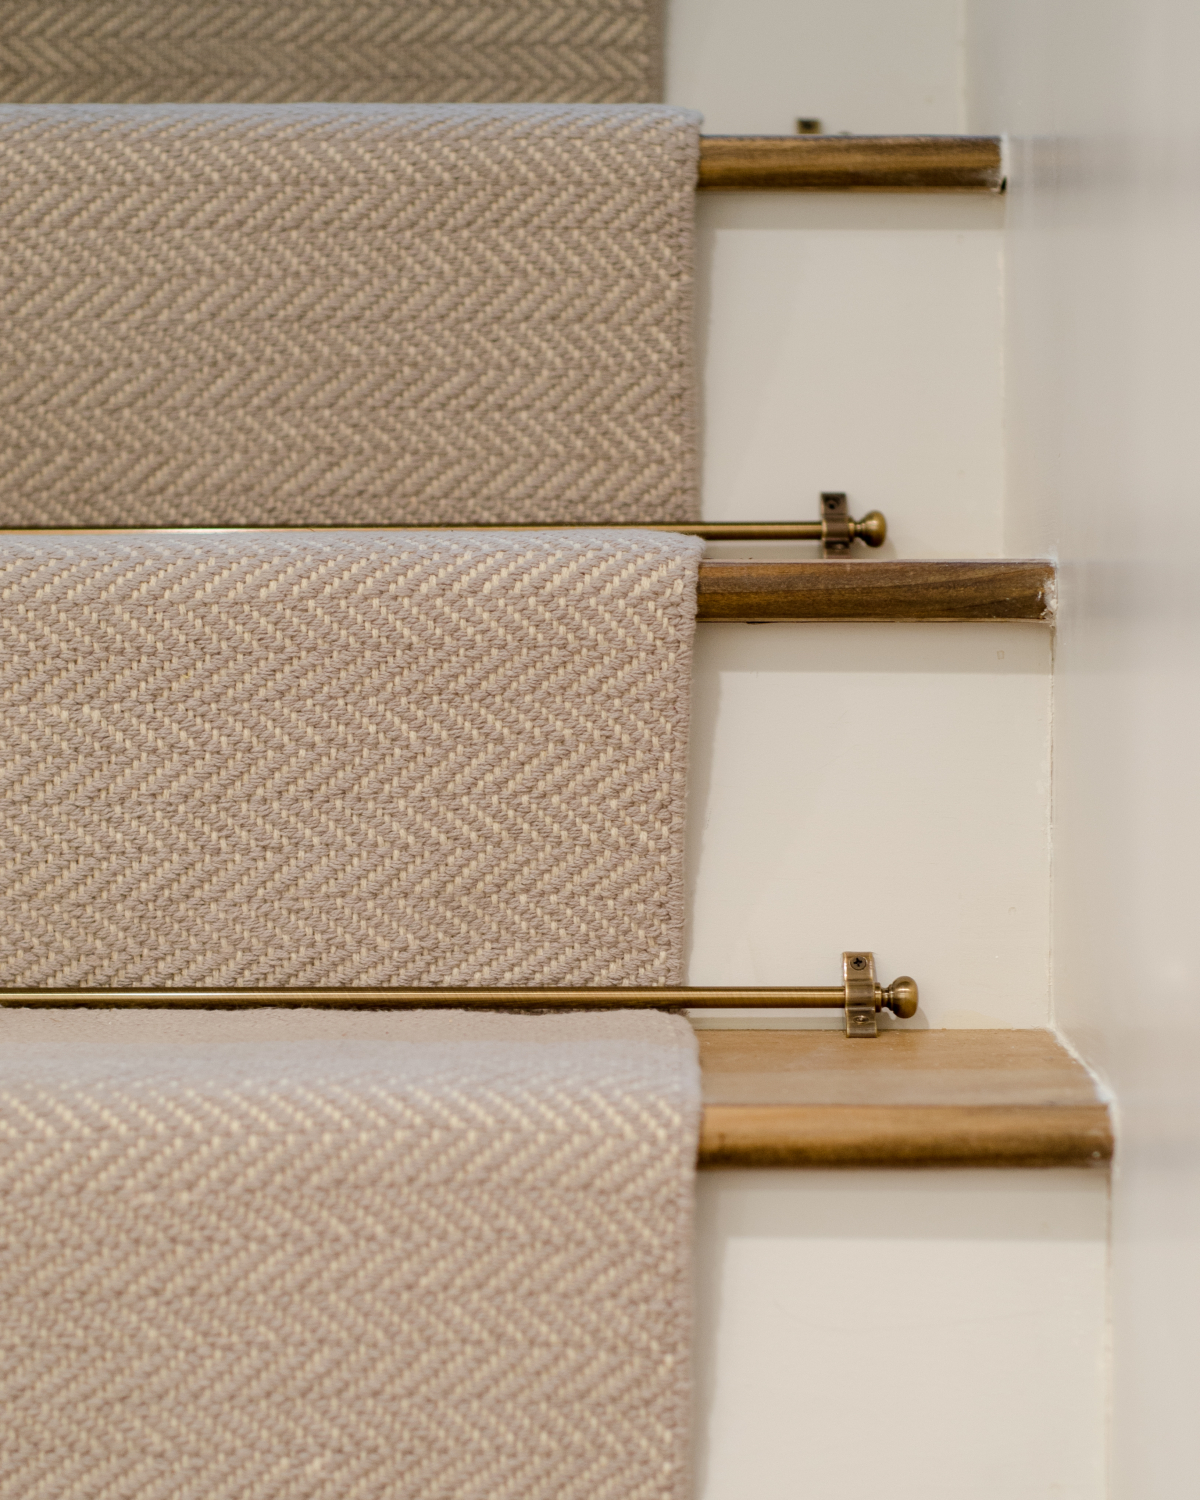
And with that, a dingy, unsightly corner of my house became a clean, pretty entry to the basement family room I worked so hard to renovate. It’s the entry point this room deserved!
I relocated a collection of photos I took on a trip out west a few years ago to the staircase wall. I love looking at them every time I walk down these stairs and I think having some artwork on the walls makes the staircase feel that much more homey and complete.
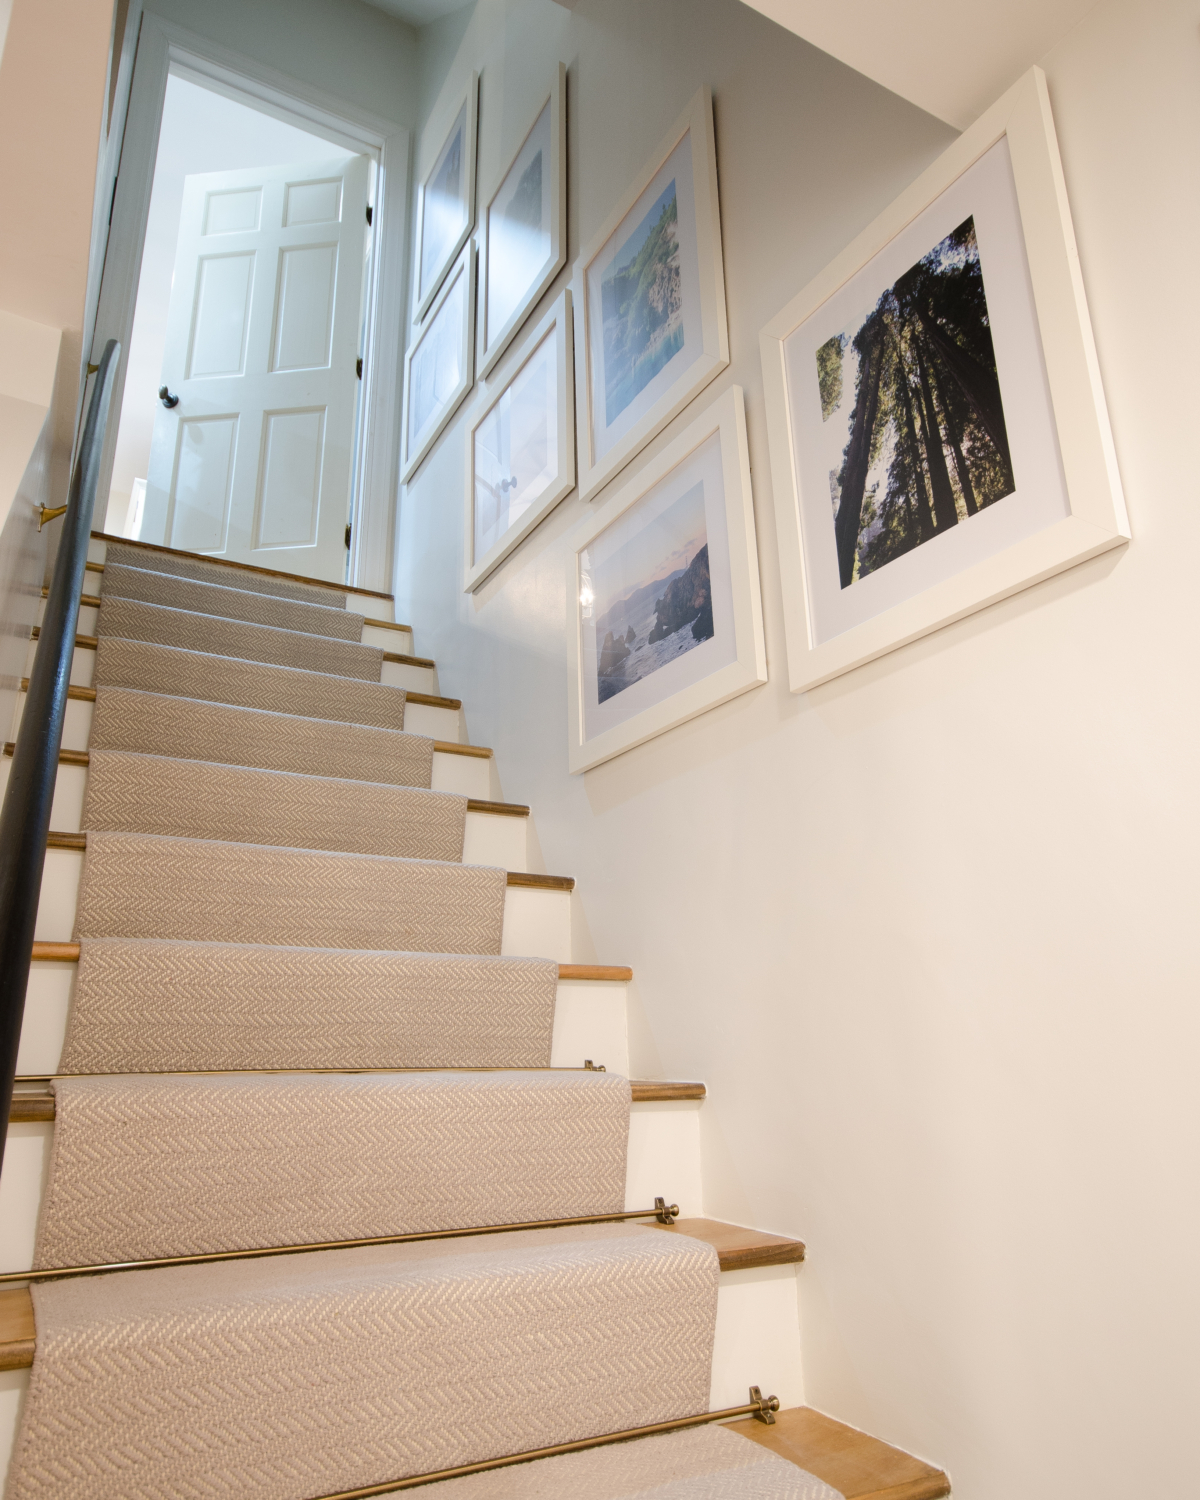
And just to remind you of how far this little corner has come, here’s a side-by-side before and after.
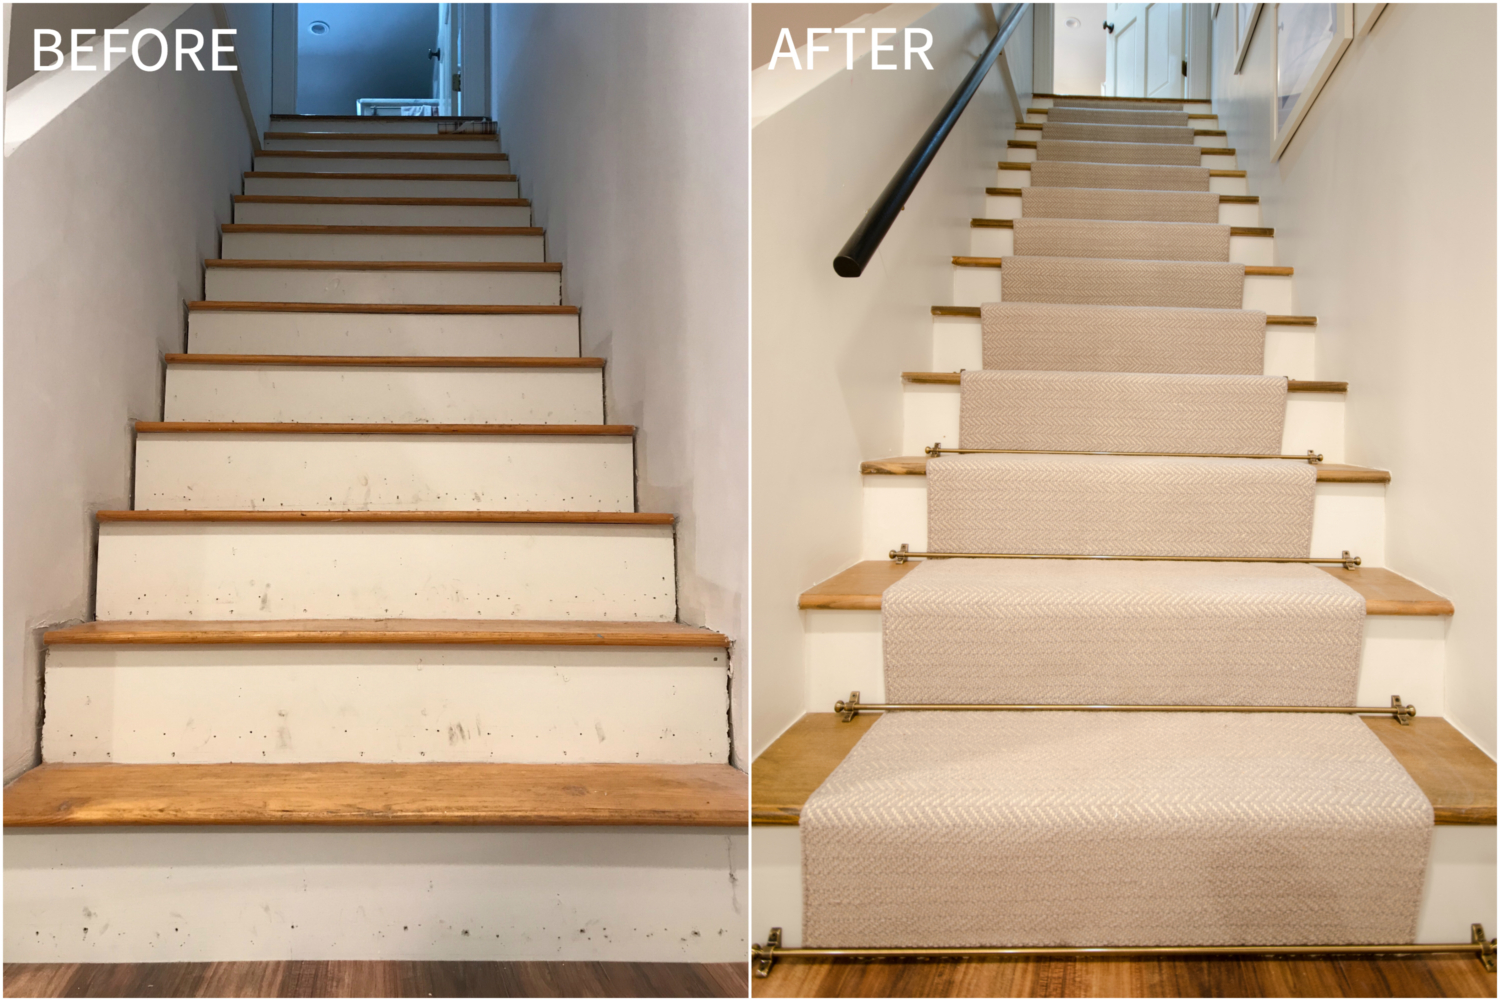
This is such a doable DIY project and you can tell from the before and after photos here what a big difference it makes. If you’ve been considering this project and wondering how to install a stair runner, I hope this was helpful. Let me know if you have any questions!

