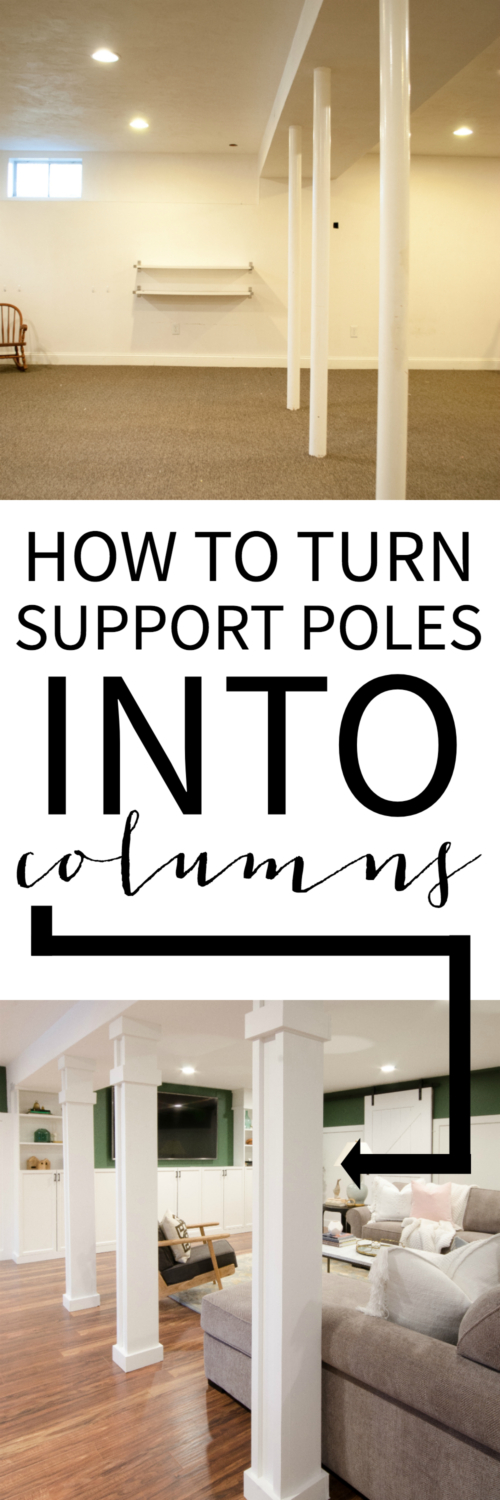
One of the biggest eyesores in my basement was the row of support poles that cuts the room in half. No matter what you put around them, they basically scream BAAAAASEMENNNNNNT!!! right in your face. But they’re also kind of necessary since they pretty much hold up the whole house. But that does NOT mean you have to just accept those ugly guys! I’m going to show you how to turn support poles into columns with just a few inexpensive building materials. The poles in my basement went from an unsightly necessity to one of my favorite features in the whole room. I chose to do them in a simple Shaker style to coordinate with the other moulding features in the room. You can see more of the renovations I did in the basement HERE and HERE.
Here’s what you need to turn support poles into columns:
- 1x6s
- 1x4s
- 1x2s
- Measuring tape
- Miter saw
- Pocket hole jig
- Electric screwdriver
- 1″ pocket hole screws
- Nail gun
- 2″ finishing nails
- 2 1/2″ screws
- Caulk gun
- Construction adhesive
- Caulk
- Lightweight spackle
- Paint
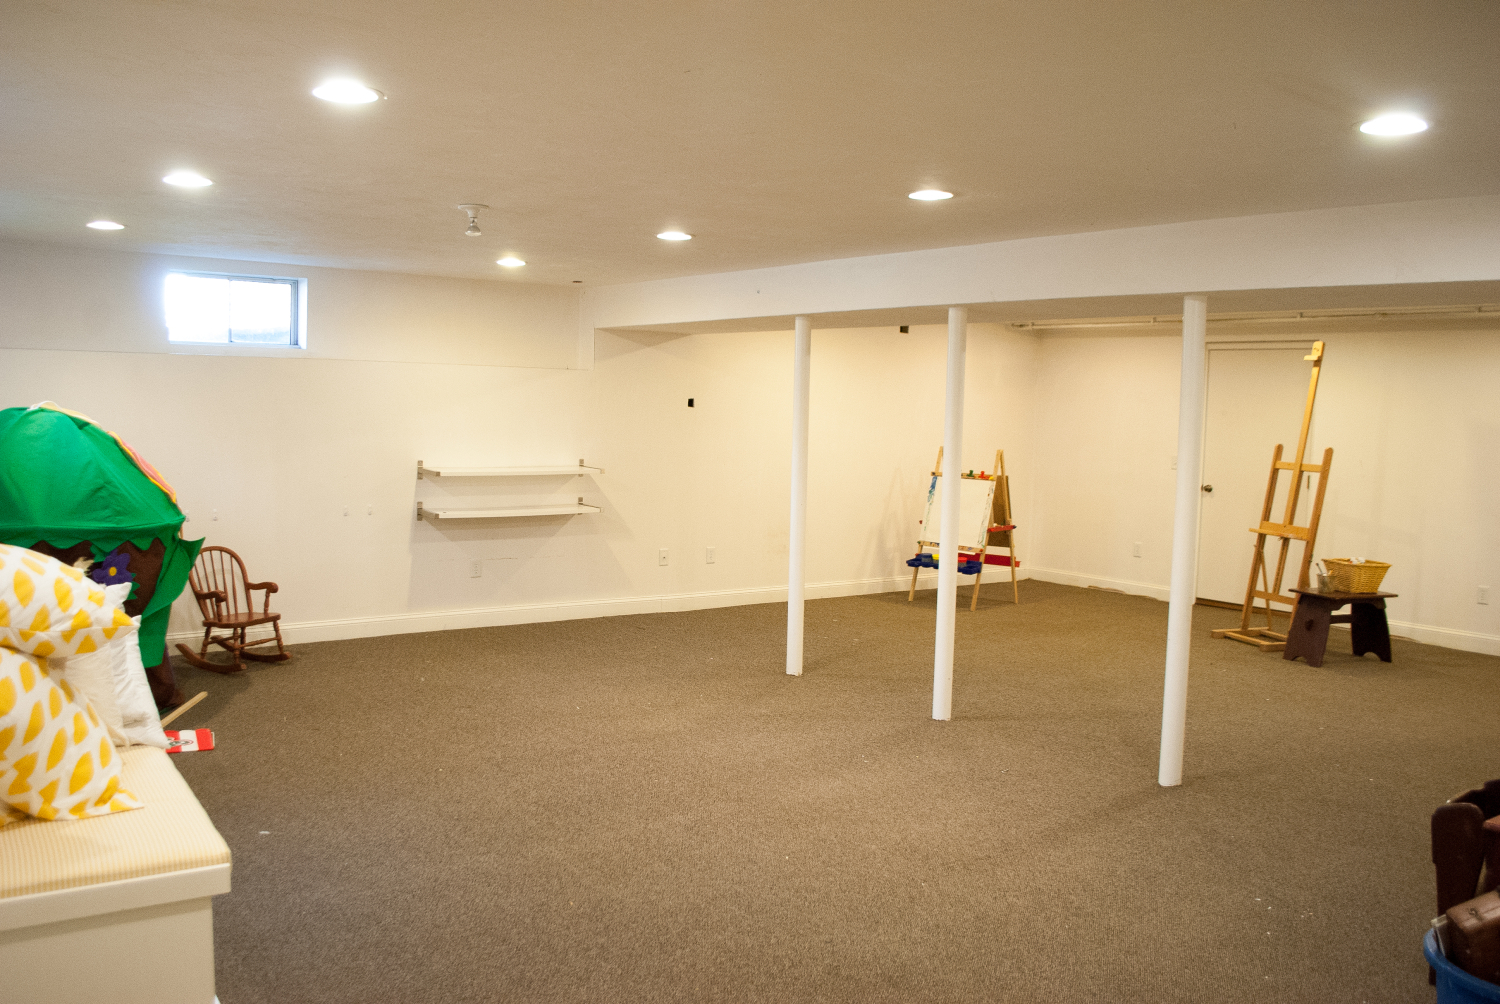
Here’s what I started with in the basement.
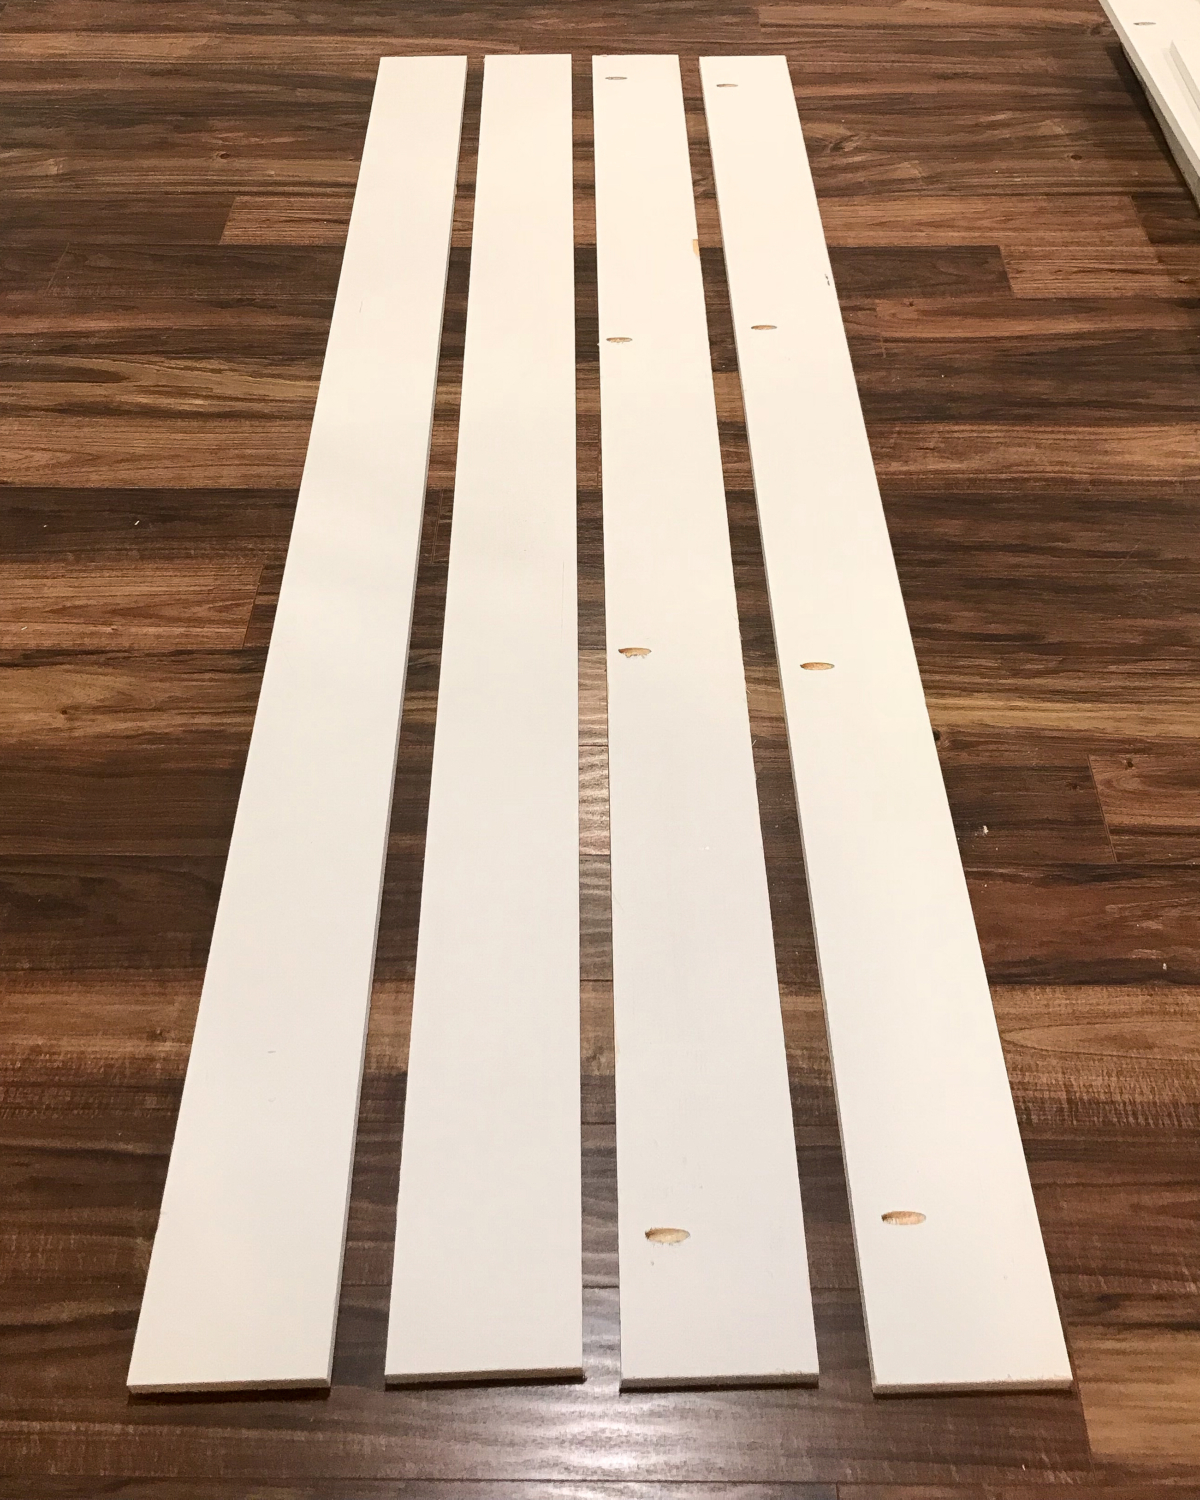
To determine how long to cut the 1x6s, measure the height of your poles and then take 1/4″-1/2″ off that measurement. You want to make sure you’re not wedging them into place and any gap at the top will be covered later by the trim. Cut four 1x6s to the length you measured, then use the pocket hole jig to drill four holes in two of the 1x6s as shown below.
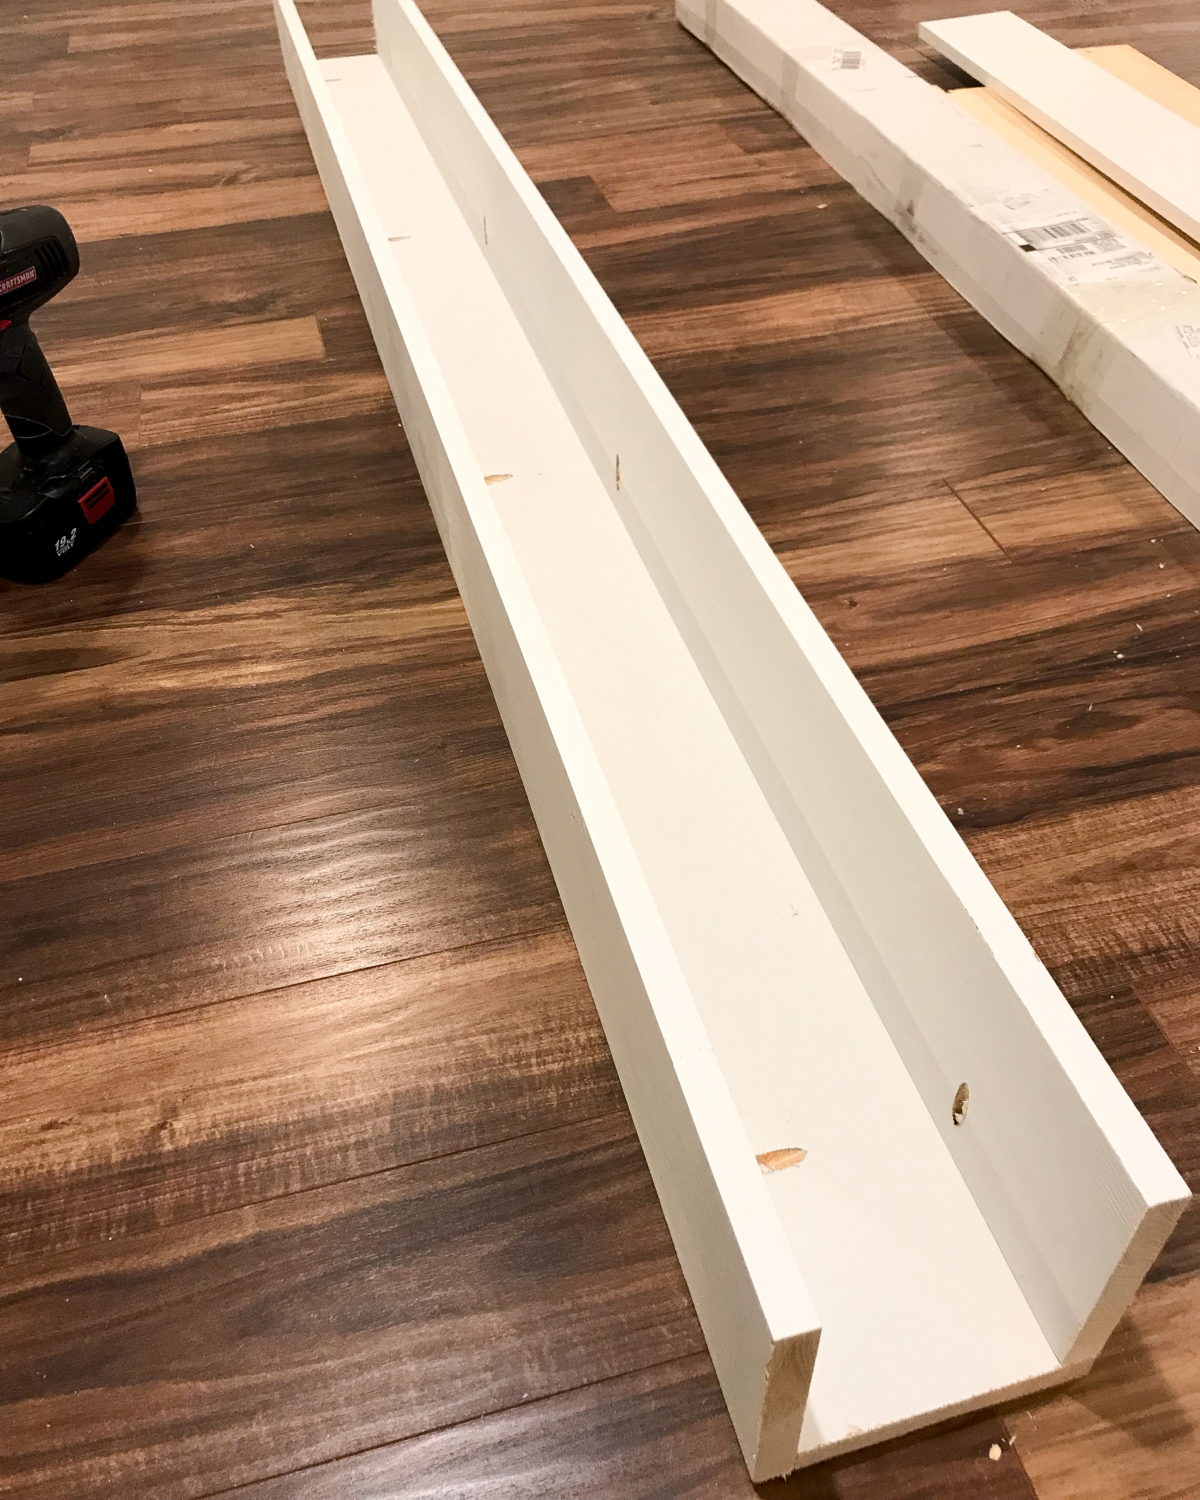
Line up one of the 1x6s with holes perpendicular to one of the 1x6s without holes and attach it using an electric screwdriver and 1″ pocket hole screws. Attach the remaining 1×6 with holes to the first 1×6 with holes by following the same process. You’ll be left with a three-sided box.
Pull the attached 1x6s upright and position it around your support pole.
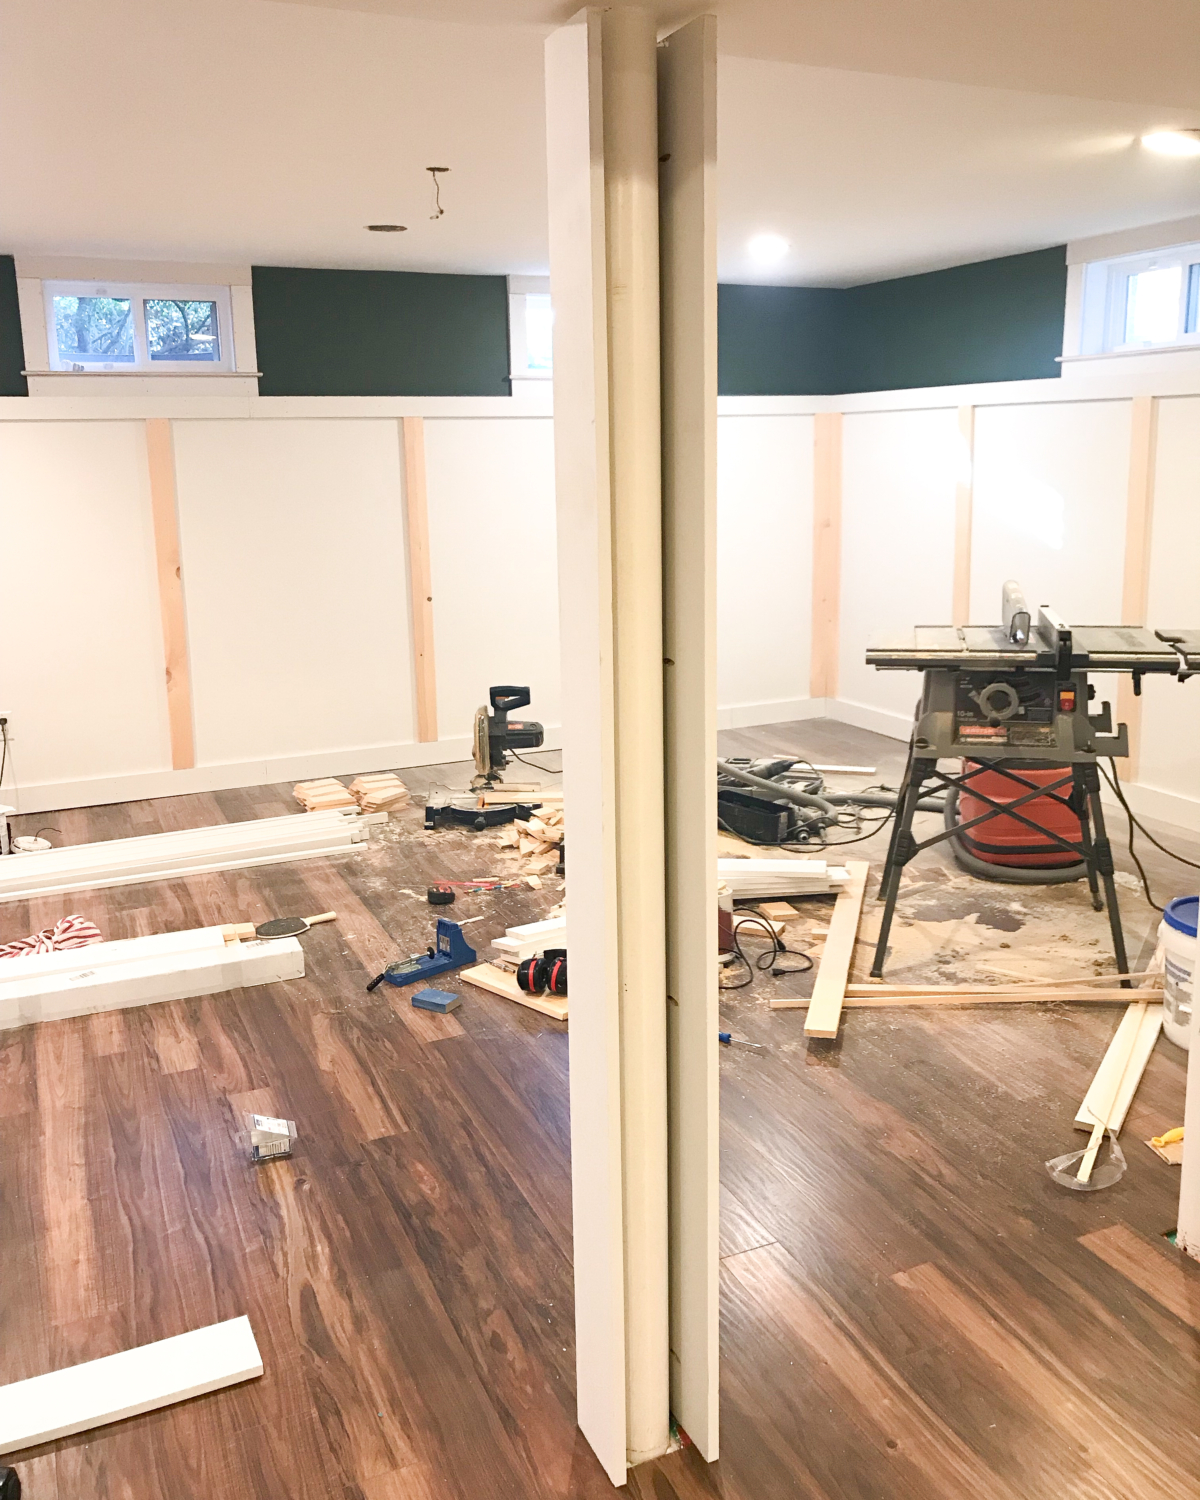
Take the remaining 1×6 and place it in the opening to complete the column box. Use a nail gun and 2″ finishing nails to attach the 1×6 to the rest of the box. You can also do this with a hammer and nails but a nail gun is much neater…and easier!
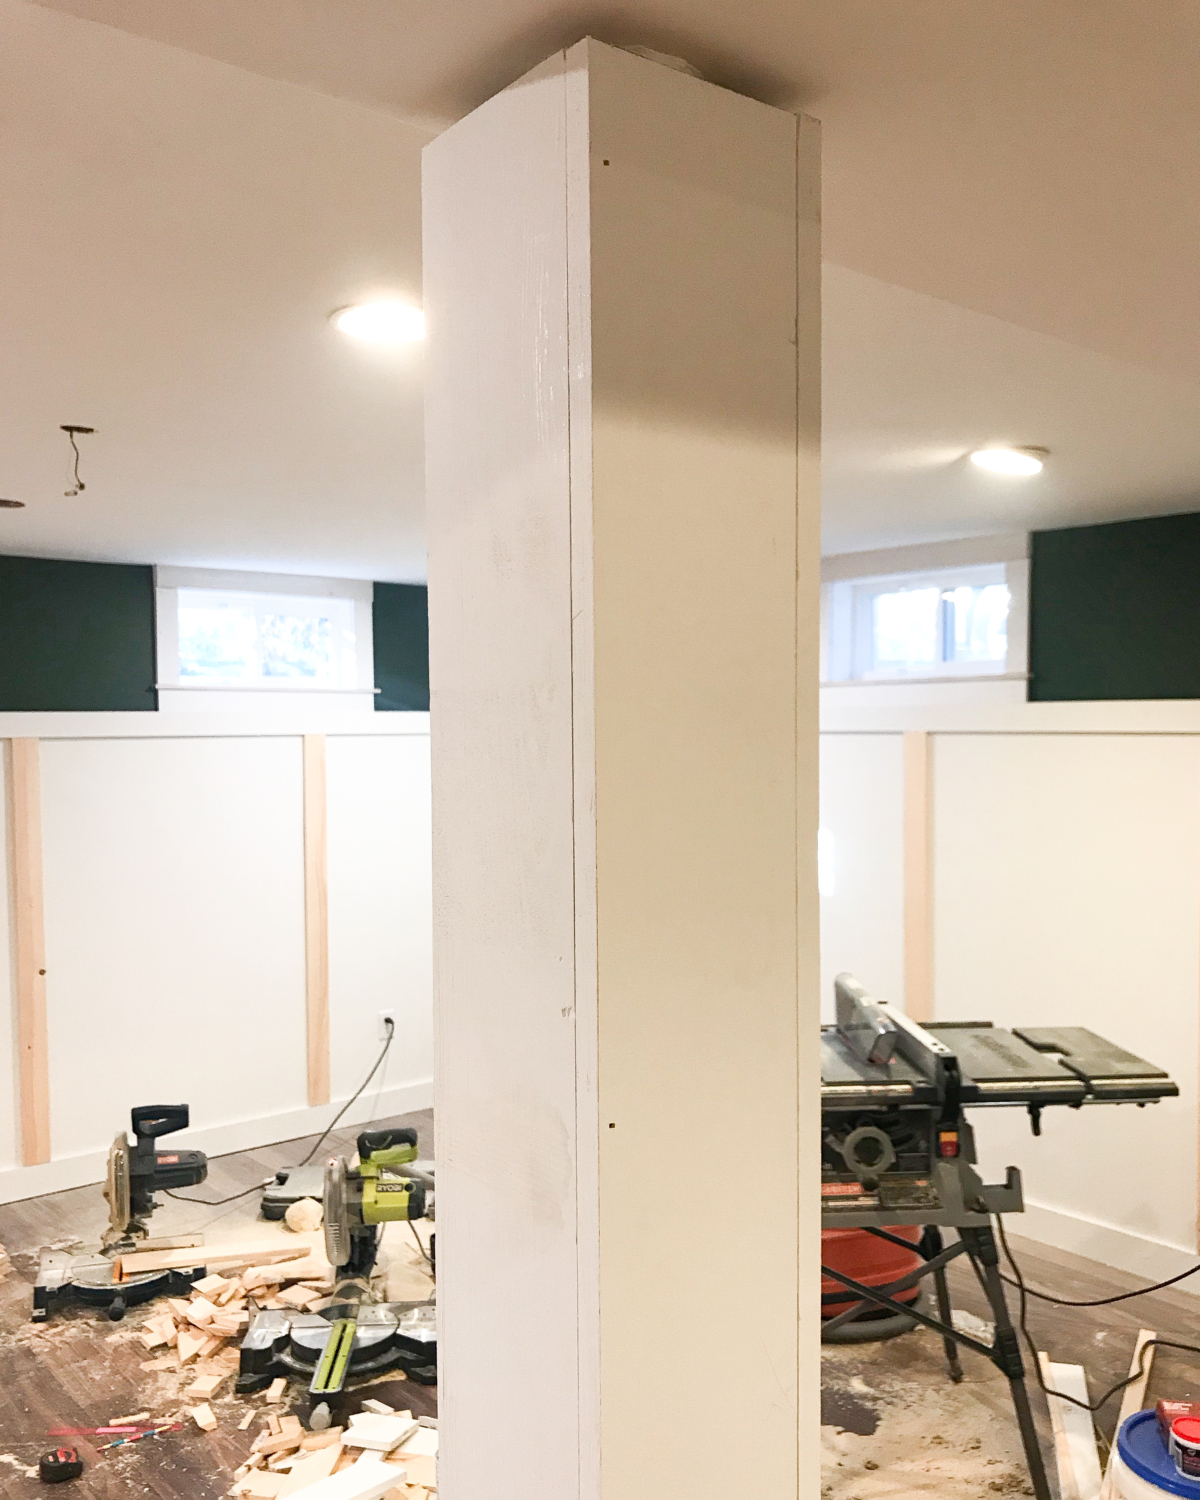
To trim the top of the column, measure the width of the sides of the columns. They should all be 6 1/4″ wide but I always measure just to be sure. Cut four 1x4s to the correct width – you want the edges to be mitered at 45º, so the inside of the mitered edges should match the width of the column box. Attach the 1x4s to the column box using a nail gun and finishing nails.
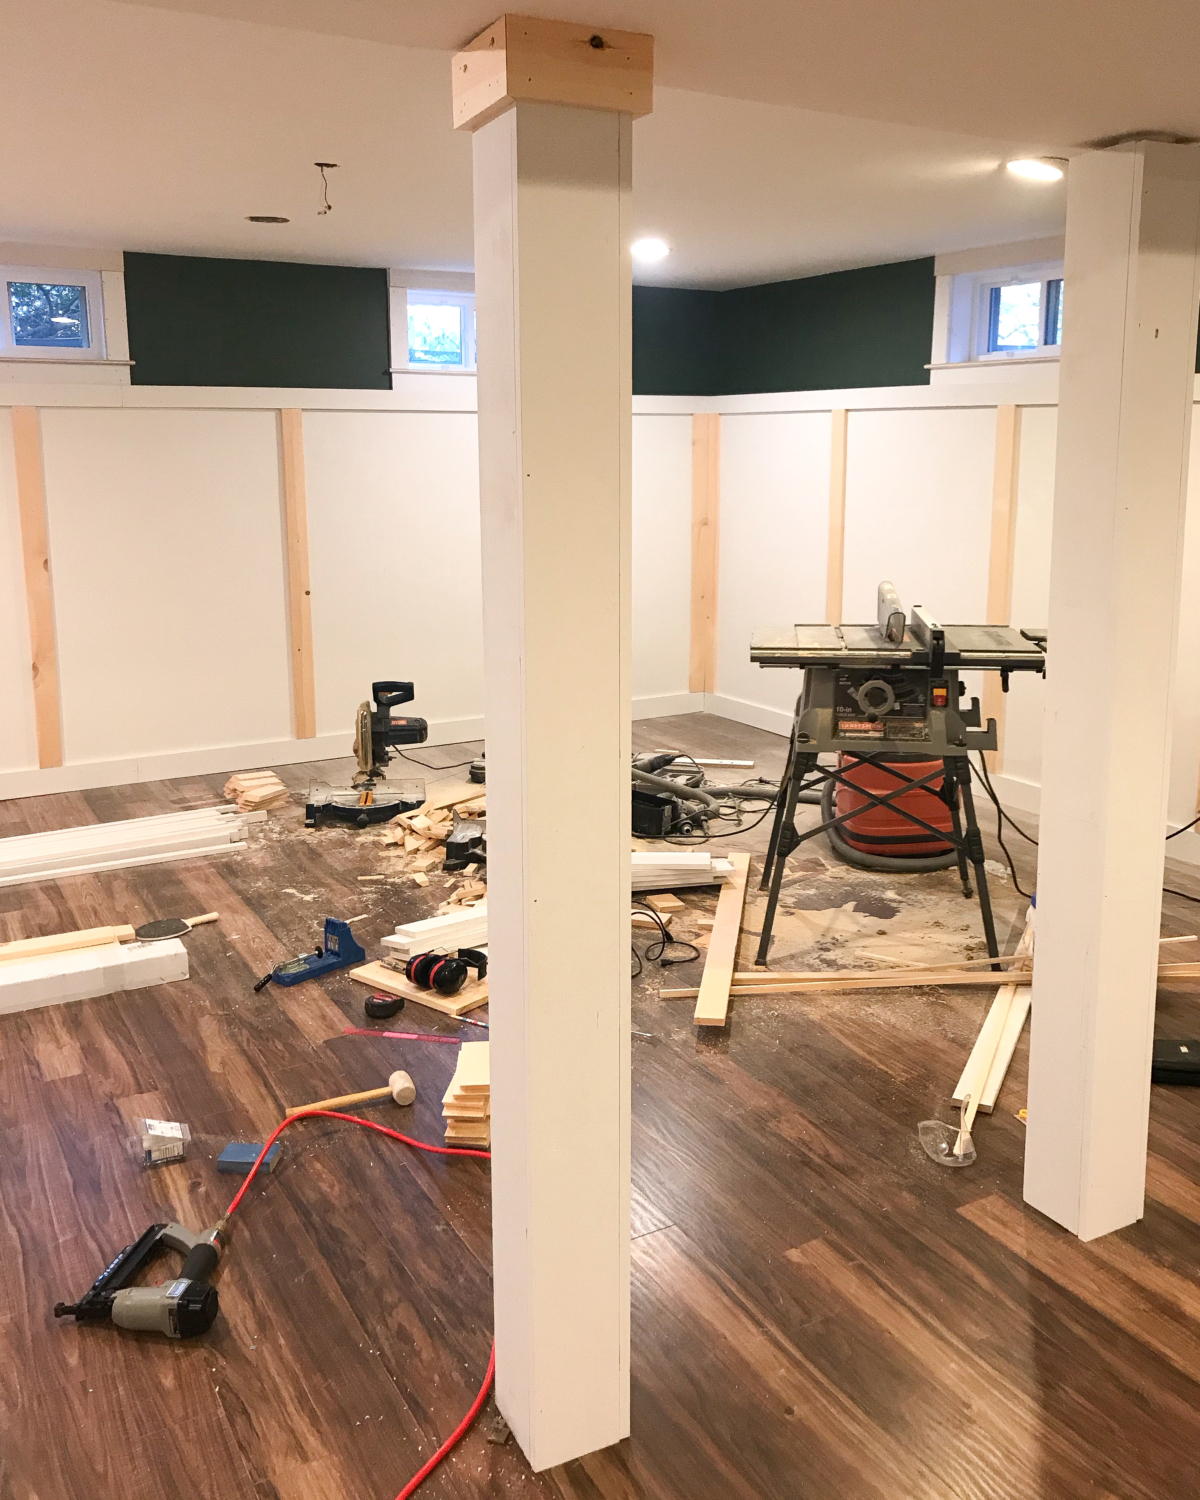
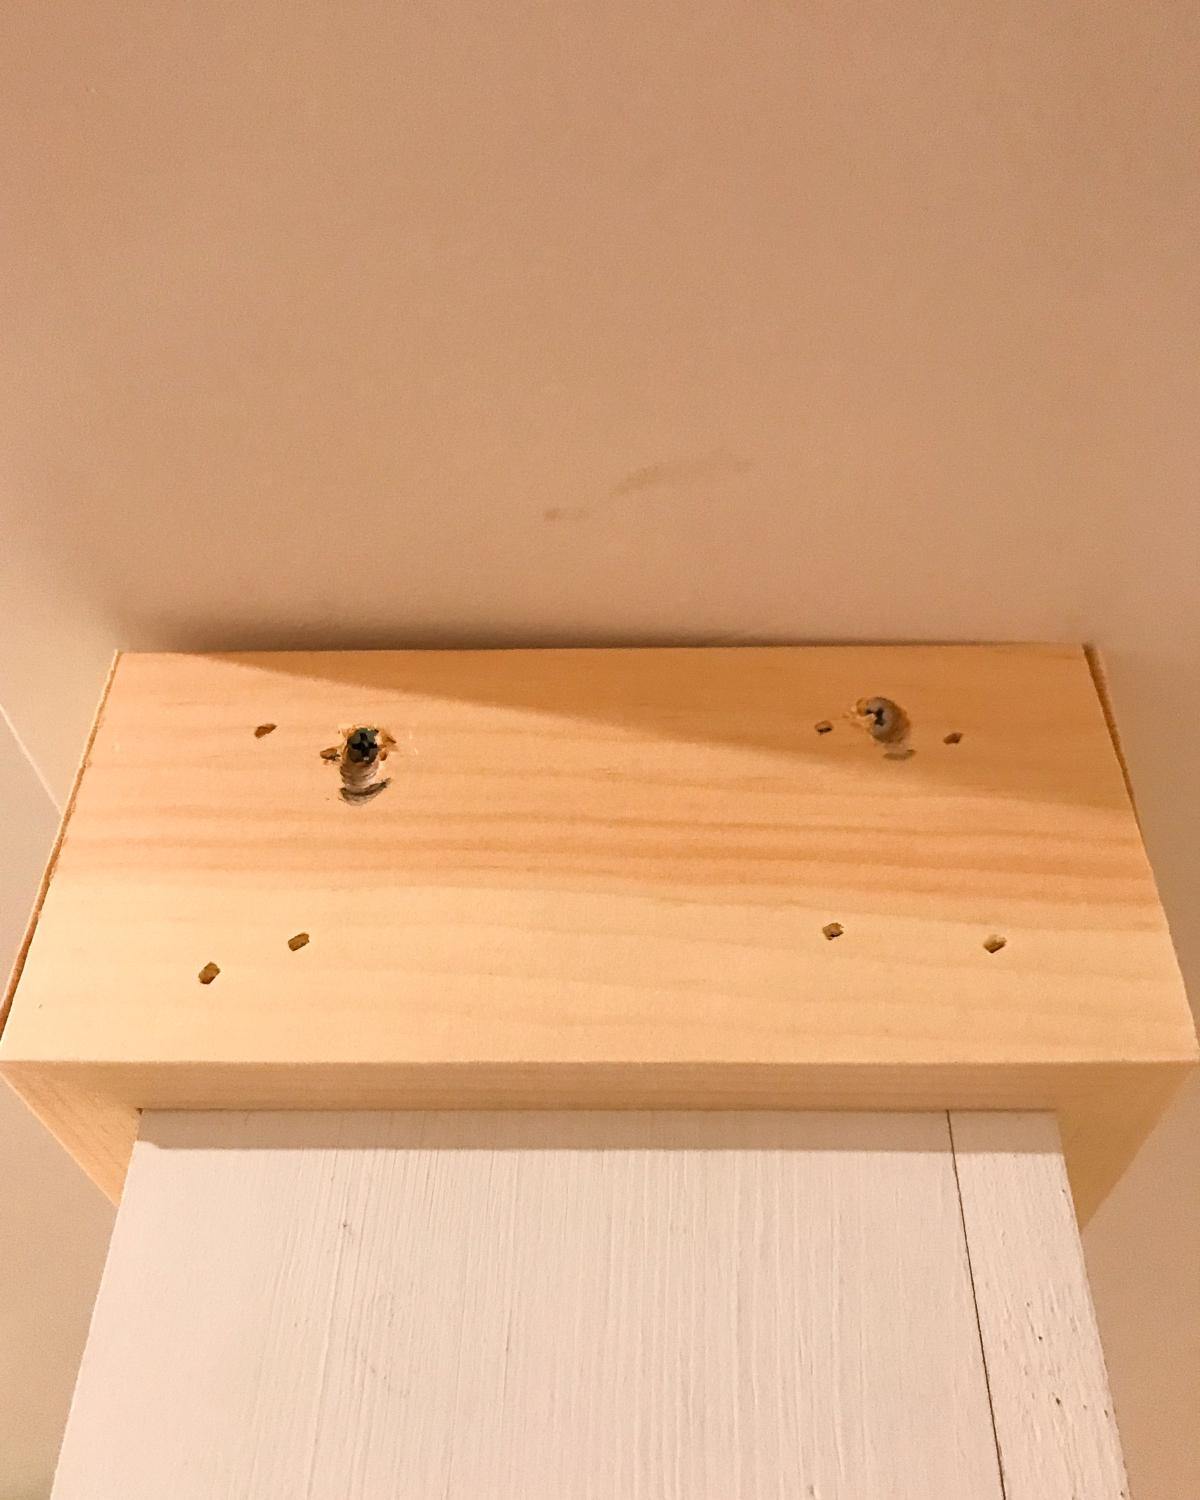
To secure the 1x4s to the ceiling, drill pilot holes through two sides of the 1x4s, at an angle up toward the ceiling. Use a larger drill bit (slightly larger than the head of your screw) to open up the begining of the hole so the head of the screw can side inside. Use an electric screwdriver to drive 2 1/2″ screws up through the holes and into the ceiling.
I added another section of 1x4s around the top fourth of my columns to mirror the high chair rail in the rest of the room, but this is optional. You can skip it entirely or put it about a third of the way up for a traditional chair rail height. For the bottom 1×4 trim, cut four more pieces with mitered edges to the width of the column box and attach the same as the top trim, but squeeze a line of construction adhesive along the bottom of the 1×4 pieces that will be touching the floor to hold them firmly in place. Once the adhesive has dried your columns should be rock-solid.
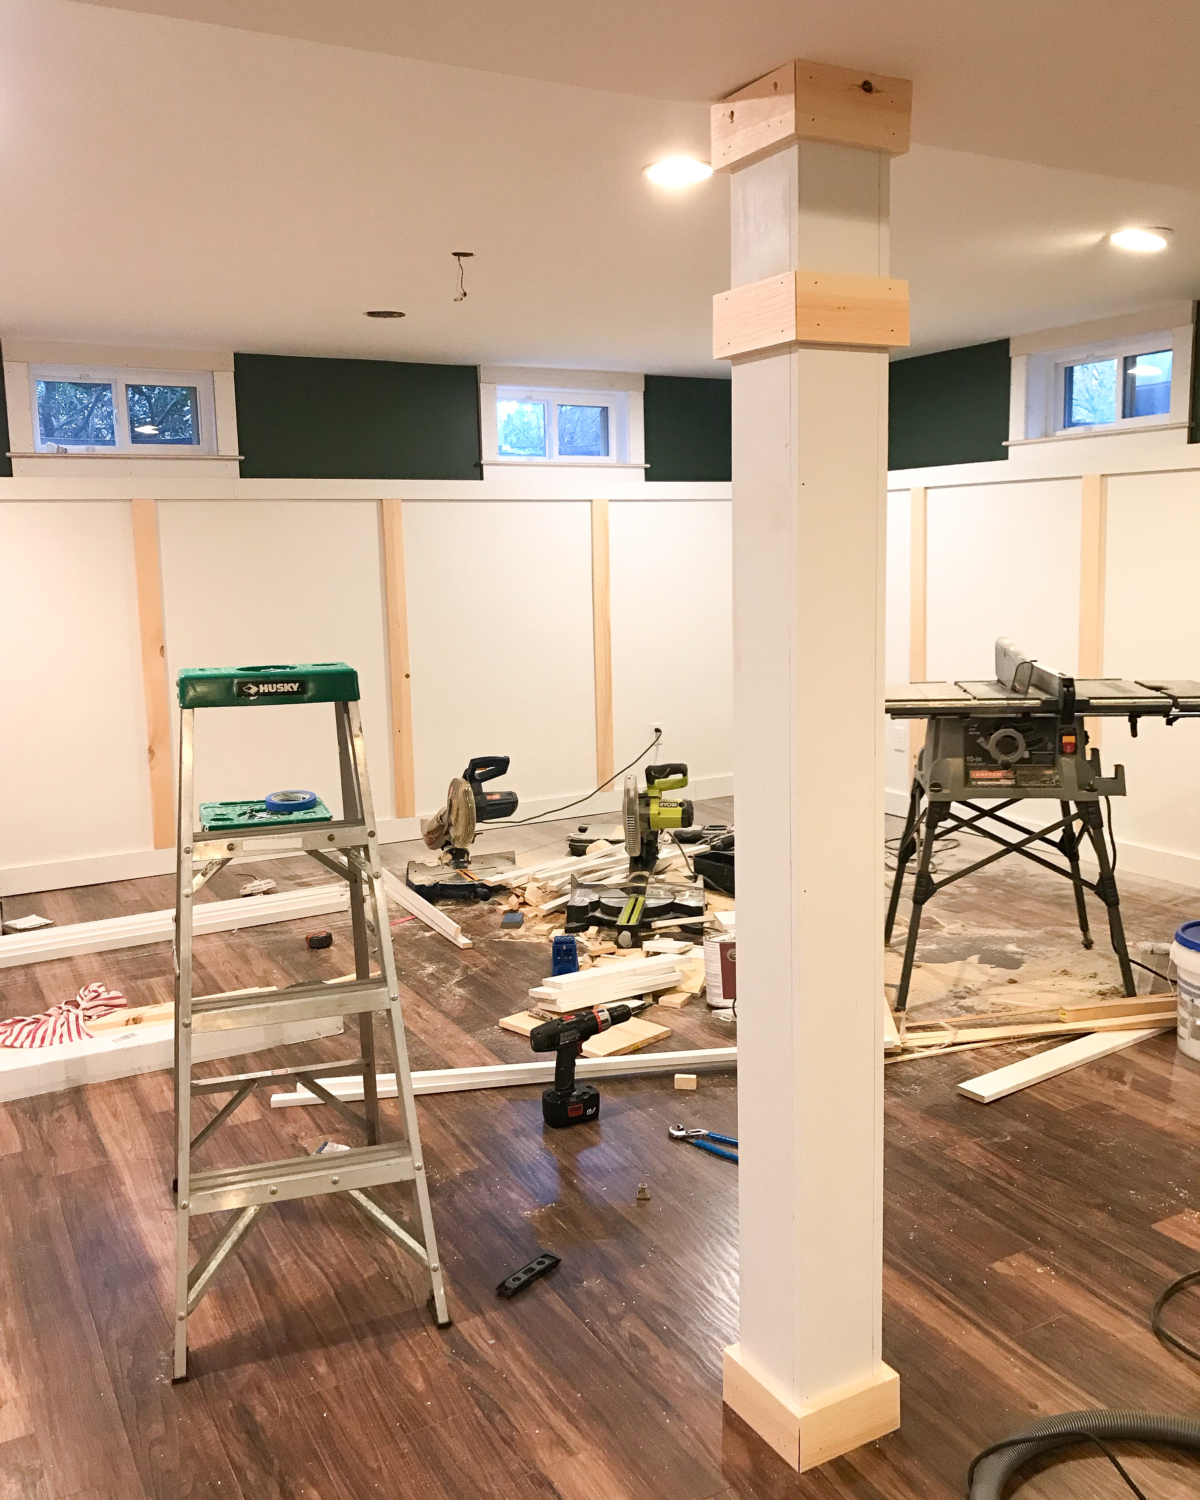
To finish the detail on the columns, measure the length between the 1x4s and cut 1x2s to fit those measurements. Attach using a nail gun and finishing nails. I added 1x2s to two sides of the columns but you could also choose to do all four sides. Once I had the 1x2s in place I decided I wanted the 1x4s to extend beyond them a bit more so on the sides with the 1x2s I added an additional piece of 1×4 to bulk up that section of trim.
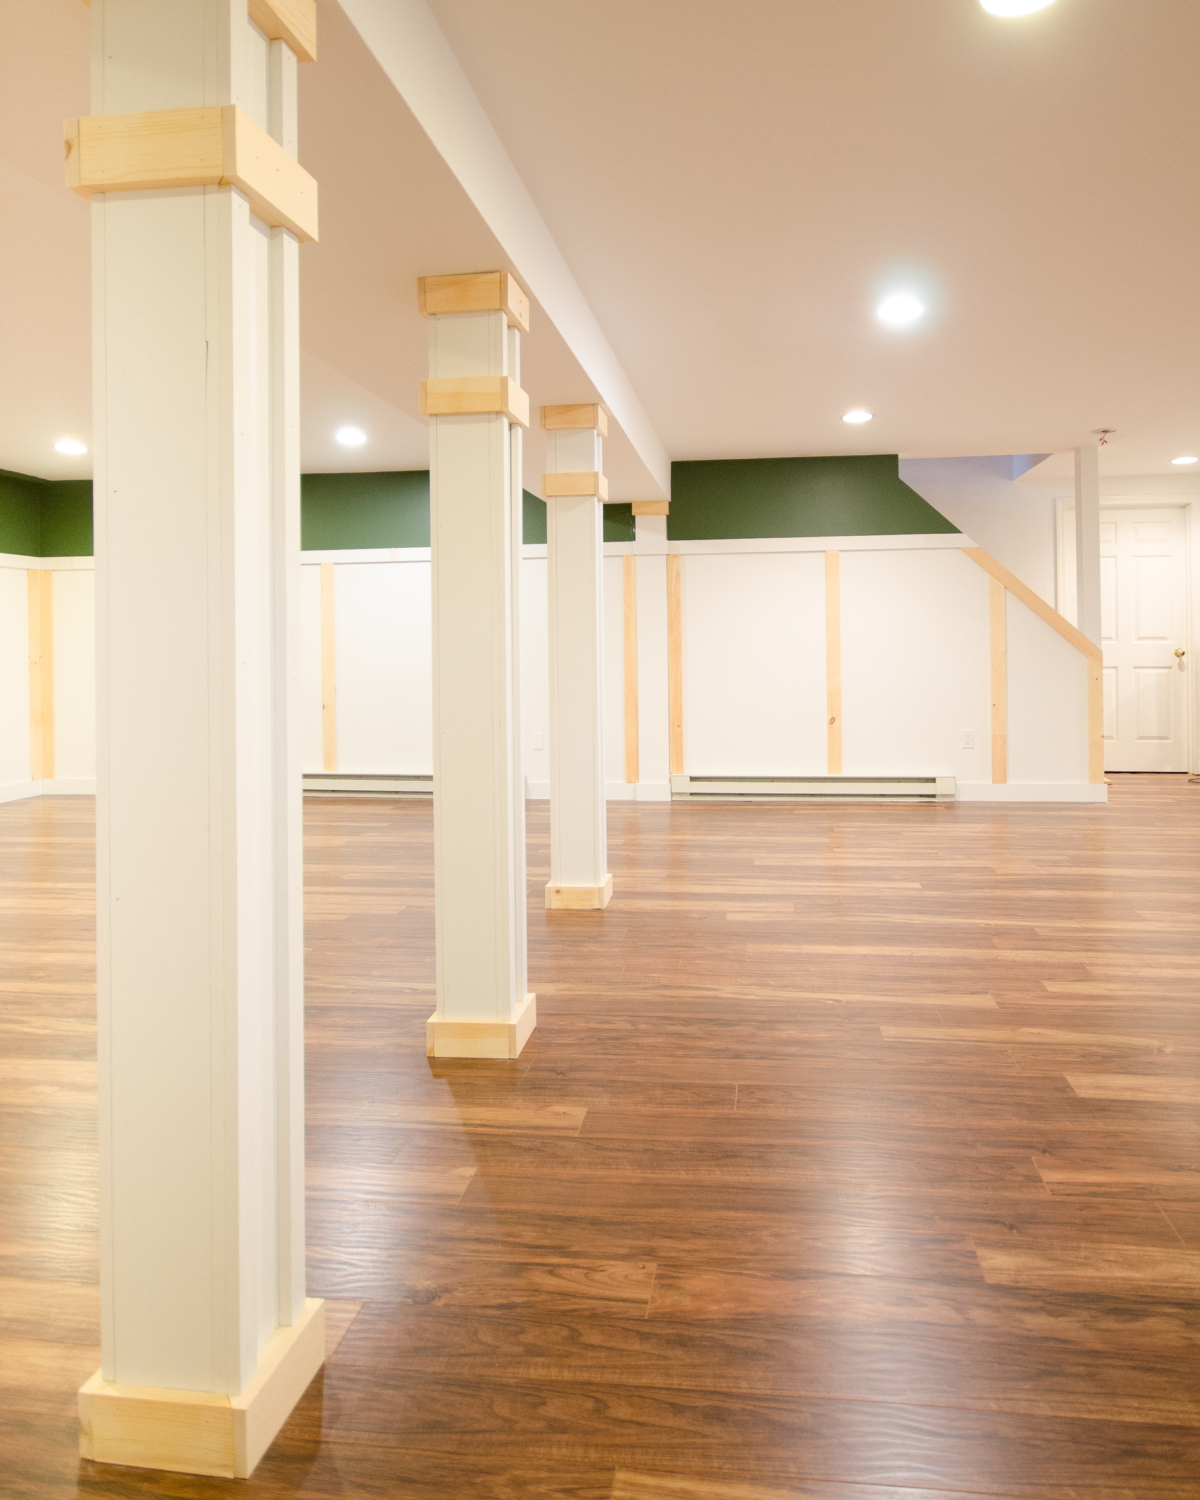
And now comes (in my opinion) the least fun part of this process. You need to fill all of the nailholes with lightweight spackle, caulk all the seams, and paint everything. But it has to be done. You’ve already put in the time and effort to turn support poles into columns, you may as well finish them to look their best! And as tedious as it is, the finished look is soooooo worth it.
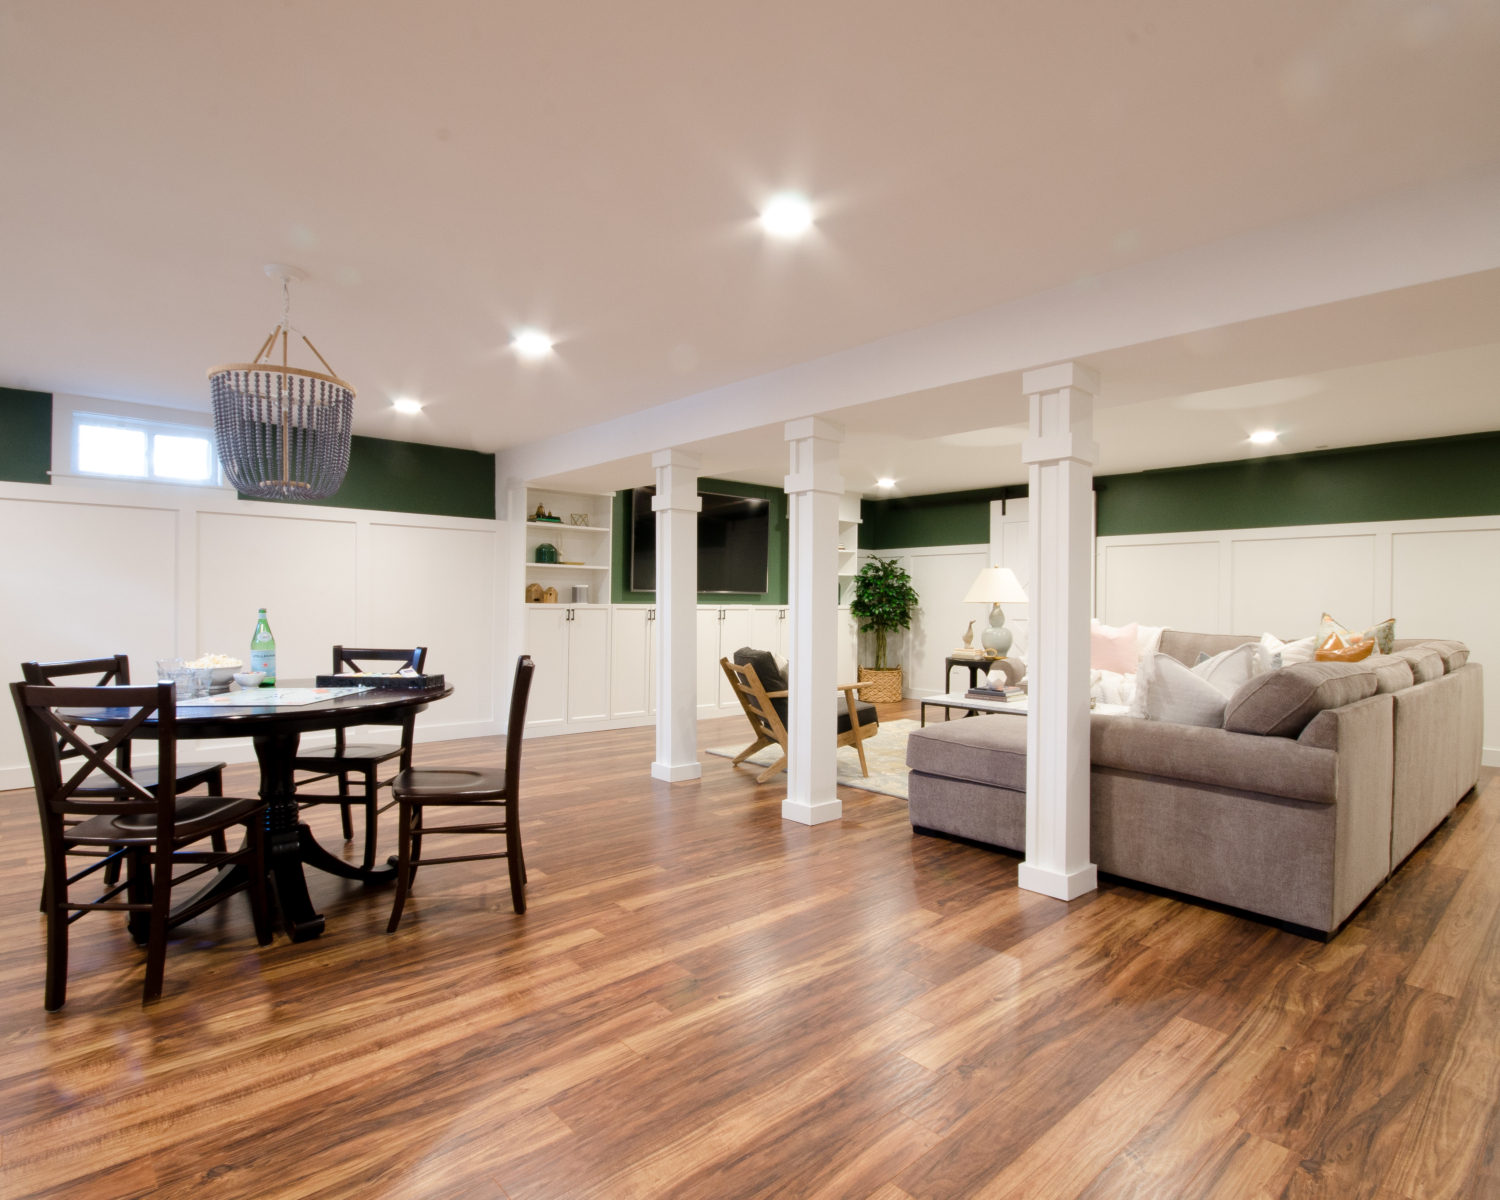
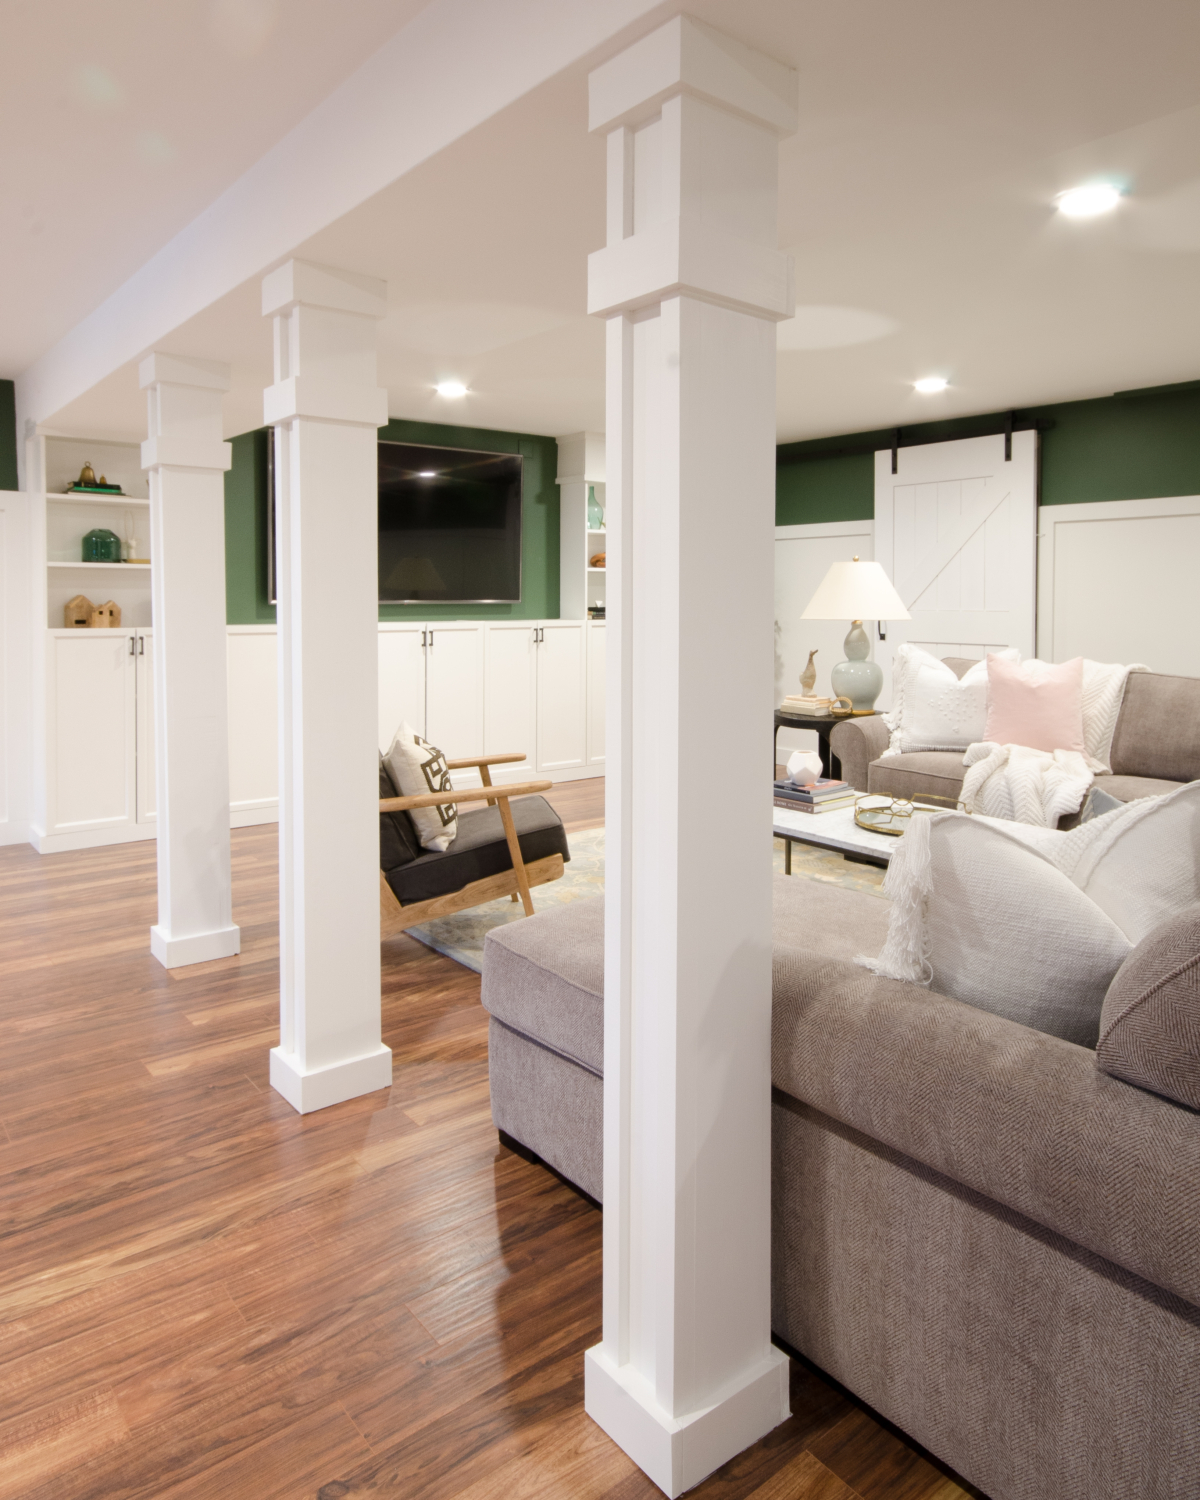
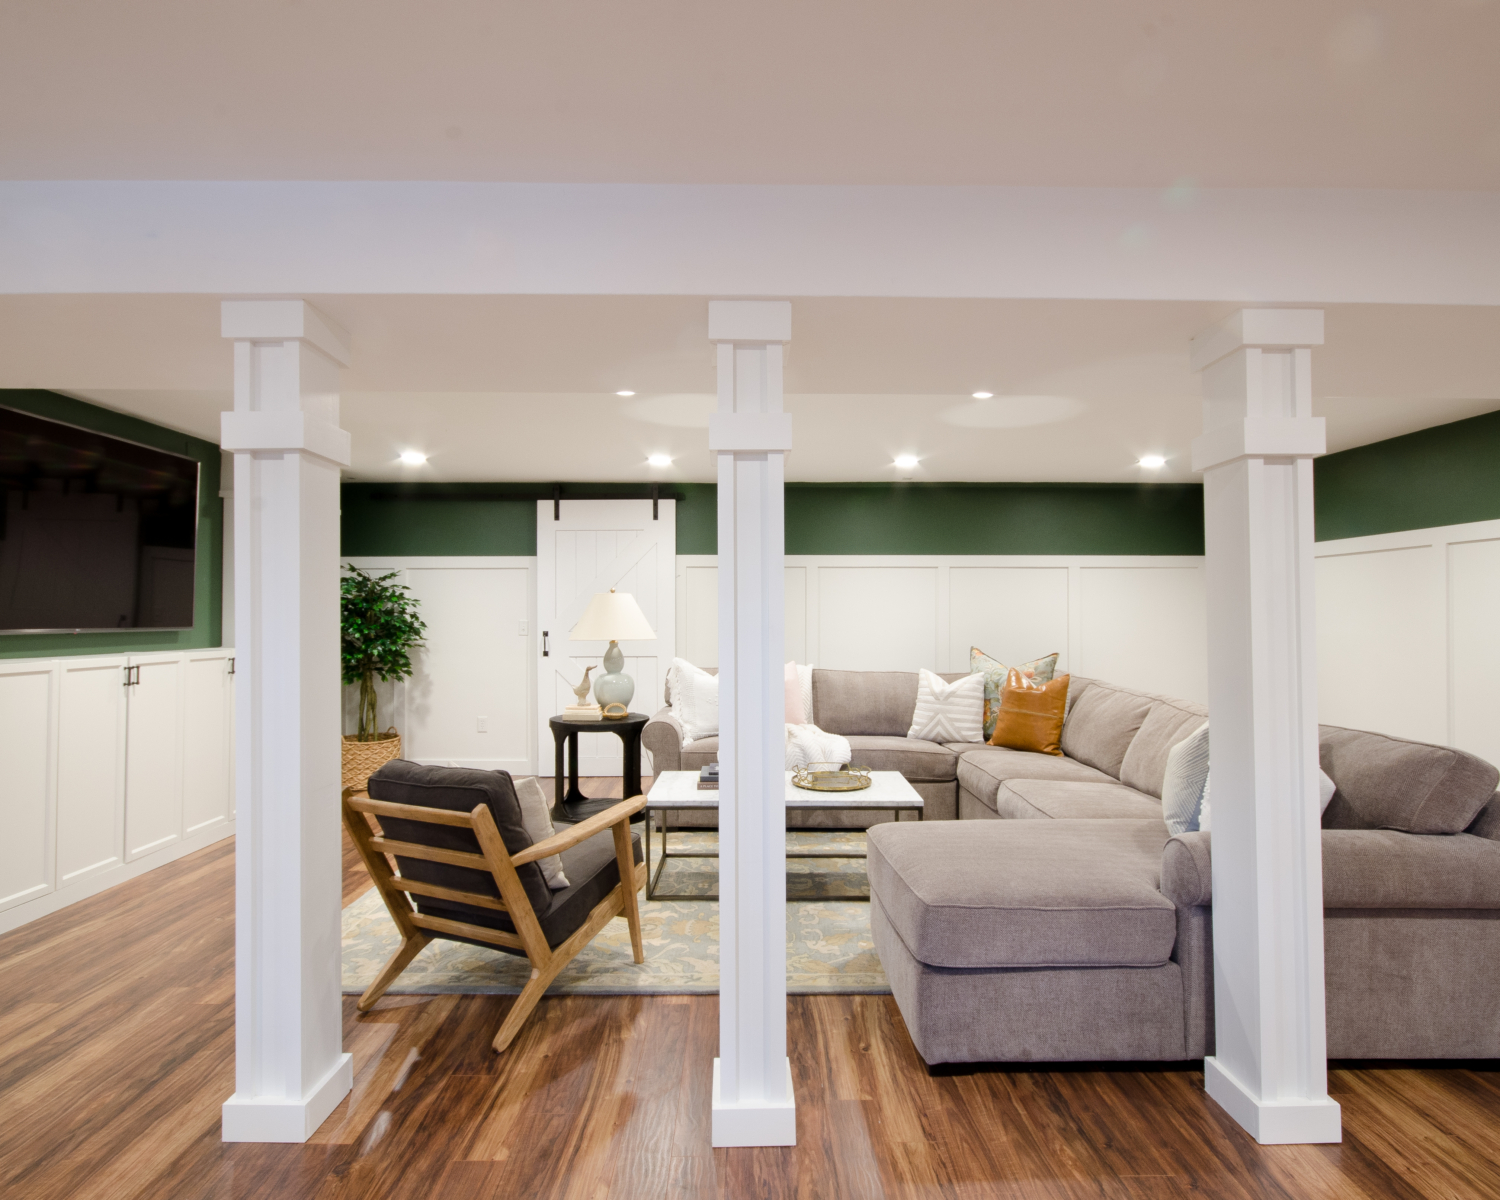
Sooooo much better, right?!
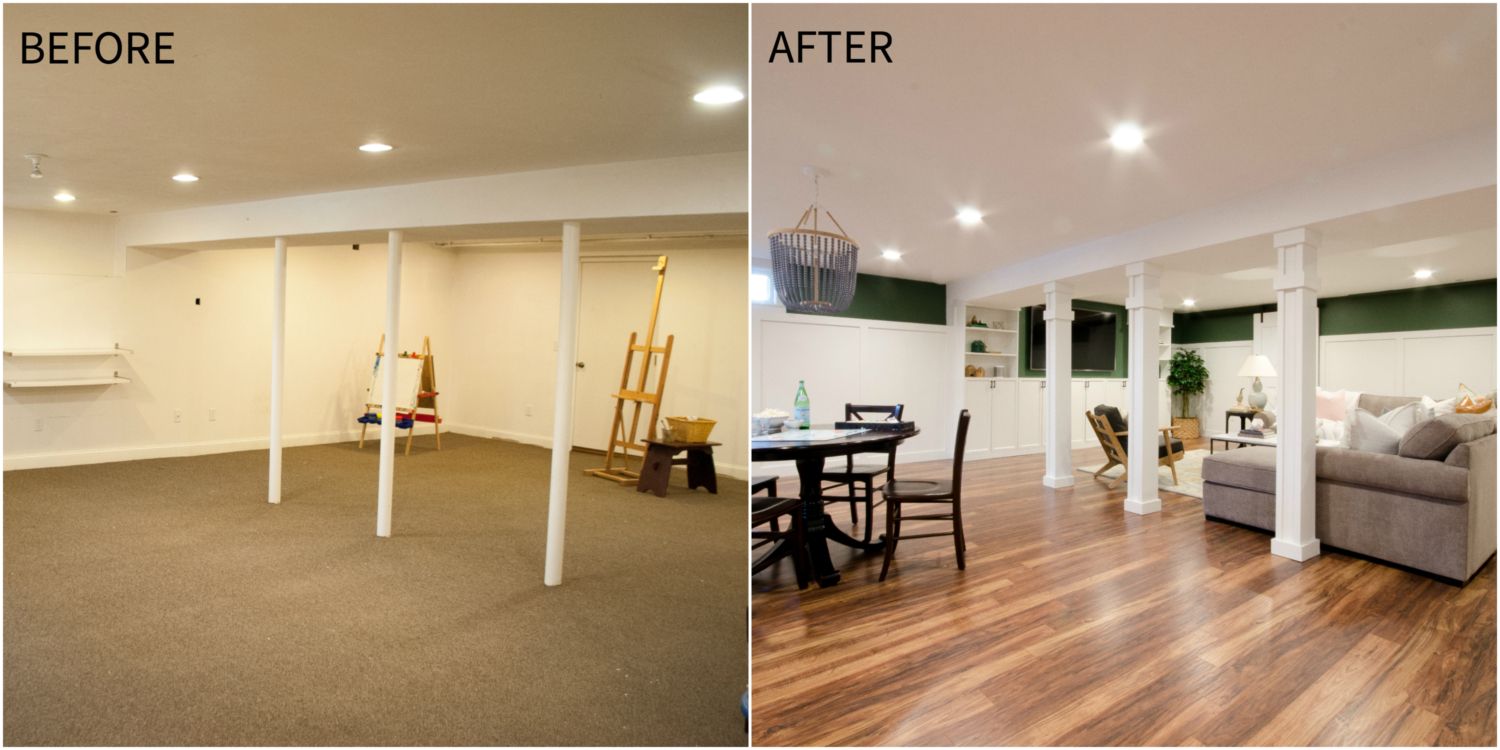
I would do this project again in a heartbeat, even the tedious parts required to turn support poles into columns that I don’t love super a lot! Those poles bugged me from the moment I first laid eyes on them and now they make me smile because they’re such a pretty detail in the room.

