It’s been a long time since I shared a renovation project with you in real time, but I’ve decided to bring you along on the ride that is my basement renovation. It’s been dragging on for far too long and I’m super excited to finish the work and start using the space as the family and play room that we’ve been hoping for. I’ll be popping in every week to give you real time updates on how the room is coming together and I’ll be posting the reveal of the finished space the week of December 17th. Eight weeks might sound like PLENTY of time to re-do a room, but this is a big room and I was starting with drywall only – no finishes at all – so there is a lot of work to be done. And I need to decorate and photograph the rest of my house for Christmas in that same timeframe sooooo…I may be nuts but I’m forging ahead with that deadline!
Here’s a quick catch-up on the project, where the room started, and where I am with things at the end of Week 1.

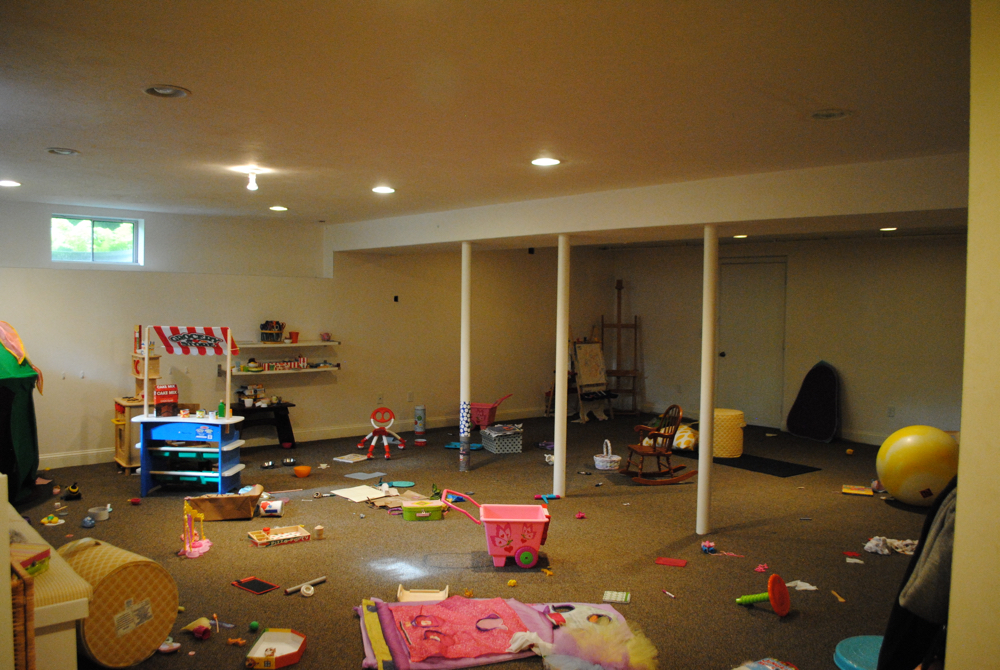
Oof. Not amazing, I know, but this was the state of the basement a few years ago. I am very grateful that the drywall had been done, it saved us a lot of time and expense, but that’s the only thing down here that we kept. We hired someone to replace the leaking door in the back and to replace and add trim to the three small windows. Other than those necessary updates, we put absolutely no effort into really organizing the space. It was a catch-all for our kids’ toys and was generally an unholy mess at all times.
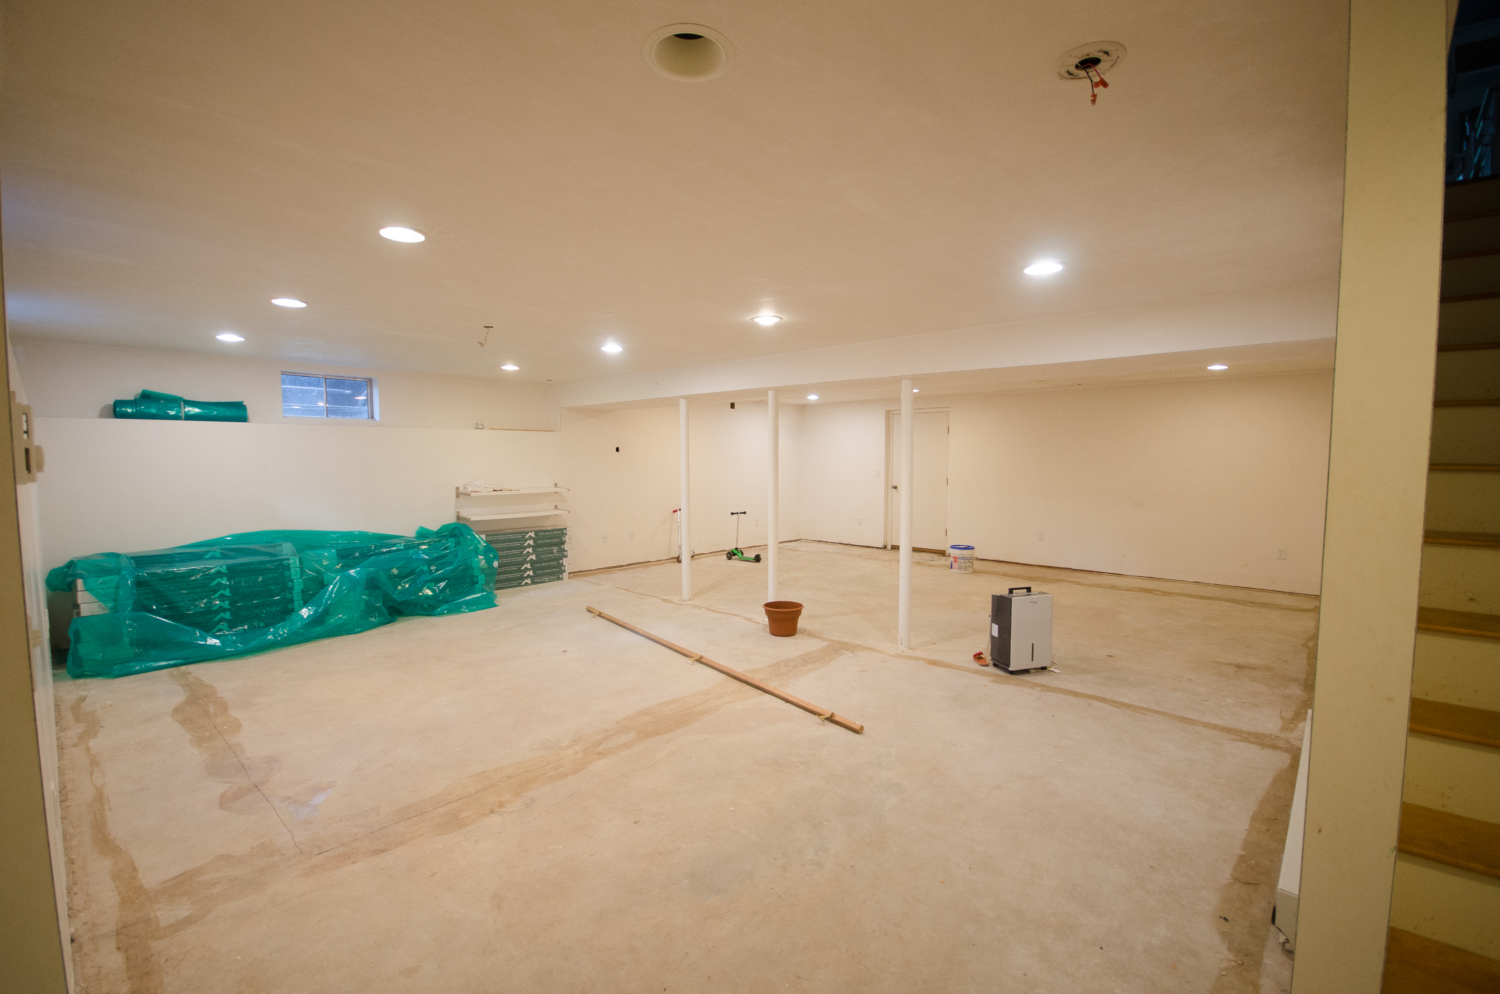
A first big step in finishing this room was replacing the floor. I removed the carpet about a year ago. Here’s a look at the space cleared out in preparation for the new laminate flooring.

I posted a video a few weeks ago about how to install laminate flooring. I love the way it looks, even just swapping out the floor has made a huge difference in the look of the room.
Once the floor was finished, I sat down and made a list of what else I needed to do to finish this room once and for all. Here it is, in all its overwhelming glory.
Assemble shelving
Trim shelving to become built-ins
Choose furniture
Choose artwork
Choose pillows and accessories
Choose paint colors
Paint walls
Purchase and hang TV
Install baseboard and wainscoting
Trim poles to look like columns
Caulk seams
Paint woodwork
Hang barn door
Replace recessed lights with LEDs
Stage furniture and accessories
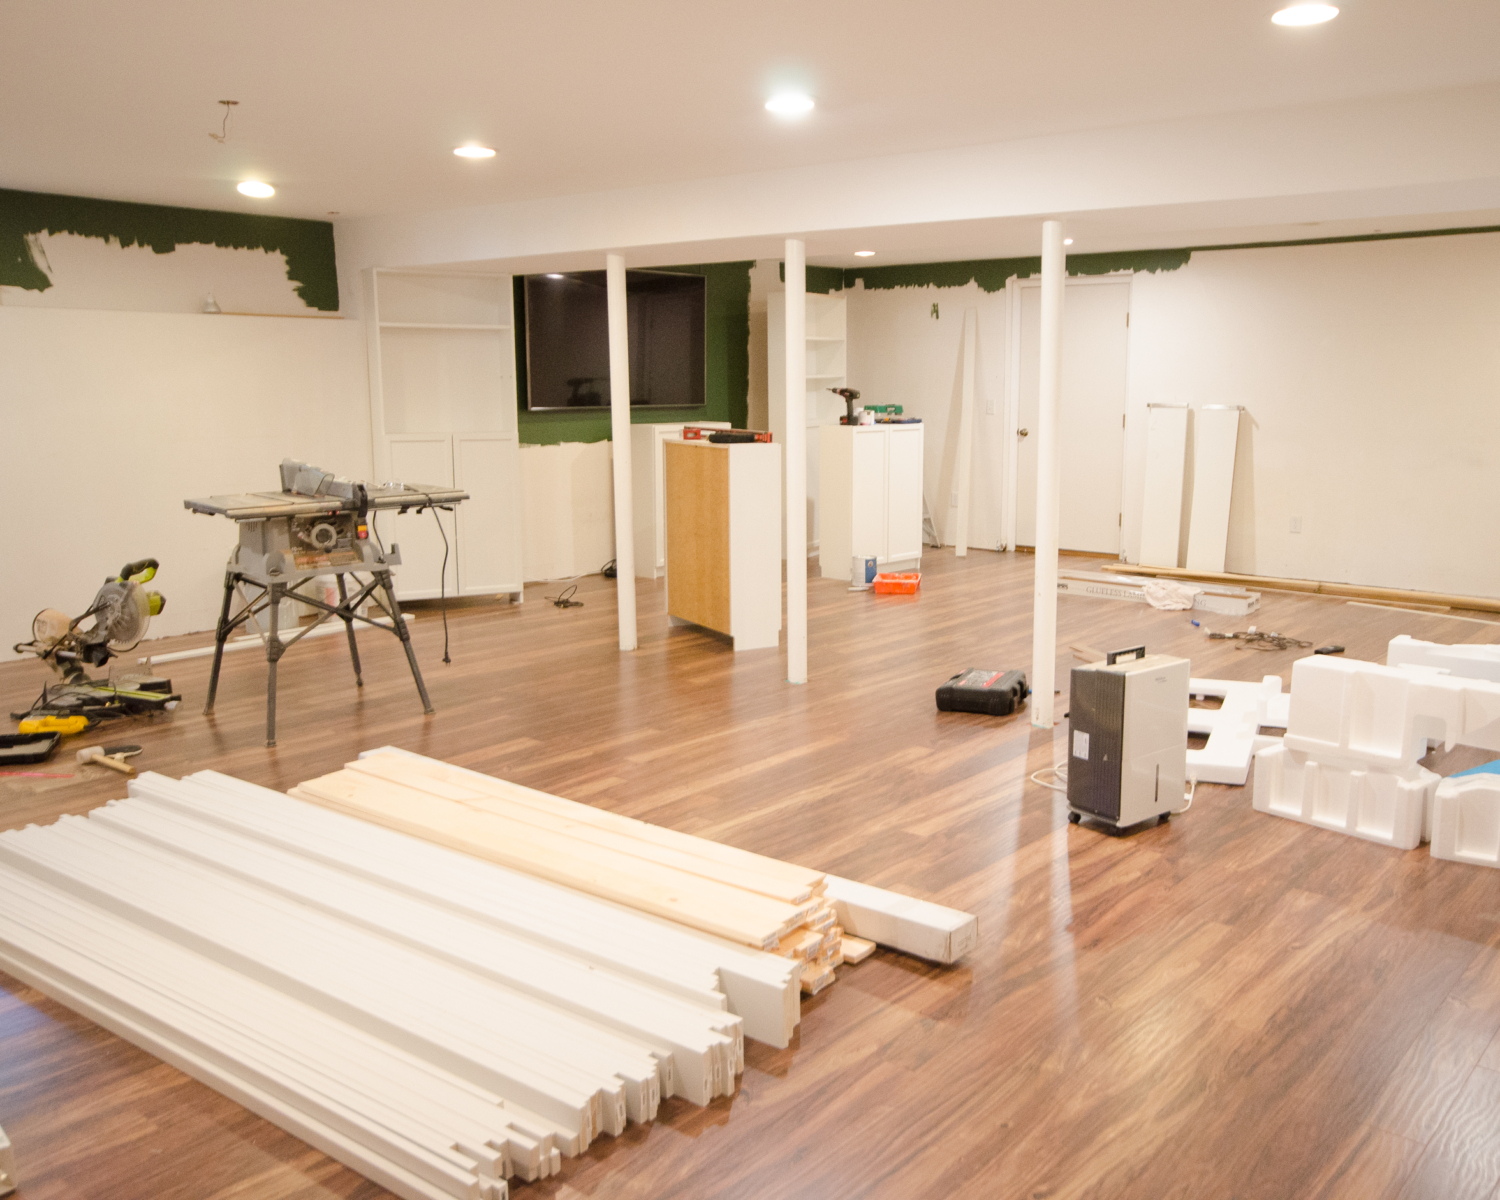
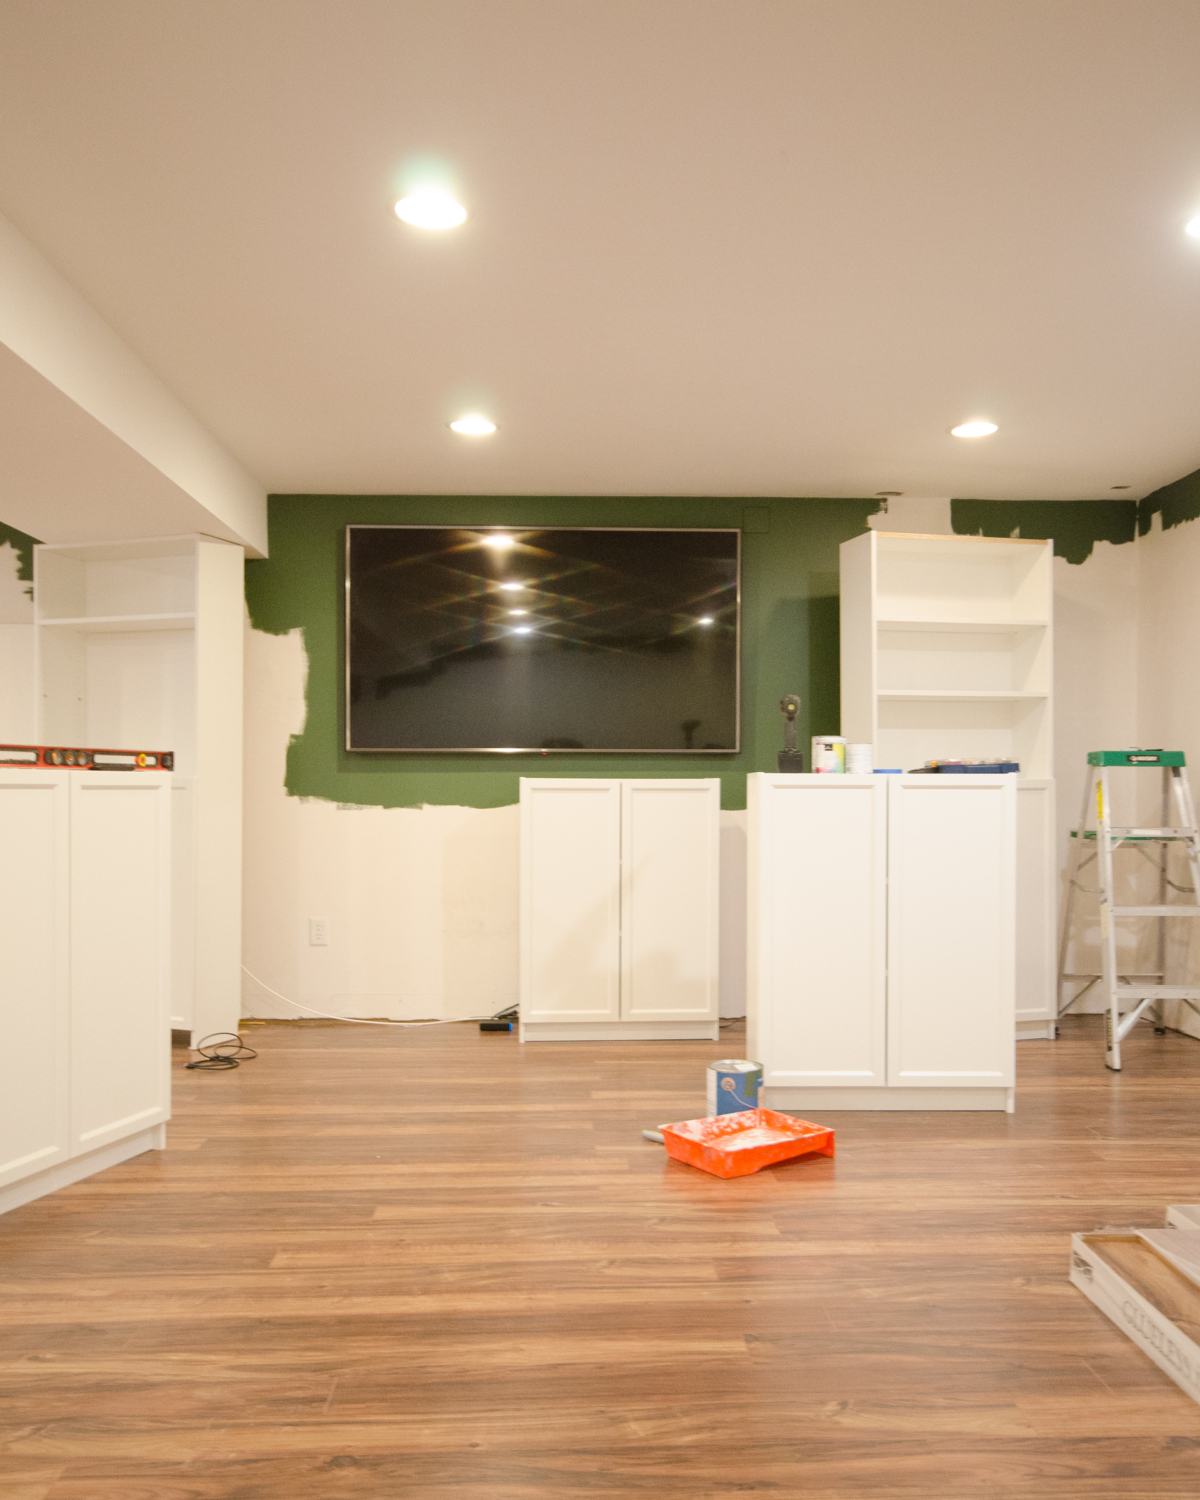
This past week, I assembled the shelving units I’ll be using as the base for built-ins. I decided to work with Billy bookcases and Oxberg doors from Ikea, which are a popular choice for this kind of application because they’re an affordable and easy way to get a jumpstart on custom built-ins. More details to come on how I turn them into built-ins. Last week I also chose furniture and paint colors and did the paint edging along the ceiling. We bought a TV for the room and hung it on the wall. I mapped out my plan for the wainscoting by drawing it on the wall to help me visualize and bought a literal carload of lumber. Here’s a peek at the current state of the room.


I’m excited to take you along on this renovation ride with me in real time! Here’s one more look at my to-do list with the finished items crossed off. I’ll update this every week so we can both keep tabs on what’s been done and what’s still ahead!
Assemble shelving
Trim shelving to become built-ins
Choose furniture
Choose artwork
Choose pillows and accessories
Choose paint colors
Paint walls
Purchase and hang TV
Install baseboard and wainscoting
Trim poles to look like columns
Caulk seams
Install cabinet hardware
Paint woodwork
Hang barn door
Replace recessed lights with LEDs
Stage furniture and accessories
