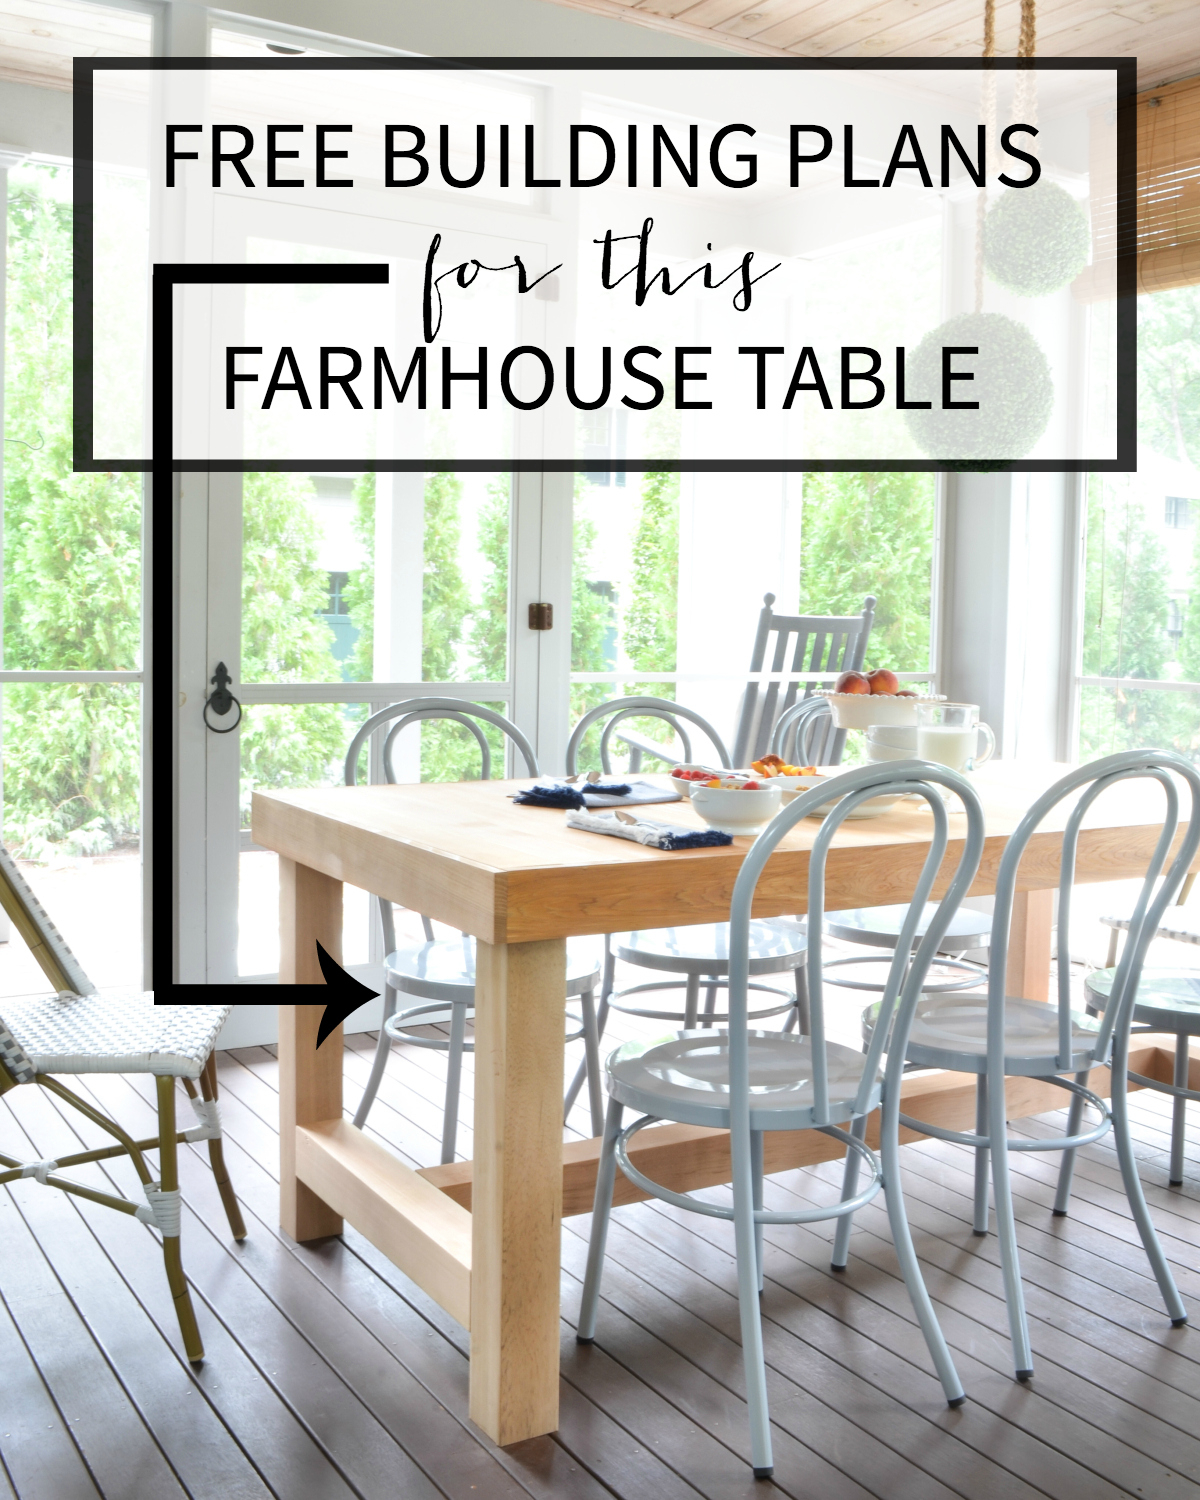
Picture me covering my eyes in shame right now because I designed and built this DIY chunky farmhouse table over a year ago and am only just now sharing the tutorial with you. In fact last August I shared a few pictures of it and said, “Check back next week for the tutorial!” And then…crickets. A few of you even emailed me and said, “Hey, I’ve been searching for that table tutorial you promised but I can’t find it.” Wellllll…I really have no excuse, but I have the tutorial for you now, and I hope it was worth the wait.
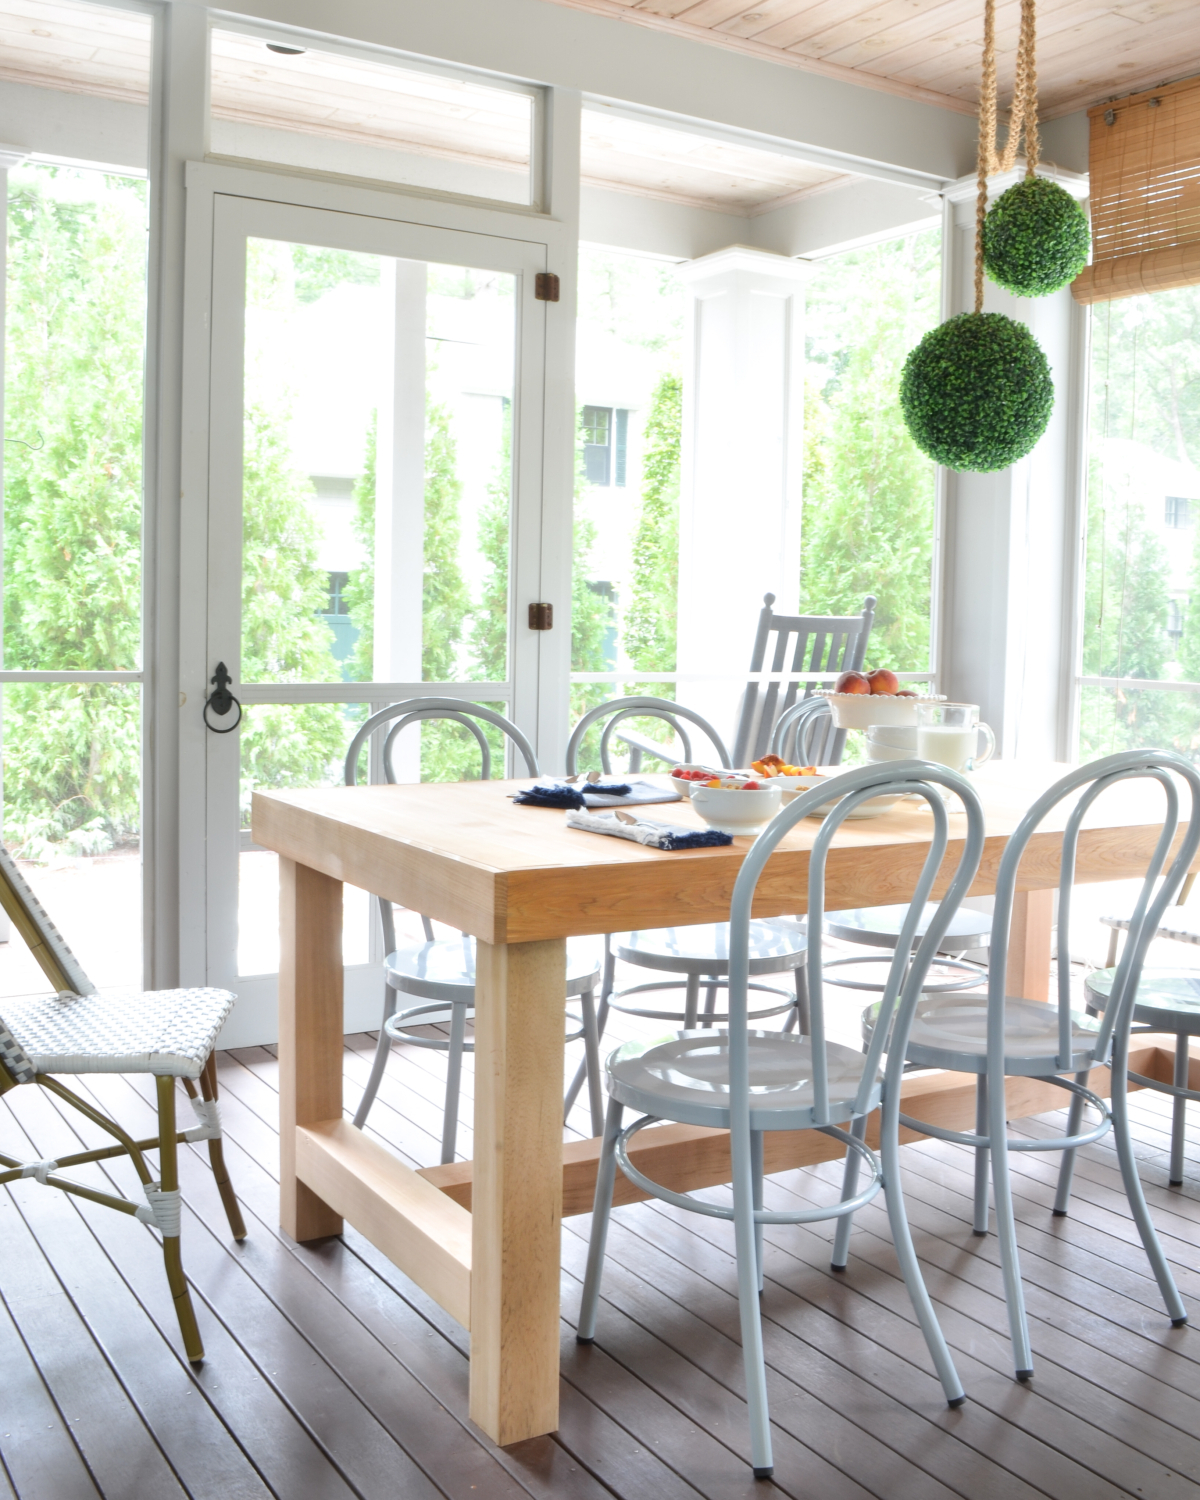
This DIY chunky farmhouse table would be a great dining table addition to any room in your house. I built mine using cedar, which is pricey, but a good choice for a semi-outdoor location like my screened porch. If you’re building it for an indoor room you could choose a different wood but I would still go with something great-quality, not common pine or similar. I spent a few hundred dollars on this table and most of that cost was the wood, but it’s modeled after a Restoration Hardware table that costs several thousand dollars. So I think I came out pretty well ahead at just a few hundred.
Here’s what you need to build this DIY chunky farmhouse table:
- 14 – 1×4 cedar boards, 8′ length
- 3 – 4×4 cedar boards, 8′ length
- 2 – 2×4 boards, 8′ length (can be common lumber)
- tape measure
- miter saw
- Kreg pocket hole jig
- Cordless drill
- Clamps
- 1″ pocket hole screws
- 1.5″ pocket hole screws
- small drill bit (1/8 or smaller)
- 2″ wood screws
- wipe on poly, satin finish
- disposable rubber gloves
- rags
Use a miter saw to make the following cuts:
- (21) 34.5″ cedar 1x4s
- (2) 73.5″ cedar 1x4s
- (2) 36″ cedar 1x4s
- (4) 29.5″ cedar 4x4s
- (1) 65″ cedar 4×4
- (2) 26″ cedar 4x4s
- (2) 65″ 2x4s
- (2) 26″ 2x4s
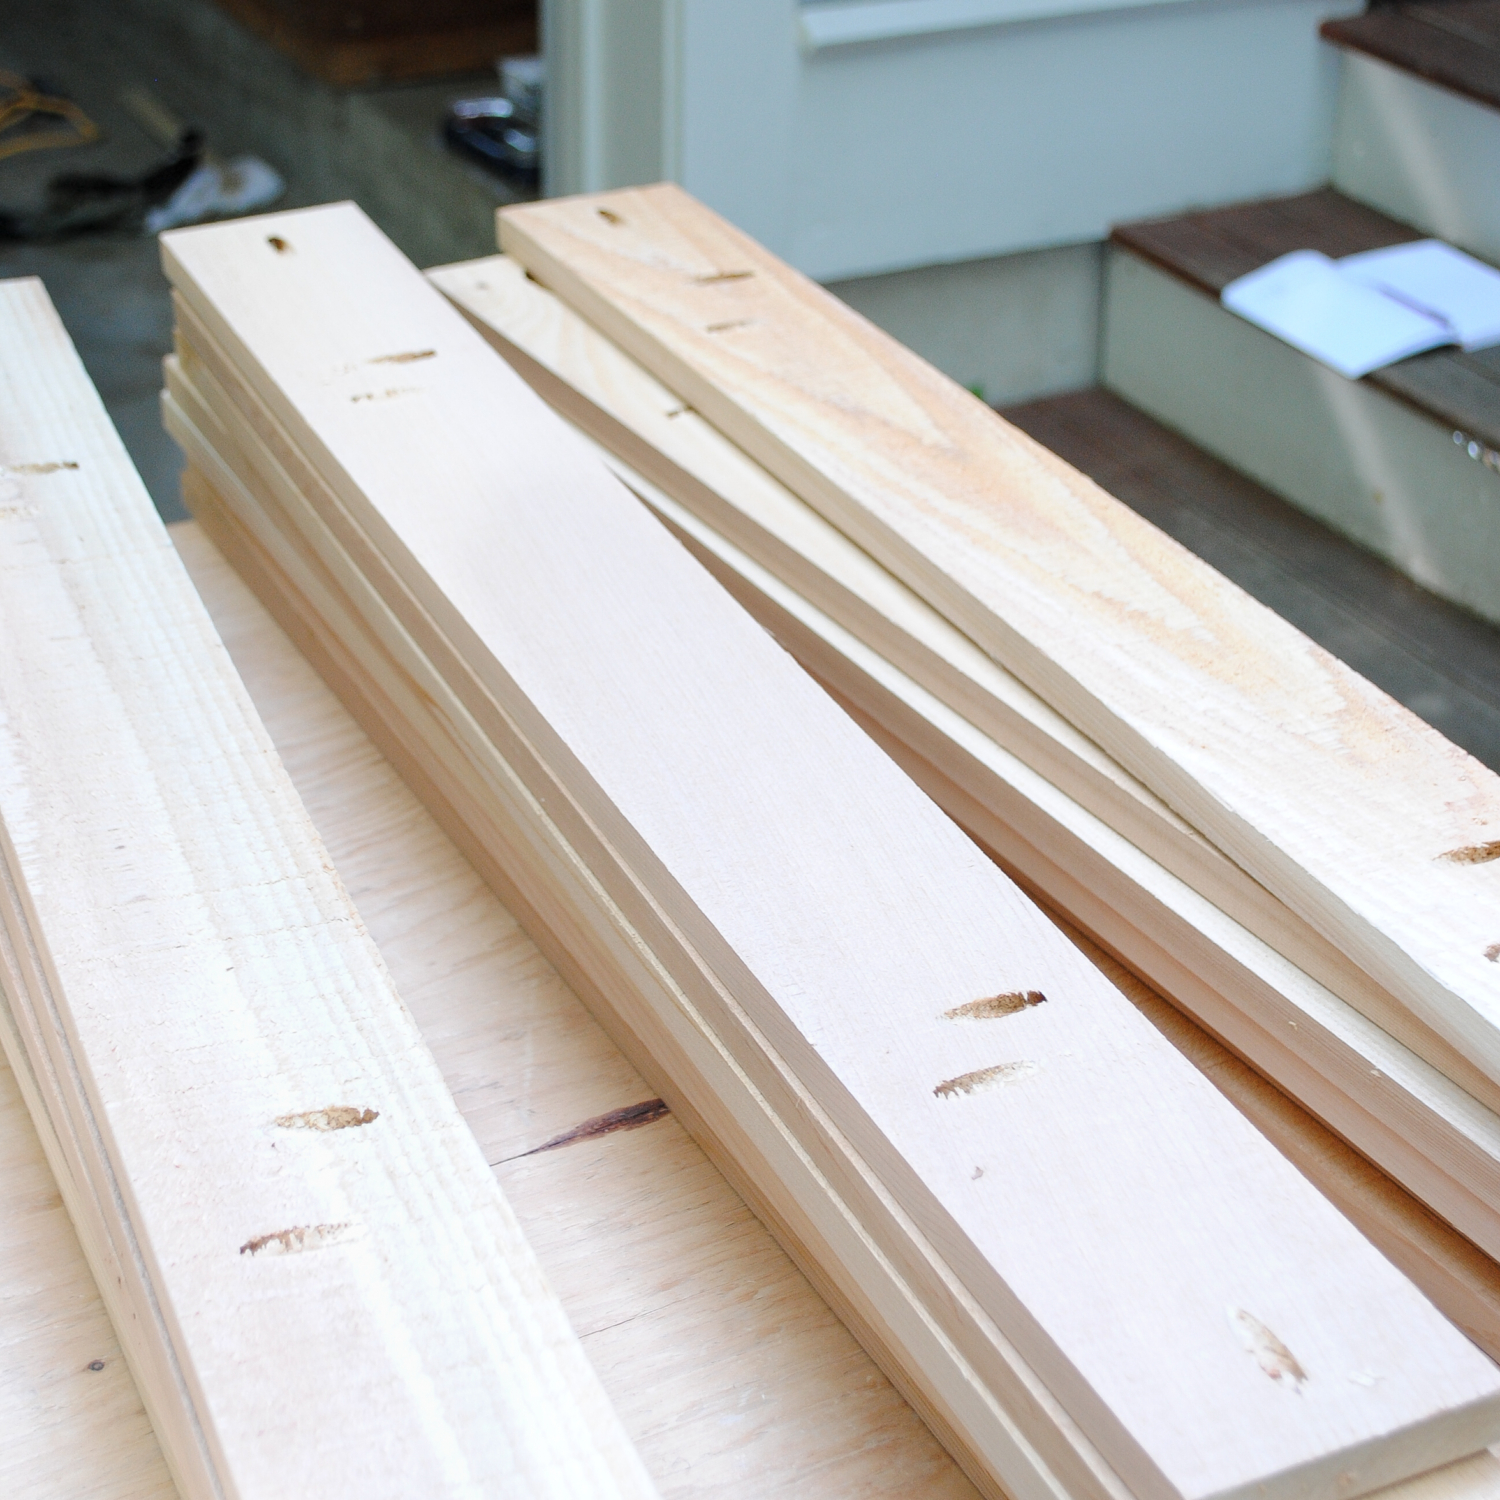
Use a Kreg jig to drill pocket holes in the 34.5″ 1×4 pieces – one pocket hole at each end and two in both directions along the sides. These pieces will form the top of the table.
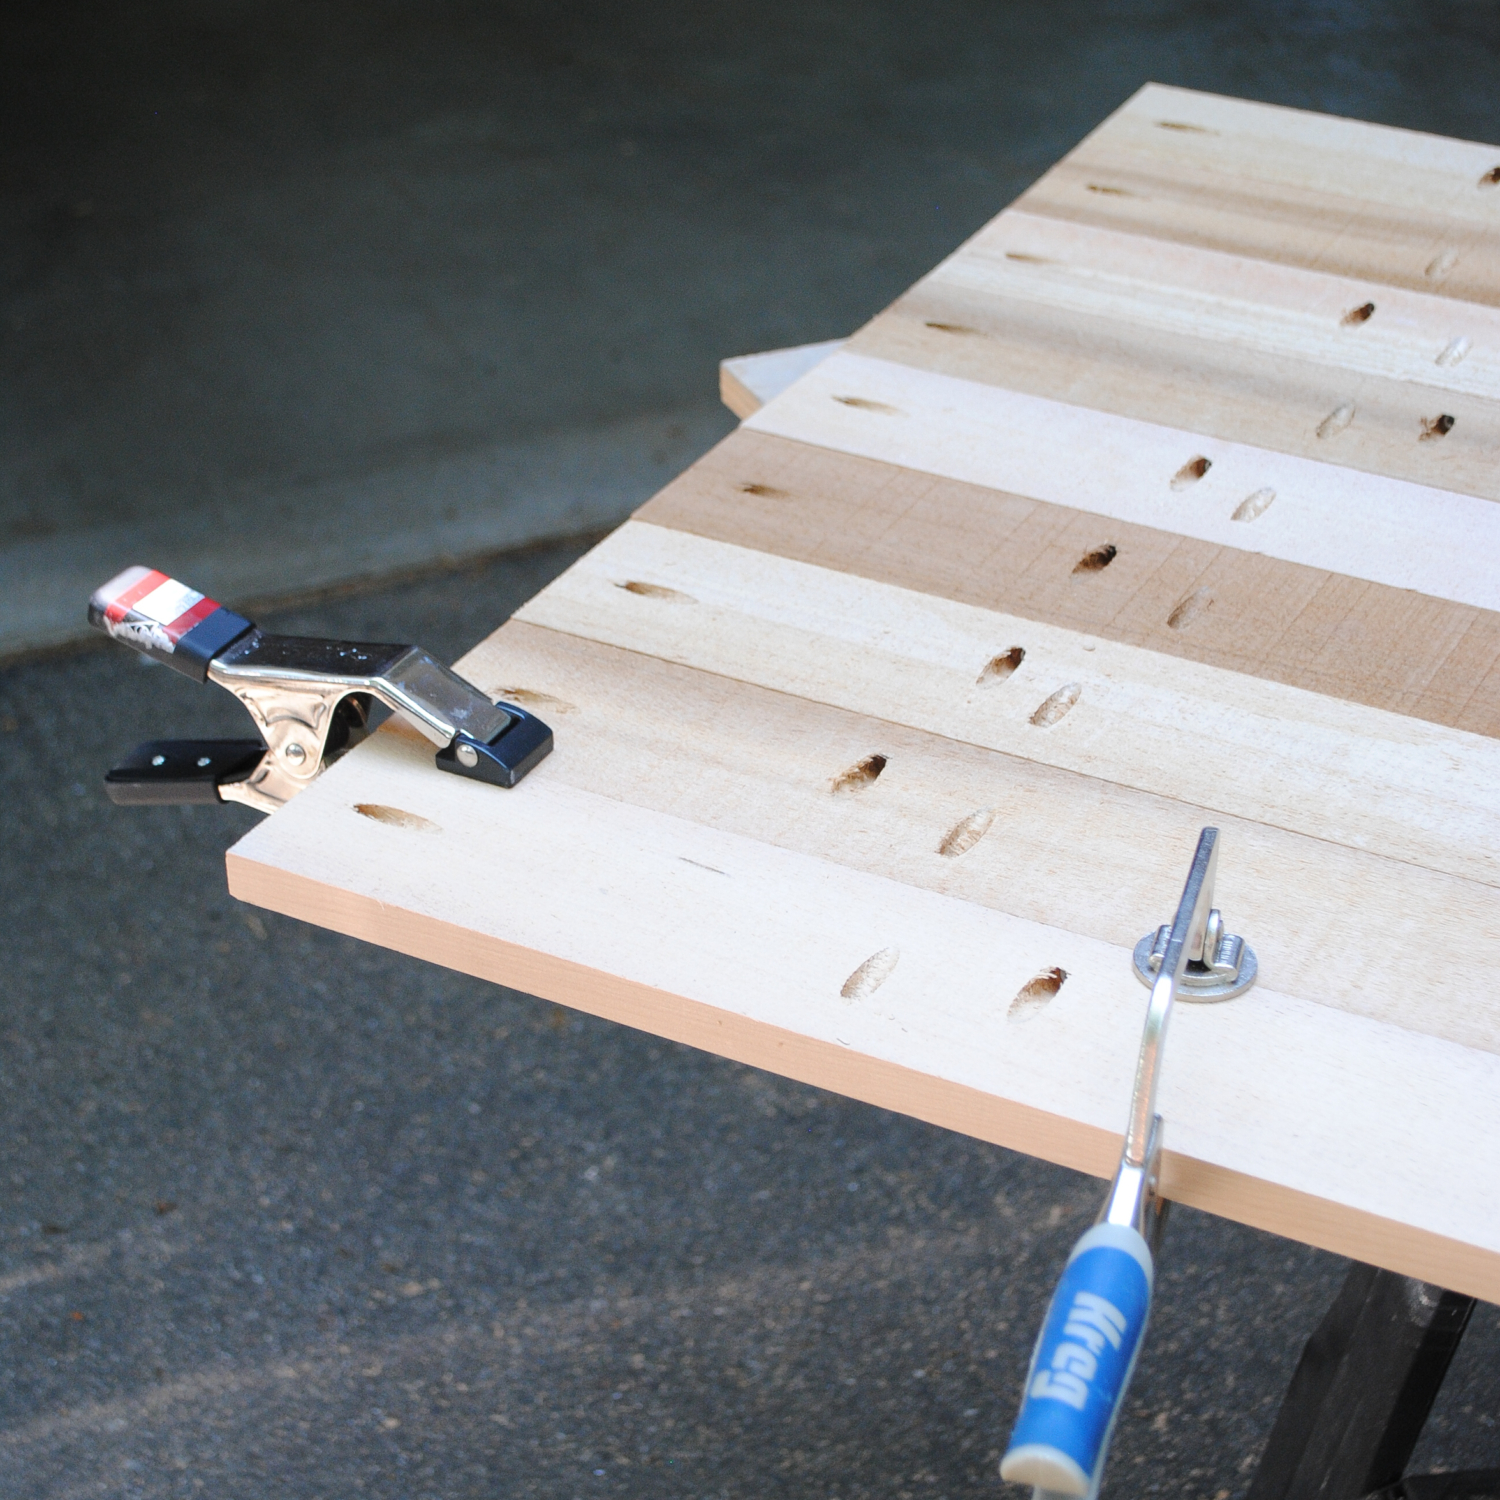
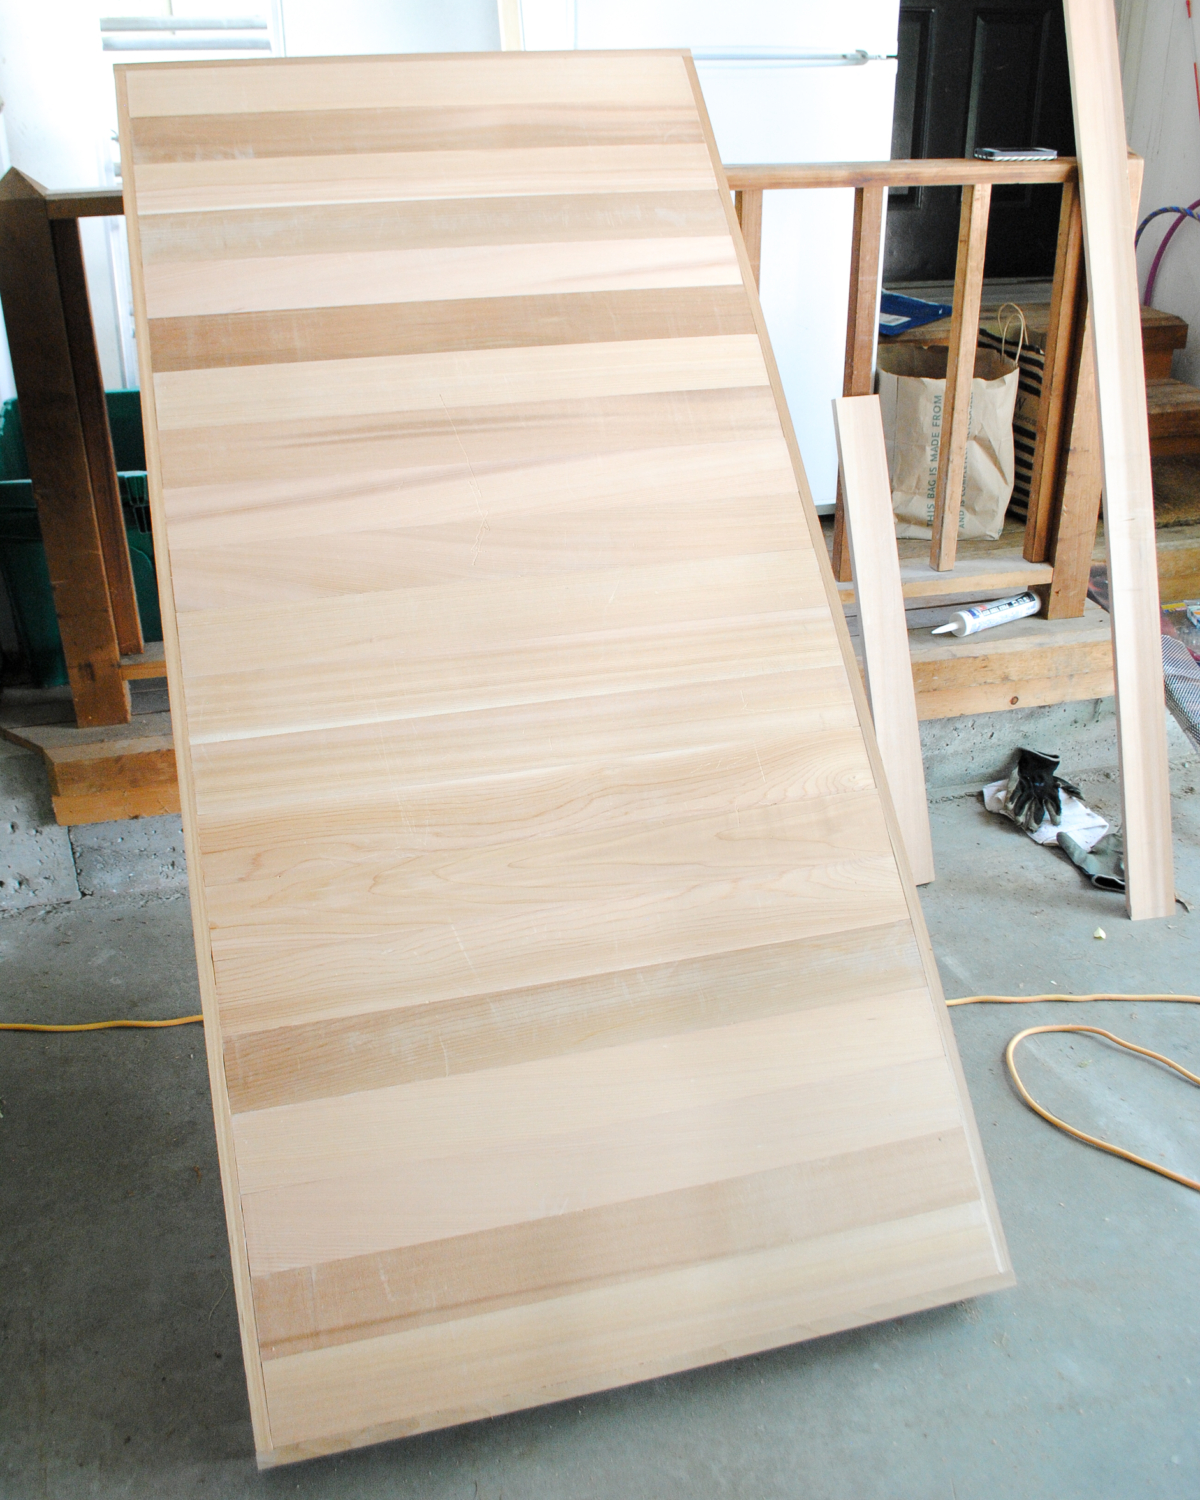
To assemble the table top, clamp the boards together one at a time and attach using 1″ pocket hole screws in the holes along the sides of the boards.
Use a Kreg jig to drill two pocket holes at each end of the 36″ 1x4s. Align one of these boards perpindicular to one short end of the table top, making sure the edge of the board is flush with the table top. Attach with 1″ screws in the holes along that end of the table top. Repeat on the other short end, then repeat with the 73.5″ 1x4s along the long sides of the table top. Finish the table top by attaching the 36″ 1x4s to the 73.5″ 1x4s using 1″ screws in the pocket holes drilled at the ends of the 36″ pieces.
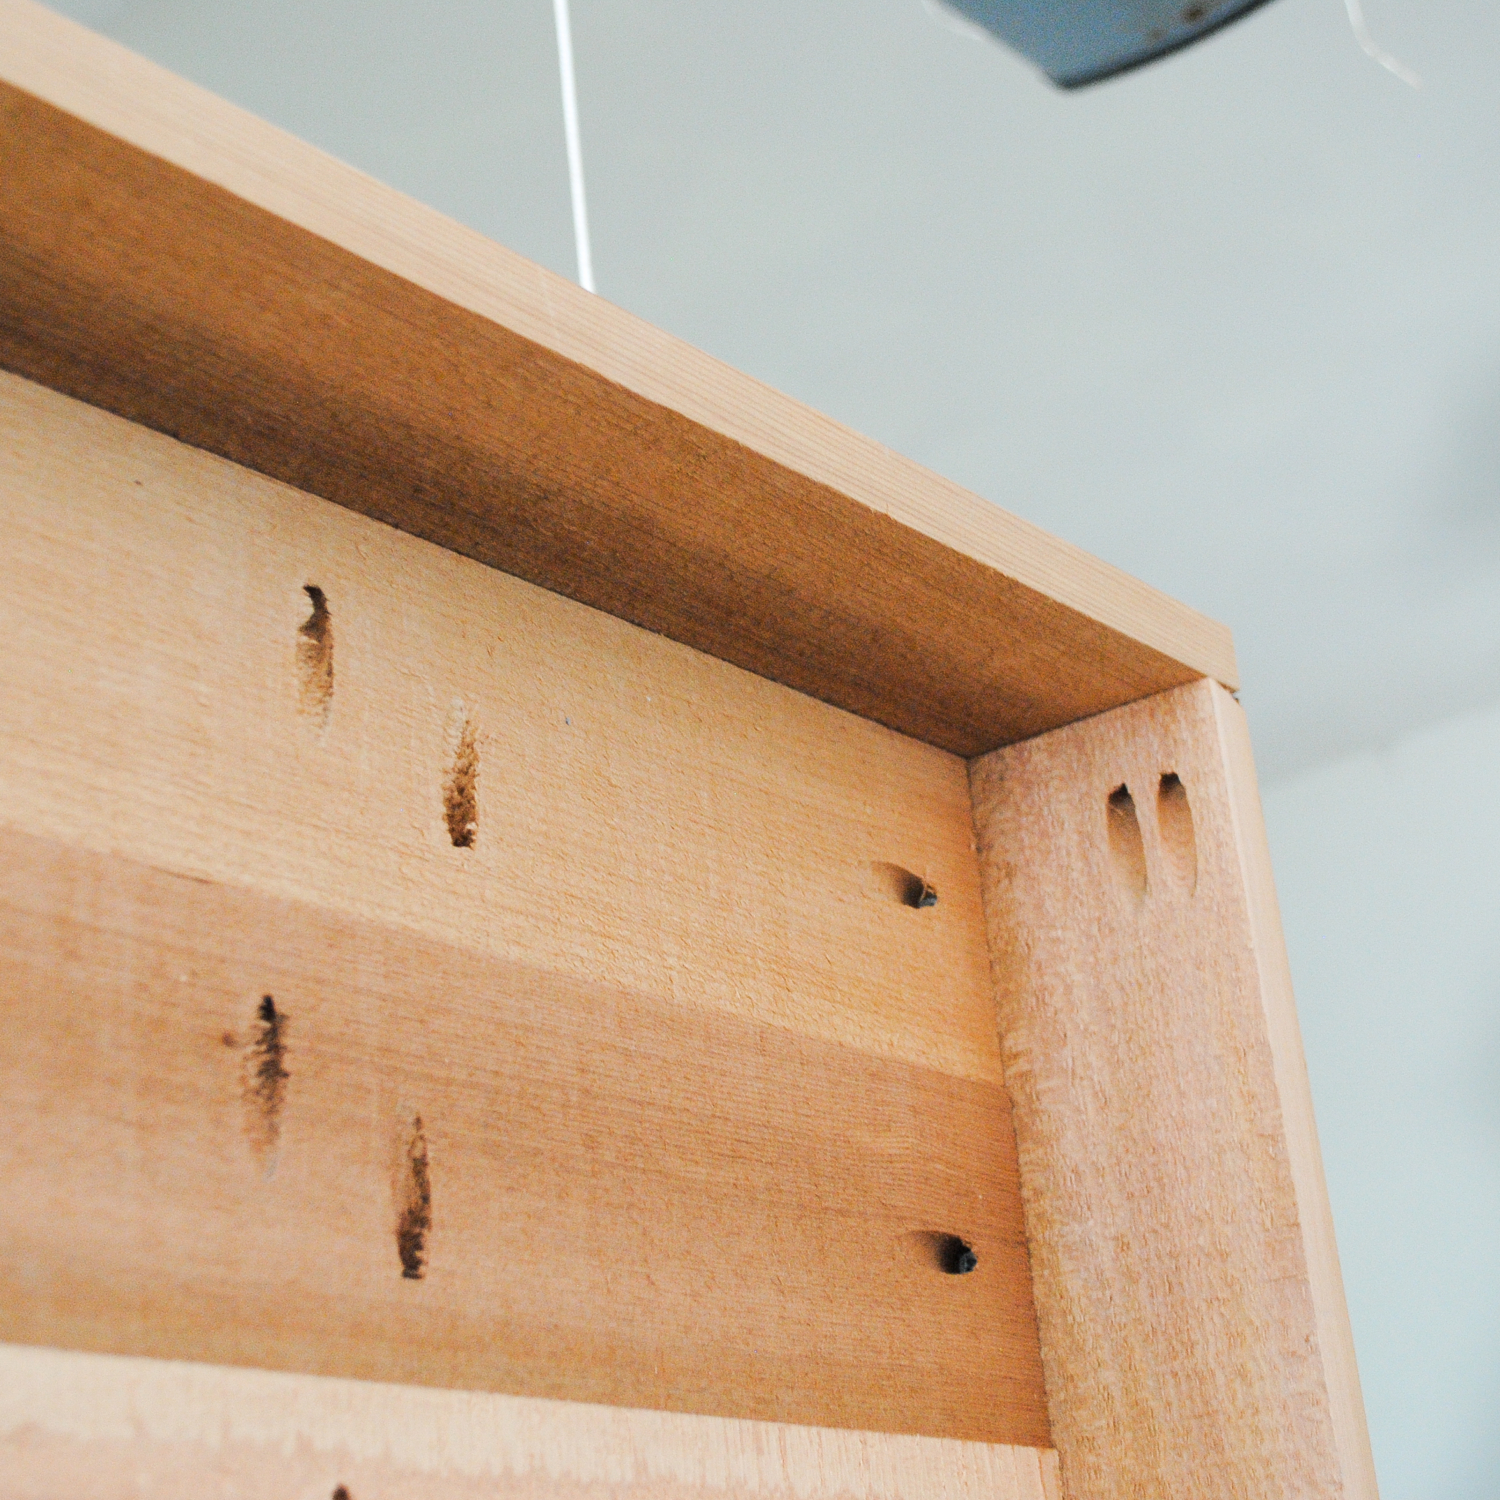
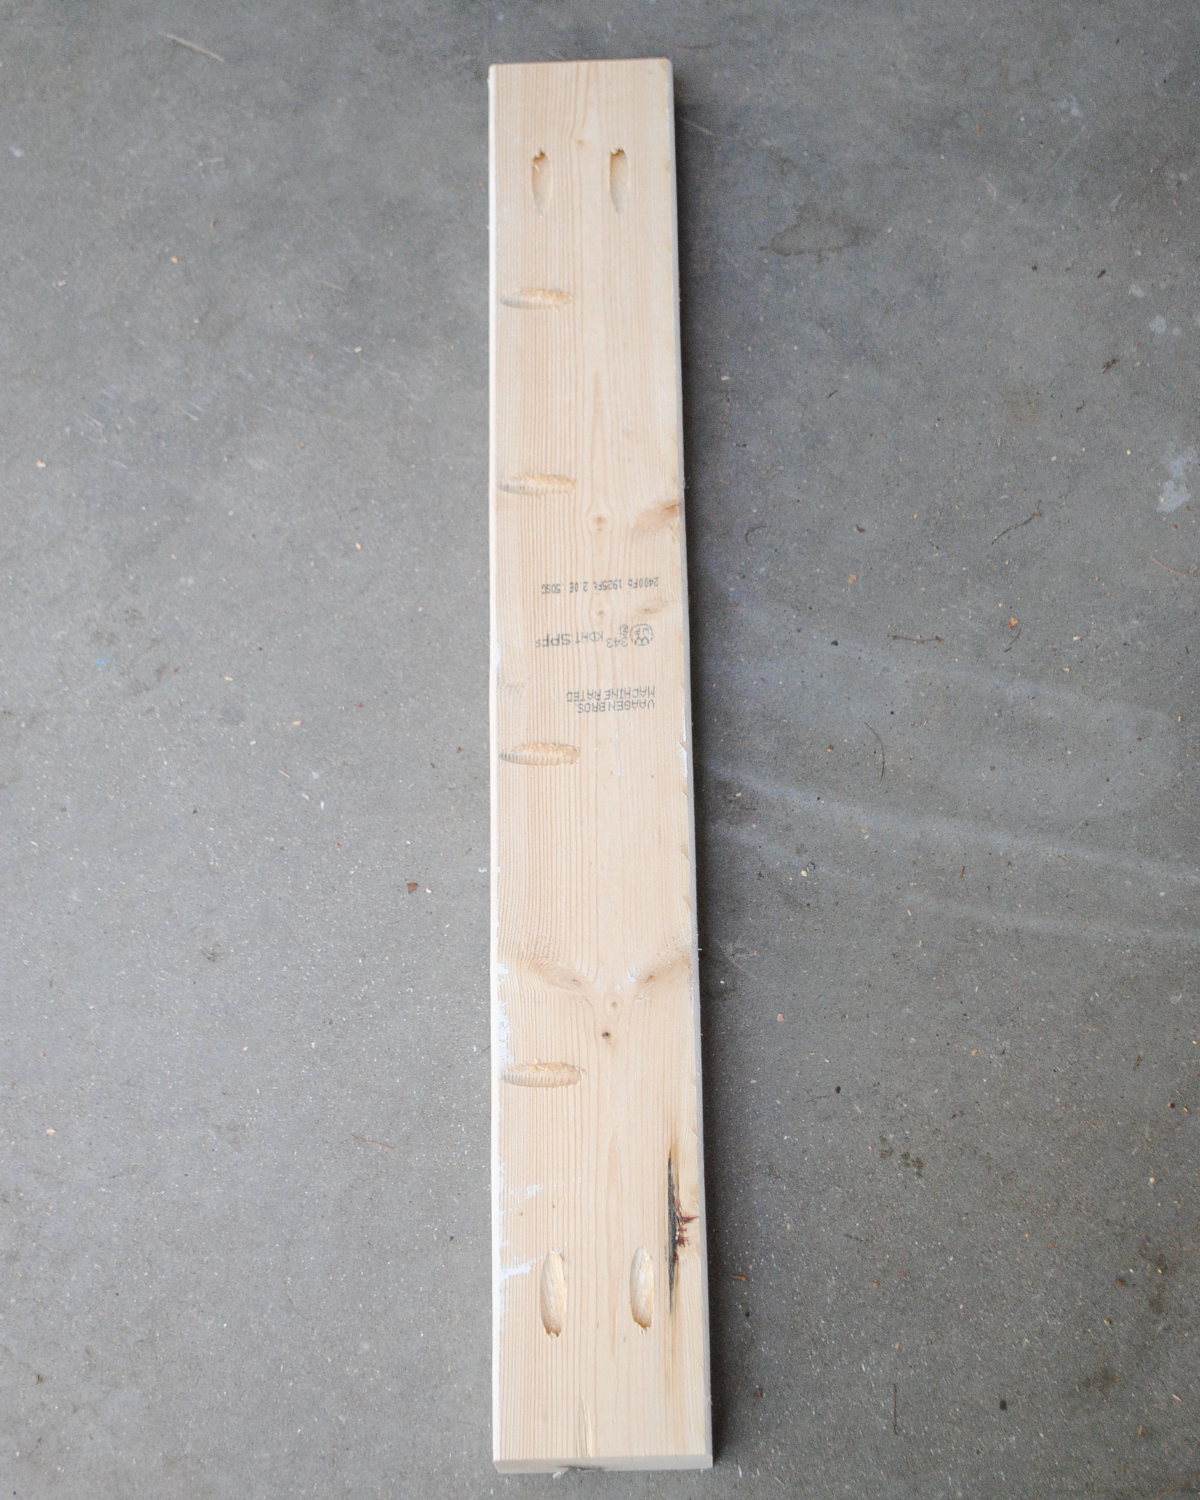
Use a Kreg jig to drill two pocket holes at each end of the 2x4s. (Ignore the pocket holes along the long side in the photo – they were a mistake!)
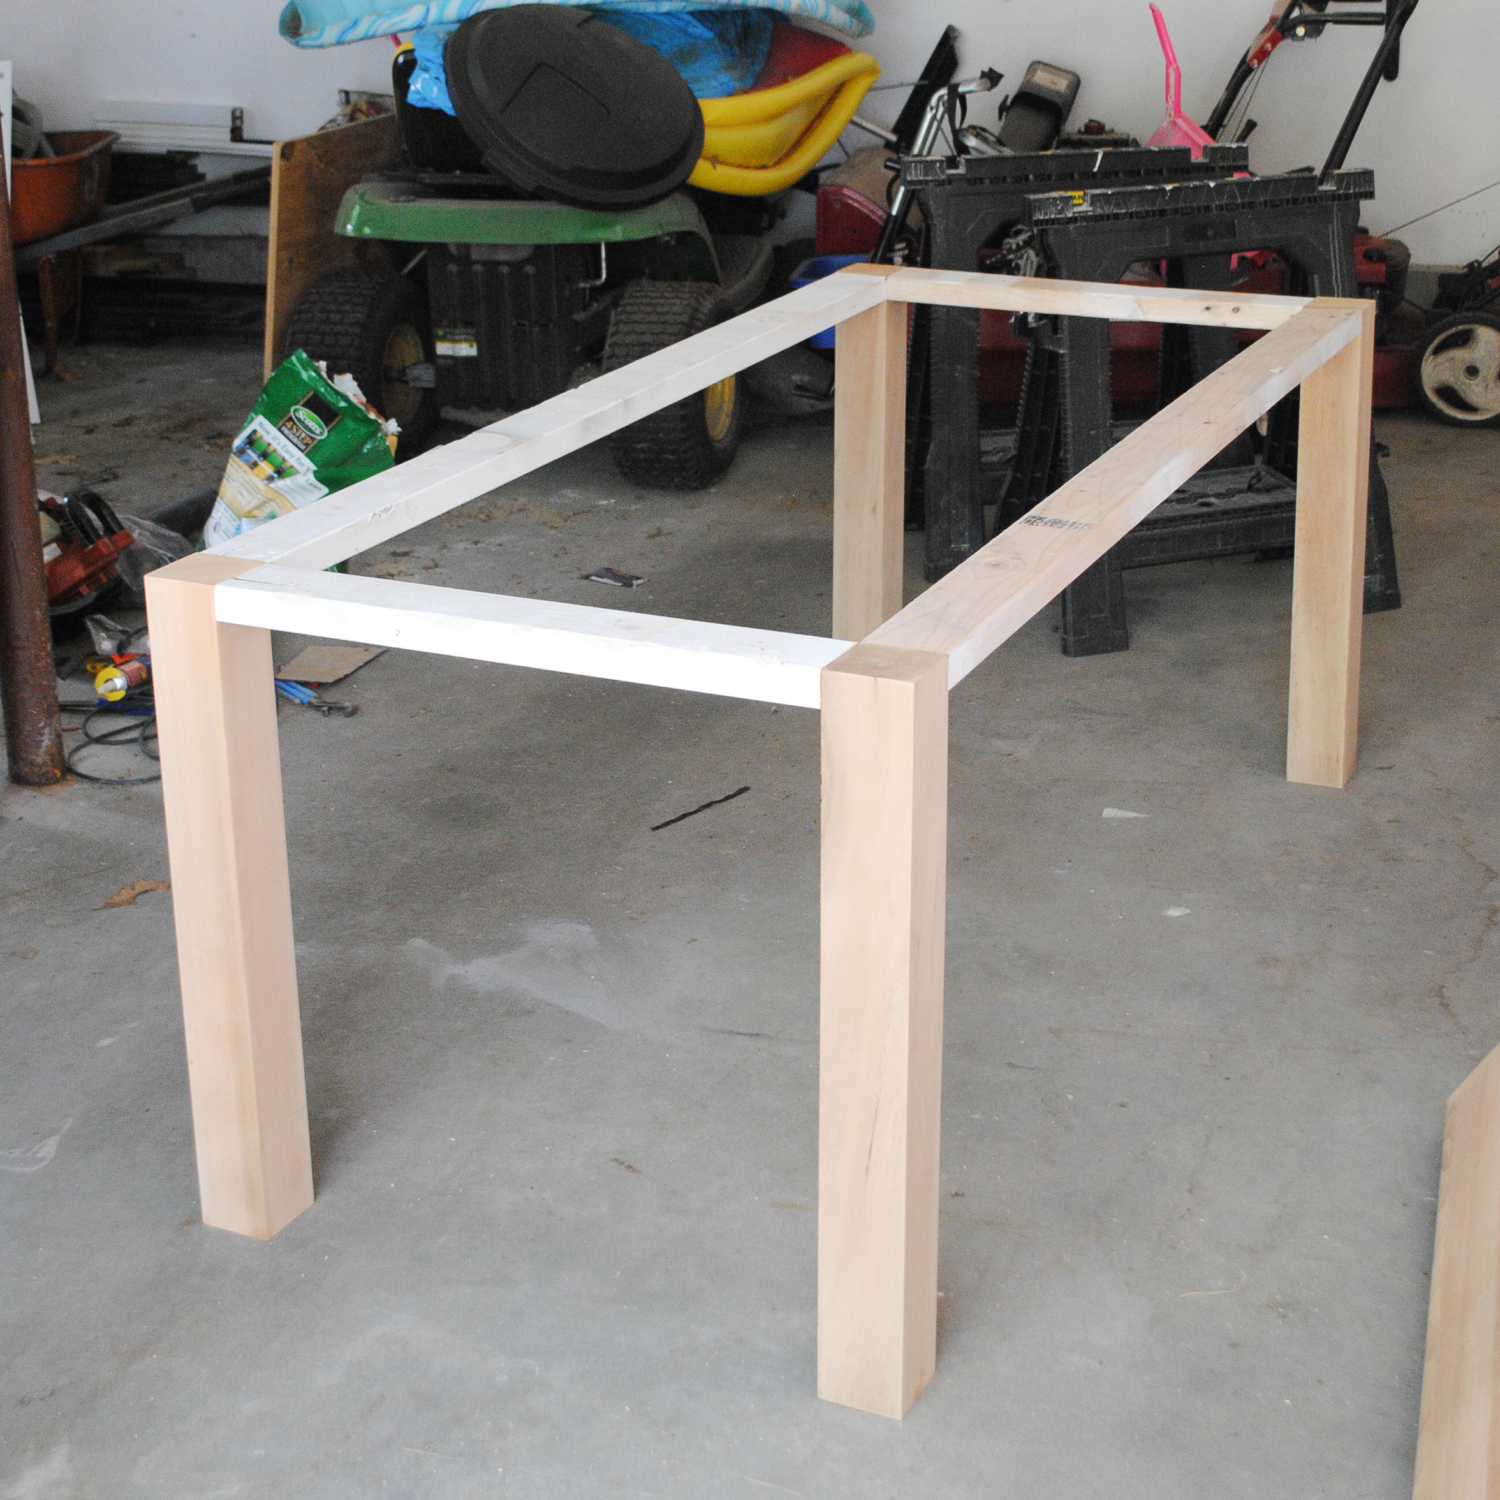
Assemble the frame of the table by attaching the 2x4s to the four 29.5″ 4x4s using 1.5″ pocket hole screws.
Carefully set the table top on the frame and adjust so it’s evenly spaced on all sides. Use a small drill bit to drill pilot holes in the undersides of the 2x4s – five or six holes in the long 2x4s and three or four holes in the short 2x4s. Attach the frame to the table top with 2″ wood screws through the pilot holes.
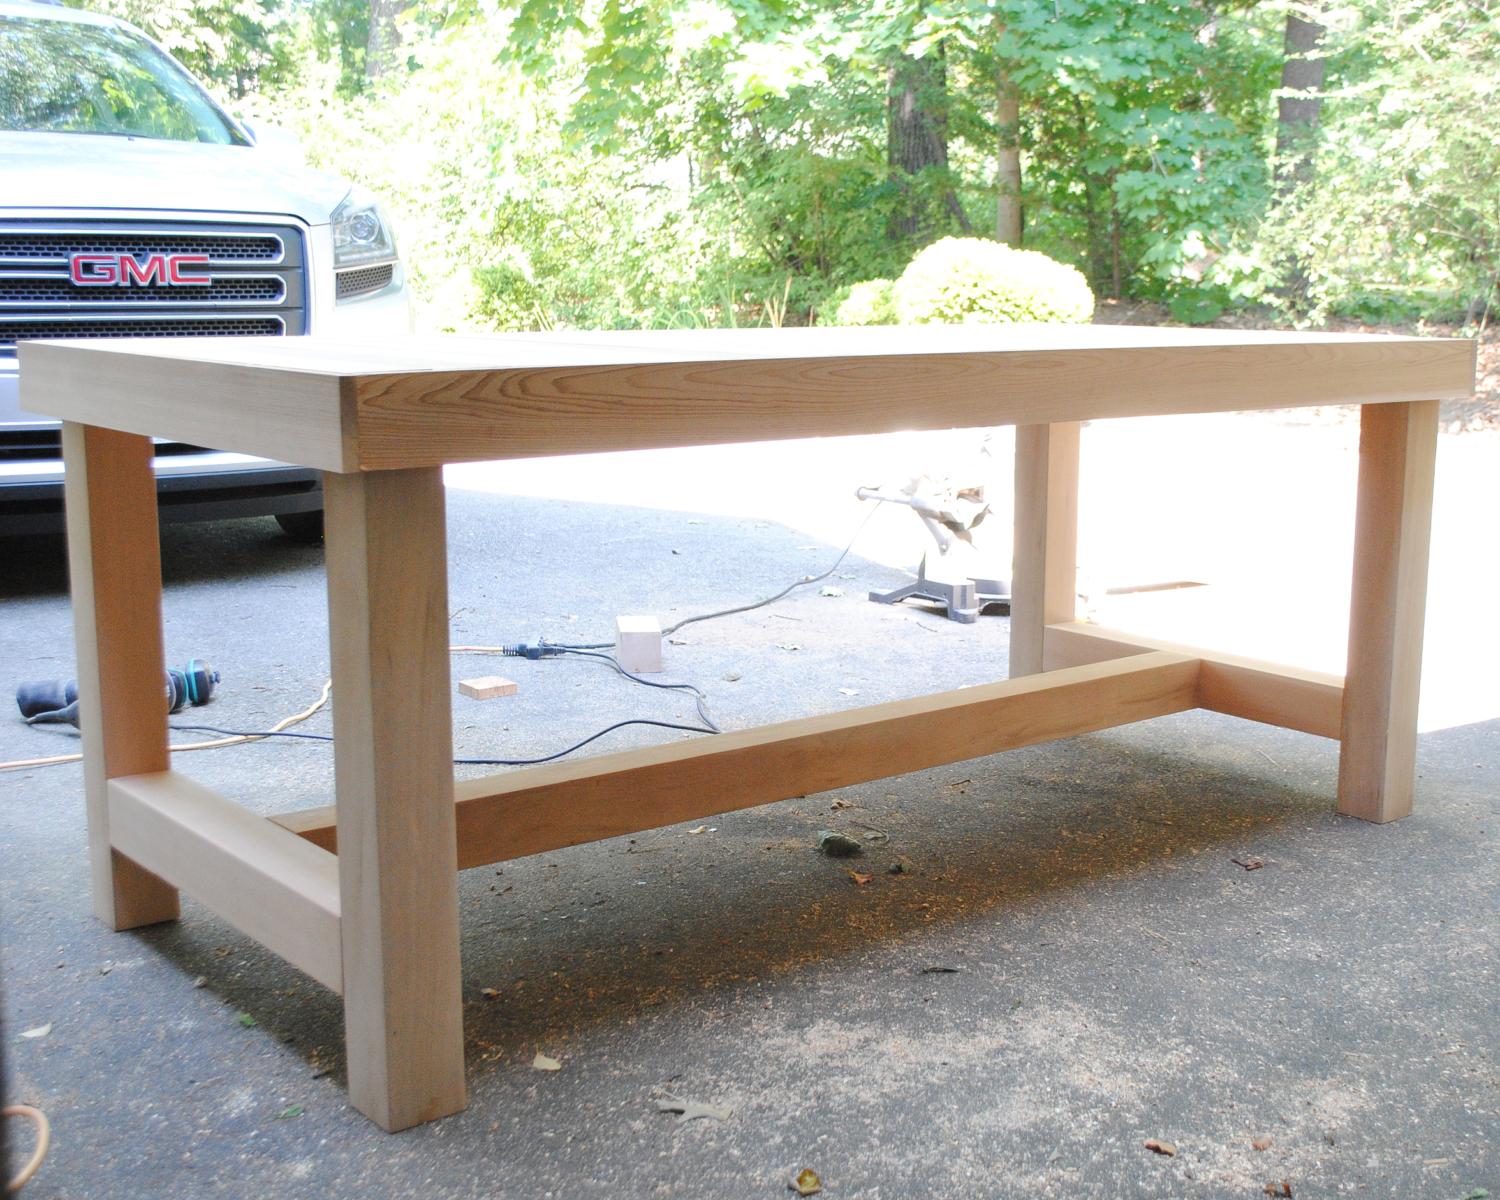
You do not have to finish your table by coating it, but I lived with mine uncoated for a year and was always stressed about spills. Ultimately, I decided to finish mine with this satin finish poly – you wipe it on with a rag and it protects against spills and stains without a lot of shine. I did four coats, which may sound like a lot but it goes on really quickly. You can tell it’s finished when there are no splotchy-looking areas, there should be a uniform sheen across the whole table.
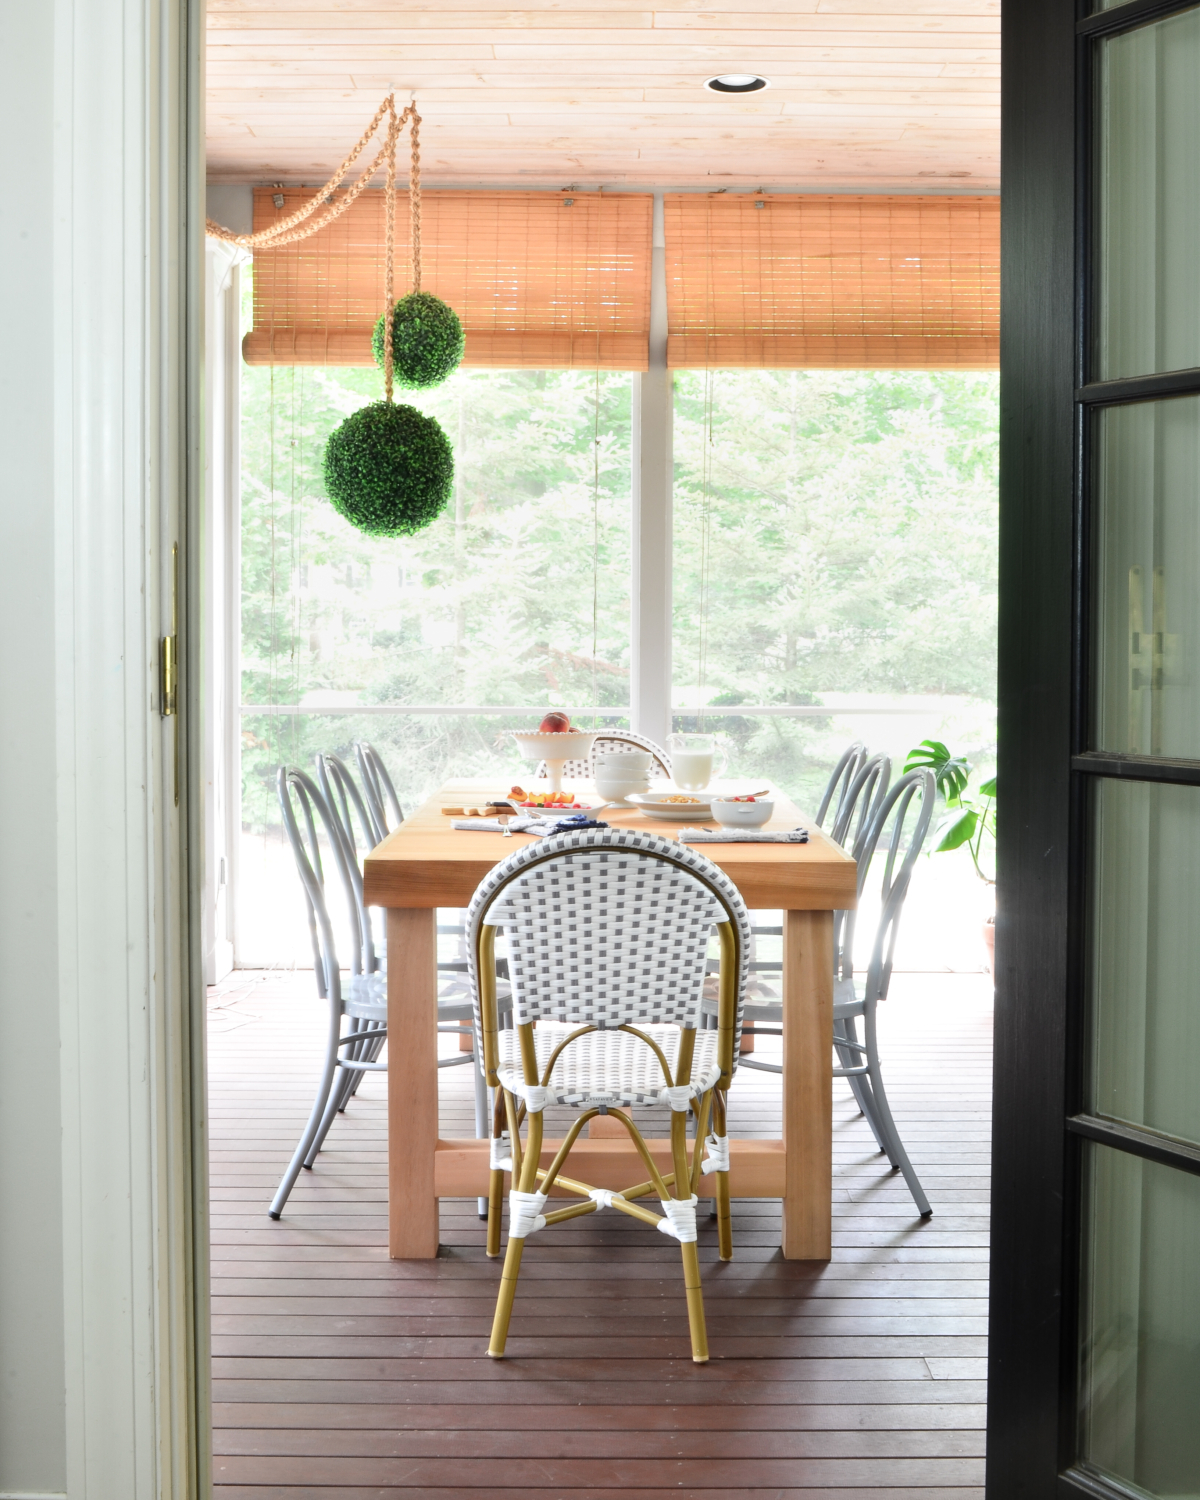
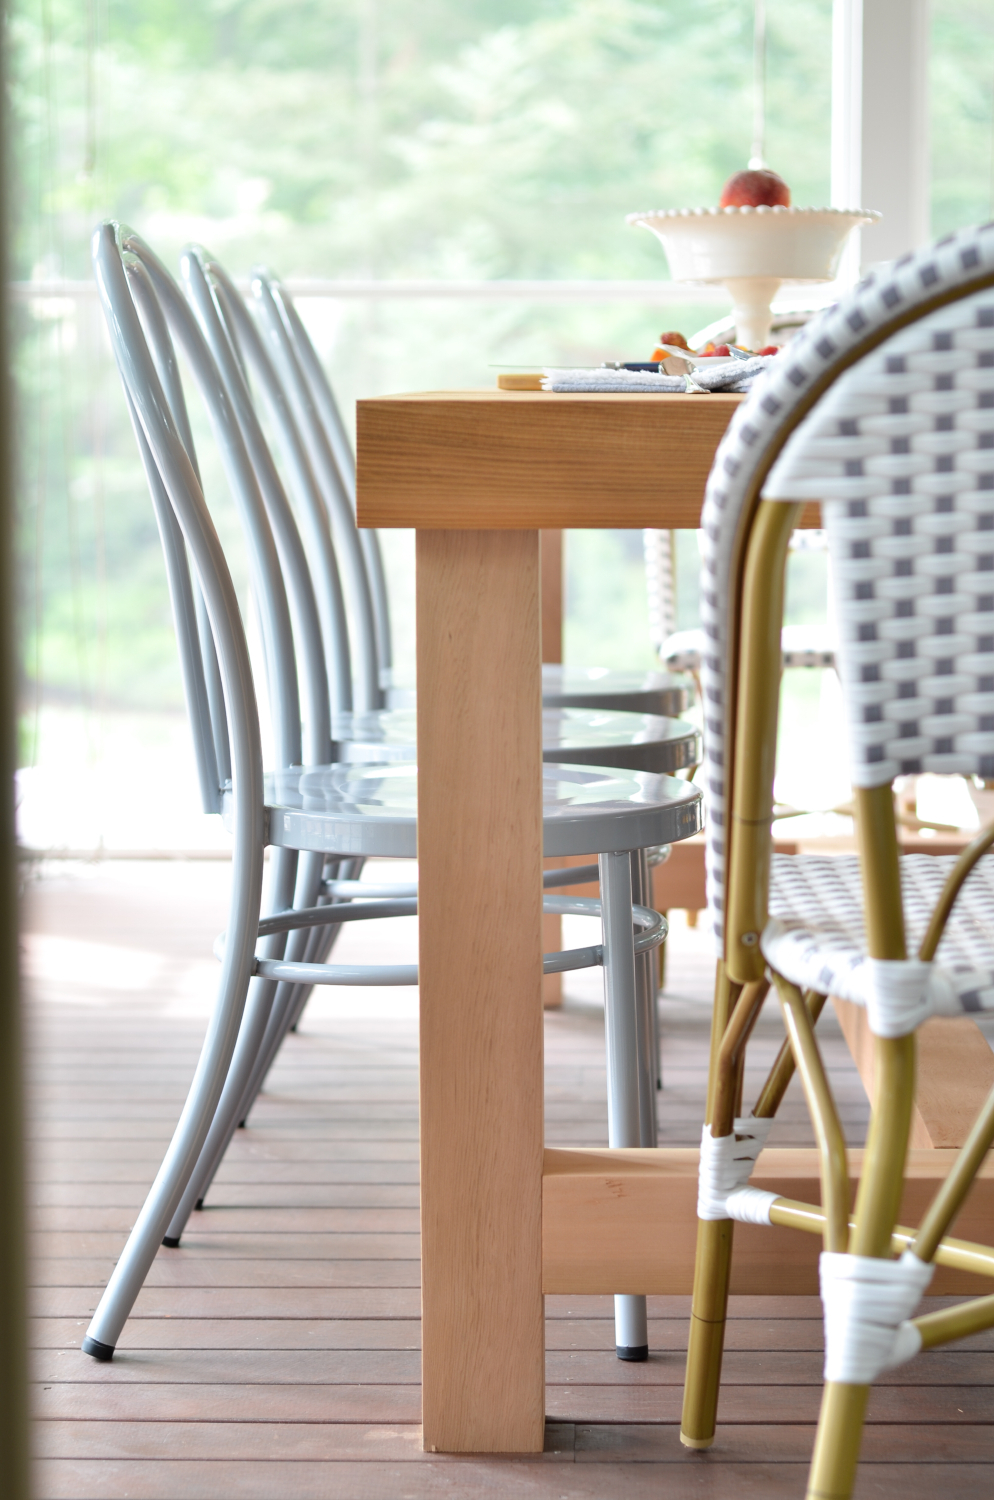
Thanks for your patience on this tutorial! I really, really, really love how this DIY chunky farmhouse table turned out. It’s simple, classic, and has nice weight and presence even though it’s not fussy. I would put this inside my house in heartbeat, but it’s just perfect on my screened porch too.

