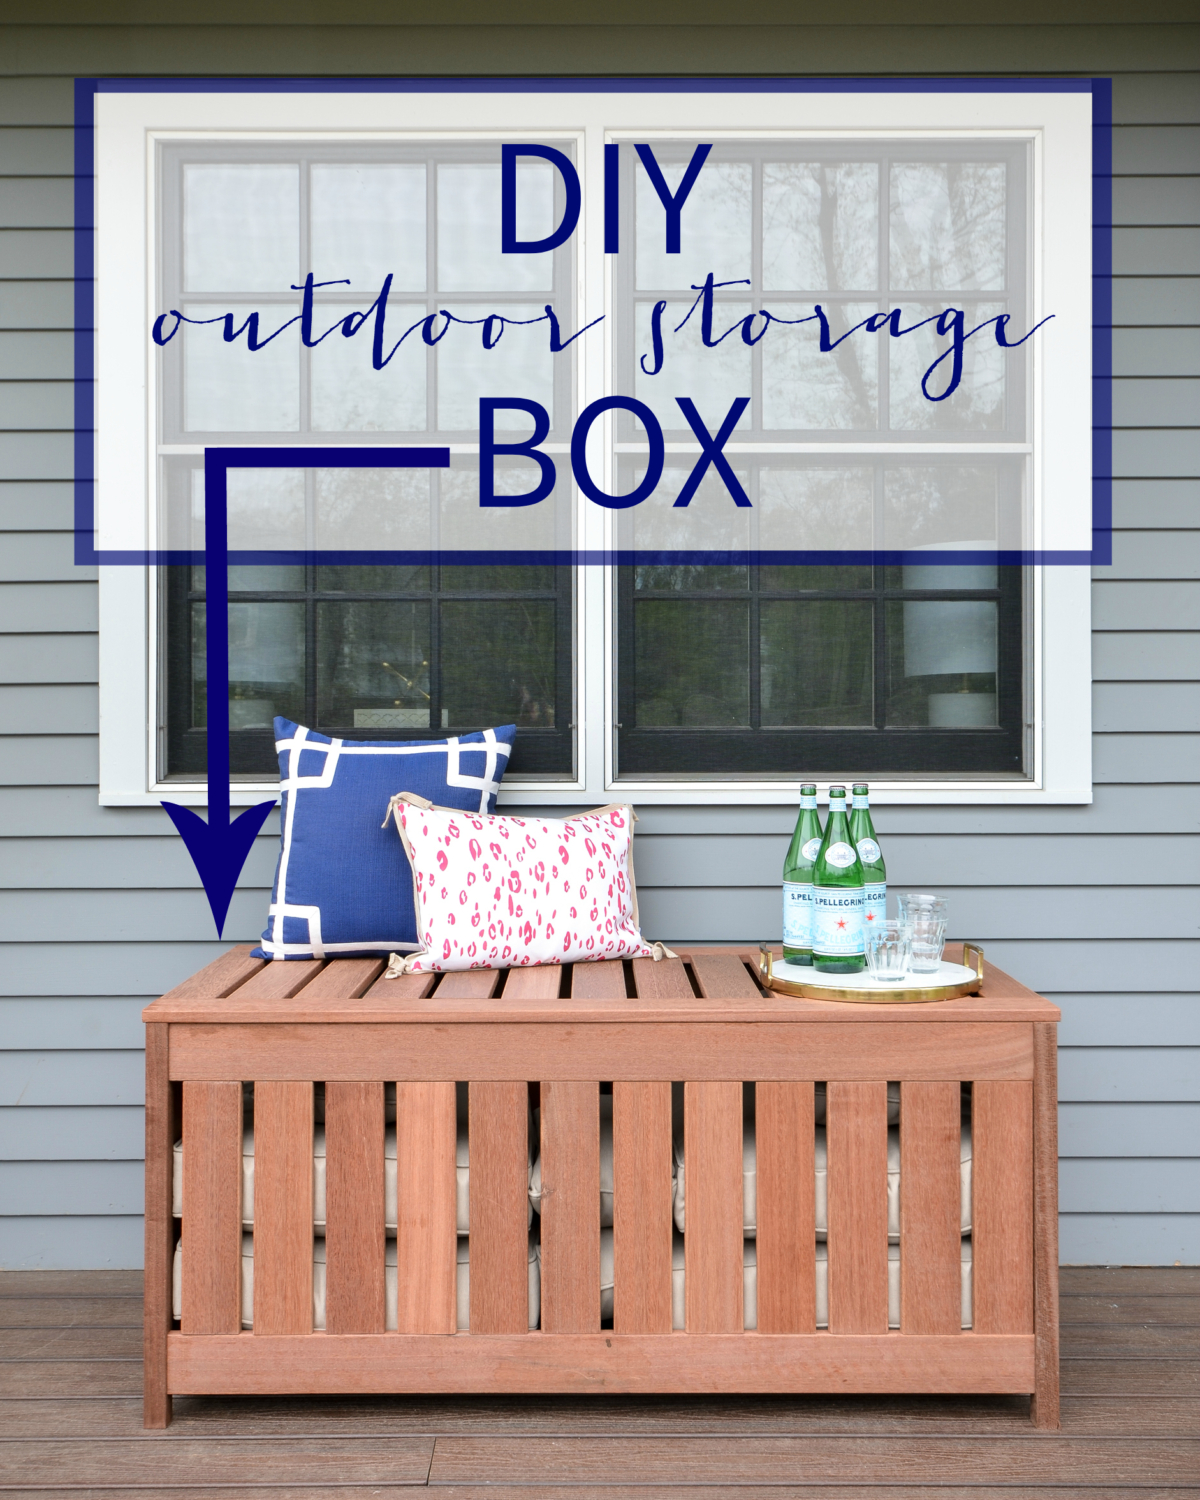
A DIY outdoor storage box is one of those things I have wanted to make for ages. We have cushions on a few of our outdoor furniture pieces and it’s been such a hassle figuring out where to put them when it’s going to rain so they don’t get mildewed and gross. We’d been piling them up inside the back door, and having them teetering in a cushion tower at the back of the kitchen was most definitely not a good long-term solution.
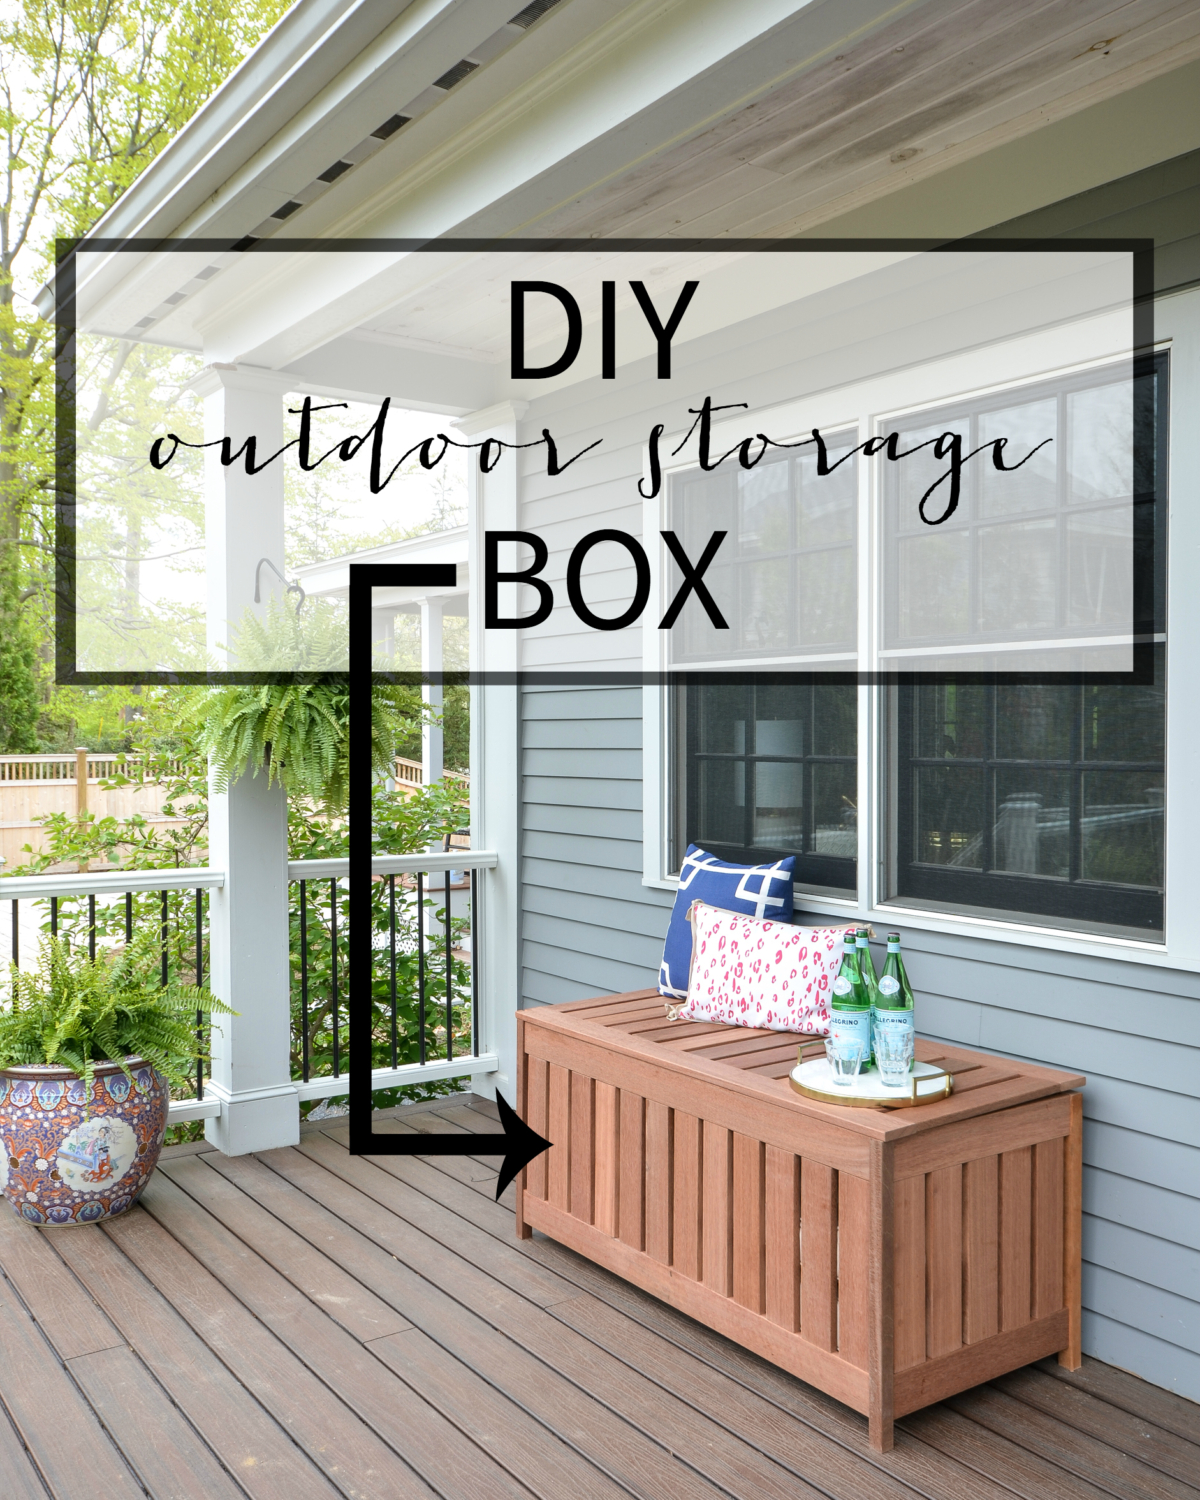
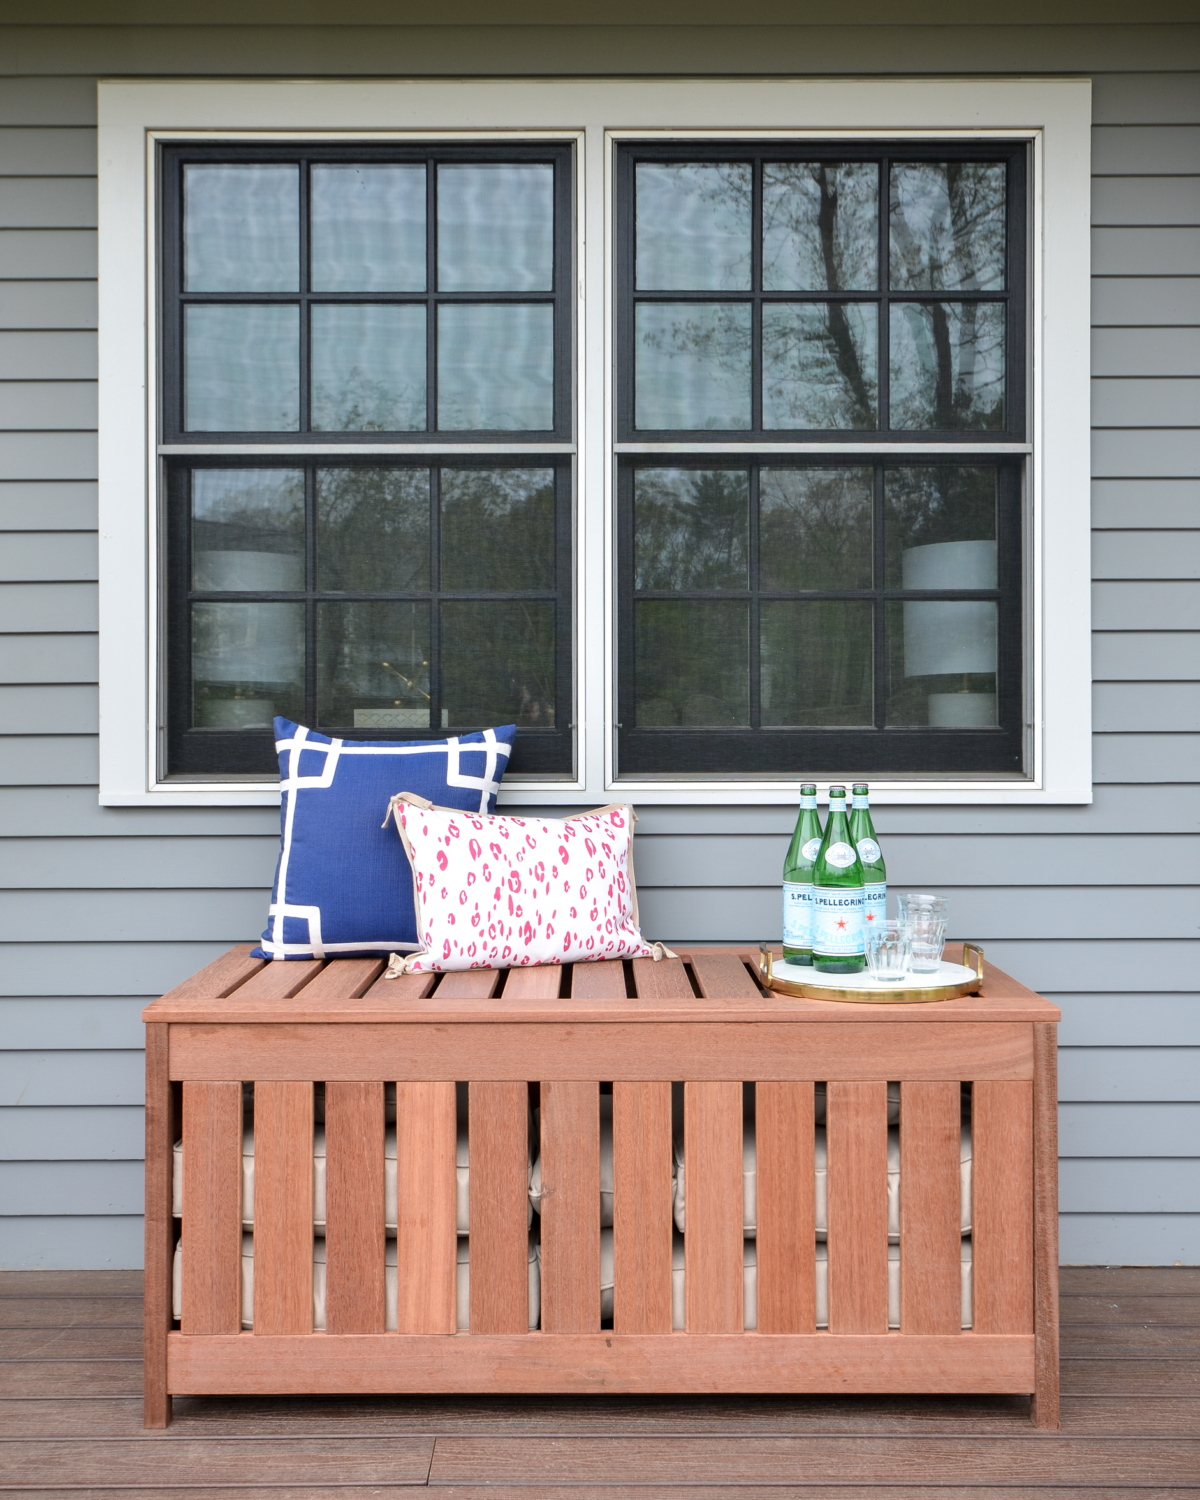
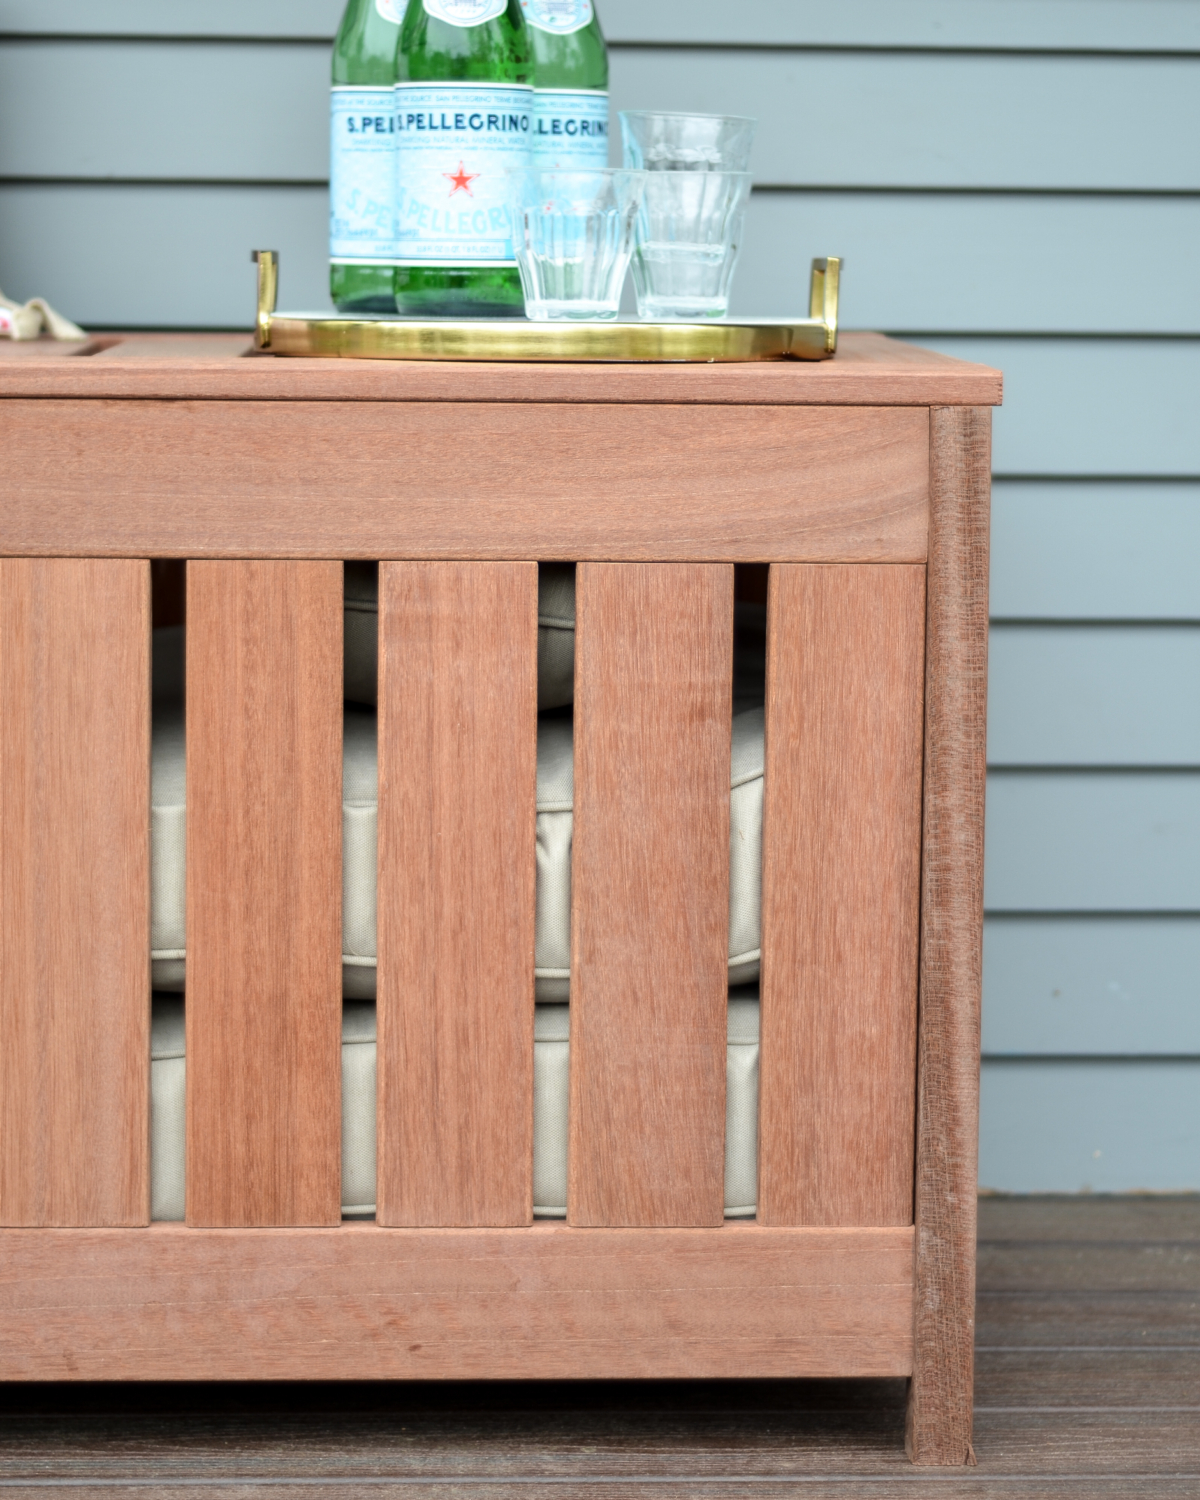
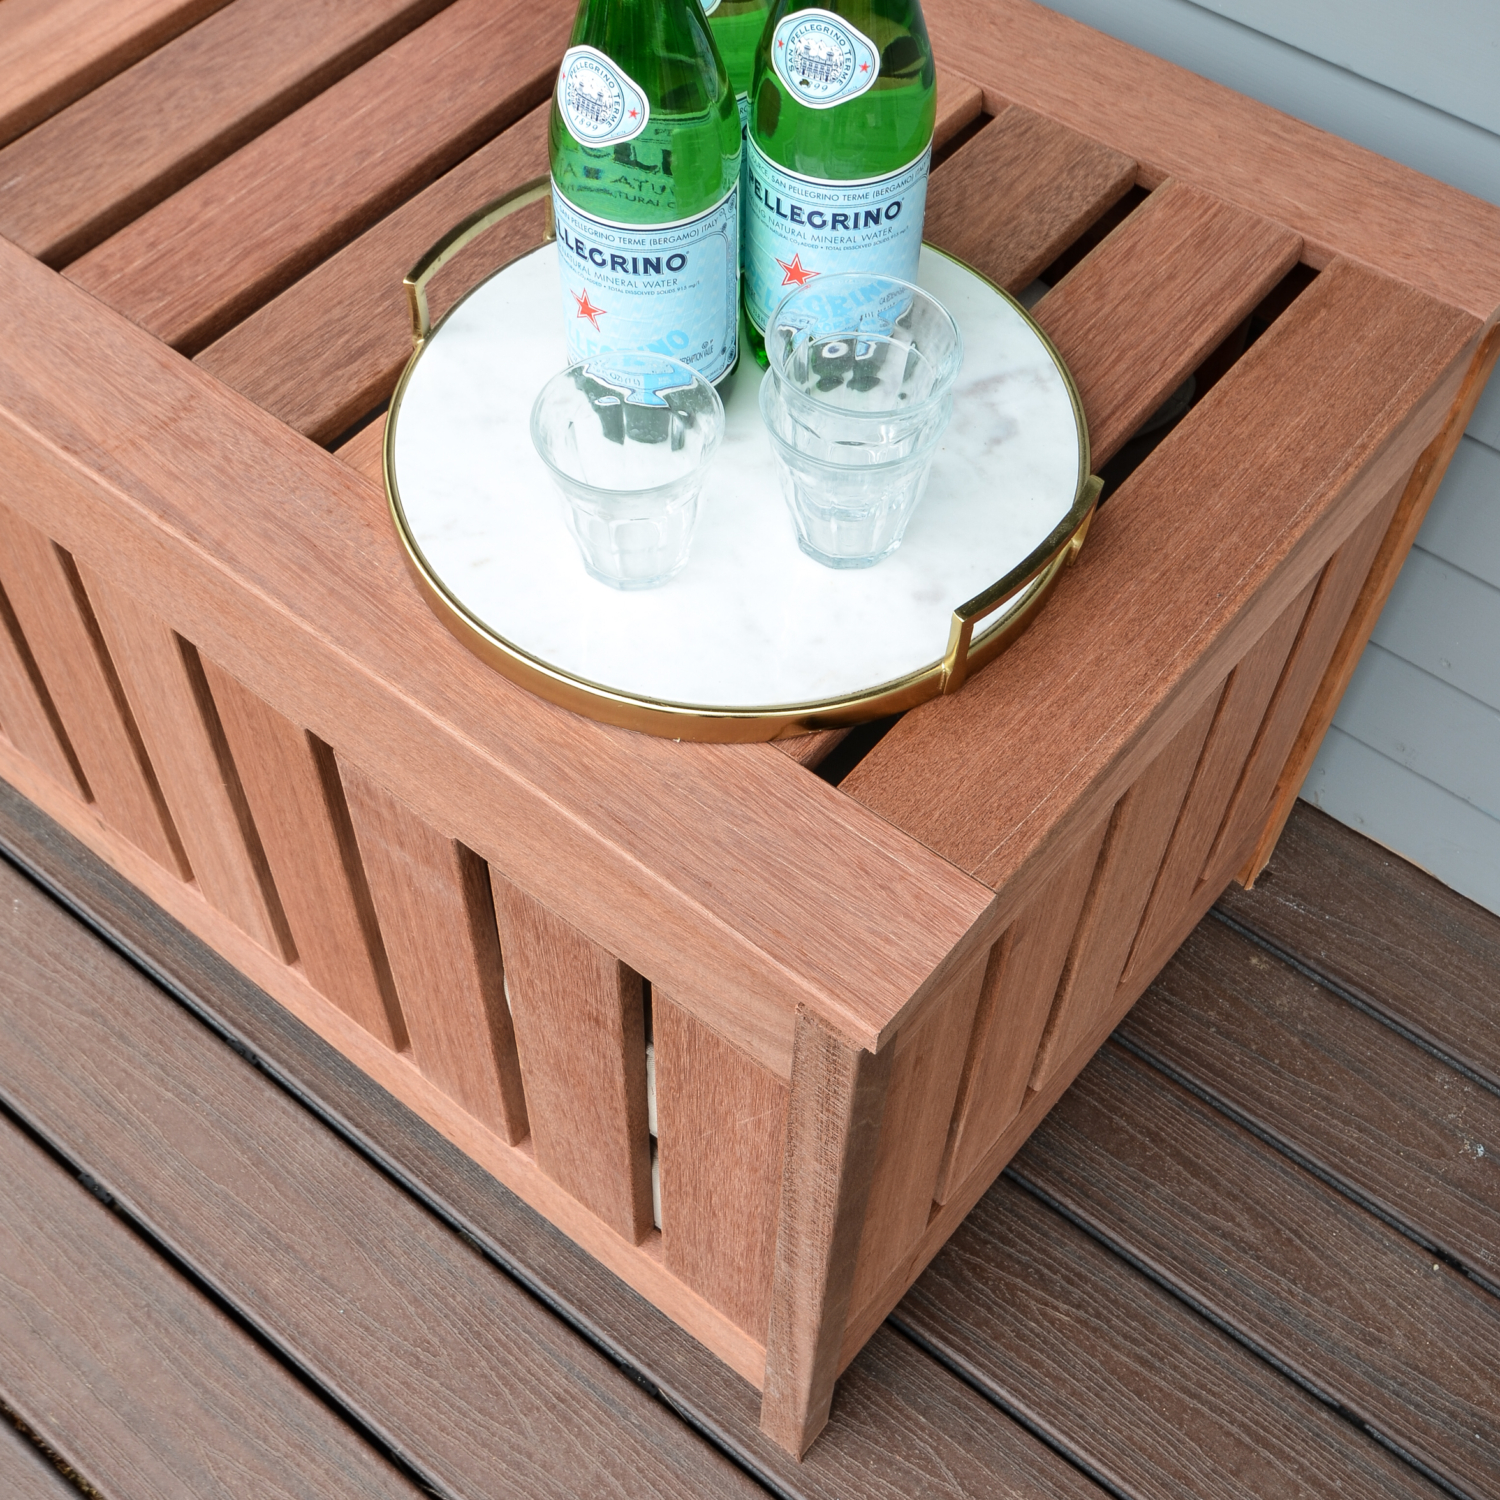
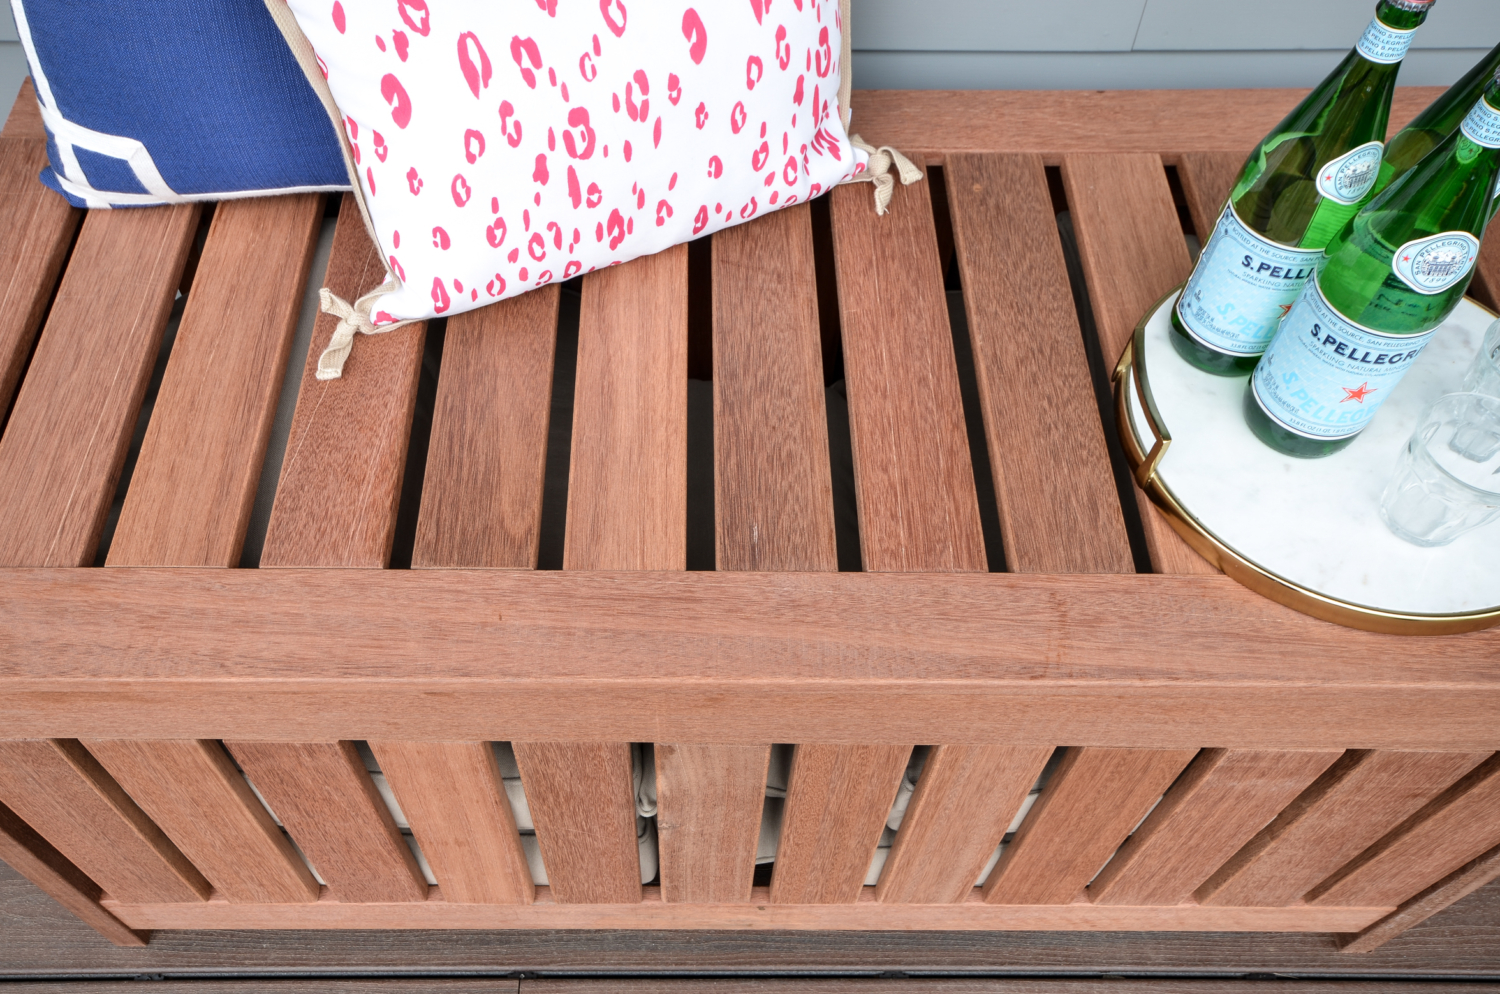
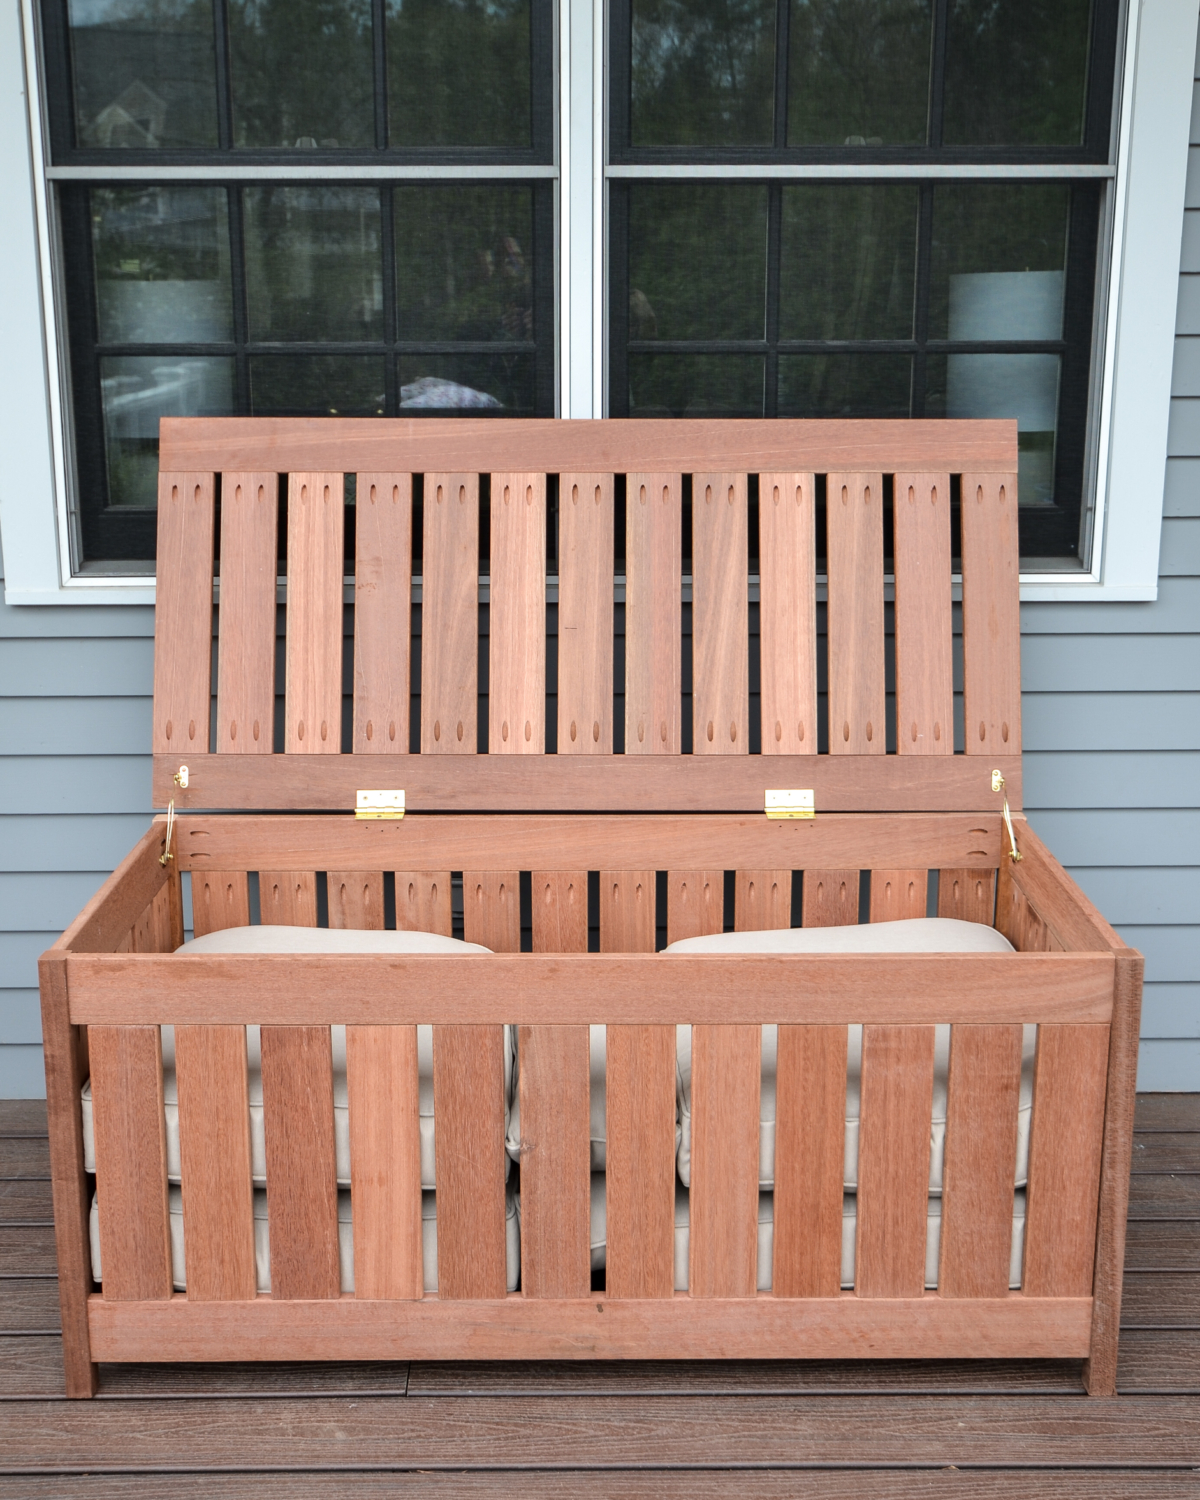
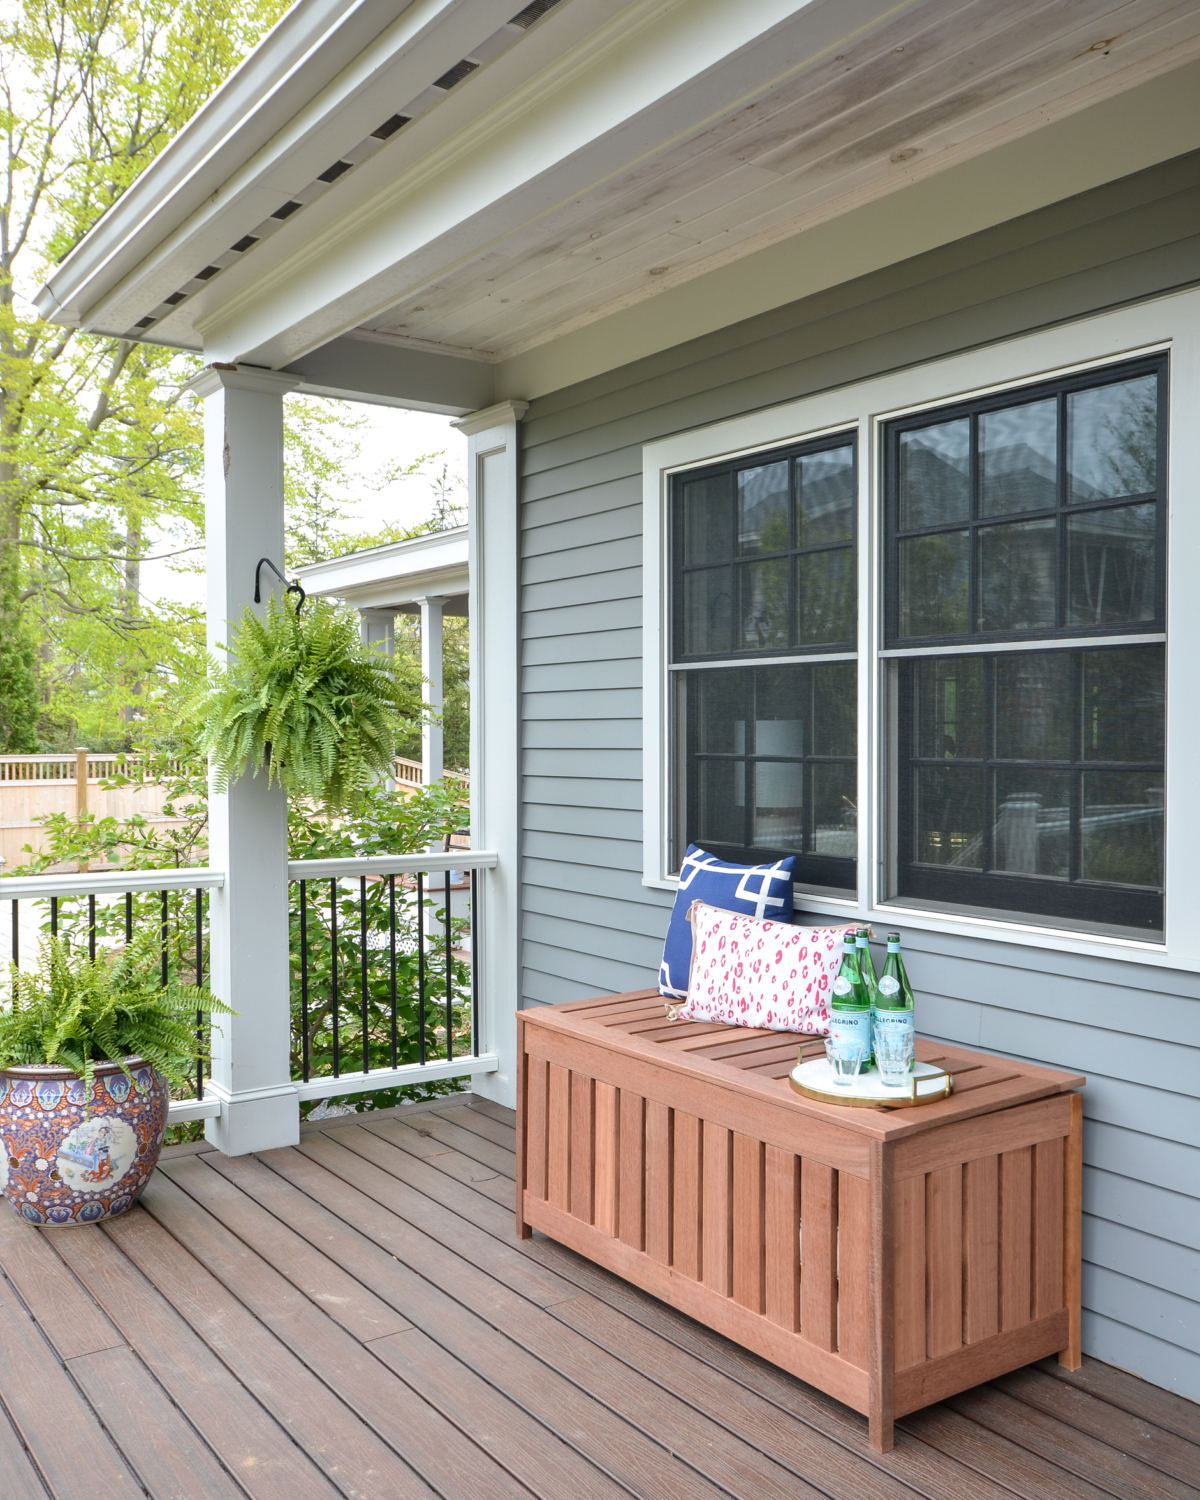
This DIY outdoor storage box, however, is the perfect solution – it will stay on the deck where we can easily pop the cushions in and out and it doubles as an extra seating bench or serving surface when we’re not going to be opening and closing it. Triple duty!
I went to my local lumber yard thinking I was going to use cedar for this project but it turned out mahogany boards were about half the price of cedar and also suitable for outdoor use. I still spent around $275 on materials but considering that I modeled it after a Pottery Barn outdoor storage box that retails for $937, I’m going to call that a win. If you need to cut your costs lower than the price of the mahogany, you could use pressure treated wood, but it won’t look quite as polished.
As DIY building projects go, this one is honestly really, really easy to make. There are a lot of cuts to create all of the slats and boards you need but they’re all straight cuts, which are most definitely the easiest kind. And here’s a little cutting tip for you – when you’re cutting multiple boards at the same size, like you are here, you only have to measure once with a tape measure for each length. After that, just use the board that’s cut to the right length to measure the lengths for your subsequent cuts. Figuring this simple little hack out has saved me tons of time when building!
You use a Kreg pocket hole jig to drill holes in each end of most of the boards, which does take some time and truth be told is a little monotonous, but throw some music on and you won’t even notice the repetition! And, as I’ve mentioned before, the Kreg jig is a lifesaver when it comes to building projects. It makes joining boards so incredibly easy and helps create really solid, professional-looking pieces. My DIY life changed forever when I discovered the Kreg jig and it is one of my most used and most favorite tools in my whole collection.
You can find the full tutorial for this DIY outdoor storage box at BUILDSOMETHING.COM, which is Kreg’s amazing DIY project plan site. Here’s a quick list of some of the tools and materials I would recommend for this project:
- miter saw
- Kreg pocket hole jig
- cordless drill
- 1″ pocket hole screws
- 30″ continuous hinge
- left and right side folding lid supports
And just a note about the spacing of my slats on the sides and top of this DIY outdoor storage bench. You can see in my photos that the bench is under a small roof overhang on my deck, which means it doesn’t get rained on directly. If you build this and your box will be out in the open, you may want to consider shrinking the space between the slats to 1/4″ instead of the 3/4″ I used to endure your cushions are fully protected.
CLICK HERE TO ACCESS THE FREE PLAN FOR THIS DIY OUTDOOR STORAGE BENCH!

