Last week I shared photos of our finished DIY deck with you and today I’m back to share my final thoughts on the materials we used and what we would do both the same and differently. Here’s a list of all the posts (many including video) that I’ve written about the deck.
Project Introduction
DIY Deck – Plans and Details
DIY Deck – Concrete Footings
DIY Deck – How to Build a Deck Frame
DIY Deck – Laying the Boards
DIY Deck Reveal
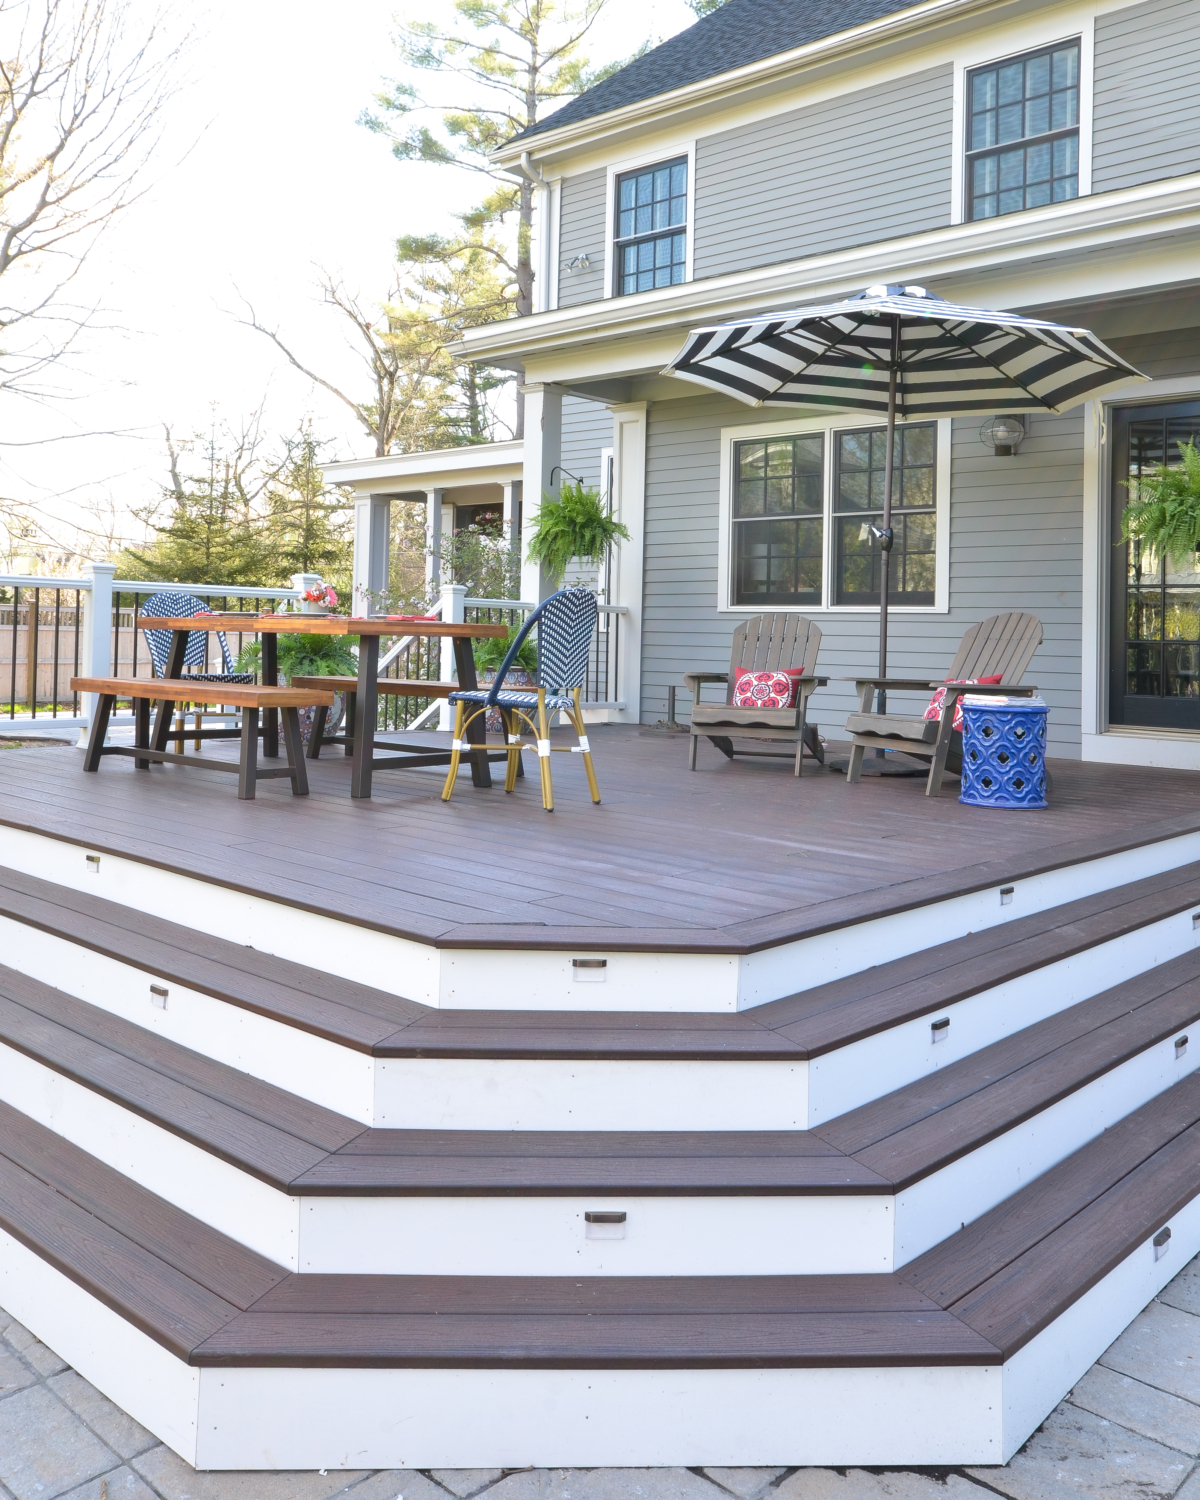
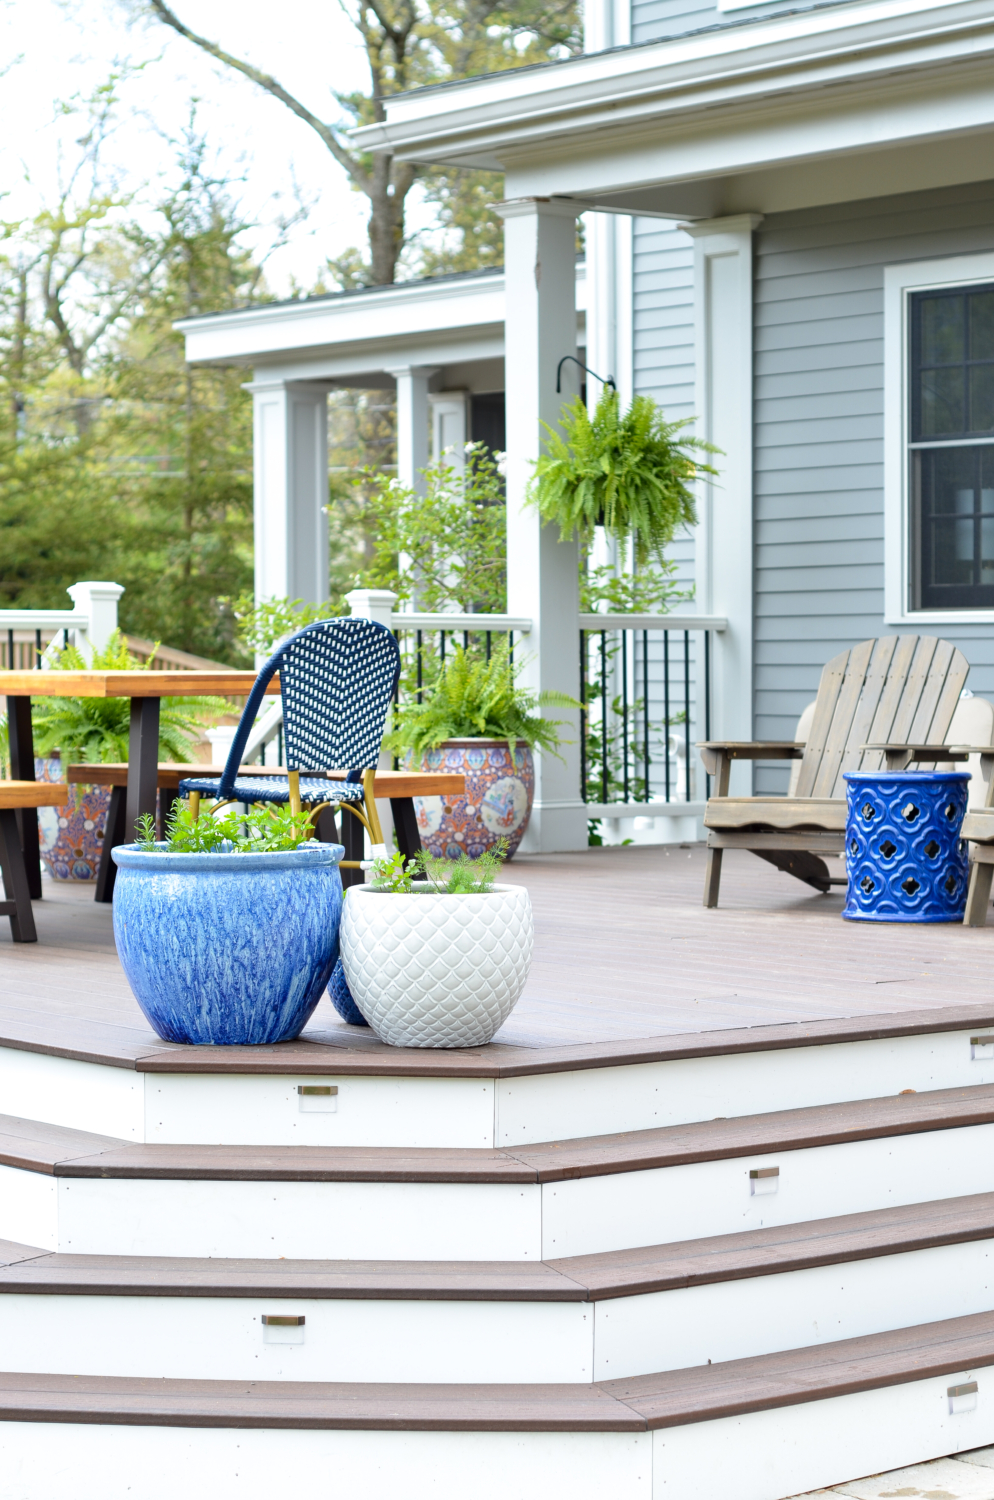
Here are a few photos of the deck so you have an idea of the finished look before I dive into all of my dos and don’ts. You can find some of the pieces I used to decorate the deck by scrolling through the images below and more photos of the space in this post.
 Similar planters
blue – set of three
blue and white marbled – set of two
blue and white – set of three
Materials
Let’s start with the basic building blocks of the project – the materials we used to build the frame and deck. For the concrete footings and the deck frame, the materials kind of are what they are. Any good lumber yard will be able to supply you with pressure treated wood for the frame and the other odds and ends you need to construct the frame. Many will be able to draw up a simple plan for you to help determine how much of the frame materials you need, and if you have a place that can do that I highly recommend you take advantage of that service. We did this and it was invaluable in helping us figure out how much of everything we needed.
When it comes to actual materials you use for the decking boards, you can choose to work with wood or with composite decking but within those two categories there are a dizzying number of choices. We pretty quickly came to the decision that we wanted to work with composite decking. I’ve watched my dad power wash and restain my parents’ deck every other year for the thirty years they’ve lived in their house and I knew that wasn’t something I wanted to take on as ongoing maintenance. I looked into a few different composite deck companies and we kept coming back to Trex. Their reputation is really unparalleled. I did a lot of research and found conflicting opinions on other composite decking companies while Trex’s reputation has only strengthened in recent years. Their decking will cost more than a wood deck but it is virtually maintenance-free and that is something very worth paying a little extra for, in my opinion. And, incidentally, guess what my parents are getting ready to do? Rip off their existing deck and replace it with a Trex deck.
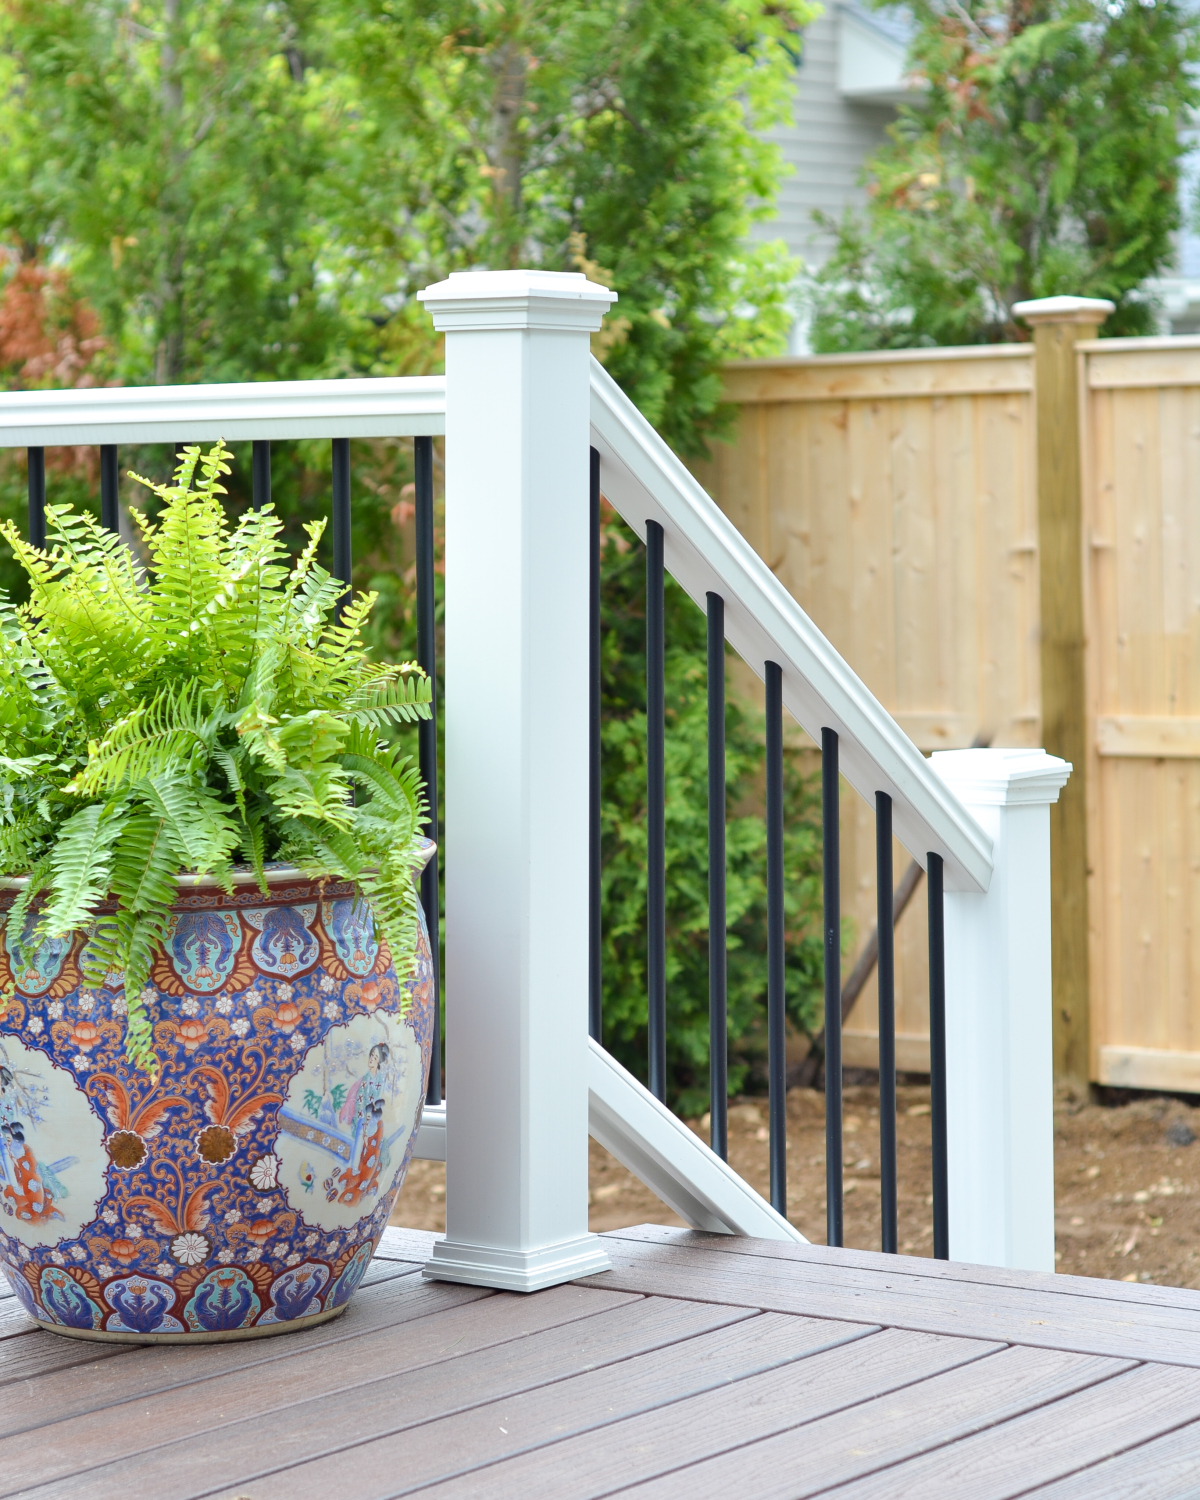
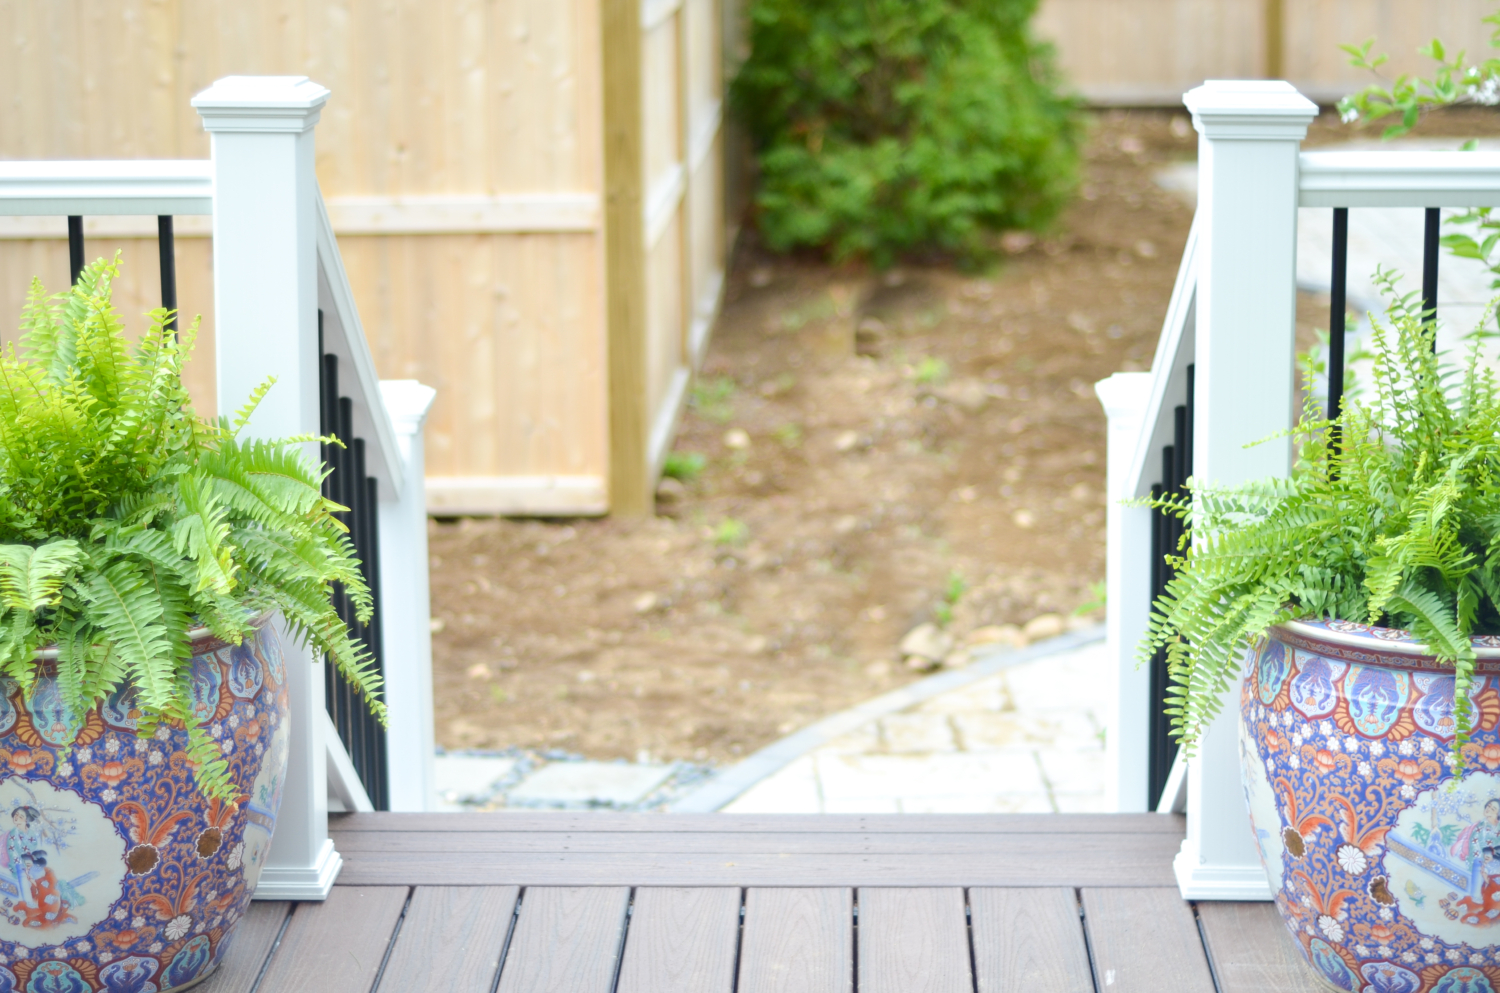
Once we decided on using Trex materials we had to narrow it down within Trex’s three high-performance decking collections – Trex Select (good), Trex Enhance (better), and Trex Transcend (best). The three distinct product lines allow you to choose the right product to meet your outdoor living needs and budget. We wound up deciding on the Trex Transcend line, in the Lava Rock color. We used Trex Transcend railing components as well and I have to say, I found the railing kits exceptionally easy to work with. Trex sells all the pieces you need for the railing and there are lots of options to customize the look. We chose rather traditional post sleeves and post caps and then went with a more modern round black baluster for a striking custom look.
Process
I’ve said this before, but building this deck was the biggest, hardest DIY project we’ve ever taken on. It took two years for us to finish and we had some loooong days working on it. Having said that, I don’t AT ALL regret taking this project on as a DIY. I did, however, have a little help along the way, and I’m going to lay it all out there for you as far as what we hired out, what we had assistance with, and what we did all by ourselves. I don’t have an exact number but I think we probably saved somewhere in the ballpark of $25,000-$30,000 by doing this ourselves. That is A LOT of money. And that’s the main reason I’d say this project is worth doing yourself if you’re up for it. Here’s a rundown of the steps, what we did, and what I’d do the same or differently.
- I measured and drew up the general design for the deck, then had a local lumber yard make a mockup to help us figure out materials quantities. Both of those things, I would do again.
- Think about the plan for around your deck. One of the big holdups for us, and the reason it took two years to finish, is we built the deck and then realized that it made sense to complete the paver patios we had planned for on either side of the deck so the deck steps landed on the patios. So our deck sat without steps for a year while the patios were completed (also DIY so they took longer than if we had hired someone).
- A friend of my parents, who is a contractor, gave us a rundown of the steps we would need to take to prepare the footings for the deck, build the frame, and lay the boards. A good thing about me is that I usually feel like I can do just about anything if I put my mind to it. But that can also be a bad thing. Having a professional coach me through the actual steps for building a deck was invaluable. I’ve shared the steps and tips I learned from him in the posts I linked up at the top.
- We rented a gigantic auger and a cement mixer from Home Depot to dig and pour the concrete footings for the deck. I would NOT attempt to dig the holes again. We have pretty rocky soil but even that aside, this step I really think is worth hiring someone to do. Most landscapers will have the right machinery to do this job for you and they’ll do it better and faster. I think this would cost $1000-$1500. Renting the cement mixer and pouring the footings yourself could still be worth doing yourself but you should know that bags of Quickrete are crazy heavy so it is hard physical work.
- My parents and their contractor friend, whom I mentioned above, came for a weekend to help us build the frame. We built the whole deck frame in a day, with four people working almost sunup to sundown and one of them directing the rest of us on what to do. We never would have been able to do the entire frame in a day without that help and expertise.
- We started laying the boards with our little crew and then I finished the rest over the next couple of weeks. Laying the boards was one of the easiest parts of the whole process and absolutely doable as a DIY.
- I installed the railing myself. As I mentioned above, Trex’s railing systems are very user friendly and easy to install. I’d definitely do this part again myself.
- We decided to hire someone to build the steps for us. Our deck has steps that run the full length of two sides of the deck and I wasn’t confident that I could do such long steps perfectly. It’s really important that steps are done just right to be safe so I’m glad we decided to hire someone to do that part. We paid around $2000 for that work to be done.
And there you have it! Two years after embarking on this little (ahem…big) deck building adventure, I have certainly learned a lot, and hope that some or all of what I’ve shared with you over the course of my posts about our DIY deck and this wrap-up post here are helpful to you in determining whether this is something you want to try yourself. It’s a hard project but when you can save yourself $30,000, I don’t know, sure seems worth a try to me!
Trex provided me with materials from their Transcend line to build this deck. All work was done as stated, largely as a DIY project, and all opinions expressed about the product are sincere and my own.

