A few months ago I shared my project priorities for this year. So far I’ve started on the mudroom and guest room updates and have made some good progress, both actual progress and planning progress, and I hope to wrap both up in the next month or two. The finished basement is the biggest project I’m planning to take on this year and, honestly, it’s a little overwhelming. But I find breaking a big project like this into steps or phases helps me to visualize the big picture, start a to-do list with actionable items, and just mentally makes it feel more manageable. I wanted to share the plans with you, as well as my process for breaking a project like this down so you can see how you might do it yourself. I also want to talk about why I’m taking this project on in the first place.
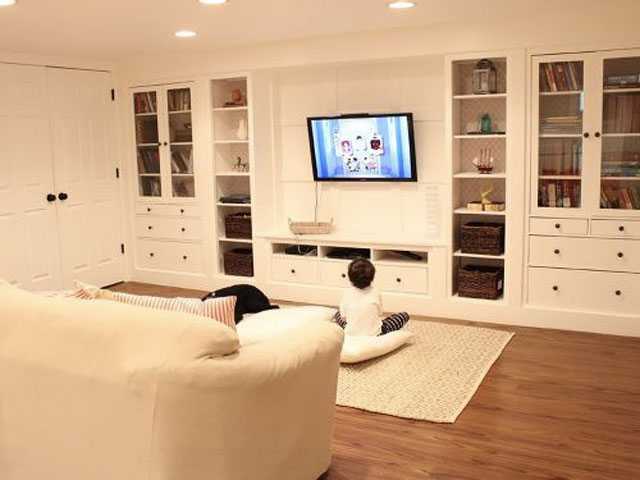
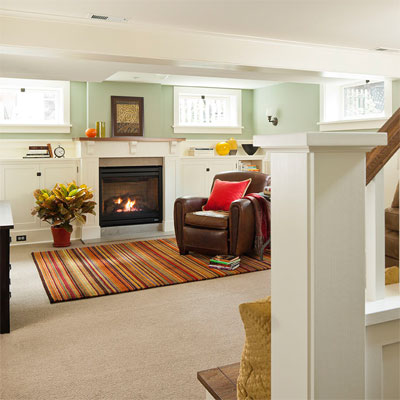
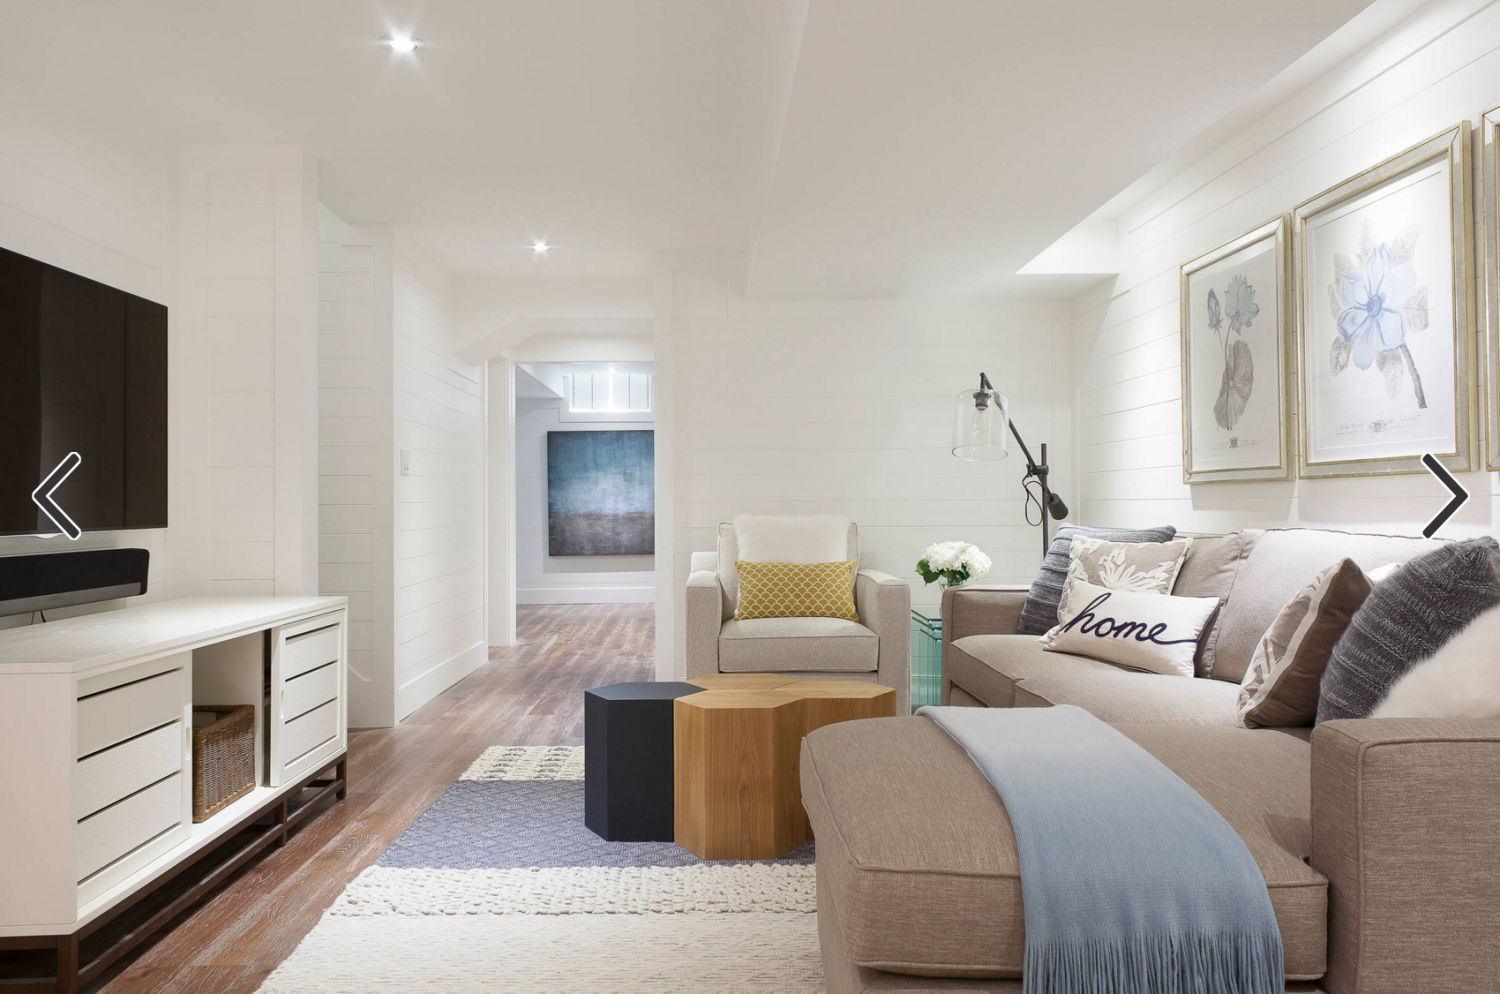
First of all, I always like to start a project like this by gathering inspiration photos. It helps me to focus on the look I want for the finished space. I’m finding myself myself drawn to light, airy basement family room images, like those below. I really want to put together a space that feels like it could be any room in the house, not necessarily a basement.
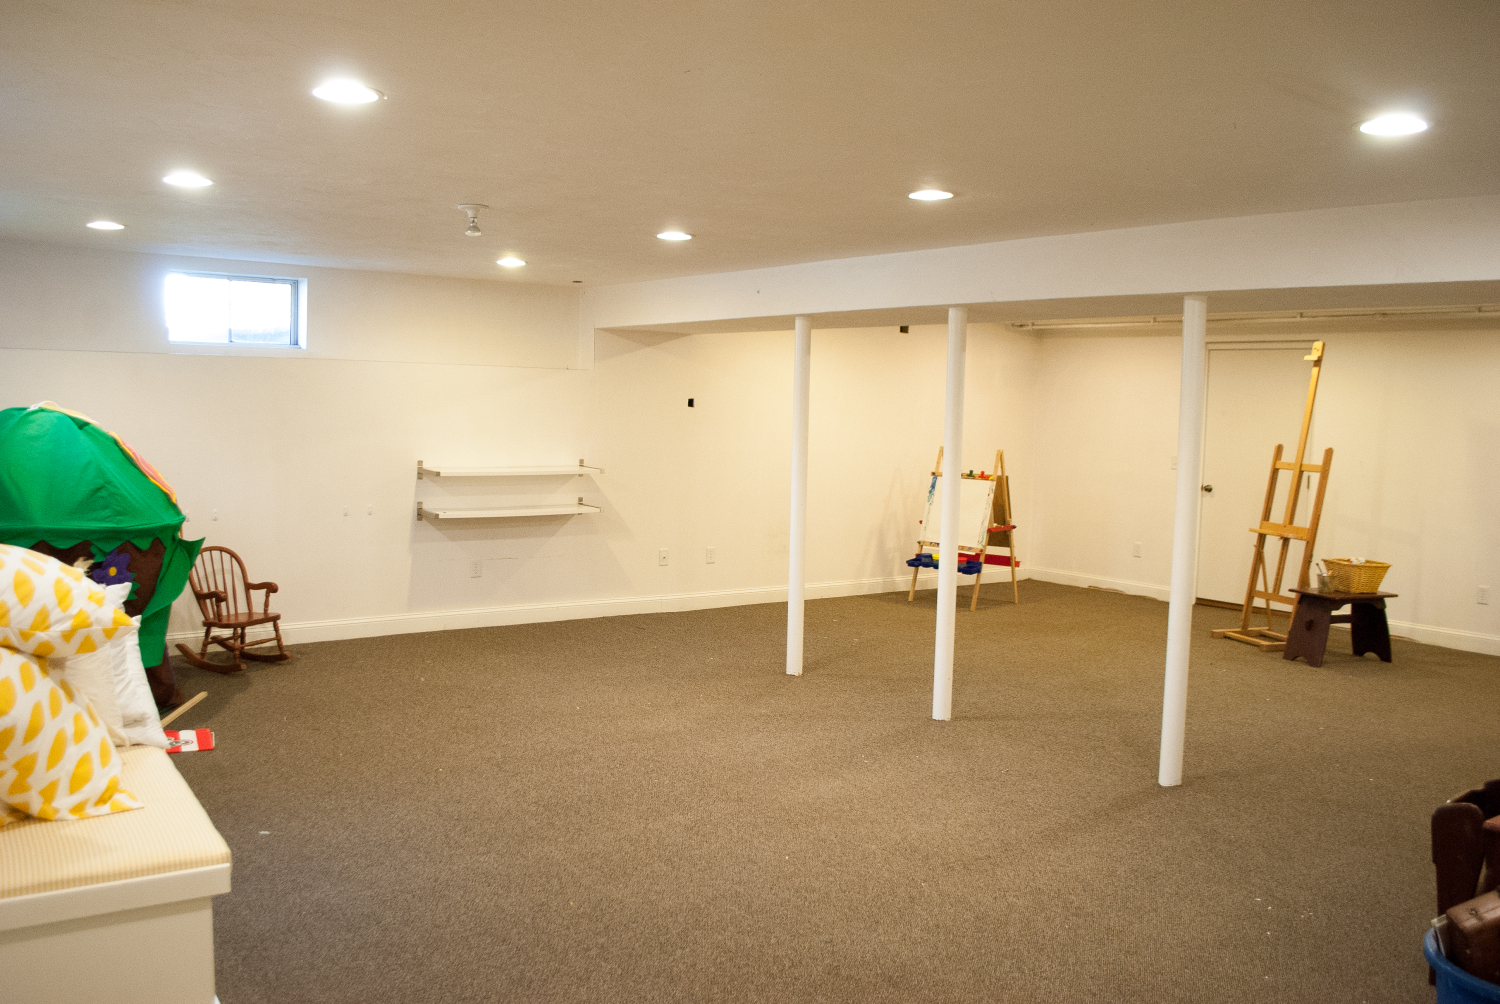
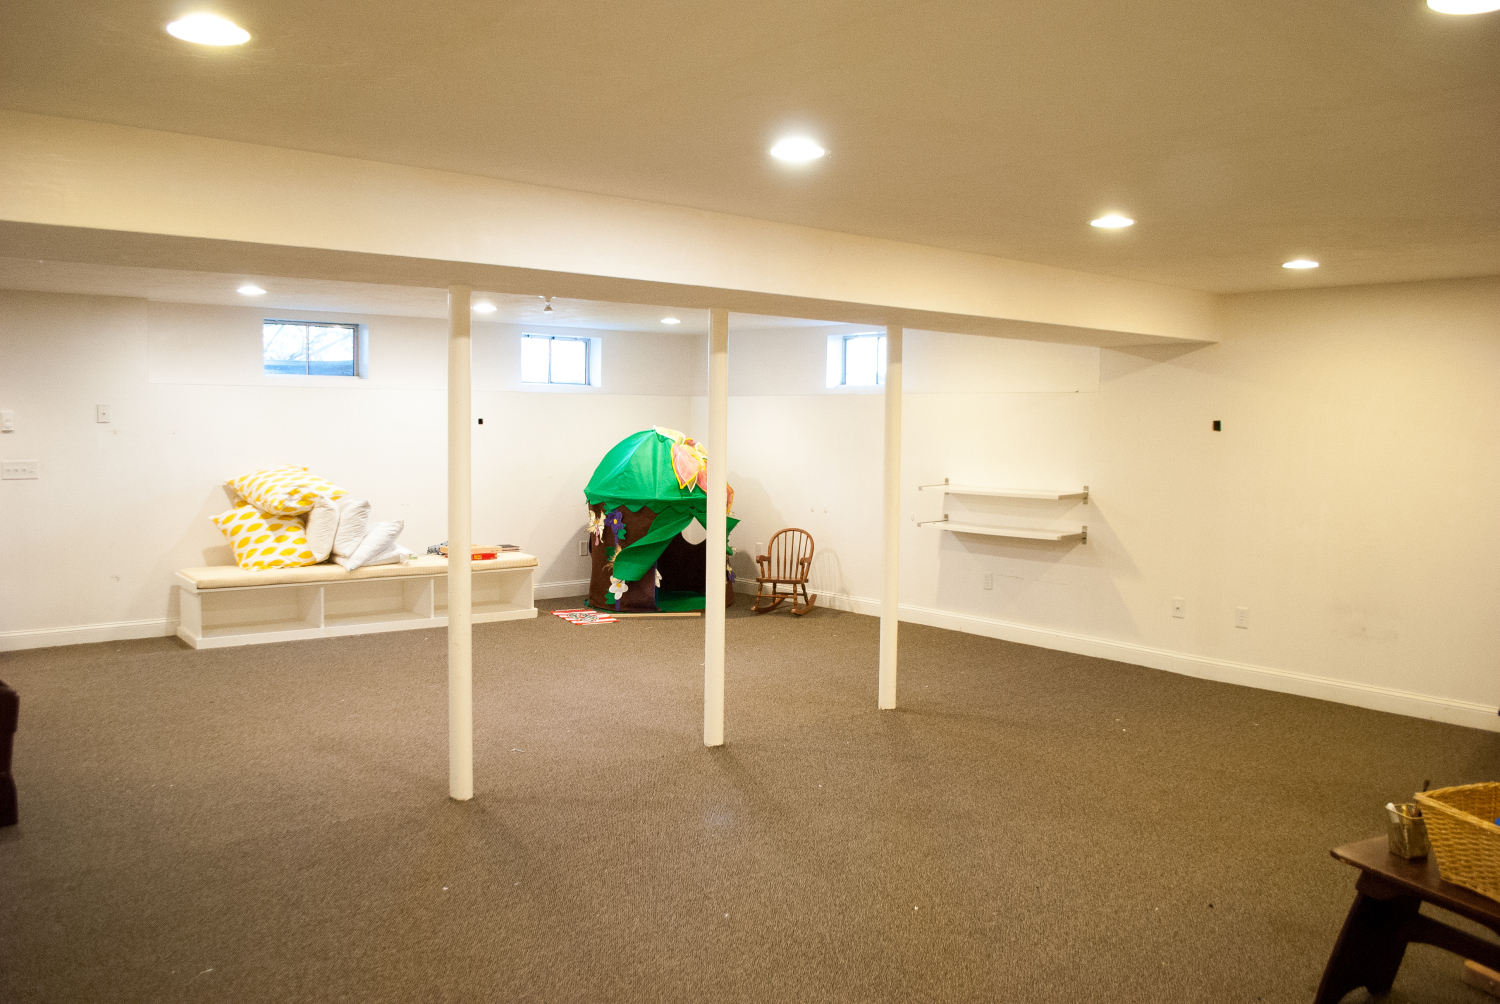
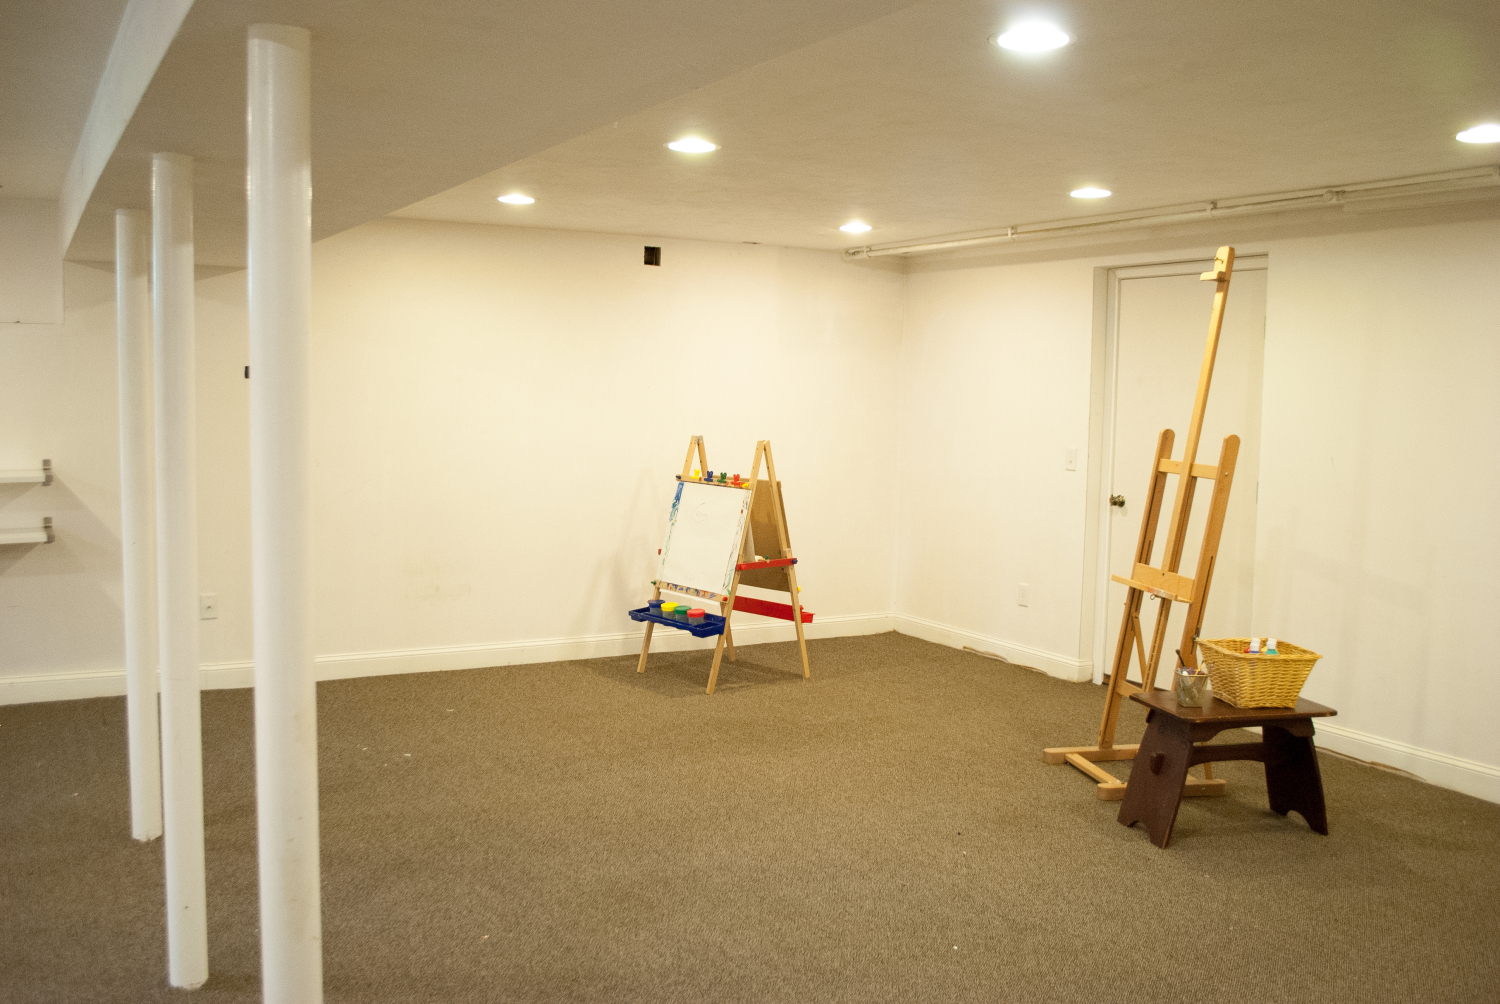
While we are lucky to have a large space in the basement that is finished in terms of having drywall and a rug, both are in pretty sad shape and need some serious updating if we’re going to use the room as a comfortable family space.
Phase One – Flooring
The existing rug is thin and rather threadbare in spots. The back egress door was leaking before we even bought the house two years ago and we just replaced the door to stop the leak. Every time it would rain the rug by the door was soaked. Add a typical damp basement environment to all that wet and the smell of mold/mildew was enough to knock you down in summer. I will be surprised if I rip up the rug and don’t find mold. I’m hoping for just regular old mold and not black mold but that remains to be seen. Either way, the first step in the basement project is ripping up the existing carpet, dealing with whatever mold situation I find underneath, and installing new laminate wood flooring.
I think this new flooring will have more impact on freshening and brightening the room than any other single part of the project. The current rug just looks old and drab and contributes to the overall feel of the room as old and drab. I can’t say I am looking forward to ripping that carpet up but I am very much looking forward to getting the new flooring installed.
Phase Two – Moisture Management
One of the things that makes a basement feel so basement-y and not like a proper living space is the damp smell so many basements have. We used a small, portable dehumidifier in summertime, which helped, but wasn’t quite powerful enough to really get rid of that basement smell. Ideally, I’d like to install a built-in dehumidifier that empties into a sink, and one large enough to manage the moisture level in the whole basement. I still need to research options to help me decide on the best fit for the space.
Phase Three – Walls and Windows
We have drywall, which is a big first step to have done for me, but the drywall has several large holes cut into it (probably from a repair at some point) and another wall is peppered with small holes (I’m guessing there was a dartboard there).
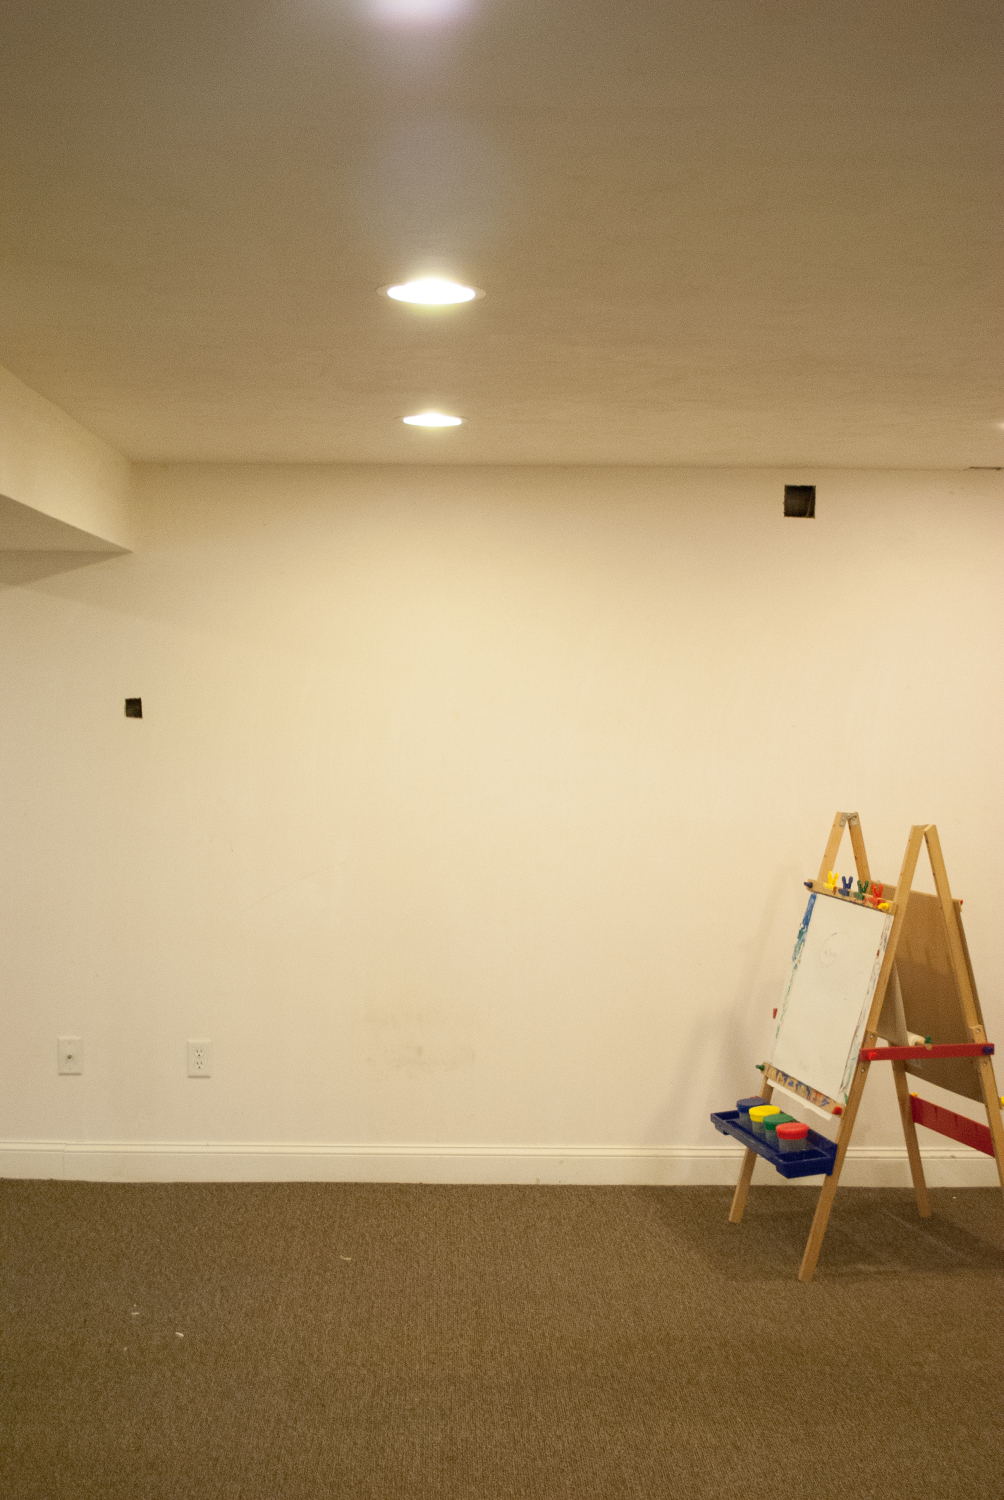
I’ll repair the holes and also want to install either wainscoting (like I did here) or a board and batten treatment. This kind of detail does wonders for making any room feel polished and custom and will help elevate the basement to the feel of a main living space. Paint will also happen at this stage but I’m not settled on colors yet.
Phase Four – Trim Support Poles
The basement is split exactly in half by three steel support poles. They can’t go anywhere for load bearing reasons but they don’t have to be so utilitarian looking.
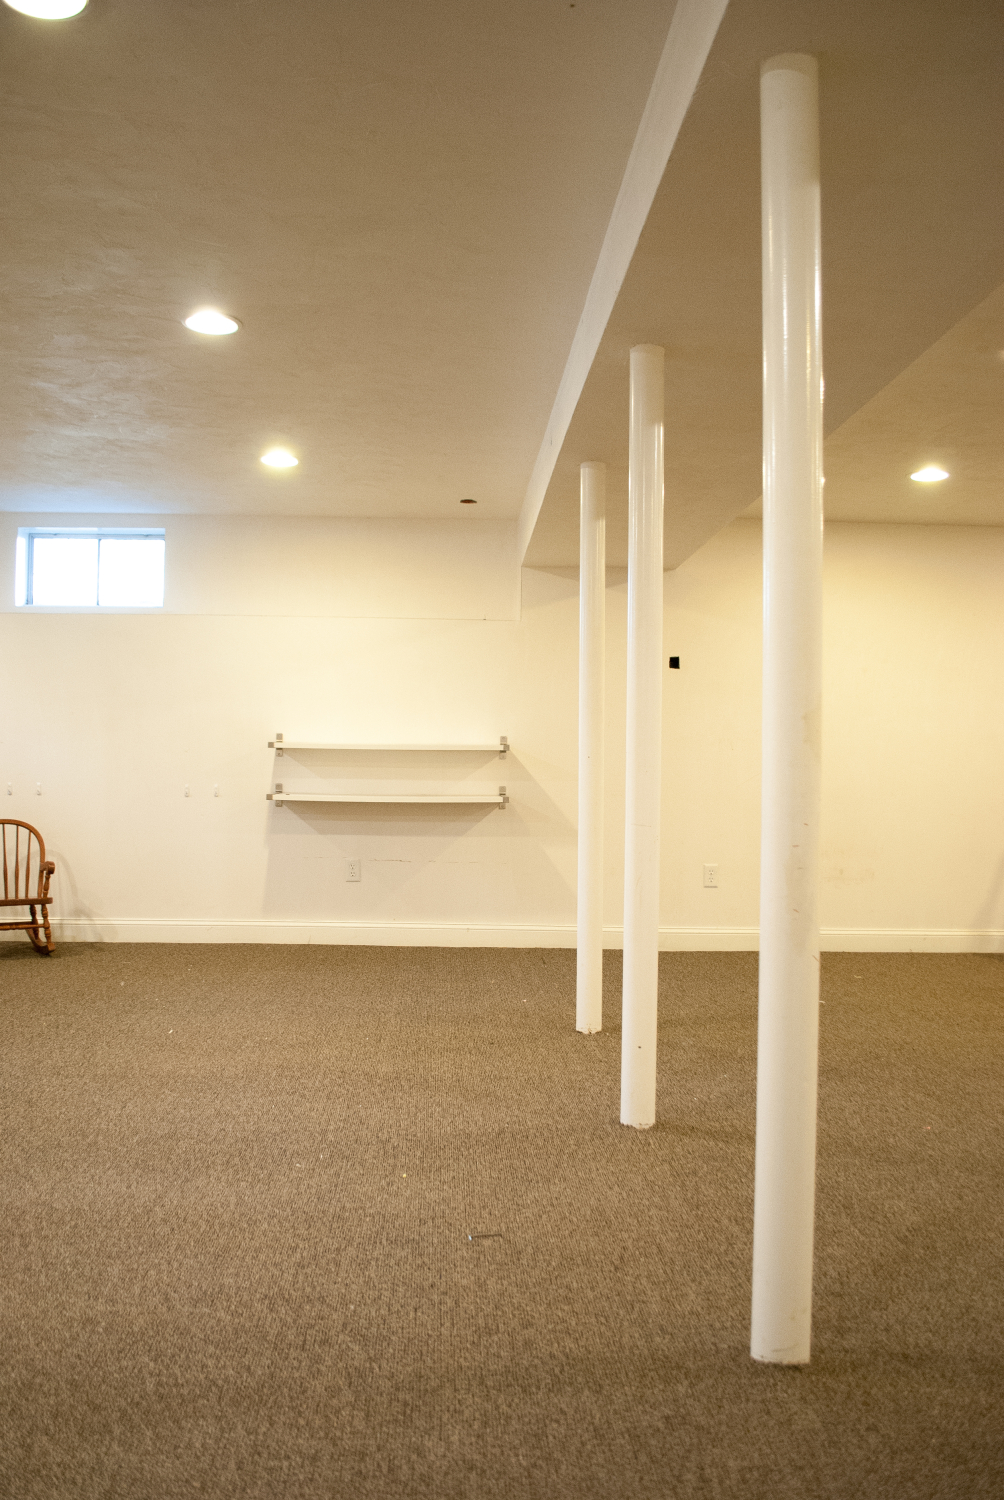
By wrapping them in wood boards and trimming the wood with moulding, they’ll look like beautiful architectural details instead of steel poles that are there just because they have to be.
Phase Five – Built-Ins
Much like wainscoting, built-ins instantly elevate a room, and they have the added benefit of providing concealed storage. One side of the basement will have a TV, I’m planning to move the sectional from the family room downstairs, and will probably add a couple chairs to this space as well.
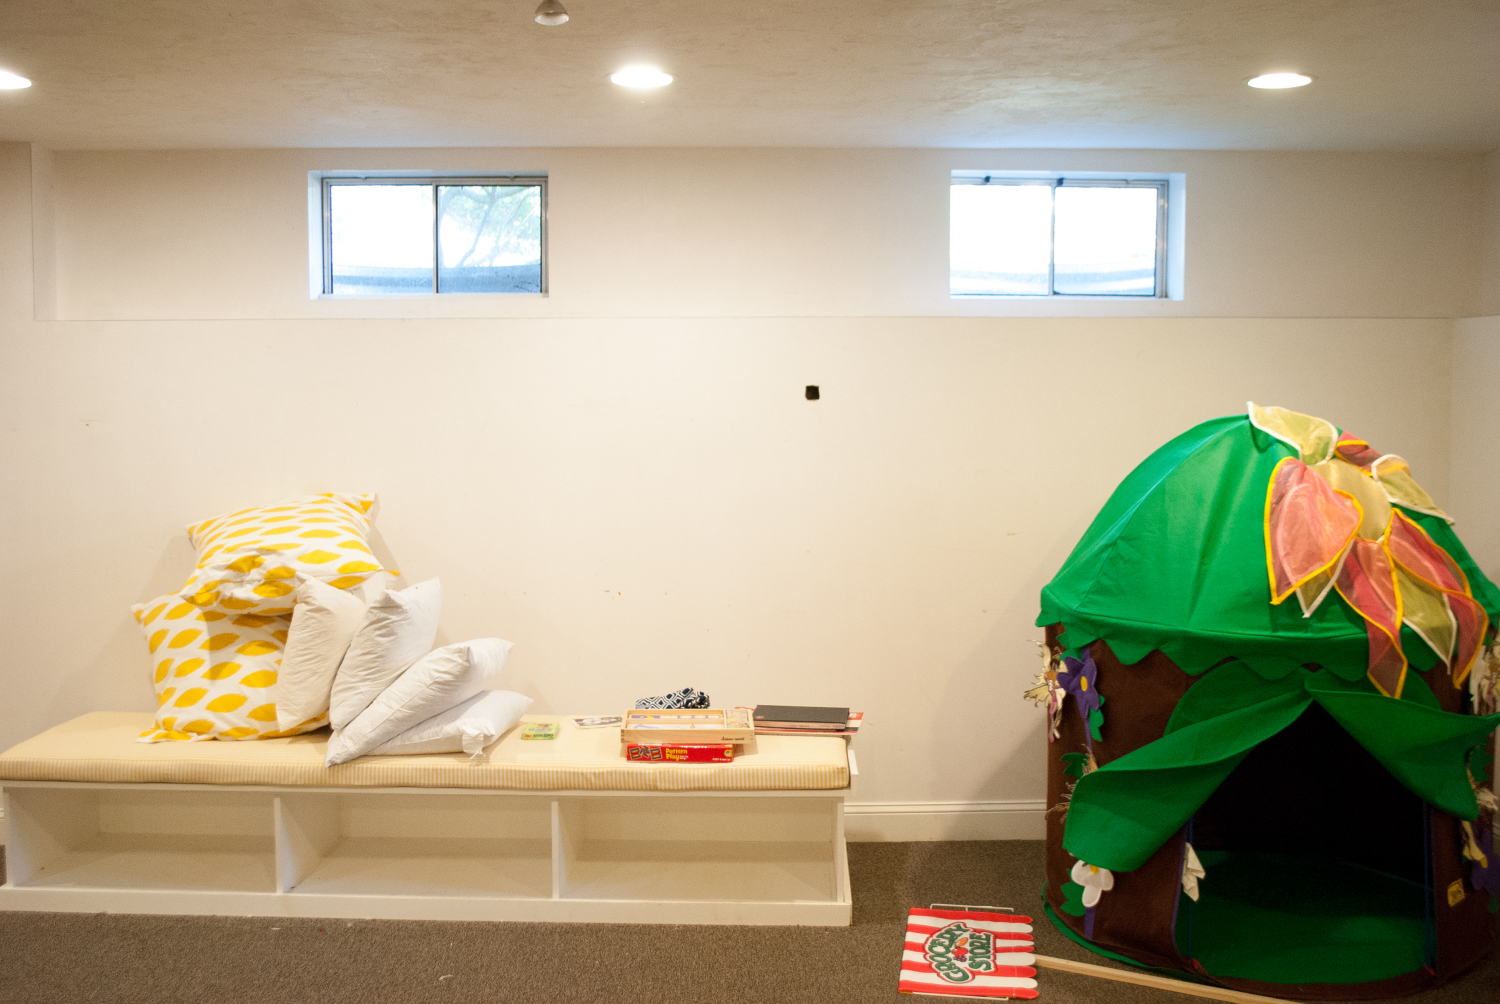
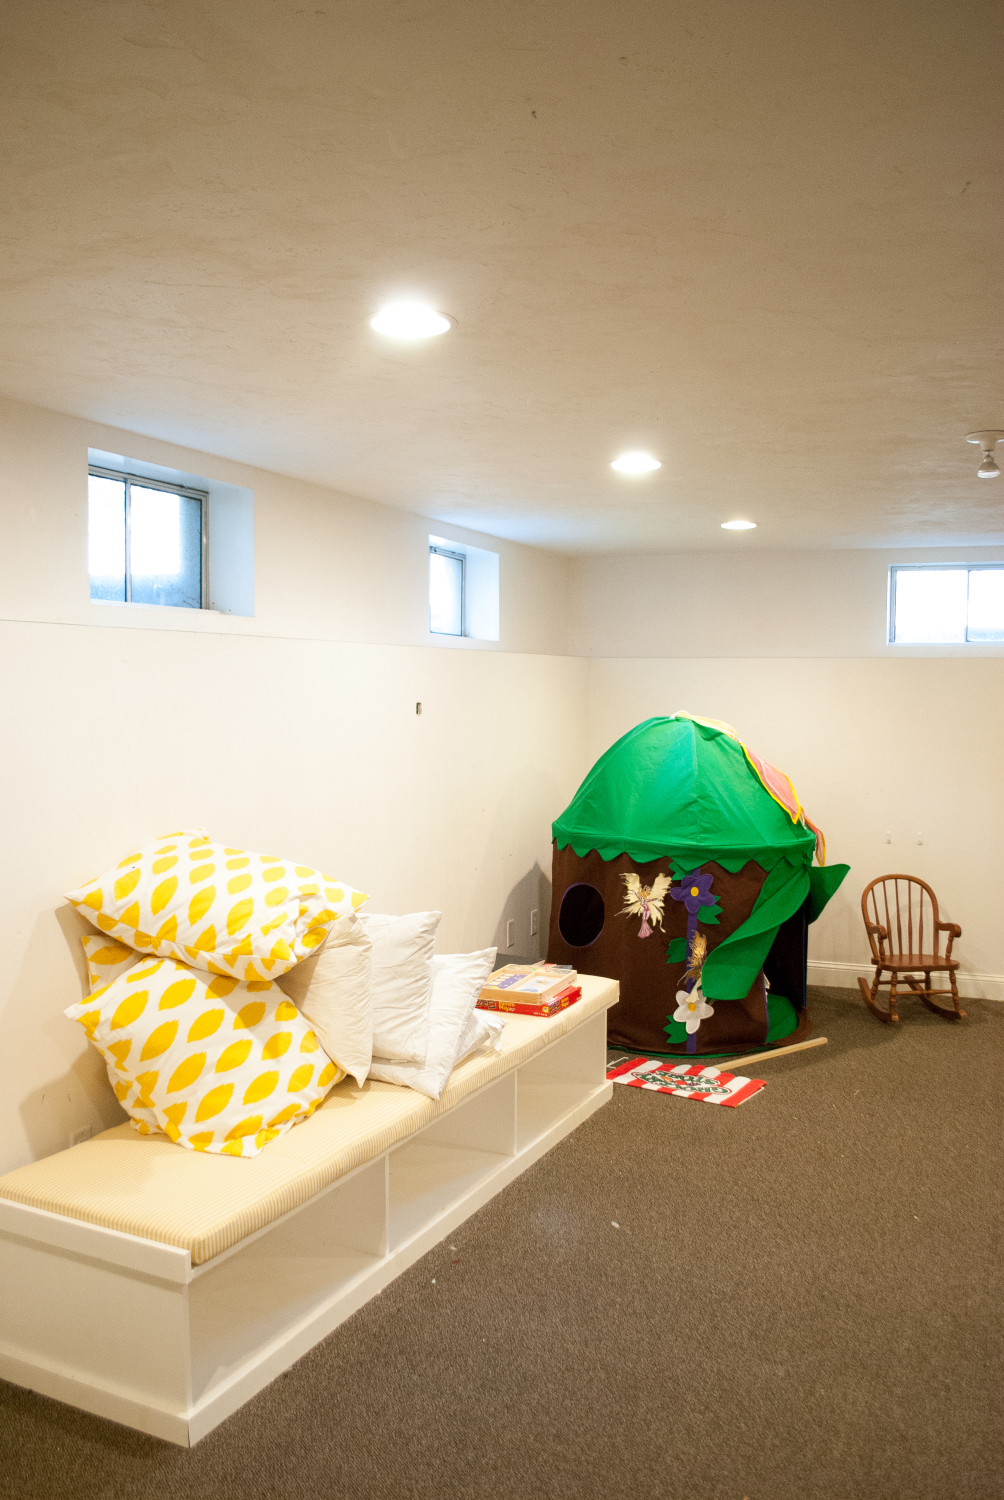
I may add some kind of built-in arrangement as part of the TV setup, but will definitely build one both for toy storage and to incorporate the basement windows in a way that makes them look like part of the plan instead of the necessary egress points they actually are.
Phase Six – Lighting
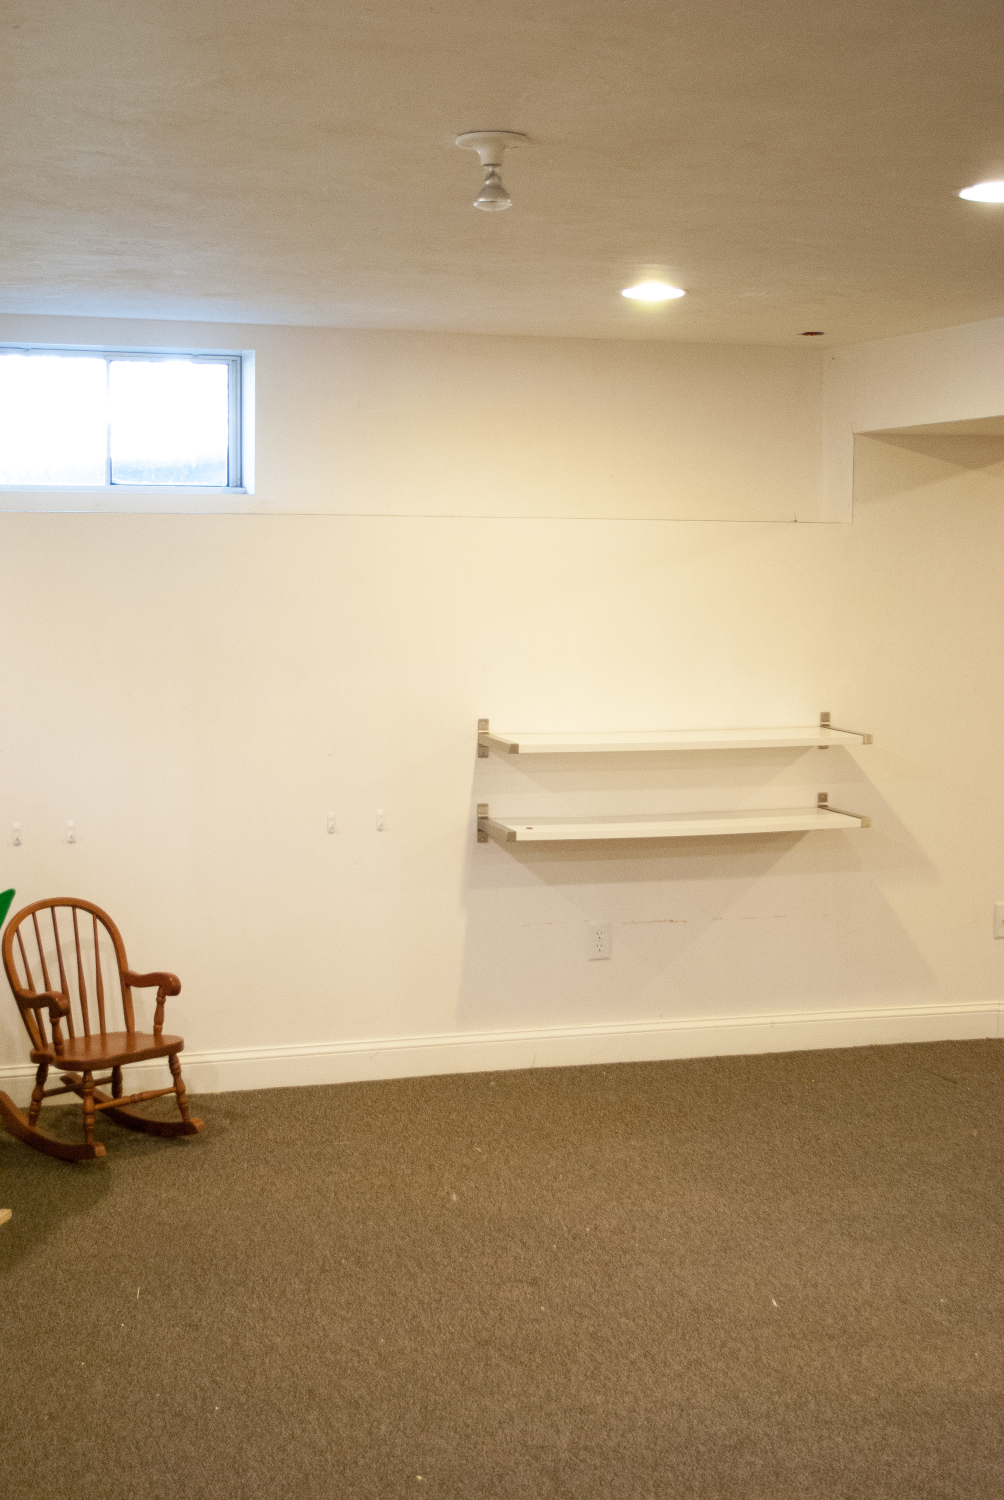
The basement currently has recessed lights, which I’ll convert to the same LEDs I used upstairs. There is also this rogue bulb light that hangs from the ceiling. Rewiring will be simple and I’ll replace with a light that has a little more aesthetic value than a plain bulb (not hard to beat that!).
At this point the renovation process will be complete. All that will be left is adding in furniture, wall hangings, and finishing touches. As you can see, this is a BIG project with lots of steps. We will be investing money into this project and I will be investing months of my time to make it happen.
So why? Why am I spending all this time and so much effort to update the basement? First of all, it will allow us to reclaim the first floor family room as a largely toy-free zone. I am fine with my house looking like kids live here because kids do live here. But I also like the main living area to look reasonably put together as much as possible, and having toys spilling across half the family room gets in the way of that. If we didn’t have the basement already finished I might just make do with things as they are, but the room is there, the hard work of framing and drywalling has already been done, and it seems a waste to me to leave this space unloved and unused when it has so much potential to function as a family lounge and play space for my family.
Even though we plan on staying in this house for a long time, there is always return-on-investment to consider as well. The enjoyment and extra space the room will give us is one part of the return-on-investment, but whenever we do decide to sell this house, potential buyers will see the basement as a polished, finished family space with potential for so many uses. The neighborhood I live in is very family-oriented and has been a draw for families looking at real estate for as long as it’s been a neighborhood. It’s a mile to the center of town but quiet and secluded. I think we all know how much basement playrooms/family rooms are in demand these days for young families so this basement project will add excellent value to our home. The room will grow with us as our daughters get older and whenever we decide to sell, it will make our house that much more attractive to potential buyers.
Have you ever taken on a project like this yourself? How did you manage to keep your head above water and stay on track?
This post was sponsored by Eastern Bank, though my plans for the basement and all opinions expressed are my own. I’m working with Eastern Bank to help spread awareness about their line of home equity loans, and how they can work for people looking to identify projects in their homes with a high return-on-investment.

We took out a home equity loan to remodel a former home in Florida and ended up making money on it when we sold. A basement upgrade is such a smart investment and I like your ideas. I saw some really clever ideas on Pinterest recently for covering support poles in a basement in such subtle ways you’d never think “oh that’s a nice cover for the POLE”. :) Can’t wait to see the progress!
That’s what I’m hoping for – that the poles will look like intentional columns when I’m done with them – like they were put there to visually divide the room in a pretty way. Fingers crossed my vision comes together like it looks in my head!!
We took out a home equity loan to remodel a former home in Florida and ended up making money on it when we sold. A basement upgrade is such a smart investment and I like your ideas. I saw some really clever ideas on Pinterest recently for covering support poles in a basement in such subtle ways you’d never think “oh that’s a nice cover for the POLE”. :) Can’t wait to see the progress!
That will look amazing when done. We just started painting our basement this week and I want to reuse our brown Ikea Besta cases to use for a similar look as your first photo. I hope it’ll work because that’s exactly what I want too.
Good luck with everything!
I sure hope it comes together like I want it to, because it’s going to be a huge project!
The basement really shouldn’t smell musty, so be sure to have your perimeter drain tiles checked if after removing the carpet it still smells damp.
That’s interesting – I’ve always thought of basements as naturally musty and damp and that’s just something you have to contend with when you turn them into living space. At least in the climates where I’ve lived (mid Atlantic and New England). What’s been your experience?
We live in Vancouver, B.C., Canada (geographical area West Coast Rainforest) and we get an awful lot of rain. When we bought our house there was an unfinished room in basement that we used for storage and when it rained heavily the room would be floating and we had to put things up on blocks. About 20 years ago we did a major renovation and when drain tiles on that side were unearthed, the few that were there were blocked solid and most of the tiles on that side were missing. Since we had them all replaced we have never had a problem since. Two rooms have wood tiles directly on the concrete floor, one room has fitted carpet on the concrete and the rest have ceramic tiles. There has never been a musty smell in the basement and we use the sitting room downstairs more than we do the upstairs. My parents had a musty smell in their basement because one corner always was wet but once they got the drains fixed the smell went away. We get the drains cleaned out of tree roots every few years and that is all that is required. We have a sump pump outside of the house so that water can’t back up into the house.
This is such great information – thanks for sharing with me. I will look into this for sure. The source of water in our basement had been a leaky bulkhead and door, which have both been replaced, but I will still look into the drain tiles. Thanks, Janice!
So exciting! I know it will be amazing when you’re all done and I definitely see lots of potential!
I hope so – it’s one of those projects that I know there’s going to be a lot of ugly before there’s good. I’m debating skim coating the walls on the stairs leading down, which have this awful textured paint, but skim coating sounds about as much fun as a nose punch. But I know it would look sooooo much better!
Please oh please tell me you plan to get some help with parts of this?! Are you tackling flooring/ built ins/ columns, etc all on your own?! Cannot wait to see it all come together!! xx
I *might* hire someone to skimcoat the walls leading downstairs but the rest is all me. I will probably put together some Ikea hacks for the built-in pieces…does that count as help?? ;)
This is such a great space to work with!!! It will be so worth all your hard work in the end, especially as your kids grow. My 3 teenagers live in our basement when they have friends over – it makes me so happy to have a bunch of 15 year old girls having dance marathons and sleepovers down there! Definitely a great investment of your time and money!
That’s what my husband and I are picturing for the future. I think he may also have visions of football parties :) I hope it really gets used as much as I think it will once it’s all done! My parents have a dehumidifer like yours, I want to look into that as an option too.
I meant to mention that we have a dehumidifier built in that drains outside. Not exactly sure how it works as the previous owners had it installed but something to consider!
Such a big, exciting project! It’s going to be such a great space when you’re done :)
Oh I hope so! It has so much potential for us, now I just have to work my bum off to get it there! Thanks, Gretchen :)