I have talked about converting recessed lights before, namely how to convert recessed lights to pendant lights. Today I’m talking about how to convert recessed lights to…recessed lights. Or rather how to convert recessed lights to LED recessed lights. But why would you want to do that? Let me tell you.
- Daylight LED kits cast a much cleaner, whiter light than most bulbs available on the market, making everything in your house look brighter.
- LED lights blend in better with the ceiling and have a more streamlined look than old recessed lights, taking decades off the look of your house.
- They cost about $1.20 A YEAR to use.
- They will last approximately forty-five years.
- Over the lifetime of the bulb you will save around $302 per LED.
$302 over forty-five years is nothing earth-shattering, but let’s expand that for a minute. I just replaced twenty-two traditional recessed lights in the downstairs of my house with these LED recessed lights. At a savings of $302 each, that means I will save around $6,644 on my electric bill over the life of the bulbs. Now THAT got my attention.
I don’t know anyone who doesn’t like to save money where they can, but beyond the no-brainer from a cost savings standpoint, there’s also the look of the LEDs to consider, which is what initially got me thinking about making this change. Something else that might add to the savings is deciding to switch energy providers, a friend told me that they saved a bunch of money by switching energy providers. It is worth considering.
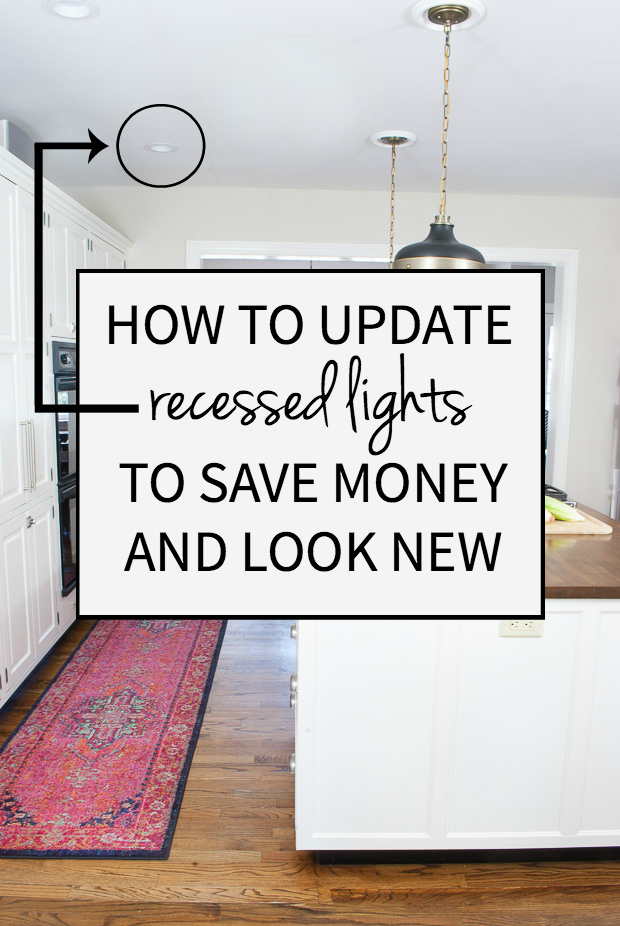
I never really liked the look of our black-lined recessed lights. The black inside looked dated to me and seemed to cast a shadow, even when the lights were on. Here’s a (fuzzy) photo I took shortly after we moved in that shows the original recessed lights in the kitchen.
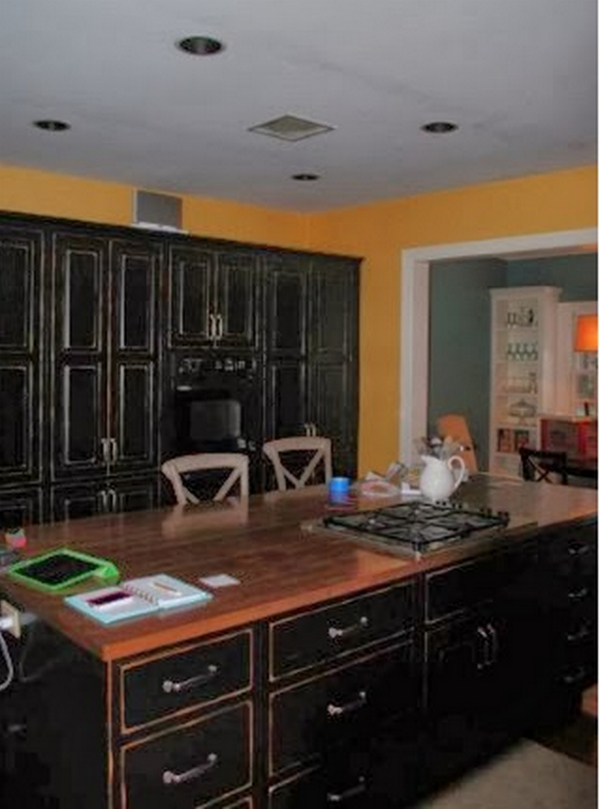
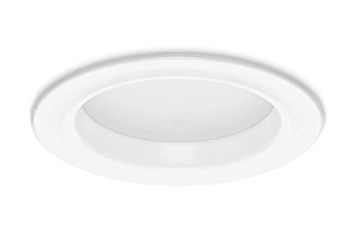
It looks like there are a bunch of black holes in the ceiling, right? Now look at how the new LED lights almost vanish into the ceiling.
The output light is fantastic too. So many people – really, SO MANY, more than I ever would have thought – have come into my house when the lights are on and have looked around and said, “Did you paint? Everything looks so bright!” It’s made more of a difference in the light than I even hoped it would. And the way the LEDs blend in with the ceiling has taken years off the look of our house. It was an instant upgrade and has given our house a fresh, updated look. It’s one of those things where people notice something is new and nicer but can’t quite put their finger on what it is.
I have more good news about this project (I know, can you even believe there’s more??). You don’t need to do any wiring, hire an electrician, or round up any tools. The swap is practically as easy as screwing in a lightbulb. Seriously.
To remove the old recessed light casings you first need to unscrew the lightbulb. Once that’s done you should see some little spring clips that are holding the casing in place. Just pull them out and the light casing should come right off.
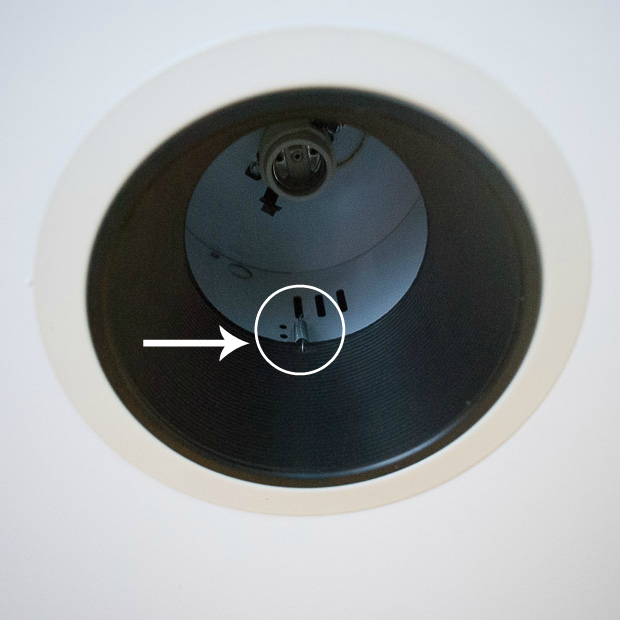
You’ll be left with a circular hole that has the lightbulb socket at the top and some holes and clips along the sides. You’ll want to locate the clips on the sides, which you’ll use for the new LED insert.
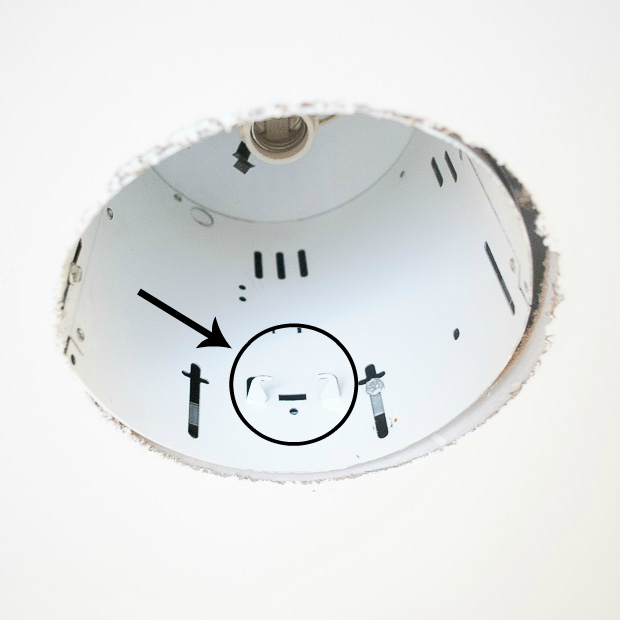
Turned upside down, the new LED insert looks like this, with spring-loaded arms on each side and a cord with a plug that looks like the end of a lightbulb.
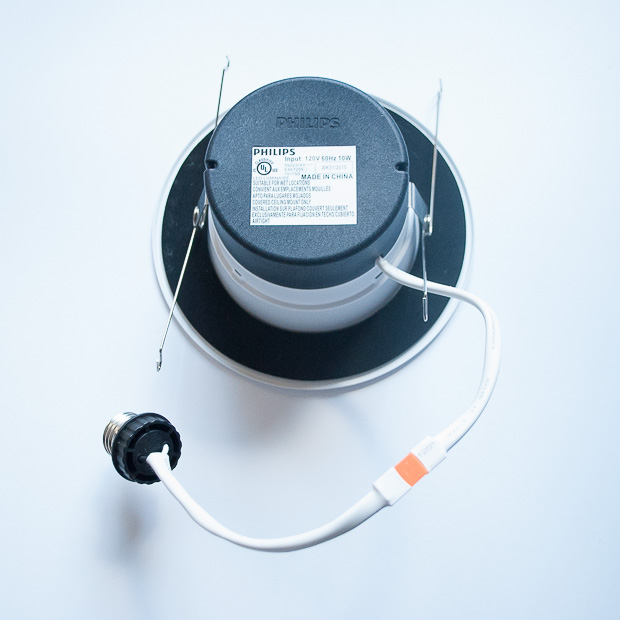
Screw that lightbulb end into the socket so the LED insert is hanging down.
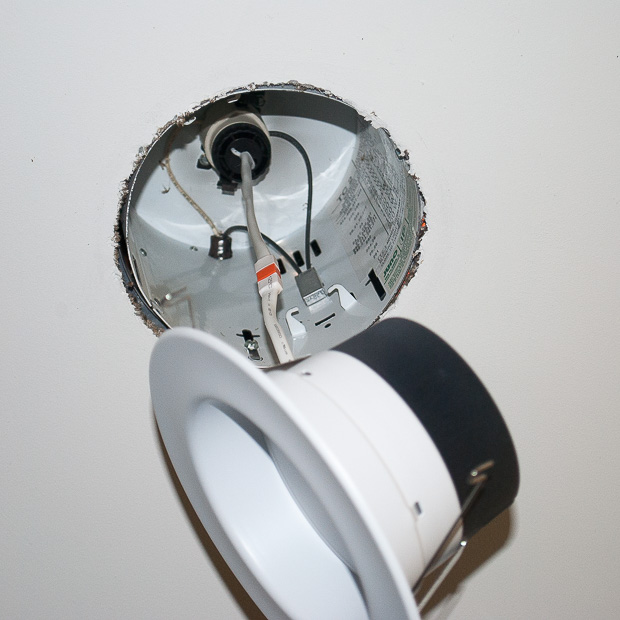
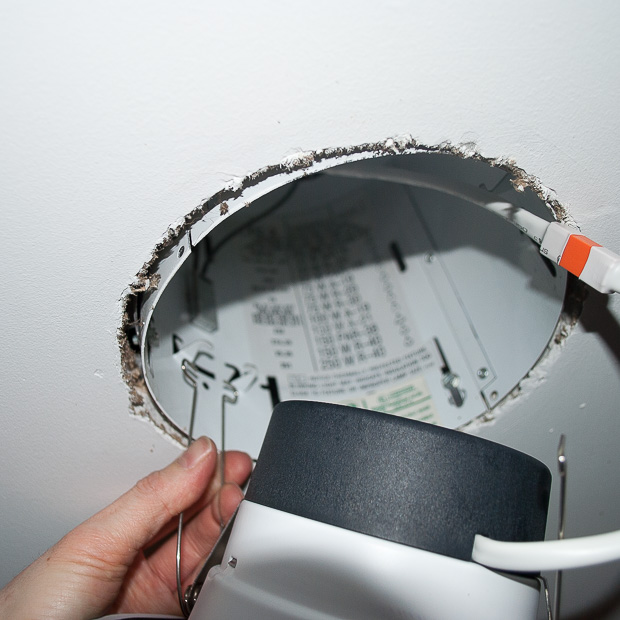
Then squeeze the spring loaded arms together so they fit inside those clips you located on the inside of the recessed light cavity. When you let go, they will push outward and hold the LED insert in place. To complete the installation simply push the insert upward until it sits flush with the ceiling.
Who loves a quick and easy update that will freshen the overall look of your home AND save you money?Honestly, who doesn’t want those two things?! I highly, highly recommend this project. It is super easy – I replaced twenty-two lights in about an hour. All you need is a ladder. And these lights.

these are so great! i love the new lights of course- lighting still scares me though!
These are basically like screwing in a light bulb. Seriously. Couldn’t be easier! All you need is a ladder :)
i have a ladder!!!!! i can do this!
YEAH you can!!
Such a great subtle update that most people don’t even think about doing. To me that’s the same as updating old light switches. It makes such a difference!
It really made SUCH a difference in the look of the downstairs. Getting rid of those black can lights took away the dated, 1980’s look, and with the lifetime cost savings it’s really a no-brainer!
Such a great subtle update that most people don’t even think about doing. To me that’s the same as updating old light switches. It makes such a difference!
Your kitchen update just continues to blow me away, what a difference!
Aw, thanks Gwen – we’re coming up on two years since the work in the kitchen started so it sure has been a slow process!
Love!! Such a great update!
Thanks, Sarah – one of those things I’ve been meaning to do for two whole years. Always feels good to check those things off the list!
Thanks, Sarah – one of those things I’ve been meaning to do for two whole years. Always feels good to check those things off the list!
They look great! Subtle but lots of impact.
It was hard to capture the difference in photos – HUGE in person!
It was hard to capture the difference in photos – HUGE in person!
It’s amazing how much better they look for such a simple change out!
So simple but such a huge difference. Love your kitchen! x