If it seems like we’ve taken a bit of a break on the deck construction…it’s because we have. One of the downsides of DIY projects as opposed to hiring them out is how long they take to complete! You can catch up on the deck we’re building with Trex HERE and HERE.
A few weeks ago my parents drove up with their good friend, Joe, a veteran contractor, and we had a hugely productive weekend between Joe’s expert advice and four sets of hands doing the work. We ran out of decking boards near the end though, so had to put the project on hold until more could be delivered. Then we went away for the last two weeks of our daughters’ summer vacation so things stalled even further. We’ve made lots more progress the past couple weekends at home though, and today I’m detailing how to build a deck frame. We’re still in the nitty gritty not so pretty part of things but these early steps are so important!
Check out the video below for a live-action look at how we did it all, including the little bit of comic relief that started our weekend :)
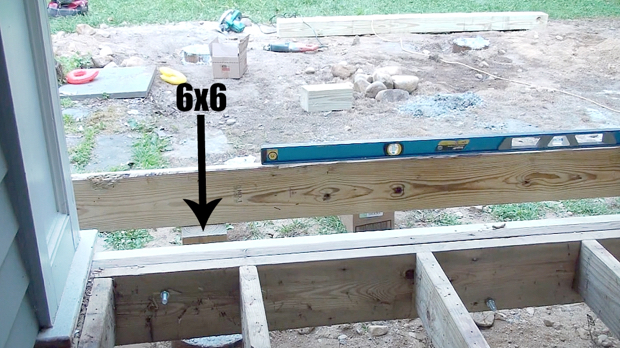
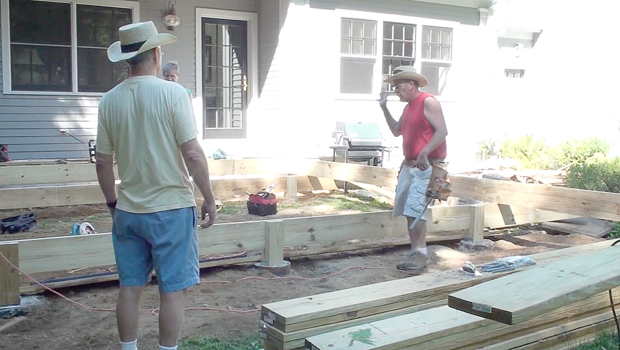
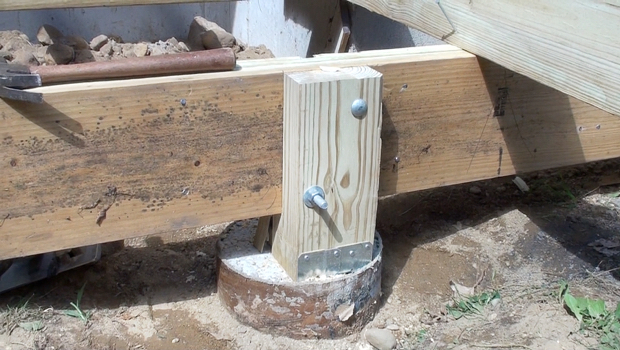
We started by cutting 6x6s to go into the post bases (post bases are set in cement – details HERE). The length you cut them will vary but you need to pay attention to two things – (1) that when you set a 2×8 board across the top, the 2×8 is level and (2) that the tops of the 6x6s are even with the bottom of the headerboard (those boards across the front of the below photo that run parallel to the 2×8).
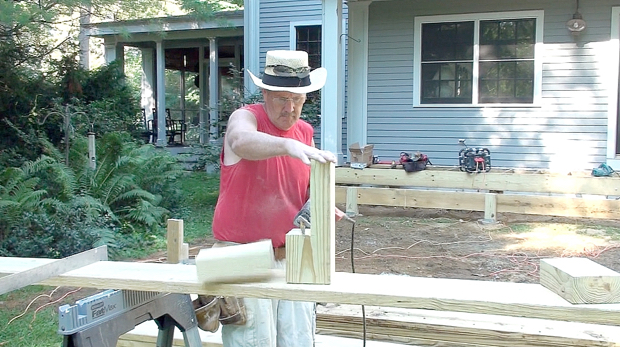
Once we had the 6x6s cut to size we cut a 3″ by 7.5″ notch in each one – this is where two 2x8s will sit side-by-side.
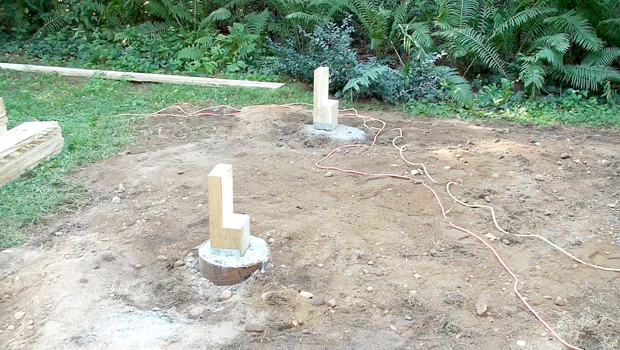
Then we placed the notched 6x6s into the metal post bases.
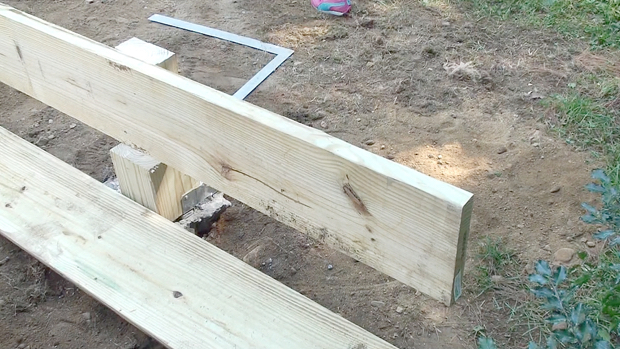
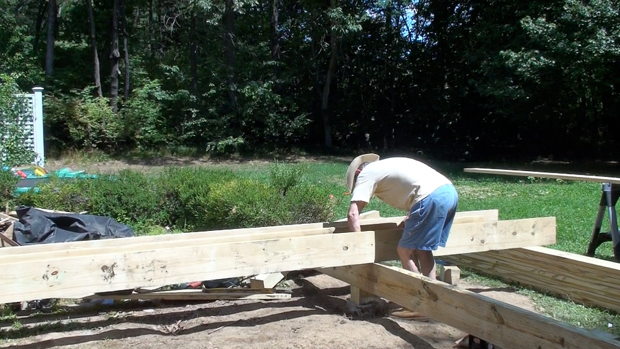
We set one 2×8 into the notched bases…
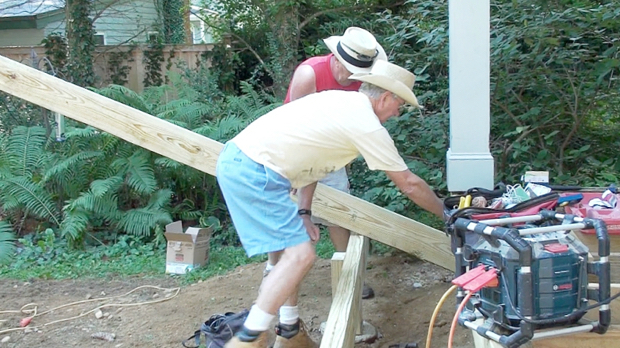
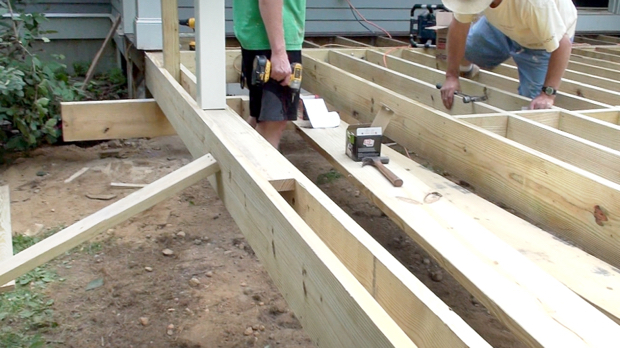
…and then the second 2×8 right up next to it. The board running diagonal in the below photo helped hold the two 2x8s together while my dad hammered nails through holes in the metal post base and into the 6×6 to anchor it.
We then hammered nails through the twinned 2x8s to bind them together.
We repeated the process with the other row of footings and additional 6x6s and 2x8s.
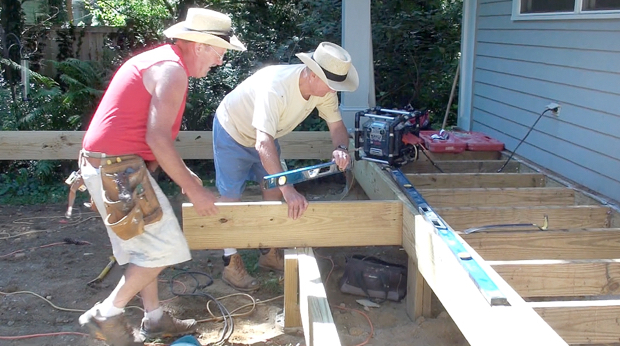
We used a 2×8 remnant to check that the top of the 2x8s we’d attached to the post bases was even with the top of the headerboard.
Once we were sure everything was situated perfectly, we drilled holes through the 6x6s and the 2x8s and bolted them together.
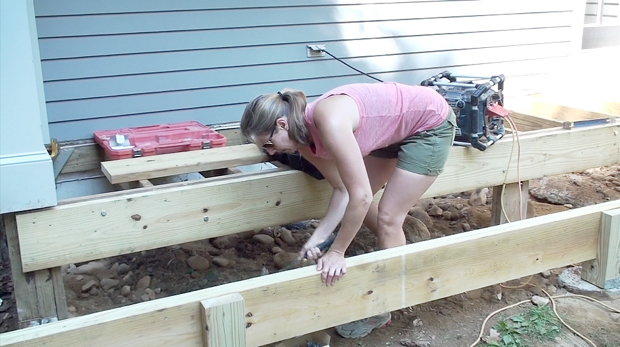
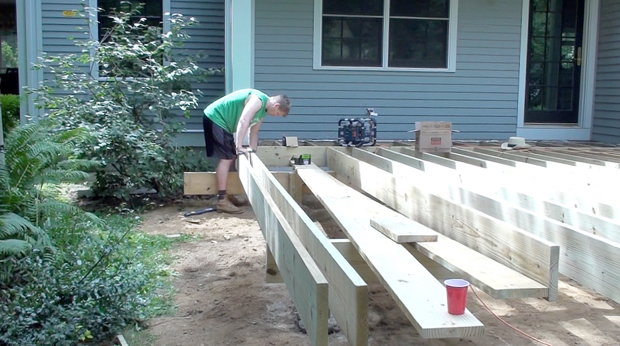
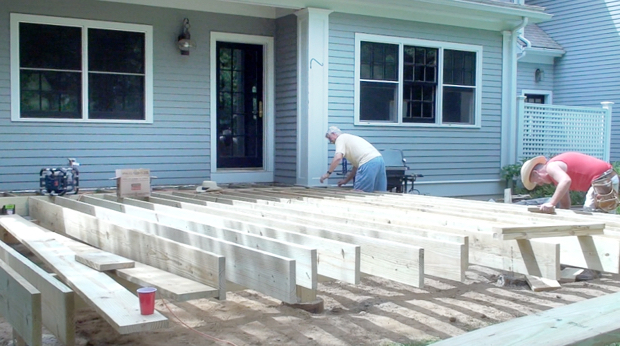
At this point we were ready to start laying the joists. Joists run perpendicular to the 2x8s we’d just attached. Trex boards have some bend to them so to make sure they’d be properly supported we spaced our joists 12″ apart – 12″ from the center of one 2×8 joist to the center of the 2×8 joist next to it.
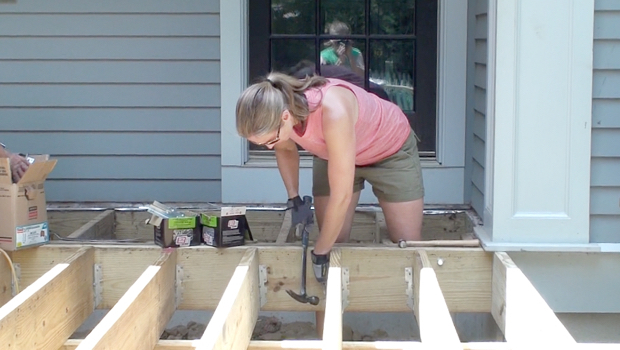
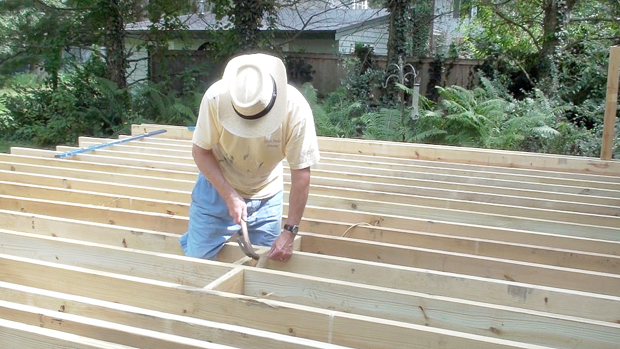
To attach the joists we lay one at a time on top of the base and hammered nails at an angle to hold them to the adjacent boards underneath.
After the joists were nailed to the adjacent boards we added extra support at the headerboard by nailing joist hangers around the joists there.
The only exception to the 12″ centers on the joists is at the very ends where there should be 3.5″ left between the two final boards – this allows space for a 2×4 to slide in and add extra support at the ends of the deck where the Trex boards will slightly overhang the frame.
If a deck is longer than 9′ – and ours is – there needs to be some extra support added to the center, called bridging. We cut 2×8 scraps to size and nailed them in between the joists around the center of the deck frame.
We slid 2x4s into the 3.5″ space between the end joists and nailed them in place. We also left some gaps in the 2×4 so there was room for 4×4 posts, which we’ll be using for a railing along one side of the deck.
And that, my friends, wraps up the building of the deck frame. I don’t have a clear photo of this but we let the joists run wild – I loved this phrase the most of anything I learned the weekend we worked on the deck frame :) This means that we didn’t cut the joists exactly the same length as we went along, but rather cut them to run longer than the final length so the edge looked kind of crooked. When all the joists were in place, we used a string line to mark a straight line across the joists where we wanted to cut them and then used a circular saw to cut the joists into a perfect square.
We’ve made lots of progress with the deck boards and railing over the past couple of weekends. I’ll have an update for you on that very soon. We’re digging out the space around the deck for base support for the stairs, which is really the last remaining piece and then we will be done!
Thanks for sticking around for this whole process. The pretty part is coming – in fact you got a little sneak peek if you follow me on Instagram!
This post is in collaboration with Trex. They provided me with Trex materials to build the deck but all opinions and tutorials are my own.

you are my hero! i know this is doable, but i am so scared of projects like this. intimidation factor of 10 on a scale of 1-10.
I totally get it. Having my parents’ friend here was a HUGE help. It just took all of that feeling away and kind of reinvigorated me and gave me that, “Okay, I can do this” attitude again. When the giant pile of materials were dropped off a few weeks before that I felt realllllllly nervous.
That is so cool that your family is helping. It will make it all the more special when you use it when it’s all finished :) SEE YOU TOMORROW!!! AHHHHH!!!!! XO
We would have been many, many weeks behind on the work without their help, and they drove 12 hours roundtrip to do it. What a family :) SO super excited for the next couple of days!!
You are such a DIY rockstar! The hats are hilarious. You’re making great progress and I know you’re excited to have it all finished!
SO excited to be finished. Both to move on to other projects and to be able to use our new deck! Thanks, Jennifer :)
So exciting!! You’re doing amazing!! I can’t wait until I’m done with painting and refinishing my floors – it’s taking forever :)
Totally – these kinds of jobs can start to feel like such a chore but I know they will both be so worth it in the end. See you soon!!
beautiful job!!
Thank you! Hardest project I’ve ever done, I think, but worth every minute :)
beautiful job!!