Well hi. I unplugged for a bit last week – no wifi, no Instagram, in fact I left my laptop in its bag for days on end!
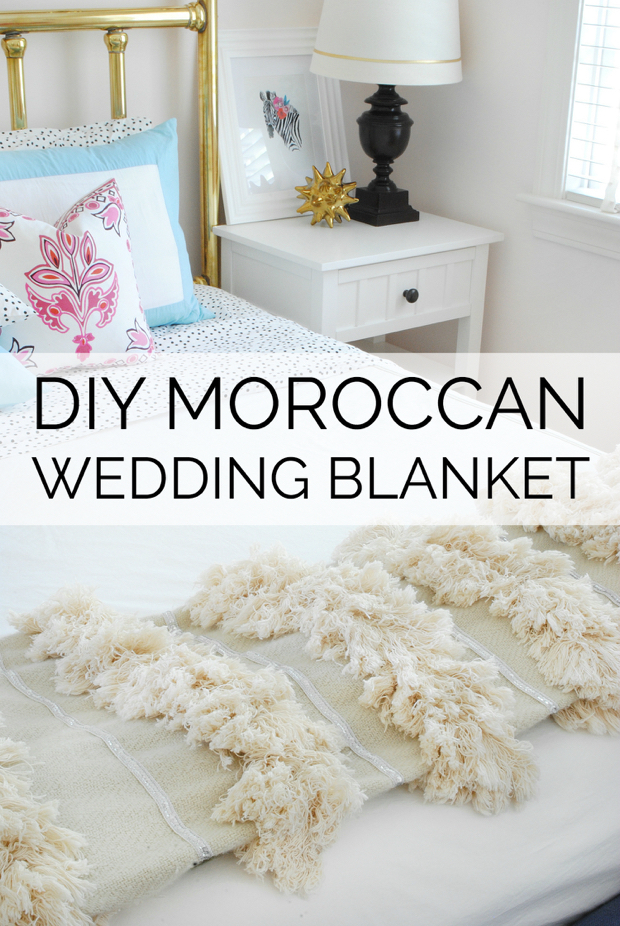
I’ve been so excited to share this project with you, so I’m happy to be back here on the blog today to spill the details on the Moroccan wedding blanket I made for my daughter’s bedroom makeover.
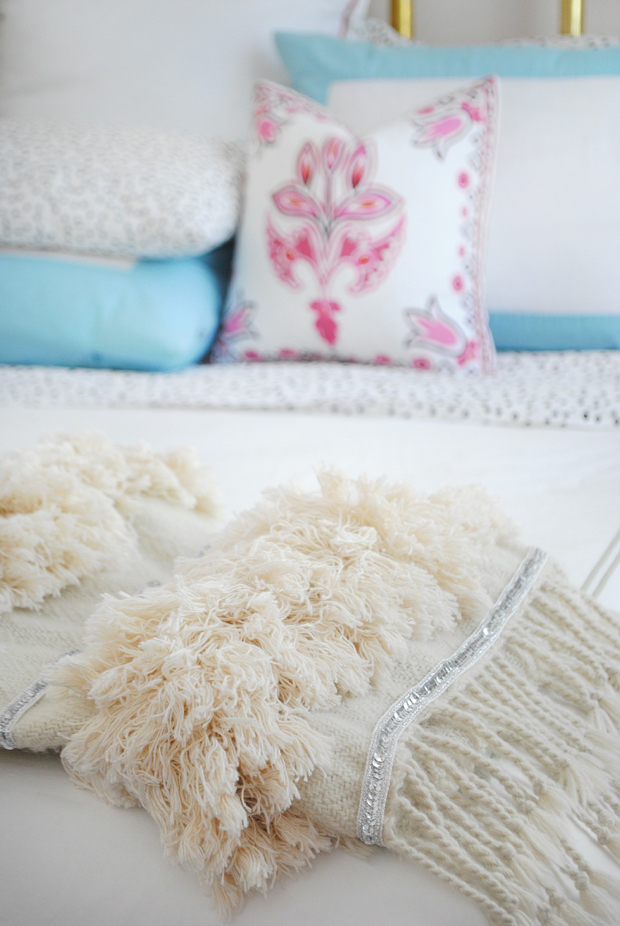
I love the look of Moroccan wedding blankets at the foot of a bed – they just add so much texture and visual warmth and, let’s be honest, the sparkle doesn’t hurt either. The process of making one is simple but the spacing and sewing takes some time to get right. I had my fair share of struggles with this project, mostly stemming from the blanket I chose to use. Still, there are only three basic supplies involved (not including a sewing machine and thread).
- a blanket (I used this one but would recommend this one (in the tan color) instead because it has better weight to it)
- sequin trim (the one I used is no longer available but this one is similar)
- brush fringe (I used this one)
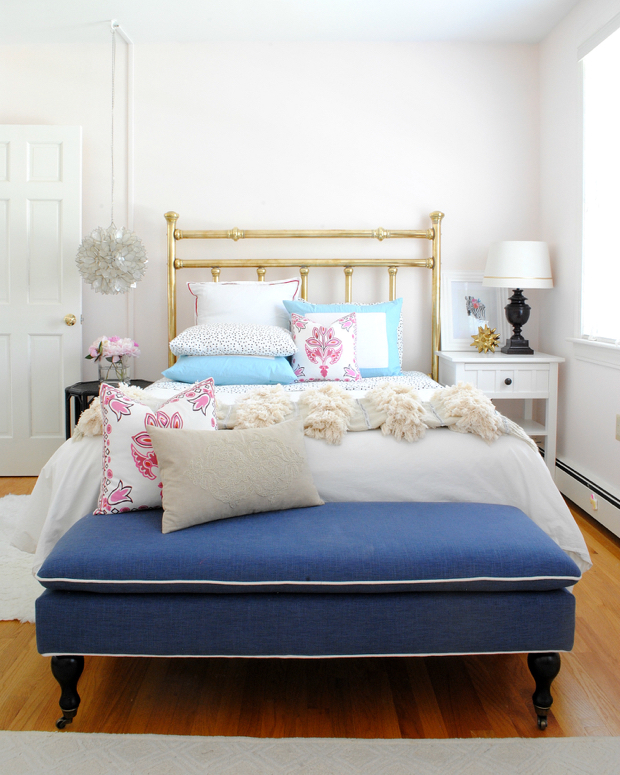
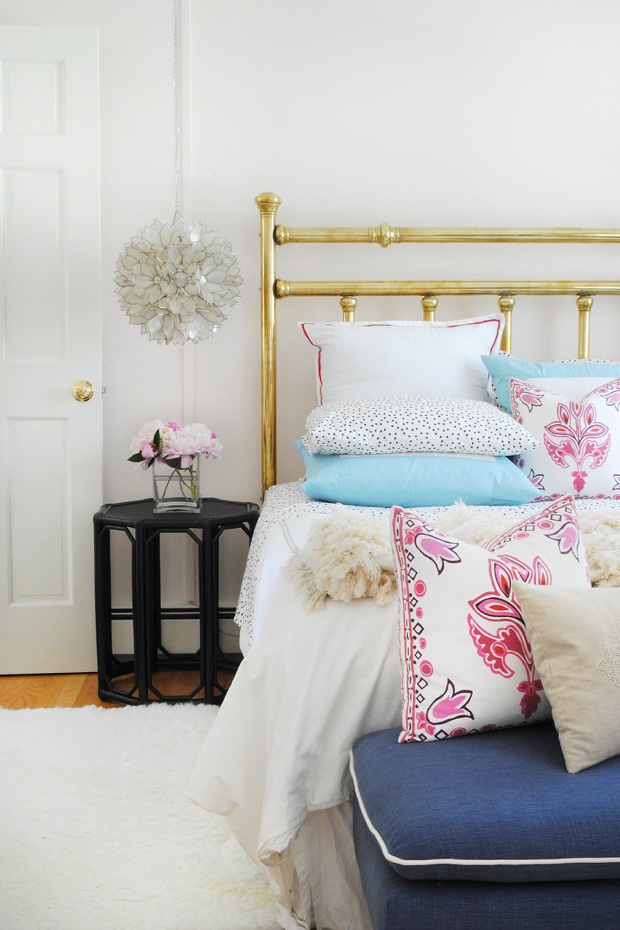
I will warn you – this is not an inexpensive project to make, mostly because of the cost of brush fringe. But if you love the look and don’t want to pay the high price for an authentic vintage wedding blanket, this is a great and much less expensive option. And just look at how pretty it is in my Ada’s room.
Her room is really coming together and I’m almost ready to show you the whole thing – I need to hang the chair and make a pillow and then it will be full reveal time!
You can get more details on how I made the Moroccan wedding blanket in my latest article for EHow!


Beautiful room!! Wow!!! I wanted to ask how much of the shaggy trim you bought? Also if you could tell me the final cost of the project. Thank you so much!! Can’t wait to try my hand on it :)
I didn’t specify the amount of trim because it will depend on the size of the blanket being used as the base. I think it cost around $100 to make.
Love it! Could you post a close up of how/ where you attached the brush fringe to make it fluff out so nicely?
Hi Amanda,
You have to sew it on flat like all brush fringe – this fluffs so nicely because of the length of the fringe. Longer fringe will give you more of that full look once you shake it out with your hands after attaching.