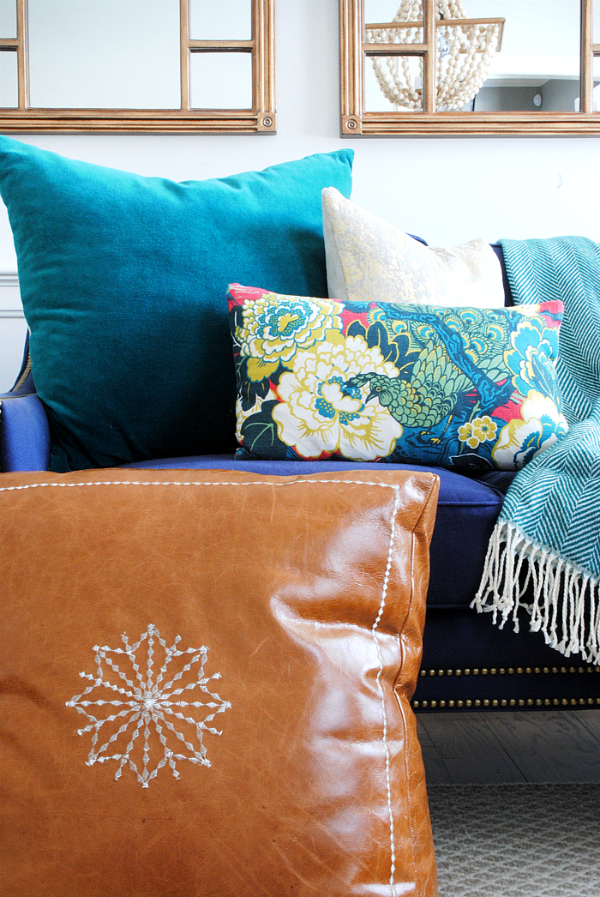
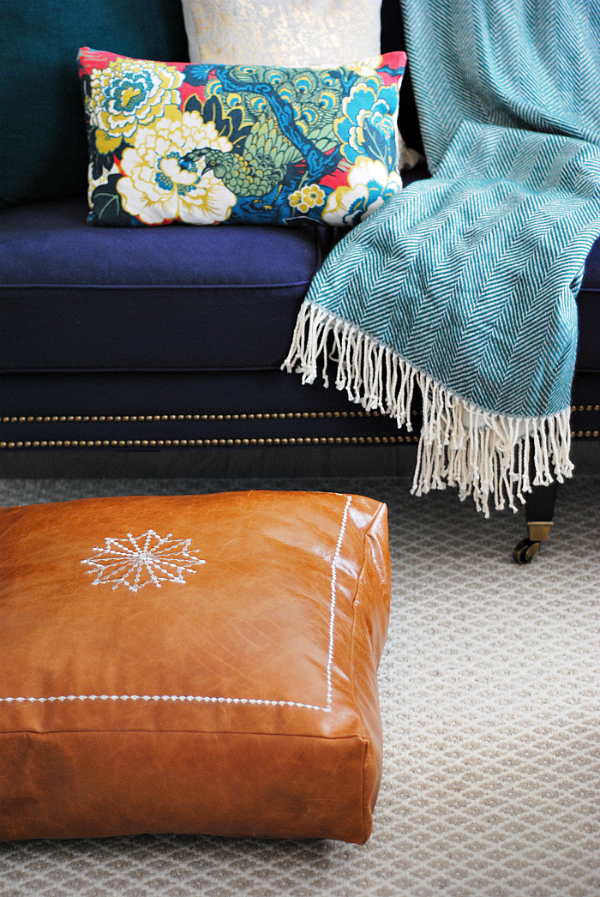
Here’s the thing. This project isn’t exactly a pouf. Poufs usually sit a little higher off the ground than what I’ve made here and have lots of embroidered seams, but this DIY Moroccan pouf/floor pillow is inspired by the Moroccan poufs that are so popular right now and shares some of the same elements. Most notably the embroidered medallion on top and the use as a footstool.
It’s not often that I set out to do a project and it winds up being faster and easier than I’d thought. It happens, but not often.
The absolute key to this project’s speed is a sewing machine that can embroider. I bought this sewing machine a few months ago and it has changed my life. No exaggeration. I used to sit and have fits over my old machine jamming and laboring and the new machine sews like a knife through soft butter. This was my first time using the embroidery capabilities and it was so easy. I can’t get over how easy. You just choose your embroidery stitch on the control panel and then sew over the shape you want to make. The machine does everything.
Ready for the how-to on making this Moroccan pouf/floor pillow? Here’s what you need:
- plain white paper
- an extra-fine tipped Sharpie
- leather (I used this gorgeous distressed leather from The Leather Hide Store)
- metallic thread
- a heavy duty zipper (the one I used was 21″ long)
- thread for sewing seams
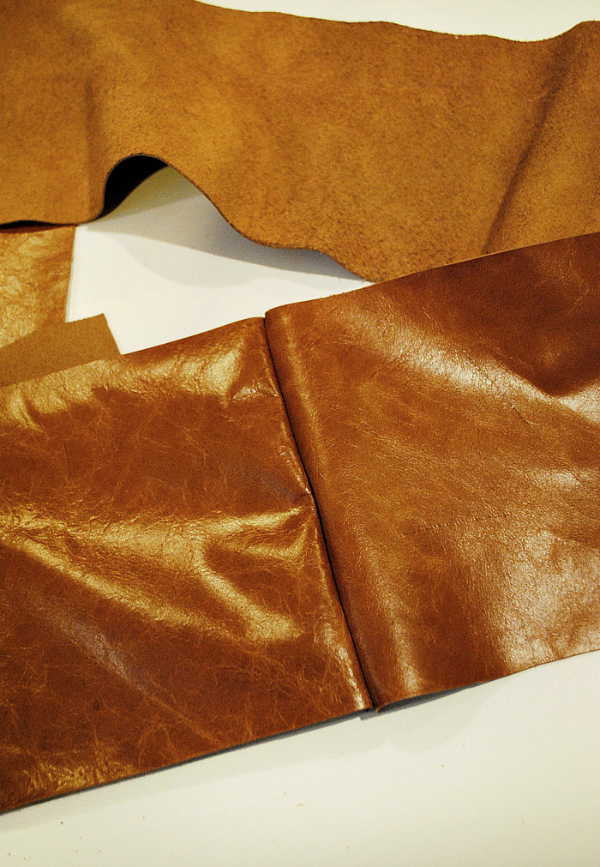
I cut the leather into seven different pieces:
- (1) 23″ square
- (2) 23″ x 12″ rectangles
- (4) 23″ x 7″ rectangles
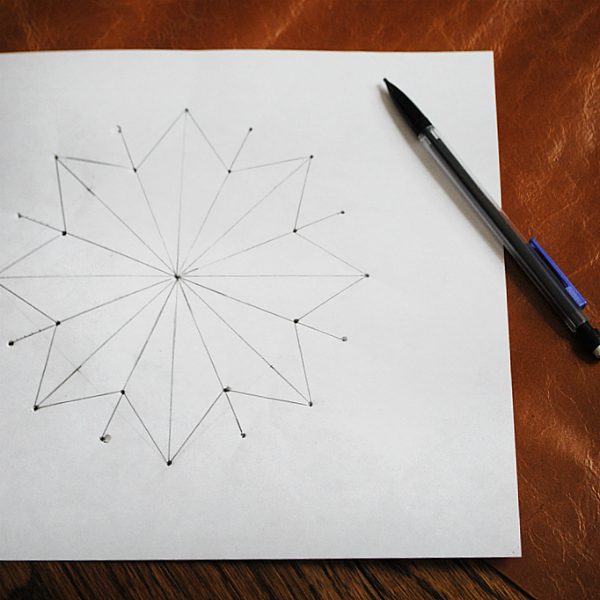
The first thing I did was draw my design for the top of the pouf on plain white paper using a ruler and pencil. Then I took the tip of the pencil and punched a hole through to mark the center and edges of the design.
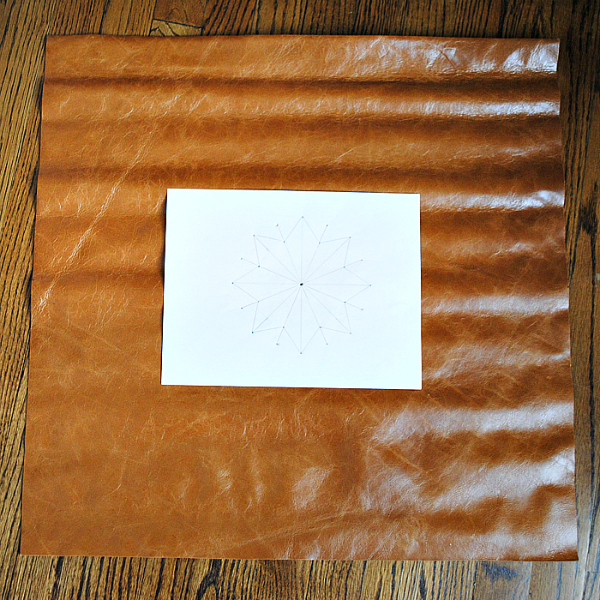
I marked the center of the 23″ square of leather and matched the center of my design with the center of the leather.
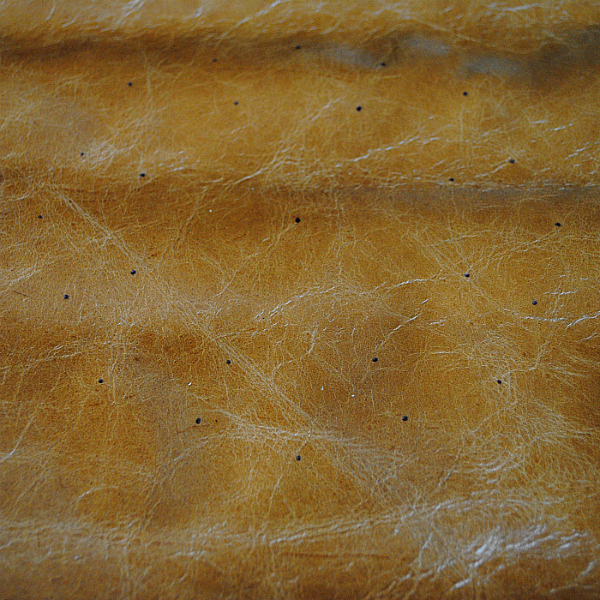
Then I used the Sharpie to make a small dot on the leather at each of the holes I’d punched in the paper.
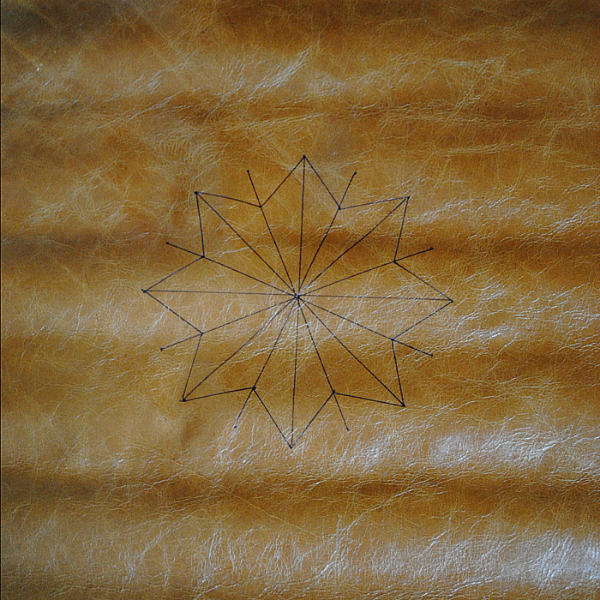
I grabbed my ruler again and connected the dots to recreate the design from the paper on the leather.
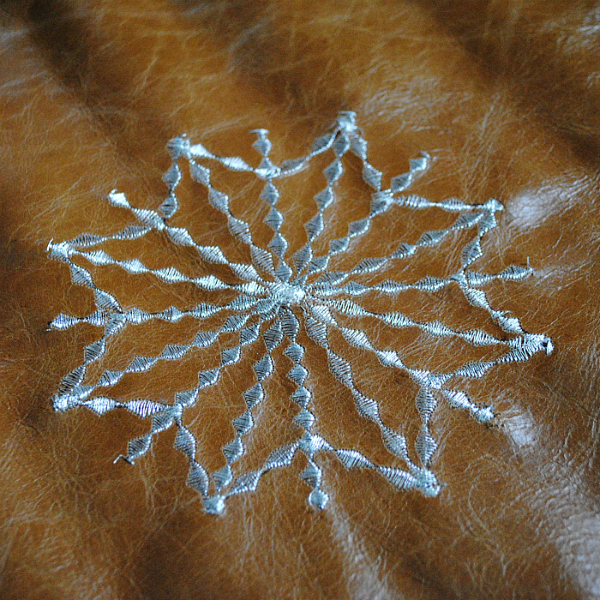
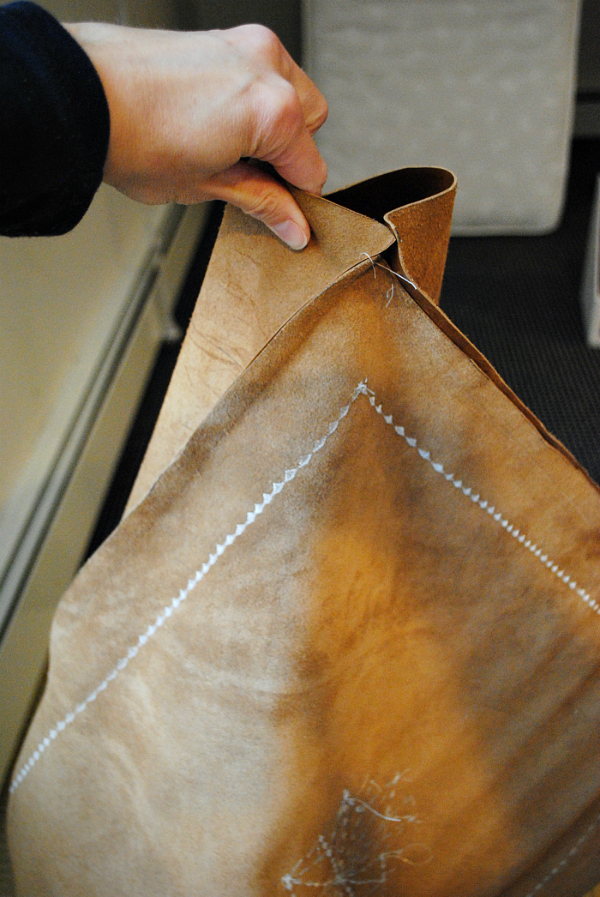
I loaded the metallic thread on my sewing machine and set it up to stitch the embroidery pattern I’d chosen, then followed the pattern on the leather one row at a time. Seriously, don’t be afraid of this. If you have a machine that can embroider it was as easy as sewing a straight line. Maybe even easier.
I also decided to embroider a border around the edges of the leather, about 4″ in from each side.
Once the embroidery was finished I was ready to sew all the pieces together to make the pouf.
First I took the four 23″ x 7″ strips and sewed them together to make one long strip – turn two of the strips right side in toward each other and sew a straight seam 1/2″ from the edge. Repeat until all the strips are sewn together.
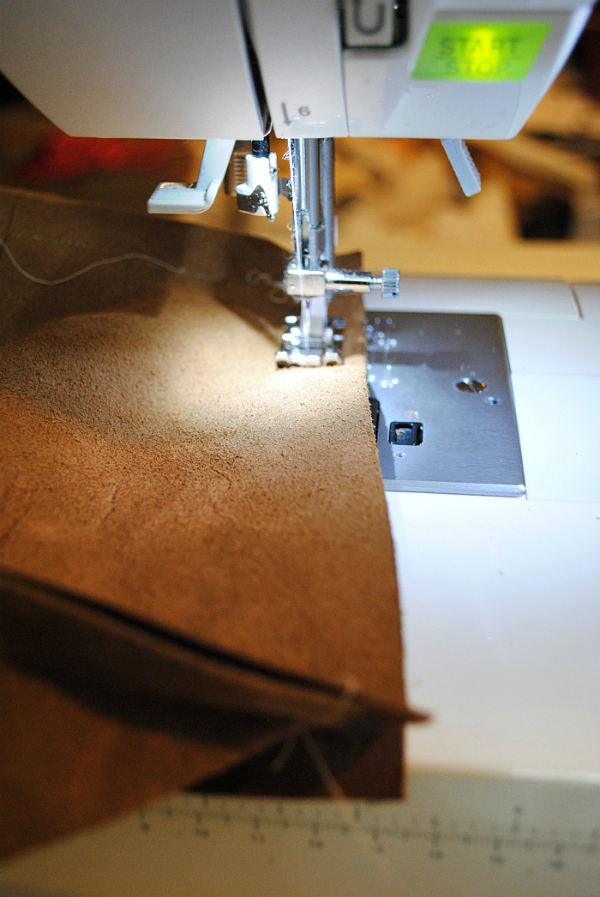
Next I lined up one corner of the strip with a corner of the top piece (the one with the medallion), again right sides facing in. Start sewing a few inches in from the corner, and sew a straight seam along the whole side, 1/2″ in from the edge. The corners can be a little tricky – I found it easiest to sew one side at a time, then remove the leather, turn it to start on the next adjacent side, and start again. Go all the way around until you’ve sewn the whole long strip to every side of the top leather piece. At the end of the last side leave a few inches unsewn.
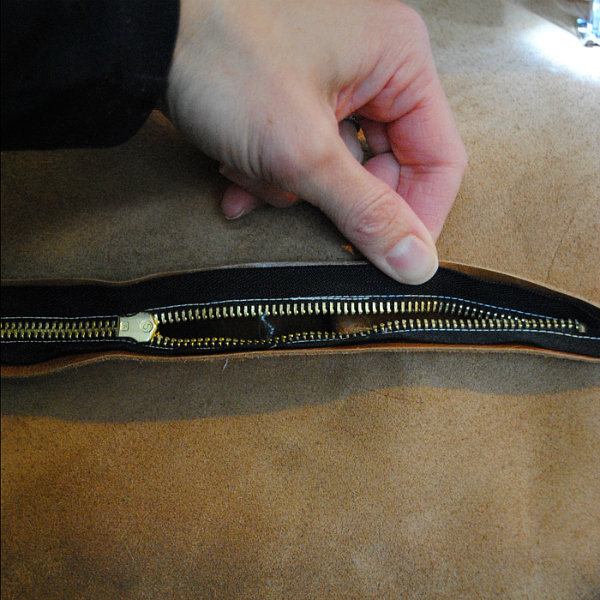
To sew the zipper, I followed this tutorial for sewing an invisible zipper. This is a little misleading because I didn’t use an invisible zipper and my zipper can be seen from the back, but it’s the method I used. I have an easy tutorial for how to sew a zipper HERE, but I didn’t want threads to show on the sides of the zipper, which is why I used a different method. Either way will work though.
Once the zipper was attached to either side of the two 23″ x 12″ pieces, I unzipped it about halfway – this ensures you can flip your pouf right side out when you’re finished!
I sewed the strips (now attached to the top piece of leather) to the bottom piece with zipper using the method I outlined above when sewing the strips to the top piece. When finished sewing all four sides to the strips there will be a little pocket open at the corner where you started and stopped.
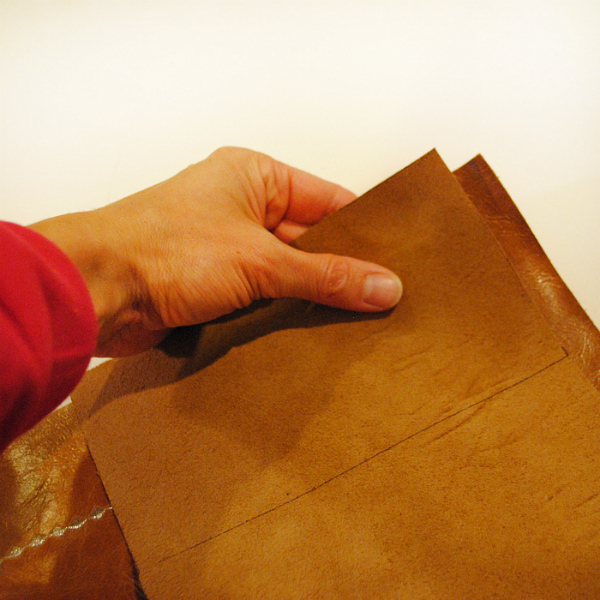
To close this up, simply line the edges up and then sew a straight seam 1/2″ from the edge.
You may need to close any little gaps left in the opening you’d left – do this by just following the seams you’ve already sewn all the way to the edges of the corner.
Flip the pouf right side out, using your finger to poke the corners out, and stuff with whatever you like. I ripped apart a bunch of old fiberfill bed pillows and used their innards for the filling.
I’m typing this tutorial with my feet resting on the pouf and my girls have been loving flopping on it. There’s something about a floor pillow that seems to scream, “Lie on me!,” especially to chidren. But that’s kind of what it’s for so it all works out :)
I LOVE the finished pouf and can’t say enough great things about the leather I used from The Leather Hide Store. It’s so soft and lovely, I’m thinking of upholstering some furniture with it too. There were several other leathers I loved from them too – be sure to check out their site if you have a project coming up that you need leather for.
Room Sources
sofa
side table
teal velvet pillow
herringbone throw
wood bead pendant light
This project was done in partnership with The Leather Hide Store – they supplied me with a leather hide. All opinions expressed are my own and are sincere.
Affiliate links used.
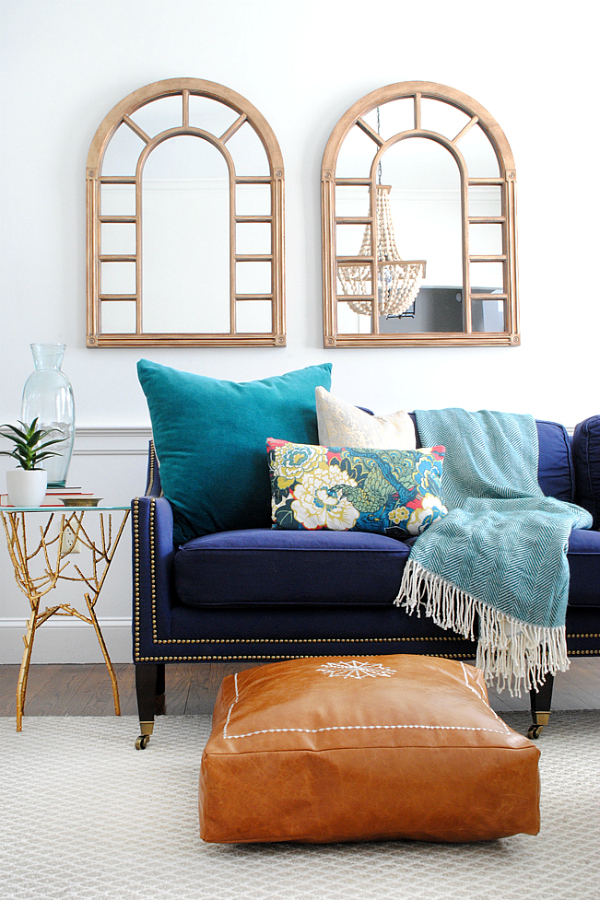
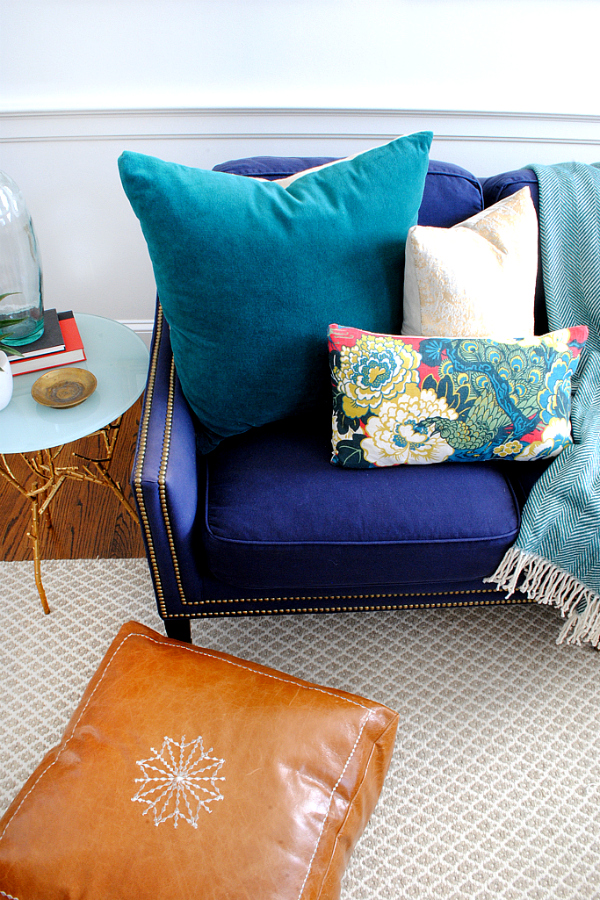


that is AWESOME! and i want to move into that entire room please!
I’ll just make you a cup of tea right now so you can settle in and kick you feet up :)
oh that sounds just perfect! thank you!
Subject: Re: Comment on DIY Moroccan Leather Pouf
I would have NEVER though I could make that! I love this idea!
http://www.theadoredlife.com
Thank you! Truly, it was way easier than I thought. Using the embroidery function on my sewing machine was such a revelation for me. The machine does all the work and it looks awesome!
Love this, such a great idea!! Also, love when projects turn out to be easier than originally thought (doesn’t happen often ;)
Ha, so true! I finished the whole thing in 3-4 hours and kind of thought, “Hmm, okay, what am I going to do now?” Definitely does not happen often!
This is incredible! Now I want to make all the poufs :)
Haha! Tell me about it. I kind of feel the same way :) Thanks, Caitlin!
I think you and Kelly View Along the Way have both raved about that machine and I”m pretty convinced that I will be a magical sewer if I ever get one! :) Love this poof….and agree with Caitlin… I want all of the poufs.
Yes! Kelly turned me on to it in the first place. I could sew without it but I couldn’t believe how much smoother and easier and less frustrating it was to sew absolutely anything when I got this machine. Worth every single penny. You should just buy it. Then you can MAKE all the poufs :)
I’m head over heels in love with your pouf, I’ve been wanting to make a few sewing projects that involve leather – how easy / hard was it to sew? I have a Singer Heavy Duty, and hoping it can handle leather / heavy fabrics like it claims to! So glad you shared this project, i’m itching to start my next sewing project tonight :) :)
Thanks, Katrina! My machine handled the leather no problem, it felt just like regular fabric going through it. If you have a heavy duty machine I bet it will be totally fine. Now go sew something!! ;)
OMG you are a freakin genius! Love this so much! It will go viral ;)
Oh and my kids use our pouf as a launching pad too.
Too funny. Thank you :) What is it about kids and pillows?!
I love this and it looks so pretty with all the colors in your room! And I am so excited to know of this source for pretty leather!
Thanks, Beth! I do love the colors in the living room. I moved away from blue for awhile but deep blues are back for me with a vengeance!
Jen, you always wow me!! This is awesome – I want one of my own!
Thanks so much, Jenna! Maybe I should sell them! ;)
You are a sewing rock star. It turned out beautifully! I am still not friends with my sewing machine. I just walk by it and give it the stink eye.
Sounds like you need a new one ;)
Girl, what CAN’T you do??? I love how this turned out. I love my embroidery sewing machine, too. No fancy poufs for me, though. I’ve just been making more monogrammed tea towels and napkins than I can count for wedding gifts!
Haha, thanks so much, Jennifer! I haven’t tried monogramming yet but this embroidery was so easy I was thinking I’d give it a go!
Man oh man this is good! I’m totally impressed. Your DIY’s never look DIY!
That is the best compliment ever, Gwen, thanks! That’s always what I’m going for :)
This is incredible Jen! You are amazing! I’m in awe of your skills!
That’s so sweet, Brynne, thanks!! :)
Beautiful! Love the way it turned out. (P.S. I have that same machine and love it too!)
Yes! The machine! It completely changed my (sewing) life. So fabulous. Thanks for the nice comment!
https://uploads.disquscdn.com/images/819dc32250ca34f2296691673a9d3e04906a7d5d2ef6505954a934a76dcae37f.jpg
very nice