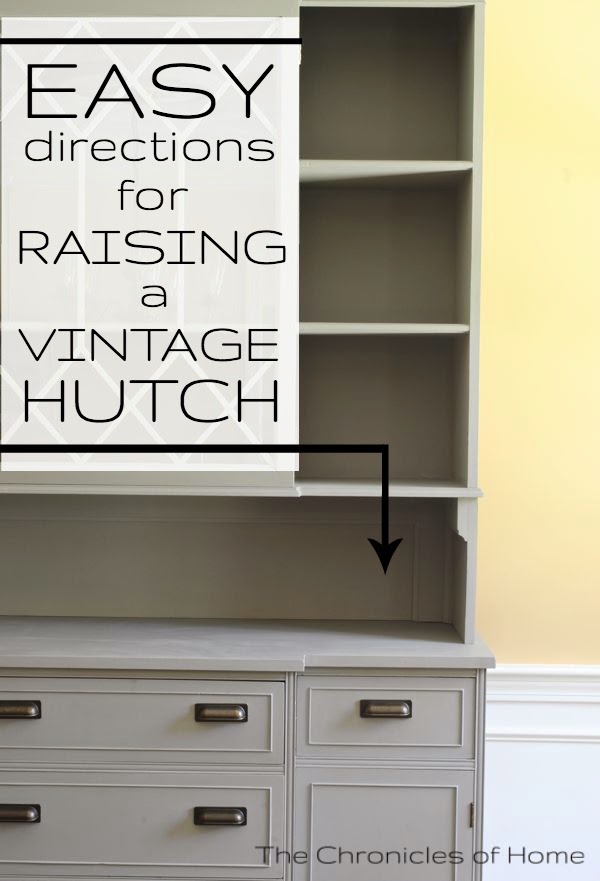
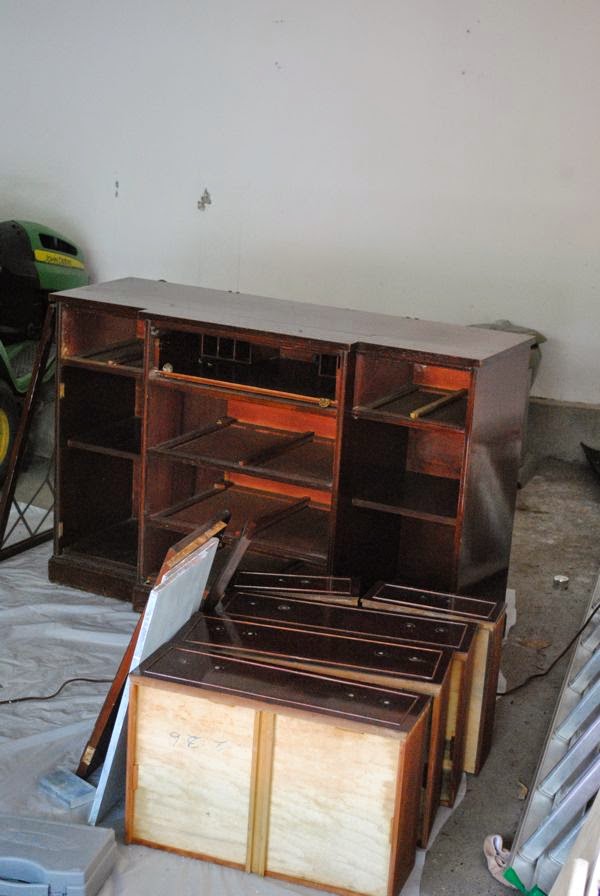
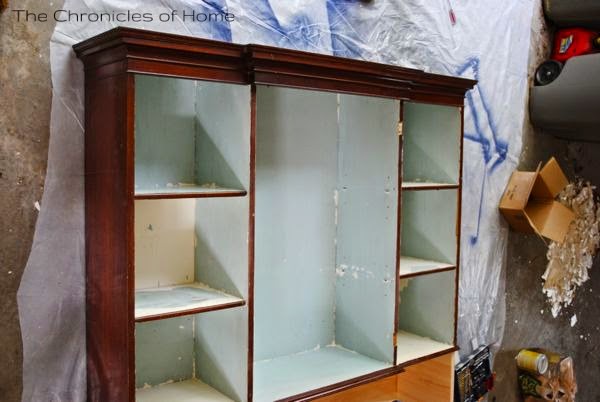
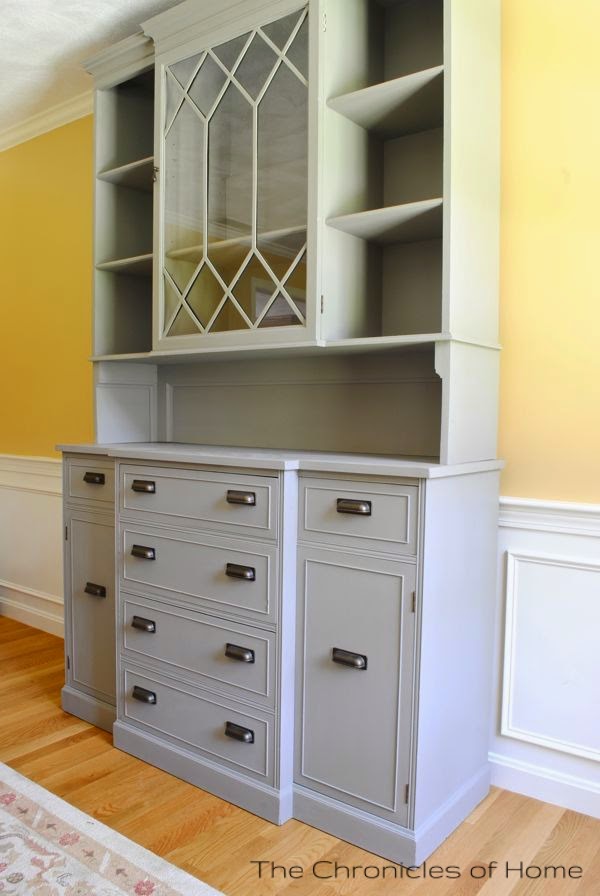
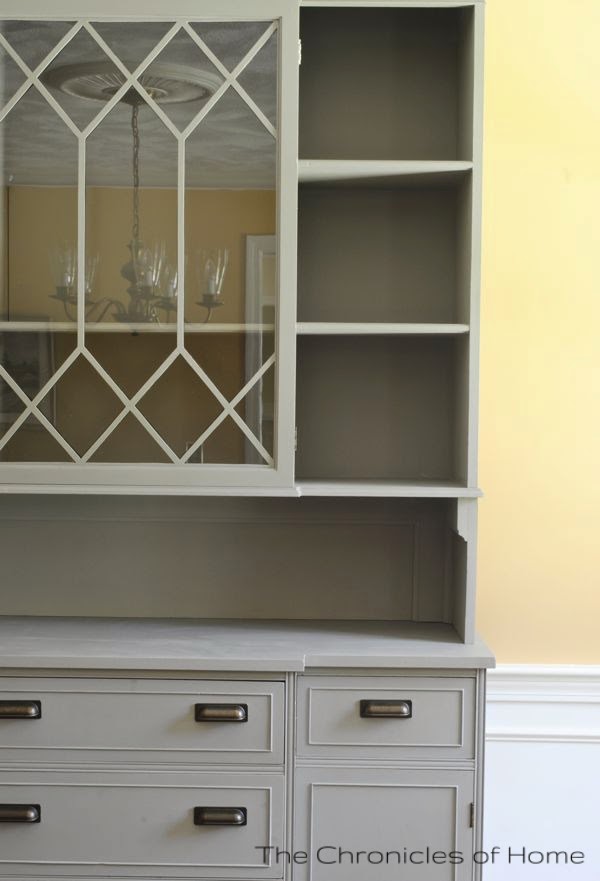
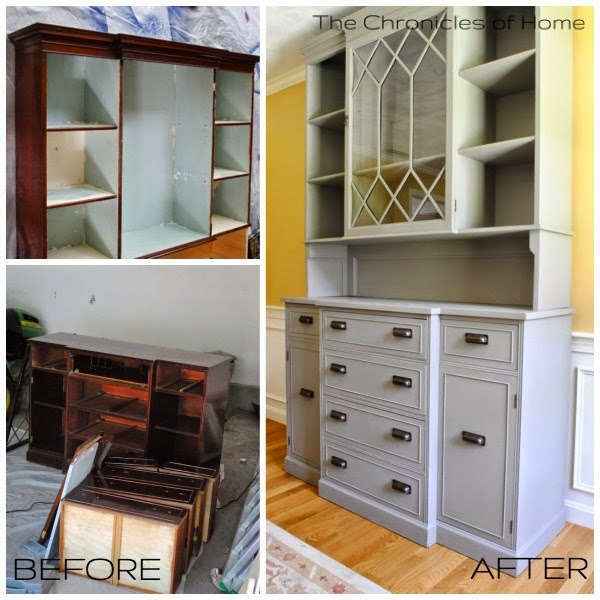
A little background on the piece to start – the hutch originally belonged to my friend’s grandmother-in-law. The finish on most of it was a glossy medium stain and the hardware was dated – not is a good vintagey way. The details on the piece really got lost in all the shiny brownness, but the biggest problem for my friend was that it just wasn’t working for her.
Here are the materials I used to make it all happen. I’m not giving you exact measurements here because the amount needed will vary based on a hutch’s size.
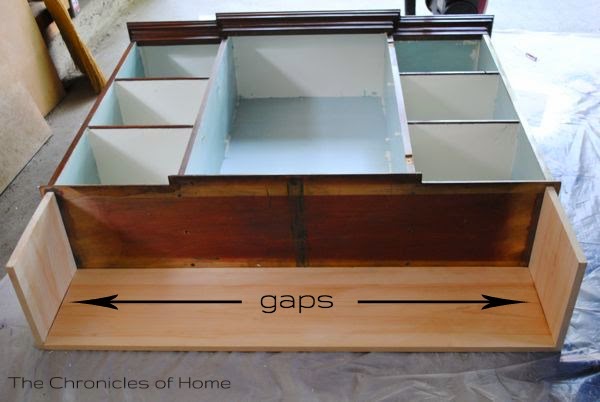
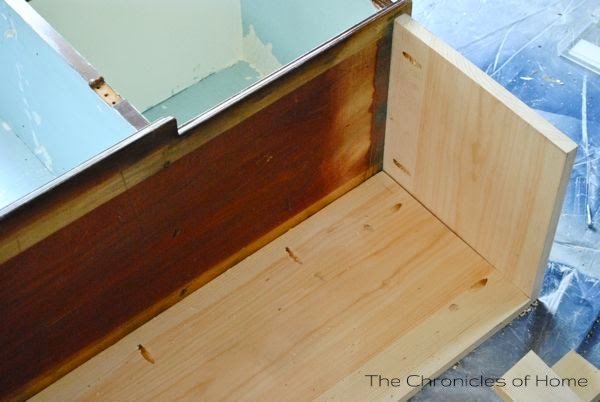
- select pine 1×12 – cut into three pieces for the back and two sides of the hutch (I had the pieces cut for me at Home Depot) – get the straightest piece you can
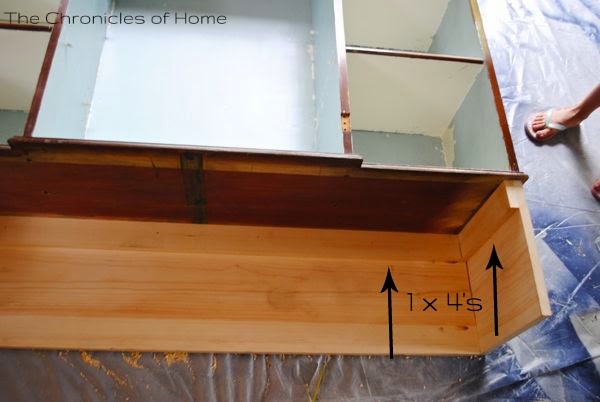
- select pine 1×4 – enough length to cut pieces for the back and sides of the hutch – check for straight pieces
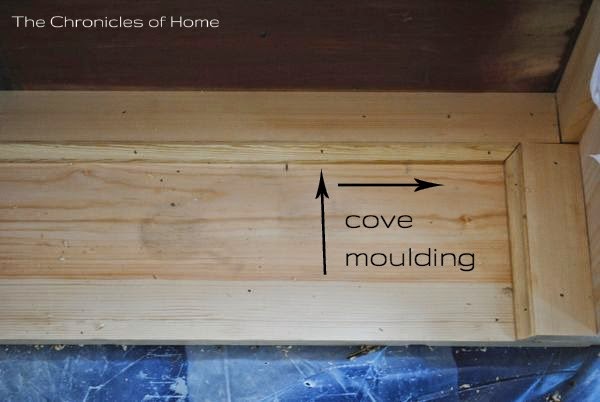
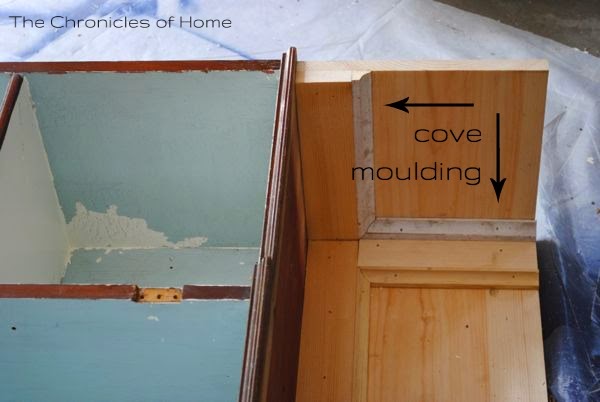
- cove moulding – get about 1 1/2 times as much length as you do for the 1×4
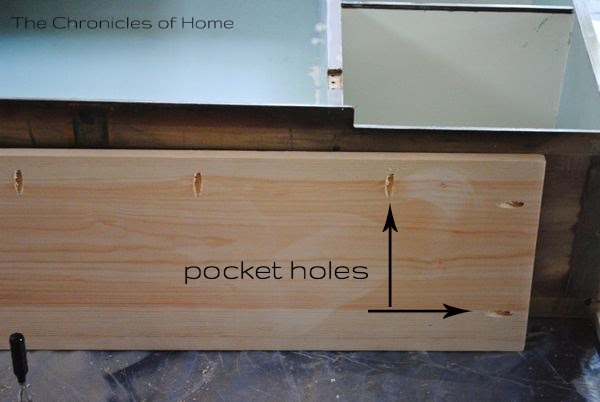
- Kreg Jig
- Drill
- Wood screws (I used 3/4″)
- 1″ finishing nails or brad nails
- Light spackle
- Sandpaper
- Mineral spirits
- Denatured alcohol
- Clear shellac
- Annie Sloan Chalk Paint in French Linen
- Annie Sloan Soft Wax
For the painting part, I took the advice of my friend, Danielle, who is a vintage furniture painting master, and wiped the older parts of the piece down first with mineral spirits, then denatured alcohol, then warm water, and finally shellac. I applied 2-3 coats of Annie Sloan Chalk Paint in French Linen and topped with Annie Sloan Soft Wax to protect the finish.
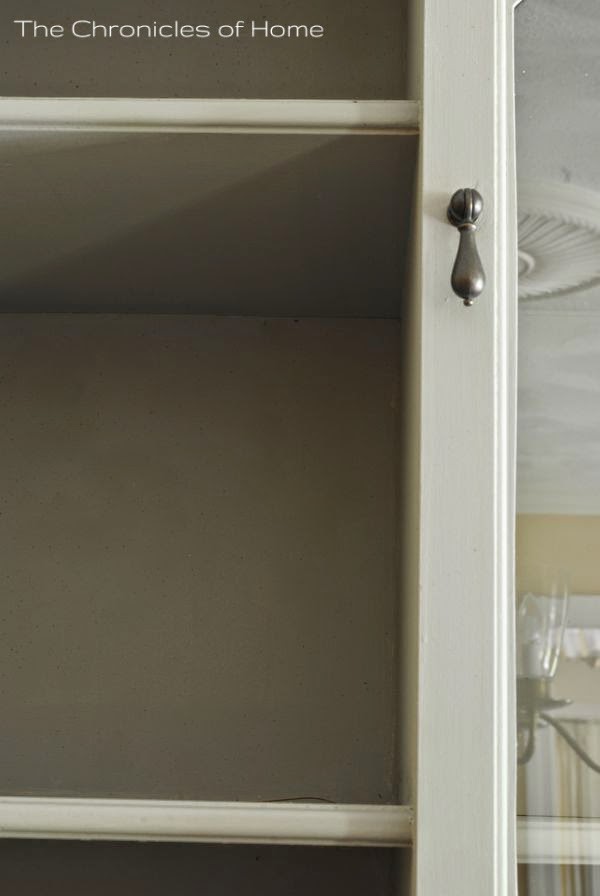
I attached the new hardware and a week or so of drying time later, I delivered the new hutch back to its home.
