I have a first for you today – a guest post! Matthew Lyons is here from HomeDaddys sharing a tutorial for a super cool coat rack made from hammer heads. When Matthew contacted me and pitched this idea, I loved it instantly, and hope you do too. You all know I like carpentry projects but also copious doses of gold and pink, so things are taking a little bit more of a masculine turn here today. I also love variety :) Don’t you think this coat rack would make a cool, kitschy addition to a mudroom or workshop? Take it away, Matthew!
When I was little I used to make my dad something every Father’s Day. It was your typical elementary school fare: a crooked ceramic mug, a crooked paper towel holder, a crooked bird house (he doesn’t even like birds). However, no matter how lopsided my presents were, he always acted super impressed when my mom and I handed out our presents at family dinner. Everything was a masterpiece to the guy, even the paper towel holder that fell apart when you tried to put paper towels in it. Looking back, I think that did wonders for my self-esteem.
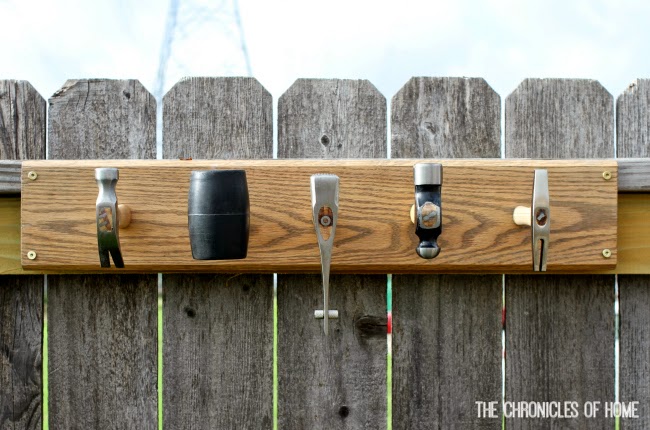
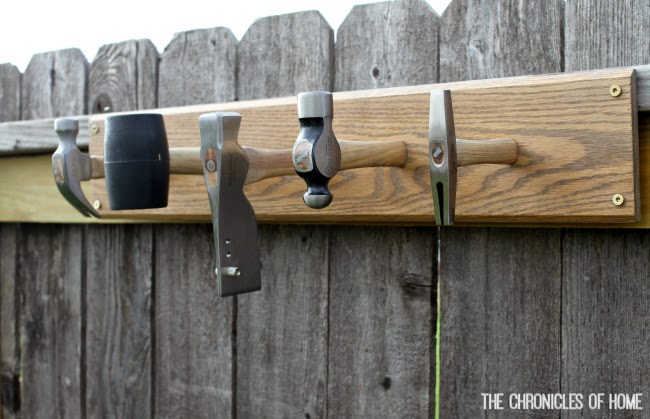
The tradition of crooked Father’s Day gifts died when I hit middle school but now that I find myself doing home improvement projects for a living I thought it would be fun to revive it this year. I figured it’d be a good chance to show the old man what a complete set of fully developed motor skills could do. So I scoured the Internet for a project I could copy and as soon as I saw this hammer head coat rack I knew I had to copy it. It seemed like the perfect gift for a dad who spends all his free time in the garage (which is exactly what my father does).
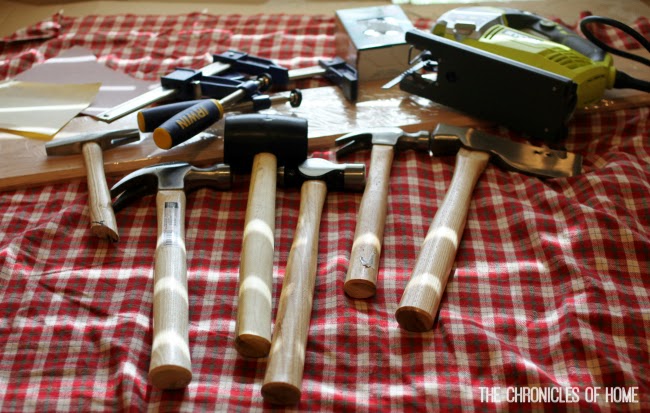
The only problem was that I couldn’t find a tutorial for this exact coat rack anywhere. So, being the enterprising guy that I am, I decided to improvise and just make my own from scratch using some nicer materials and a variety of hammers, including an awesome hatchet-hammer thing that I found at the hardware store. I think it’s for roofers. I don’t know. I don’t care. All I know is that it’s manly and I love it.
Due to my limited access to power tools it took a solid day’s work to build the thing from start to finish. However, the work itself isn’t that complicated and I think the finished product came out looking really cool – or at least that’s what my dad tells me. So if you want to add some machismo and utility to your house this year then grab some hammers and let’s get down to business.
Materials
- 1x 5” x 1/2″ Hardwood Seam Binder
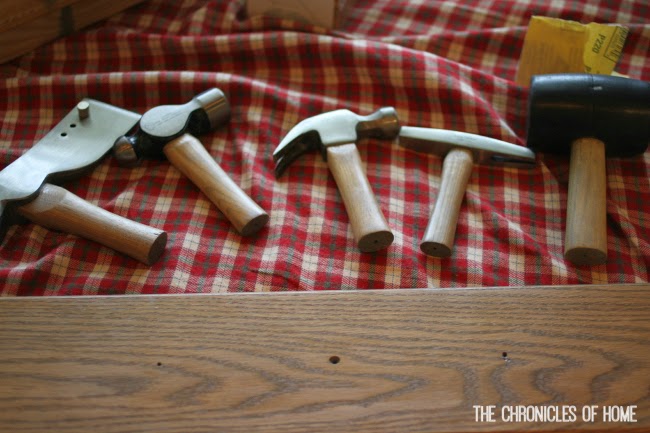
- 1x Tack Hammer
- 1x Hatchet Hammer (Also Known As a Shingler’s Hammer)
- 1x Ball Peen Hammer
- 1x Rubber Mallet
- 1x Standard Claw Hammer
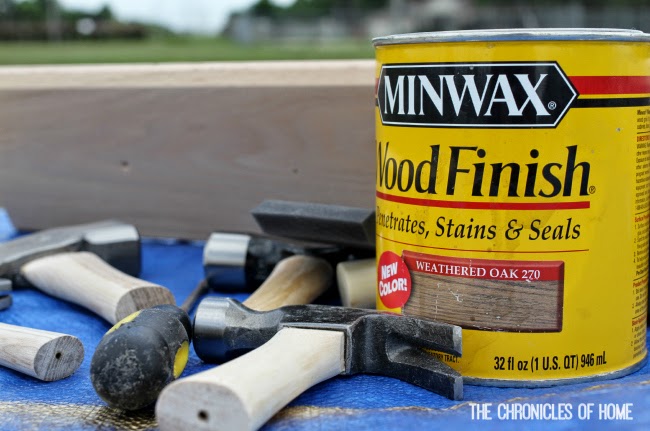
- Wood Stain (I used Minwax Weathered Oak)
- Polyurethane Sealant
- 2” #10 Construction Screws
- 1-5/8” #7 Wood Screws
- Cutting Tools
- A Drill
- A Power Sander/Sandpaper
I originally wanted to use a 2×4 as the mount for this coat rack. I figured it would look all raw and cool and work-shoppy and stuff. However, after mocking everything up, I realized that two inches is just way too thick and heavy for a coat rack backing. Plus the raw lumber made the whole thing look kind of cheap. So I decided to class it up by using a thinner hardwood mount with a beveled edge. It sounded great in theory, but I didn’t know how I was going to pull it off without buying a router.
Luckily I happened stumble across this oak seam binder at Home Depot. At $24 it’s kind of expensive for a piece of hardwood but at the same time it’s wide, it’s beveled and it comes pre-drilled with countersunk holes. Though the price tag would normally be a deal breaker for me, I was determined to impress my old man and also determined not to buy a router so it seemed like the only real viable option. If you have access to a router or if you want to use a simpler more affordable backing then more power to you. In that case I recommend going with a nice 1×6.
As far as costs go, this isn’t the cheapest DIY project in the world. At least it isn’t if you copy my materials list. I spent about $100 for all the hammers, the baseboard and the stain. If you’re determined to cut costs, though, you could easily simplify your materials – use lumber as a base, only buy cheap hammers – and keep your budget under $60.
Process
To start this project, you’re going to need to cut that seam binder down to size. There are a variety of ways to do this. A hand saw would work. A table saw would be ideal. Personally, I used a jig saw. Either way, measure off 27” on the seam binder, clamp it down and, using a 2×4 or some other straight edge as a guide, cut yourself off a piece of that pie. Then set it aside. We’ll come back to it later.
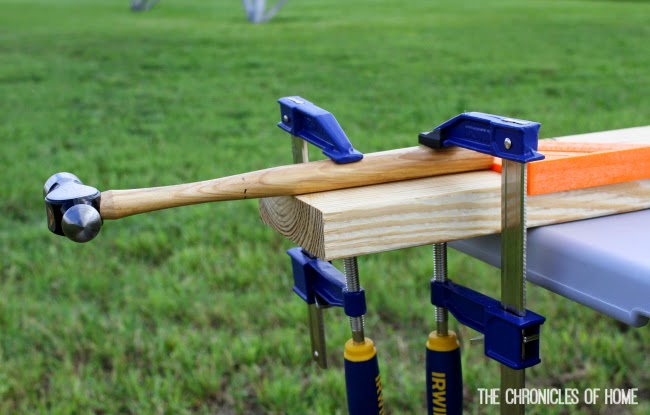
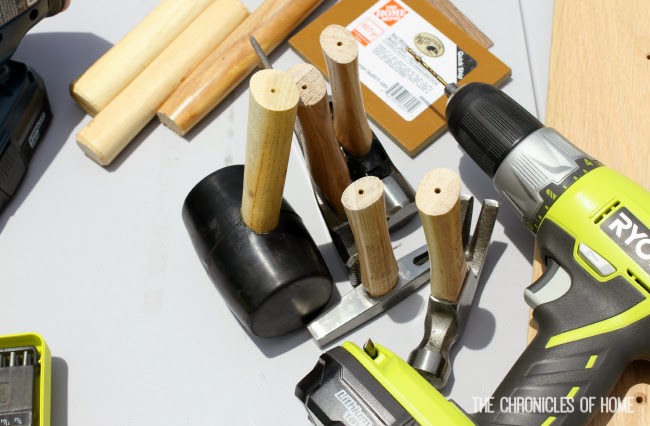
Now you need to ruin your ham—erm, I mean cut off your hammer heads. Measure off 4” from the bottom of the actual hammer head. To clarify, I mean that there should be 4” of handle hanging off the bottom of the head when you cut it off. Mark your cut with a pencil or a Sharpie.
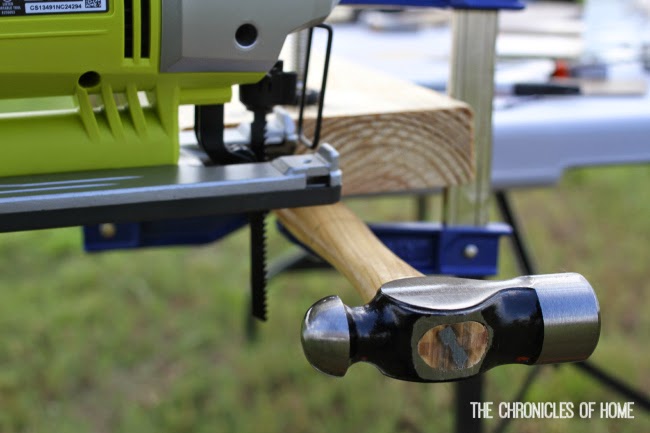
Again, a table saw would be ideal for this. However, you can still get a perfectly straight cut using a jigsaw, circular saw or hand saw. Since the handle tapers towards the head, I set the thickest part of the handle on a 2×4, lined it up using a straight edge and then clamped it down with two bar clamps. Then I flipped the whole rig over and, using the edge of the 2×4 as my guide, made my cut with the jigsaw. This isn’t the easiest way to skin the proverbial cat, but if you’re paranoid like me it will ensure that you’re making a straight and even cut.
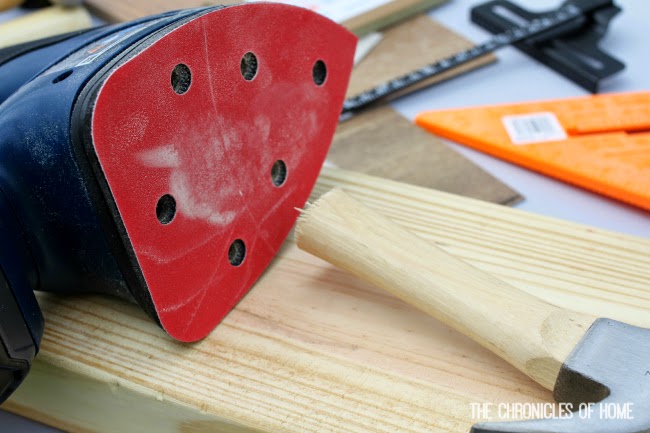
Now that you’ve got your hammer heads and seam binder all cut and trim, it’s time to sand those bad boys. The reasons why are twofold. First, sanding will take the glossy finish of the seam binder and hammer handles, which will make it easy to stain them a uniform color. Second, assuming you’re using a power sander or belt sander, sanding will ensure that all of your ends are perfectly flat.
I used a mouse-style power sander for this project. I started with 180-grit and then moved down to 220-grit. I then gave it a final once over with 220-grit sandpaper to rough up all those tricky hard-to-reach areas on the hammer heads.
With the sanding done, it’s time to break out your drill. You’re going to need to drill two additional pilot holes in the seam binder between the three that should already be there to give you a total of five holes. And you’ll also have to drill pilot holes in the bottom of each hammer head. I used a 3/32” bit for this. It helps to use a level to ensure your holes are straight. My drill has one built in. Not saying I’m special, but I think we all know the deal.
With the drilling done we can now move on to everyone’s favorite part – the staining! I wanted my coat rack to look aged but not “upcycled” so I went with Minwax’s Weathered Oak stain. Assuming you stir the heck out of it before you use it, it will give the wood a cool greyish-brown sheen. If you don’t stir it, it won’t really look like much of anything. I learned this through trial-and-error.
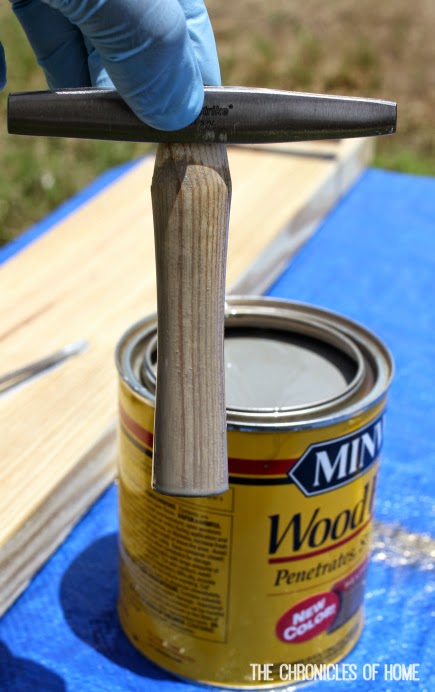
To stain the seam binder, you’re going to want to use a foam brush or a staining cloth. To stain the hammers I found it easiest just to dunk them in the tub of stain and then let them dry upside down.
I actually had to stain the hammers twice. I didn’t do a good enough job sanding them the first time so the stain didn’t really take. I roughed them up again and then let the stain soak in for a good half an hour the second time around. I’m pretty happy with the results.
Let everything dry for the afternoon and then slap on a coat of polyurethane sealer to give it that nice waterproof sheen.
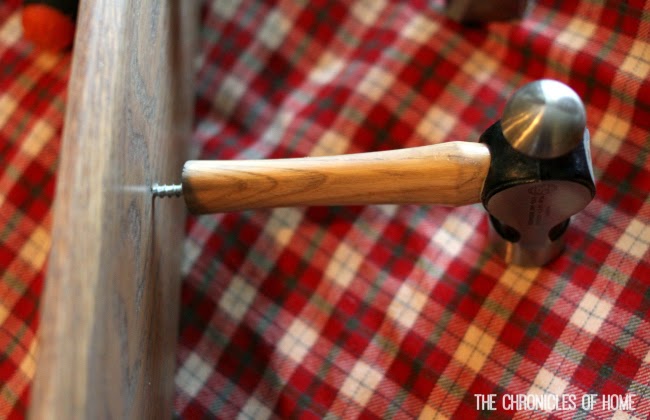
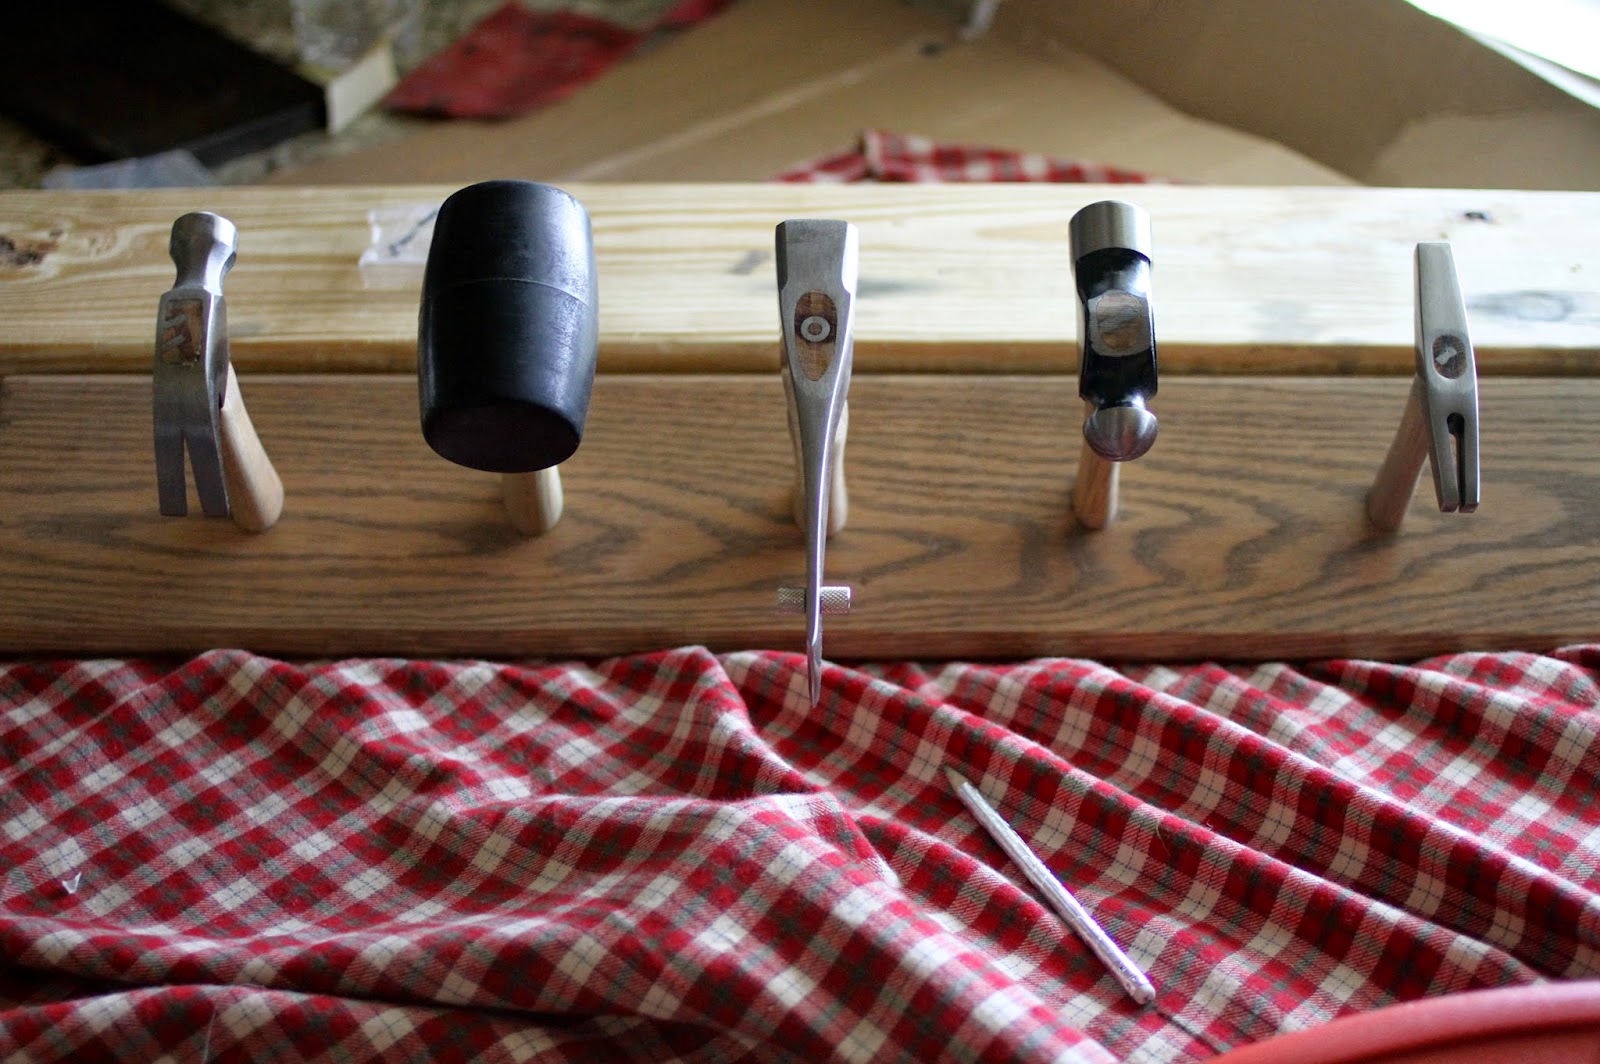
After everything is dry, you’re ready for the final assembly. Using your 2” construction screws, attach each hammer head to the base with a screwdriver. Don’t use a drill. It will be tempting, but you really want to be careful with that finish. Damaging your coat rack now will make you one sad panda.
So now that your coat rack has been assembled, all that’s left is to attach it to a wall. In the original project I linked to, the builder drilled holes for plugs to cover up the screws that attached the rack to the walls. Mine was a little thin for that so I decided to just buy pretty screws.
Get a 5/32” drill bit and drill pilot holes in the four corners of your coat rack. Bonus points if you’ve got a countersink drill bit to make it pretty. When you’re done, switch out the bit for a screwdriver tip and drive in your #7 wood screws. While they aren’t as long or as thick as the construction screws we used to fix the hammer heads to the base board, they’ll hold the coat rack in place just fine. After that you can give yourself a pat on the back, because you just built something awesome!
So now that we’ve reached the end of our tutorial, I’d like to thank Jennifer again for featuring this project on The Chronicles of Home. She’s a super-talented blogger and if you happened to just stumble here because of Google or Pinterest then you definitely need to check out some of the awesome projects she’s done like her Rope Mirror and her Glitter Faux Antlers. And if you want to see some more of my stuff, swing on by HomeDaddys.com the next time you get a chance. We’re dads who work at home and I promise that we’re cooler than that sounds.
Thanks again everybody and good luck on your projects!
Matthew Lyons is a self-proclaimed handyman and blogger for HomeDaddys.com. An Oregon native, he now lives in Eastern Texas with his wife and son. In his free time, he enjoys ruining perfectly good hammers and turning them into things.

