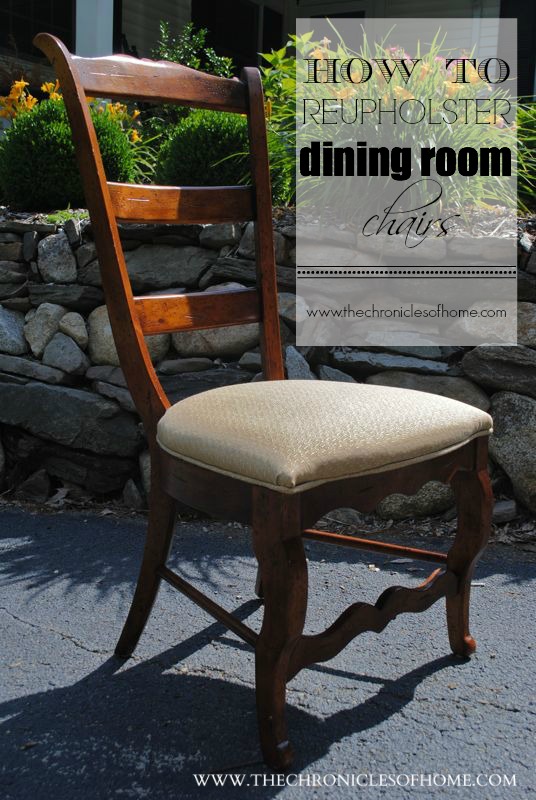
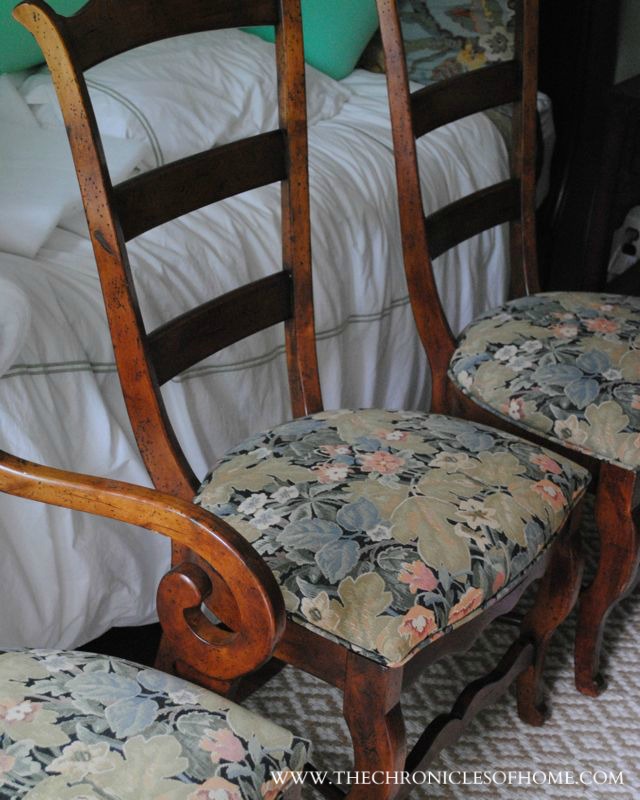
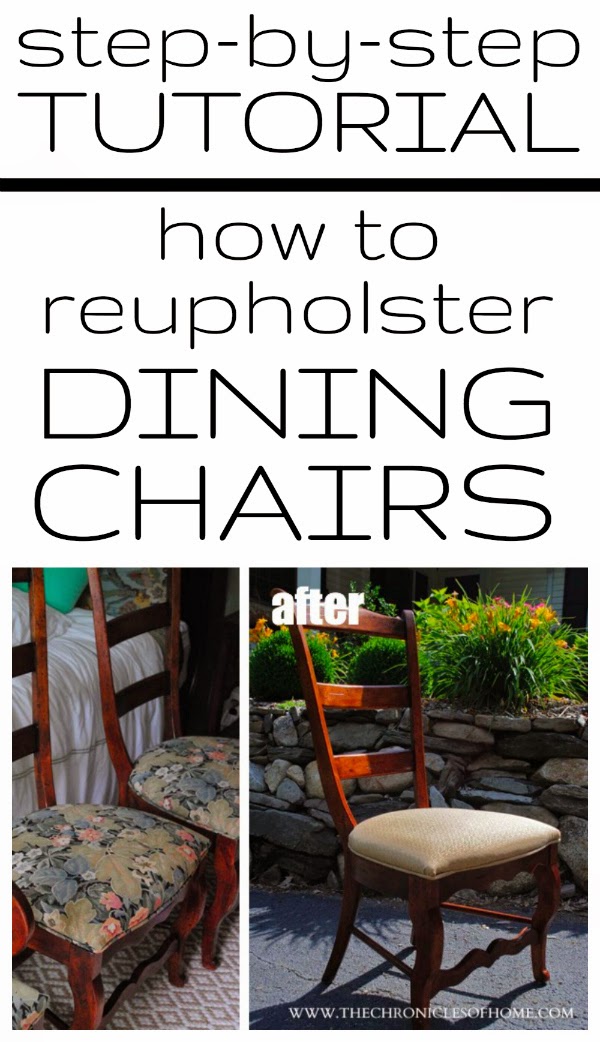
If you’re considering wading in the waters of reupholstery, there might not be a better project to start on than recovering your dining room chairs. They usually come apart easily and putting them back together is just as simple. If you pay close attention to how the original upholstery was done as you take it apart, all you have to do is recreate that in reverse with your new fabric.
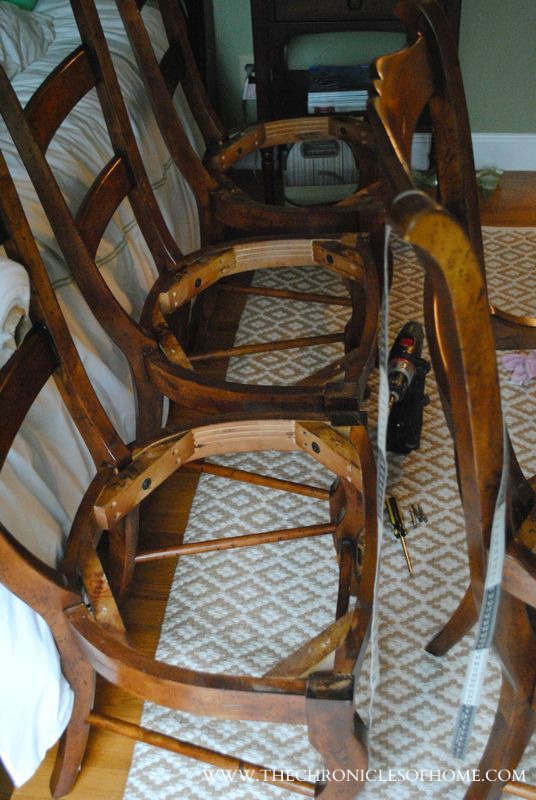
The very first step is flipping the chairs upside down and locating where the seat is attached to the frame. Once you find it – usually several screws or bolts – remove the seats and set the screws or bolts aside to reuse them when it’s time to put the chairs back together.
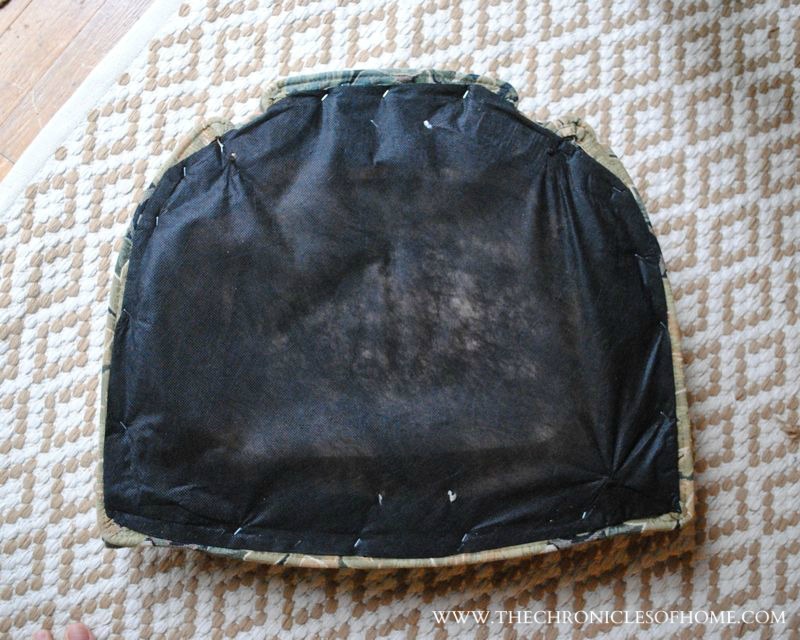
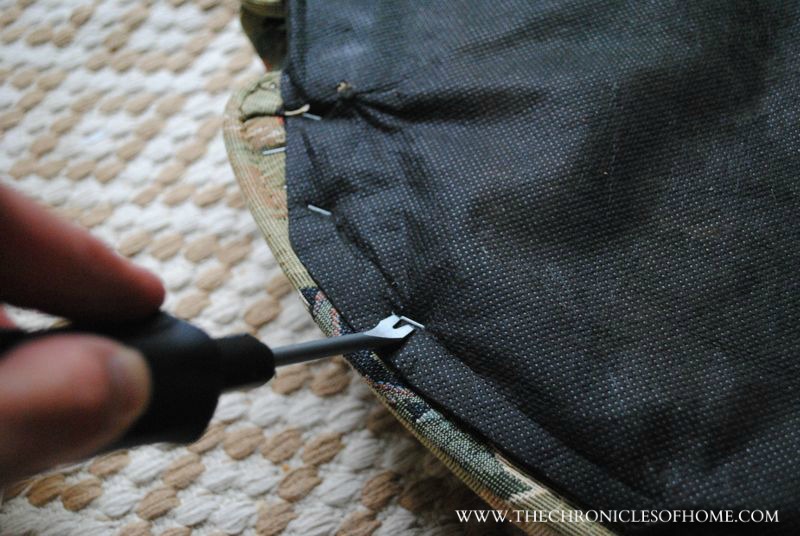
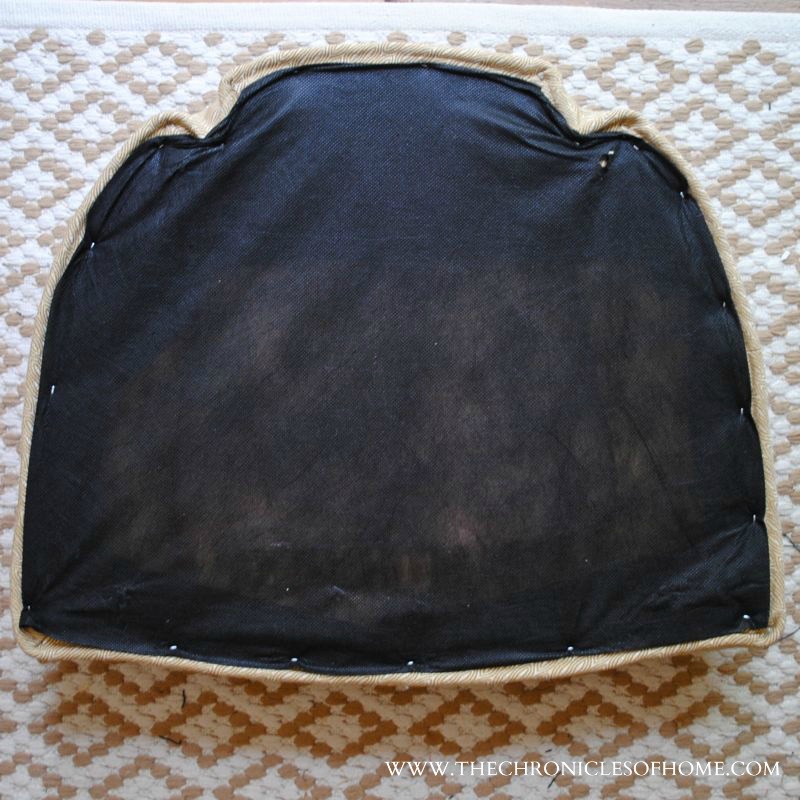
The underside of the seat likely looks something like this. That black cloth is called cambric or a dust cover.
Use a tack puller or small screwdriver and needle nose pliers to pull out the staples and remove the cambric. Set aside the cambric to reuse later.
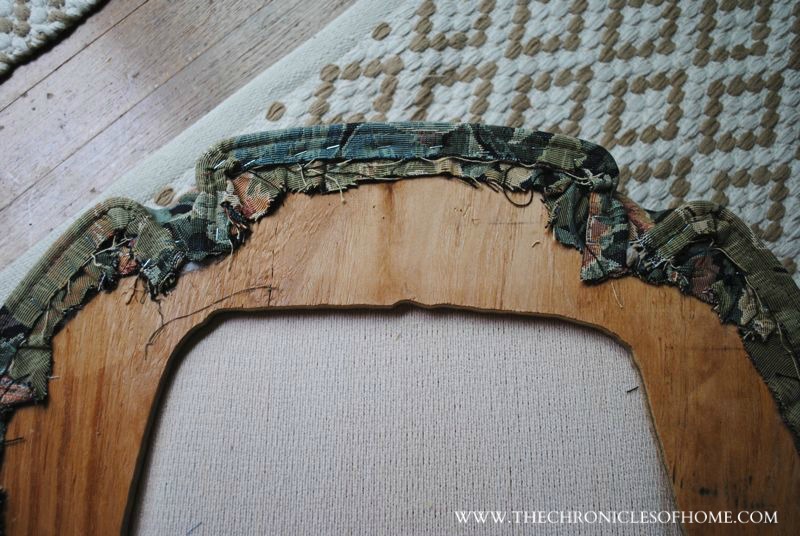
You should now see where the fabric is stapled to the seat frame. These chairs had welting along the edges so first I pulled that off and then removed the seat fabric. For the welting, I was able to loosen a corner and just give a good hard tug to remove it. You’ll want to remove the fabric from one of the chairs carefully so you can use it as a pattern for your new fabric. After that, cut, rip, and pull to your heart’s content!
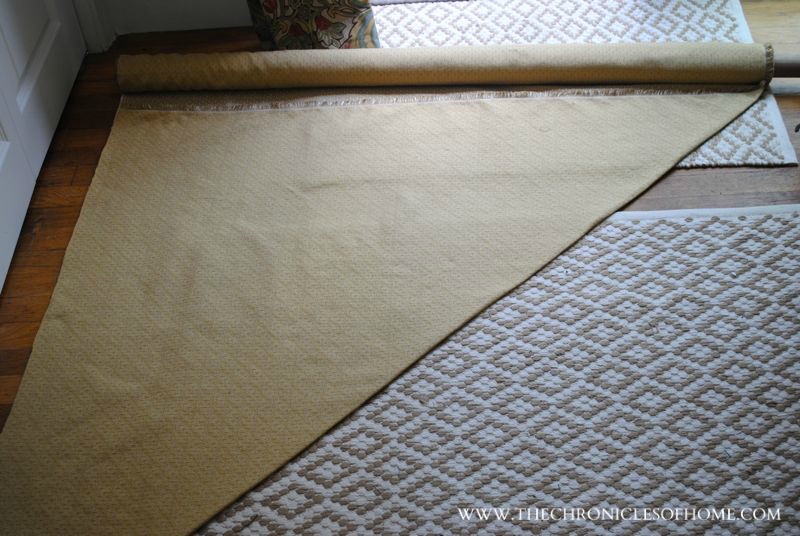
Like I mentioned above, these chairs had welting, so I needed to sew some new welting out of the new fabric. If your chairs don’t have welting and/or you don’t want to add it, skip this step. If you do want to make it, you’ll want to unroll your fabric and fold the bottom edge up to meet one side, making a triangle.
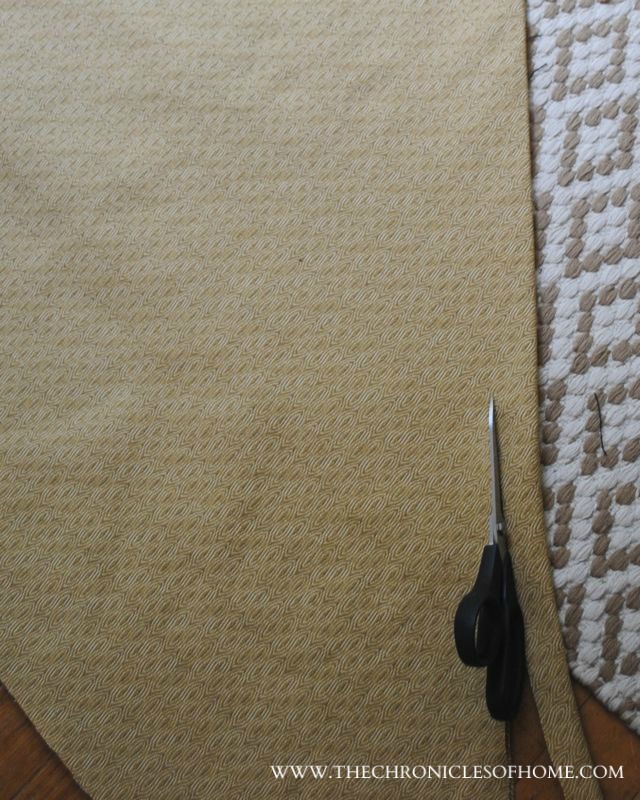
Cut several strips of the fabric, following that diagonal line while you’re cutting. Cutting diagonally (called “on the bias”) is important because it gives the finished welting lots of bend to hug corners.
I first learned to sew welting by following steps 9-14 of this tutorial. Another option if you like the look but don’t want to sew it, is taking some fabric to a local tailor who will probably be willing to sew it for you for pretty cheap.
Now you should take the remaining fabric and use the intact old seat fabric you saved to guide your cutting of the new fabric. Cut as many seats as you’ll need for the the new chairs. If there’s a pattern to the fabric, think about how you want it oriented on the chairs (running vertically? horizontally?) and cut it accordingly.
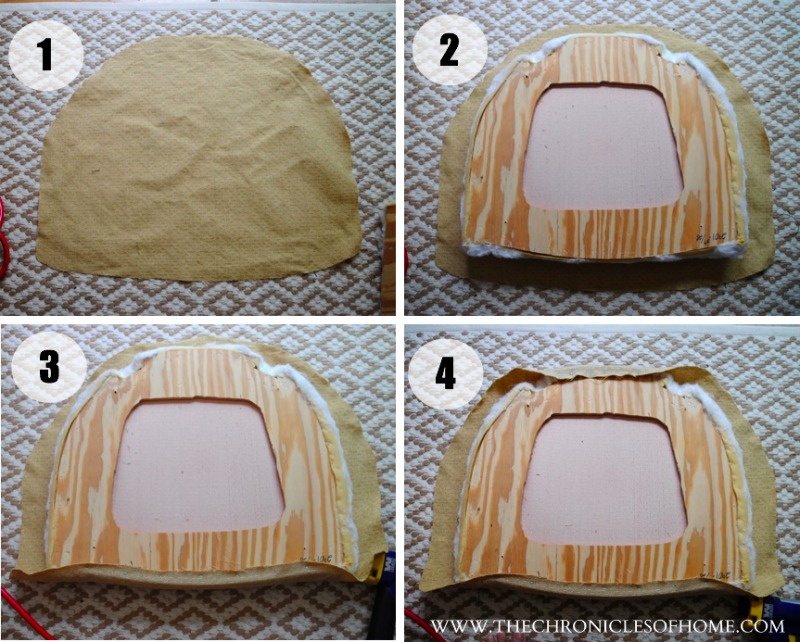
Take your first new seat cover and lay the fabric upside down on the floor (1). Center the actual seat on top of it, also upside down (2). Pull the fabric up and over the bottom edge and use a staple gun to attach to the seat frame, leaving the corners and sides open for now. If your fabric has a pattern, it’s important to keep it going straight during this step (3). Make sure to smooth the fabric as you go so there are no bunchy areas. Do the same to the top of the seat (4).
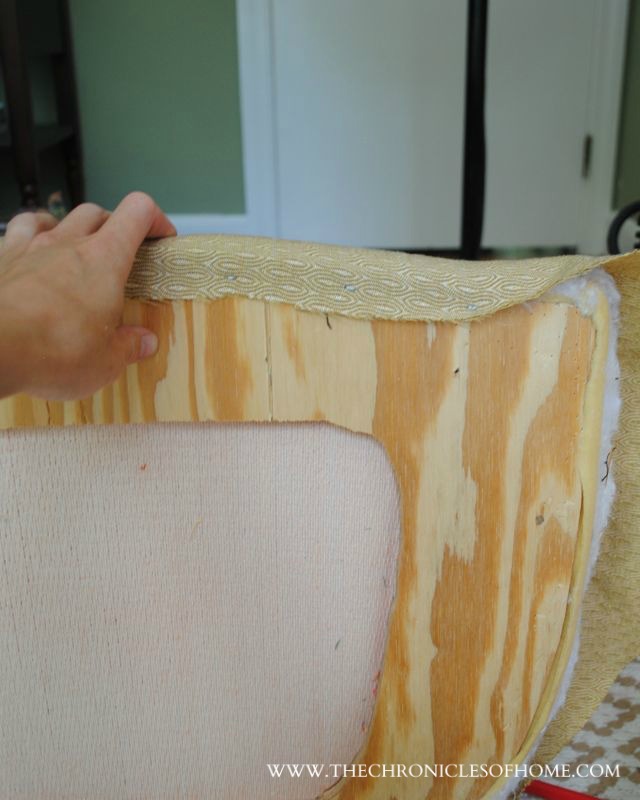
Now prop the seat up in front of you to get ready to work on the front corners.
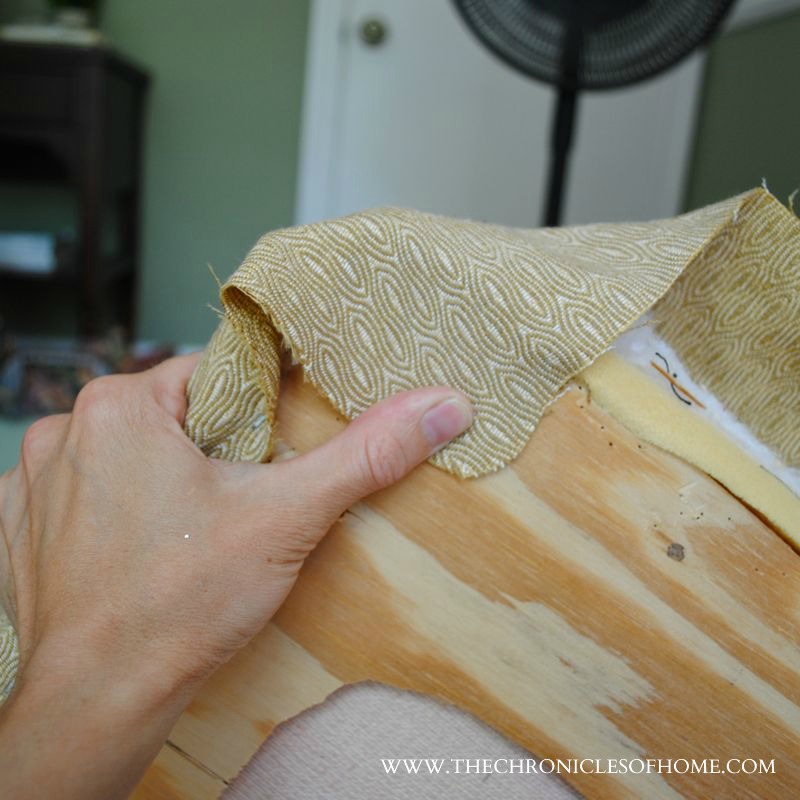
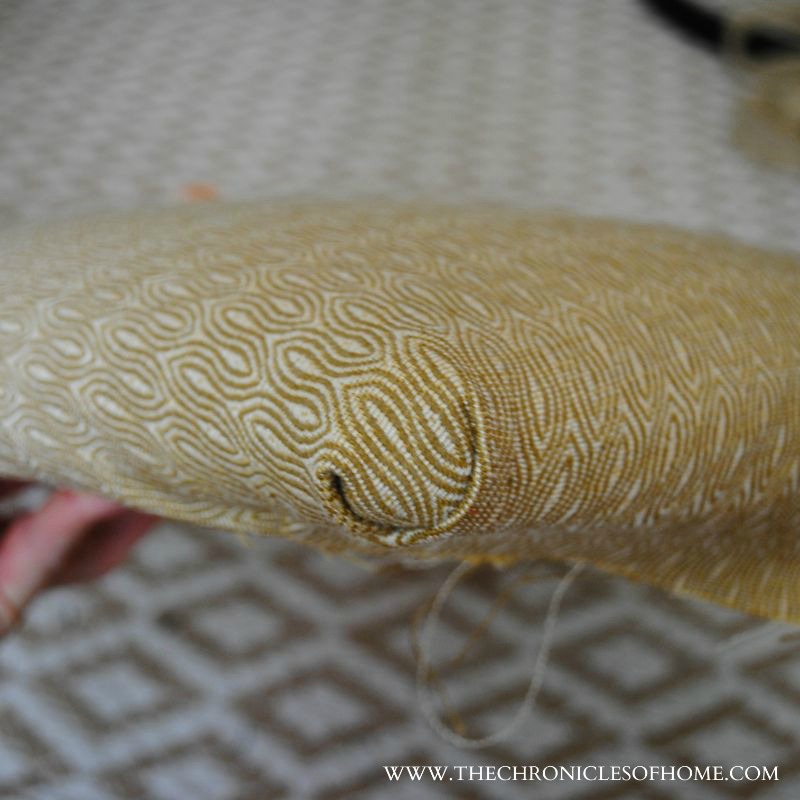
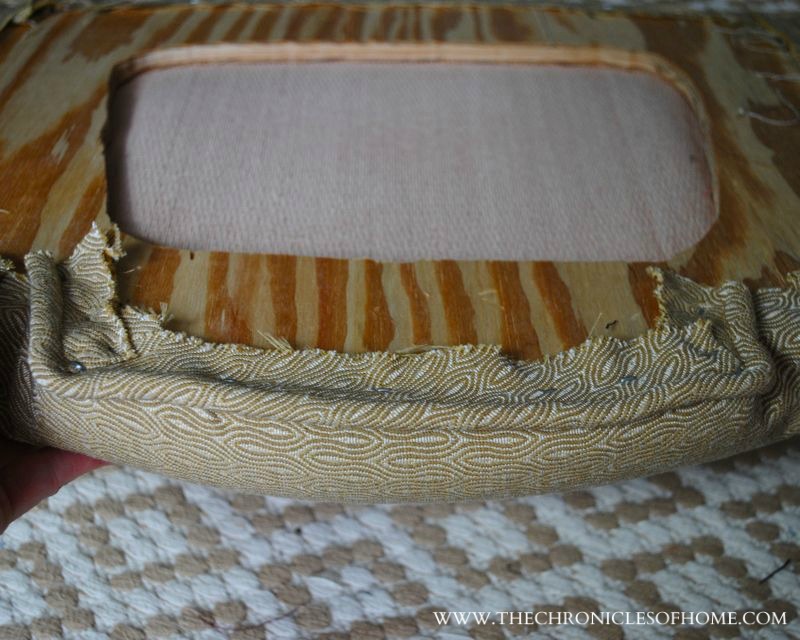
Pull the fabric (snugly – always snugly with upholstery!) down over the corner and hold in place.
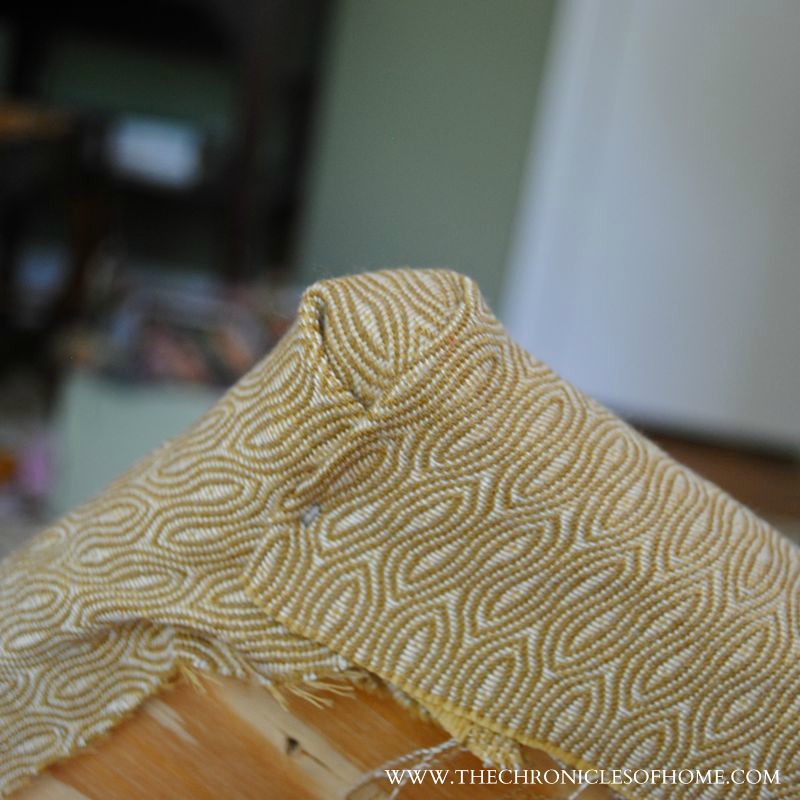
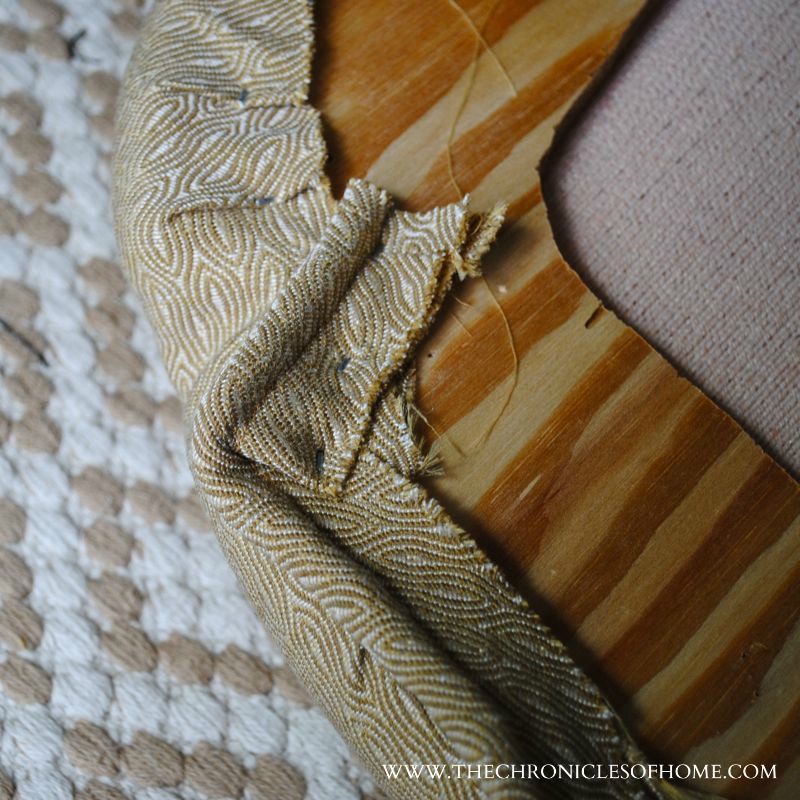
Then fold the fabric on either side into a “V” and staple in place. This takes some playing to get the fabric as smooth as possible, but you just keep tweaking it until it looks the way you want.
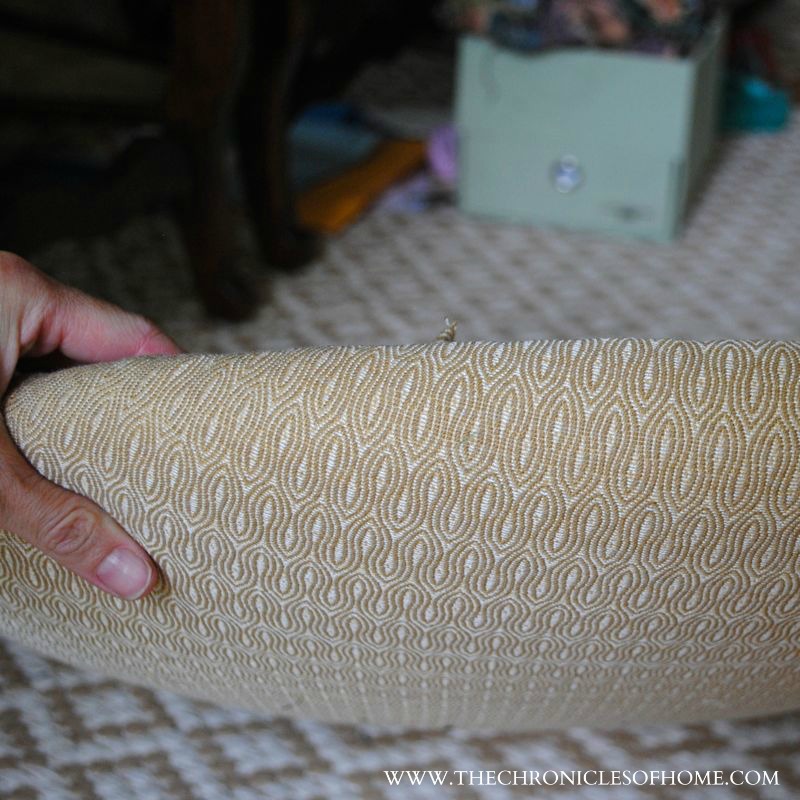
It’s okay if there is some slight bunching visible when you hold the chair rightside up – it should be camouflaged when you reattach the seat to the chair frame.
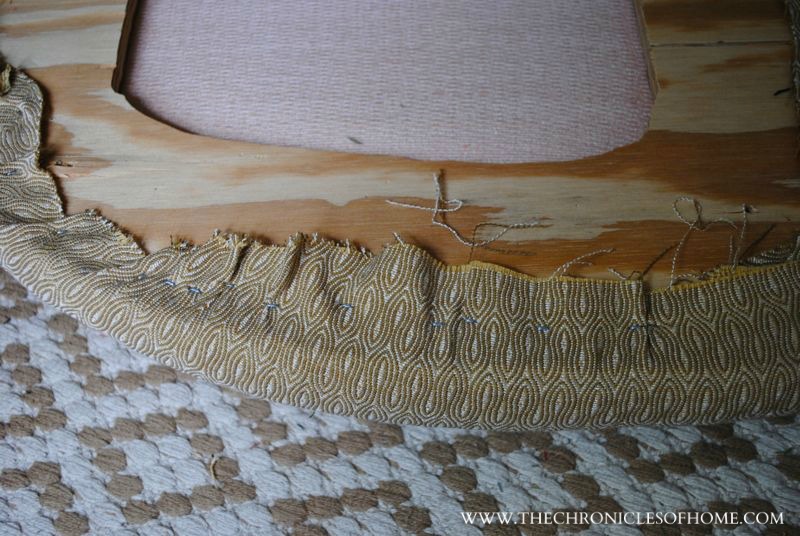
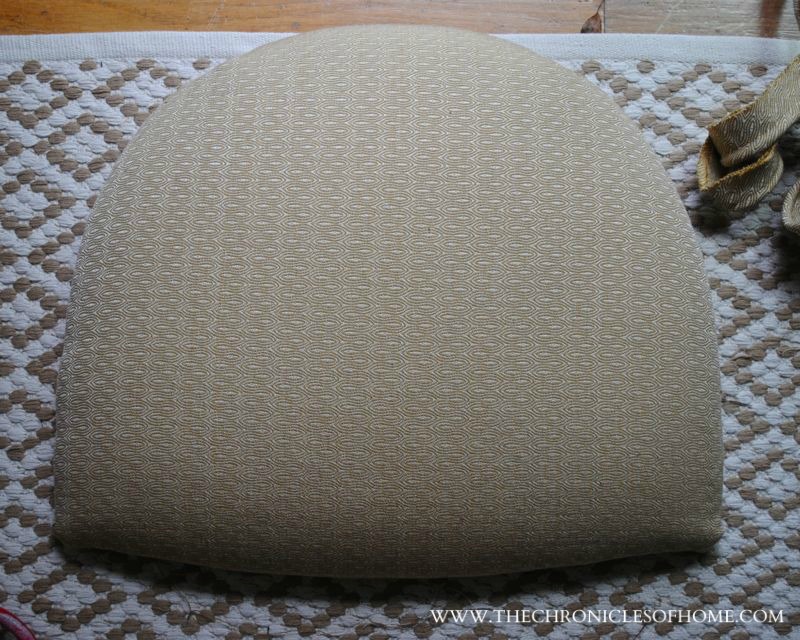
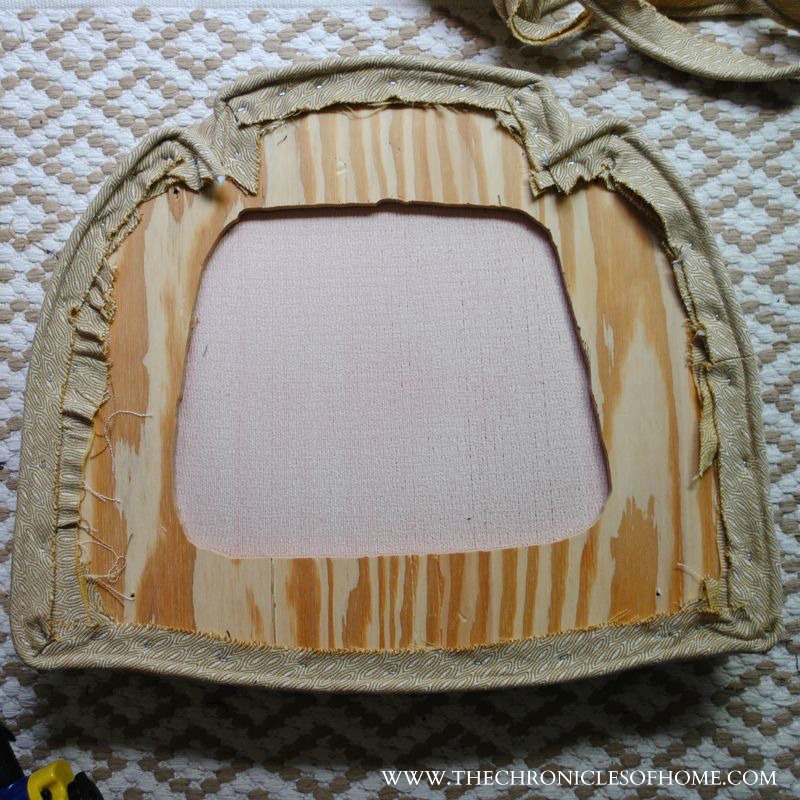
Work all the way around the chair until all fabric is smooth and stapled in place.
If your chair doesn’t have welting, you’re finished with the seat upholstery! If it does, or you want to add it, take the welting and shape it along the outer edges, stapling in place as you go along.
For these chairs, I did the welting in two pieces. Once piece ran along the back part of the chair.
The other, longer piece ran along the sides and front of the chair.
Now take the cambric you saved and reattach on the underside of the seats.



I need to replace the padding. What do you suggest I use?
Hi Muriel – you’ll want to use high density foam if the padding is shot. You can get it at most craft stores or online at http://www.diyupholsterysupply.com. Joann’s often has great coupons if you have one near you!