Okay, as promised all week, here we go with the upholstery tutorial for the child-sized chair I made for my niece. I hope you’ll get more than just how to upholster a mini armchair out of this, though. A lot of things I’ll show you can be applied to many upholstery projects, and while I’m still far from considering myself an expert, I’ve learned some things about upholstery this past year that I’m very happy to be able to share.
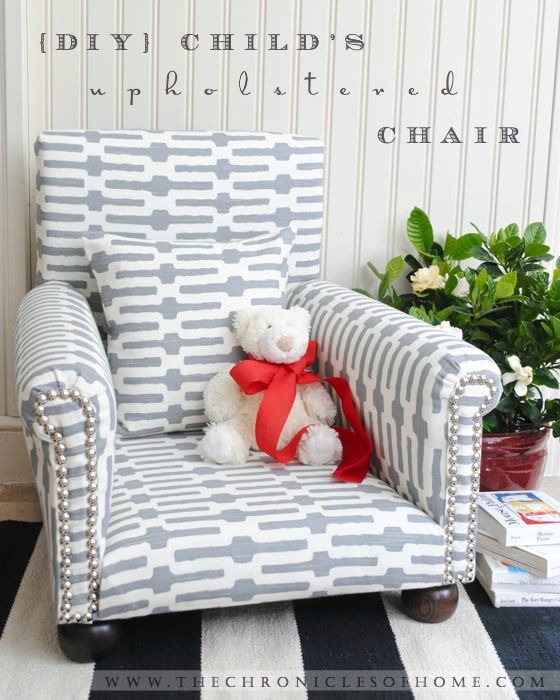
So, here we go! For this part of the project you’ll need to gather the following supplies:
- staple guns and staples
- sharp scissors
- 1 1/4″ wood screws
- 2″ wood screws
- 1″ high density foam
- cotton or poly batting
- elastic upholstery webbing
- webbing stretcher
- 3 yards of fabric (I used Annie Selke Links)
- large piece of cardboard
- cardboard tack strip
- 2 metal tack strips
- hammer or mallet
- upholstery nails
- cambric cloth (black cloth underneath furniture)
- 4 bun feet, stained and sealed
- 4 mounting plates for bun feet
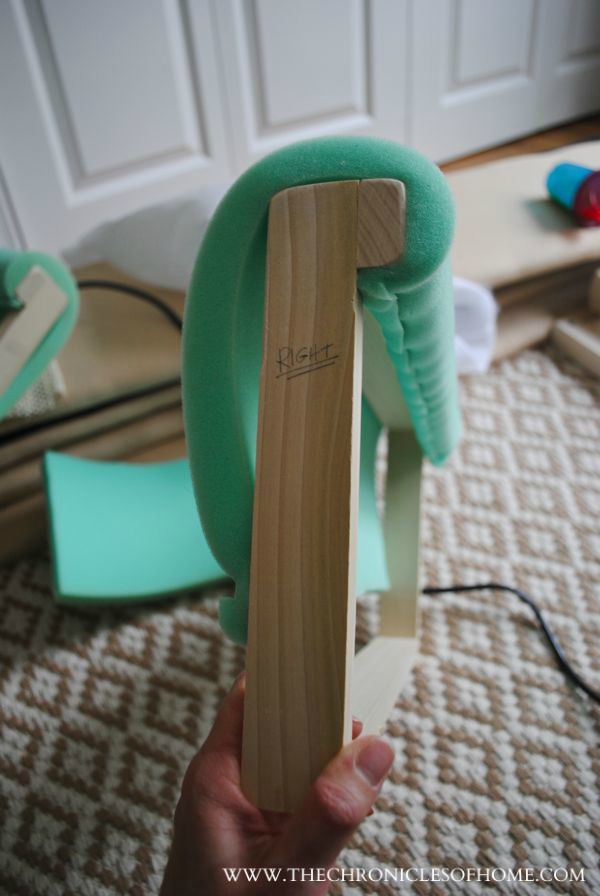
I last left you with the frame of the chair built in four separate pieces – the seat, two arms, and the back. The next step is adding some padding and dimension to the chair with the 1″ foam. Hold one of the arms next to the seat and mark where the top of the seat hits the arm. You’ll add foam above this point. Cut enough foam to staple at this mark and then wrap up and over the top of the arm, stapling underneath to make the roll of the arm. Use as many staples as you need to get a smooth roll.
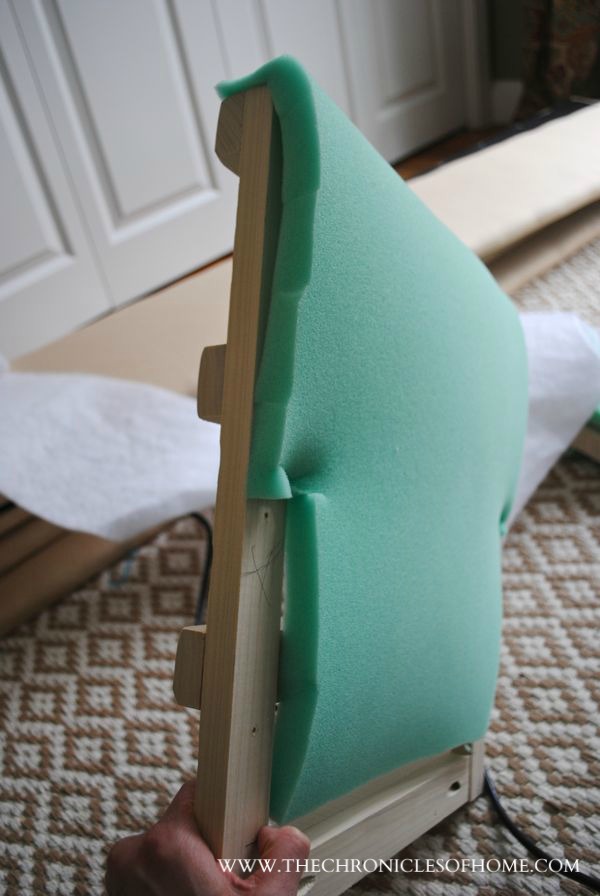
Repeat for the other arm. Hold the back against the seat and mark where the top of the seat hits the back. Also hold the arms against the back and mark where the tops of the arms meet the back. Staple foam inside the marks, but slightly overlapping them so there’s no visible foam line once it’s upholstered.
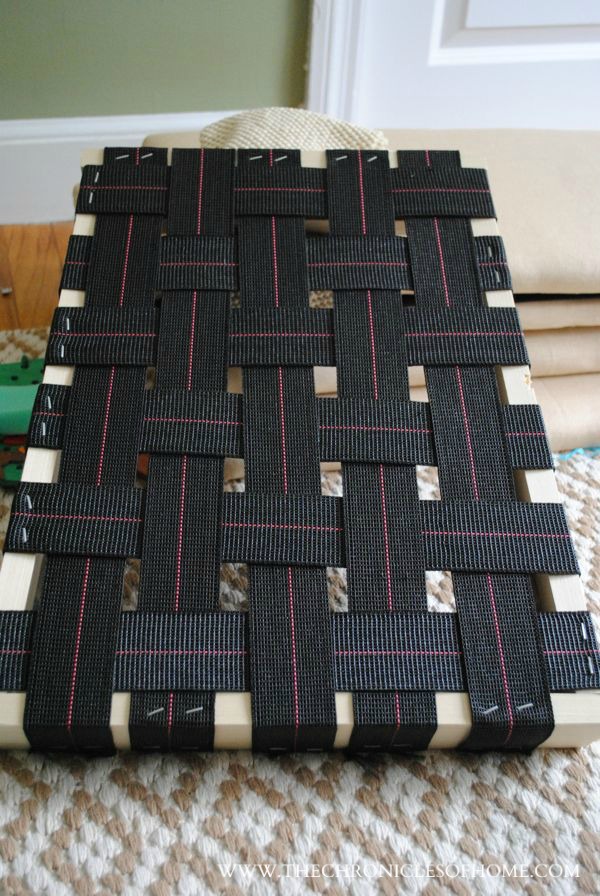
Set the arms and back aside for now. Staple elastic webbing to one end of the seat. Use a webbing stretcher to stretch it tightly to the other end (the tool is essential or the webbing won’t be tight enough) and staple to the other end. Cut below the staple line and continue until you have all the vertical rows made, then do the same with horizontal rows, weaving the webbing in and out of the vertical rows, until the entire seat is covered.
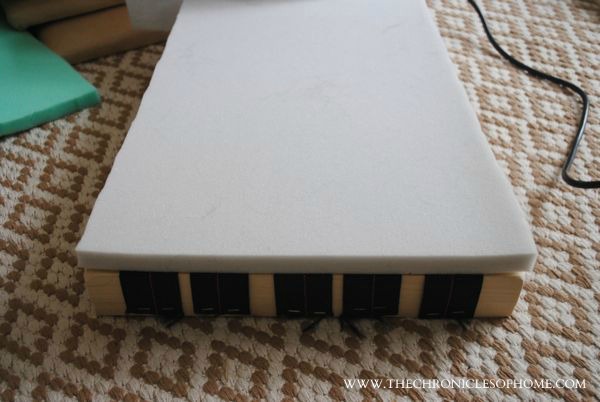
Cut a piece of foam to fit the top of the seat exactly.
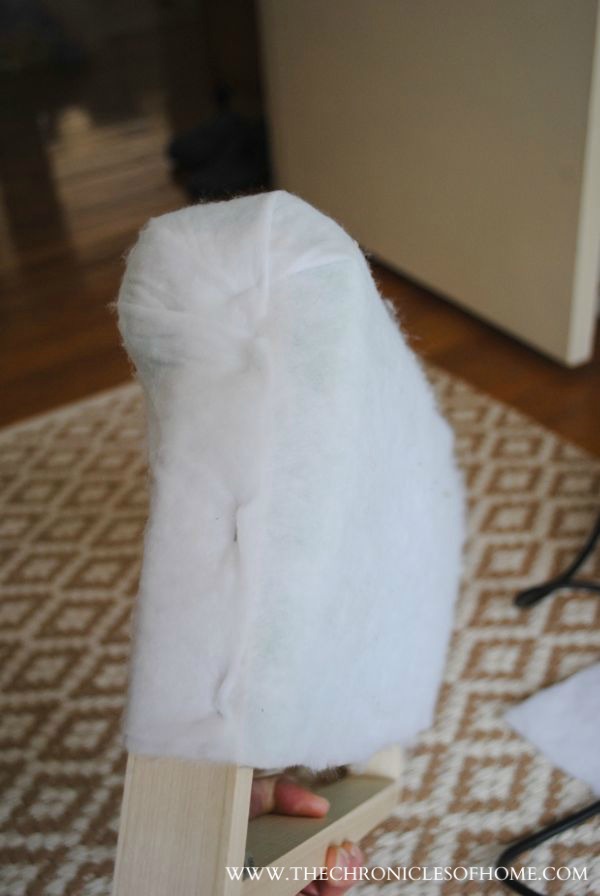
Wrap the seat and foam snugly with batting, as if you’re wrapping a present, and staple underneath. Pay special attention to smooth lines and corners. Do the same for the arms, covering only as far down on each side as the foam goes on the inside.
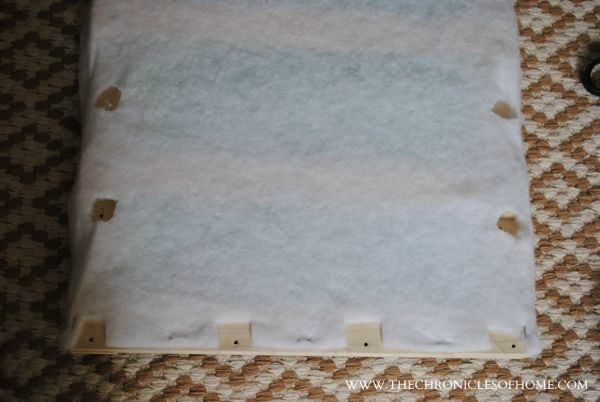
Wrap the back as well, but be sure to cut little holes out where the screws will go through when it’s time to attach (where you drilled pilot holes while building the frame). If you don’t do this, the batting will wrap mummy-tight around your drill when you go to put the screws in! You don’t need to cover the back (where the slats are) with batting.
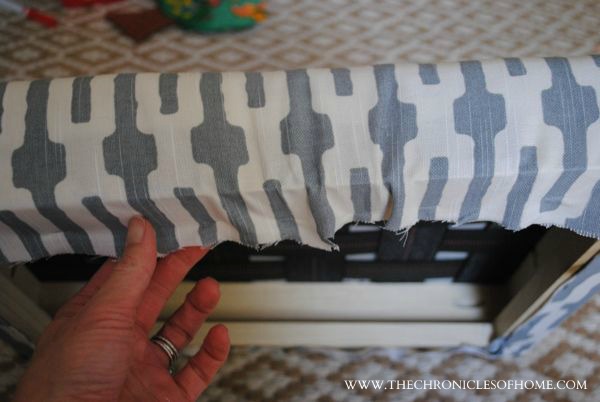
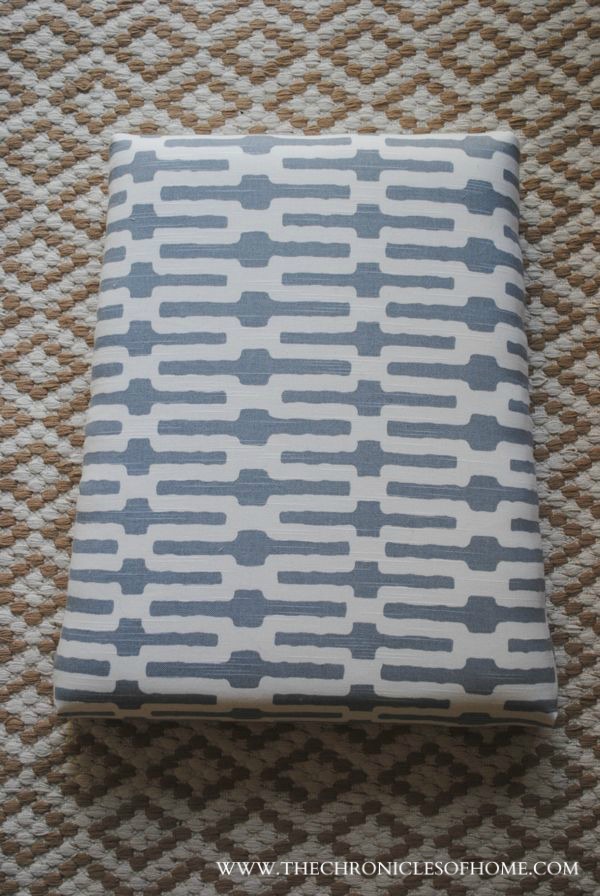
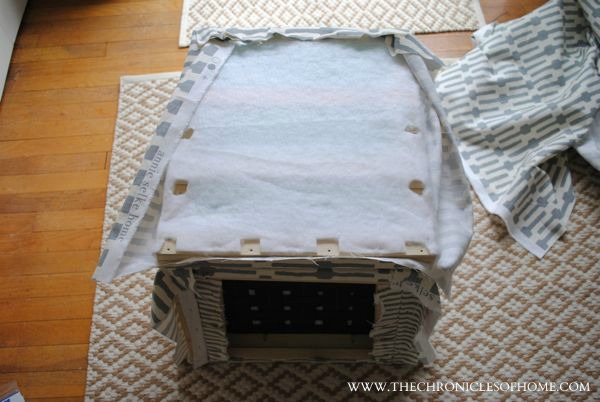
Determine how you want your fabric to align if using a pattern, then drape the fabric over the seat and cut a piece slightly larger than the seat (don’t forget to account for the sides!). The front is the most important side so start there and staple the fabric underneath, starting in the middle and working out to each corner, leaving a few inches unstapled at each corner. Pull tightly toward the back and do the same for the back. Go back to the corners and fold and tuck until you have smooth creases, then staple underneath.
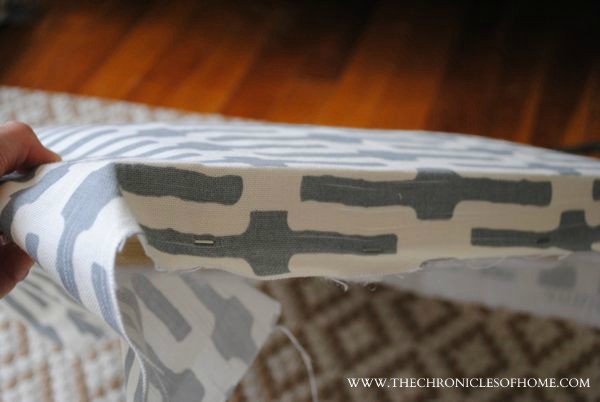
Pull the fabric tight and staple the sides underneath. Don’t worry when the sides themselves look bunched – they’ll be covered by the arms.
Focus on getting the front and the top as smooth as possible.
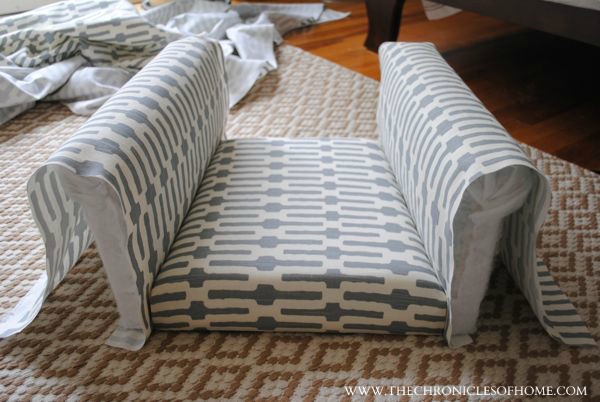
Lay the fabric over one of the arms and cut it so it overhangs each side by an inch or two, then cut a second piece exactly the same. Staple underneath each arm on the inside (the roll faces the outside) then drape the fabric so it hangs over the arm as it will when finished and attach the arms to the seat using the Kreg holes you drilled underneath the arms when building the frame. The arms should be firmly attached but will have a little wobble to them until the back is attached, so move the piece gently at this stage.
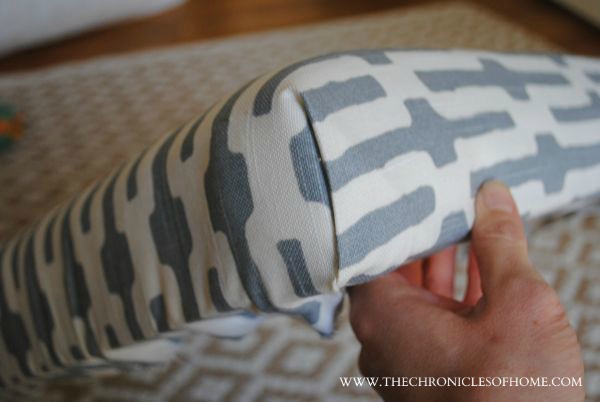
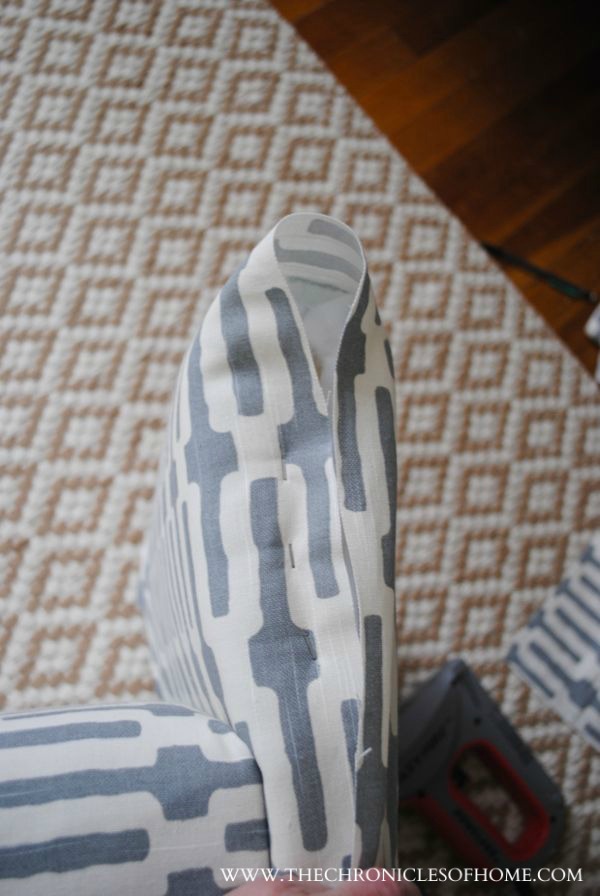
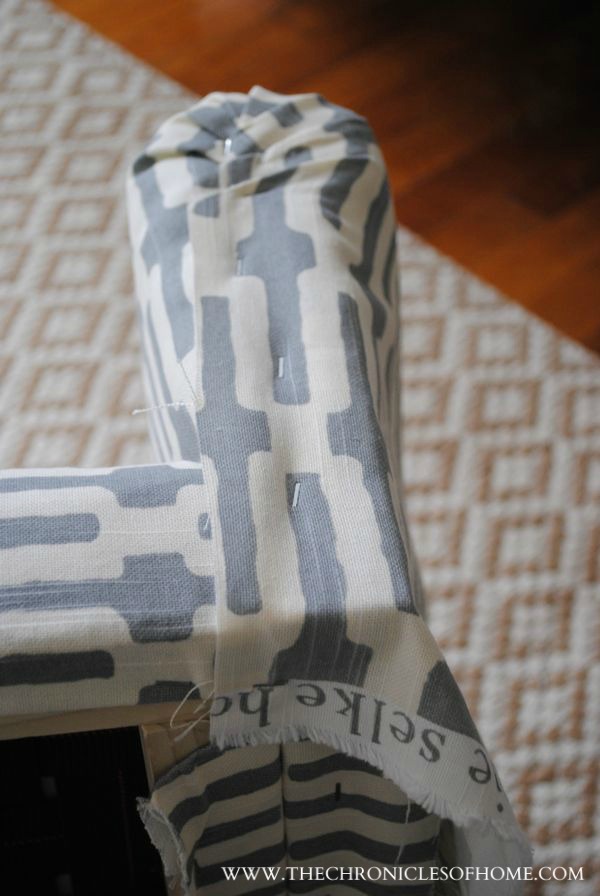
Smooth and pull the fabric down the outside and staple in the center underneath the arm. Work your way out to each corner, leaving a few inches undone. To finish the backs of the arms, smooth, pull and staple in place, only worrying about the very outside of the roll being perfectly flat because that is the only part of the back that will show once the chair is assembled.
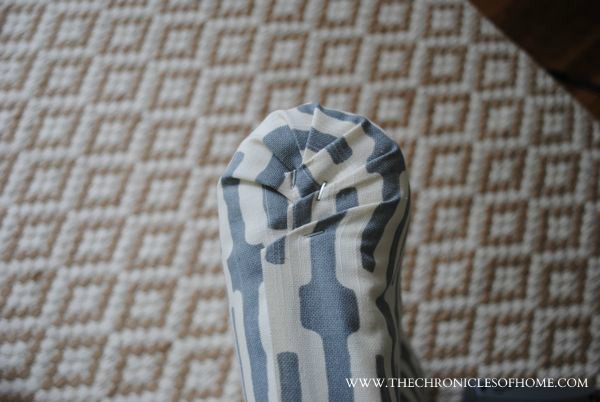
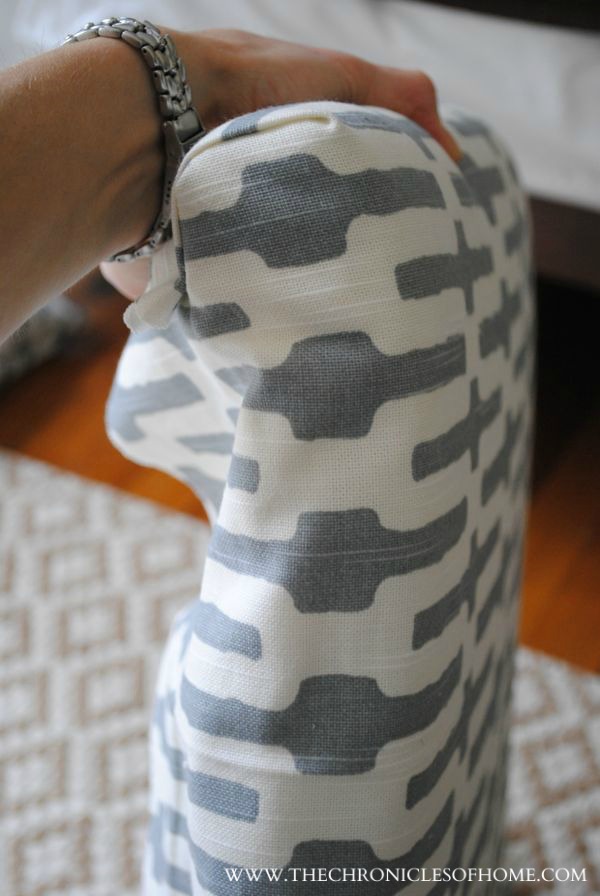
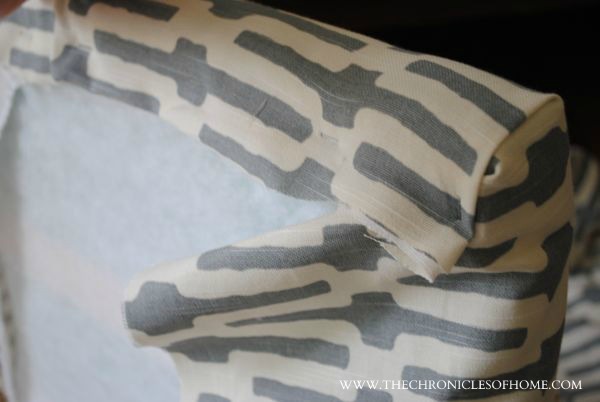
For the front, follow the same basic procedure, but play with the fabric to get a pleated effect along the top of the roll.
Pull any extra fabric at the bottom underneath and staple, also closing up the loose corners as you go.
For the back, cut a piece that will cover the inside and a few inches down the outside. Staple underneath on the inside.
Wrap the fabric up and over the top, tucking and folding the corners so they lay flat, then staple on the back side.
Lay the back on top of the seat and arms and attach using wood screws.
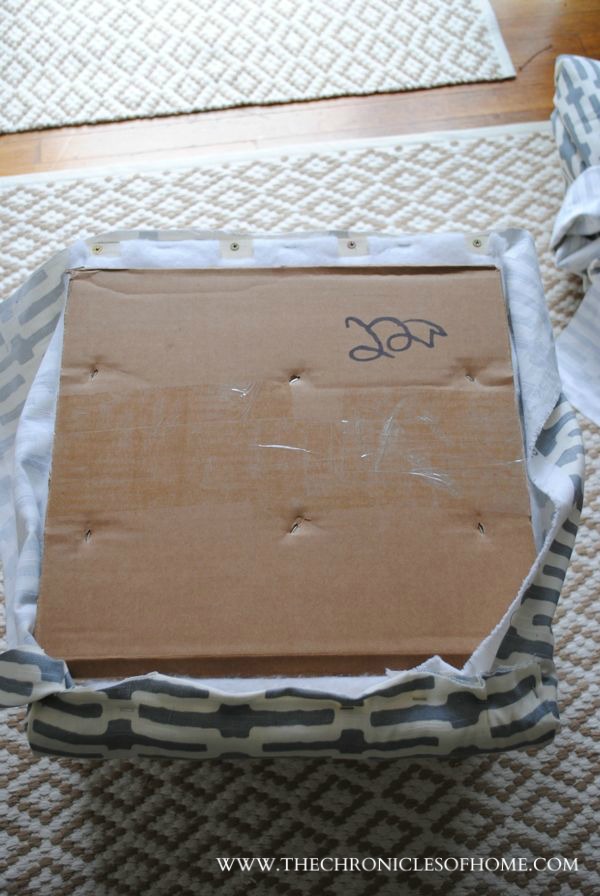
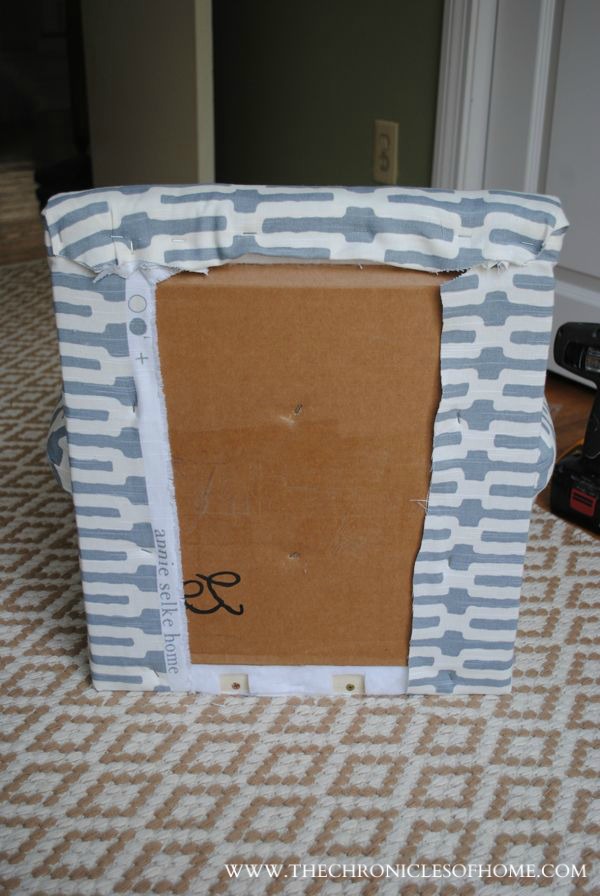
Cut a piece of cardboard to fit the open back space and staple it in place.
This was my first time using flexible metal tack strips and I watched this five-minute tutorial on YouTube, which explains the process better than I could in words. I followed the steps outlined here to finish the back of the chair
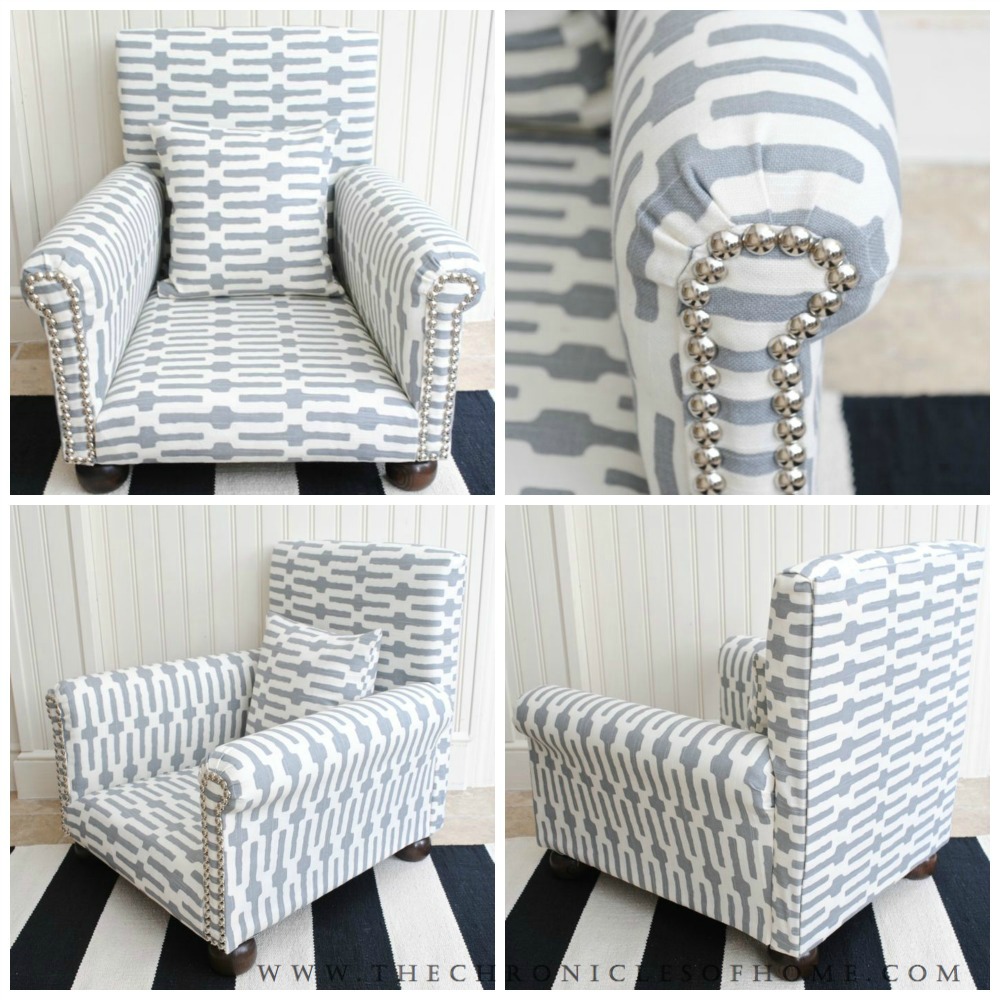
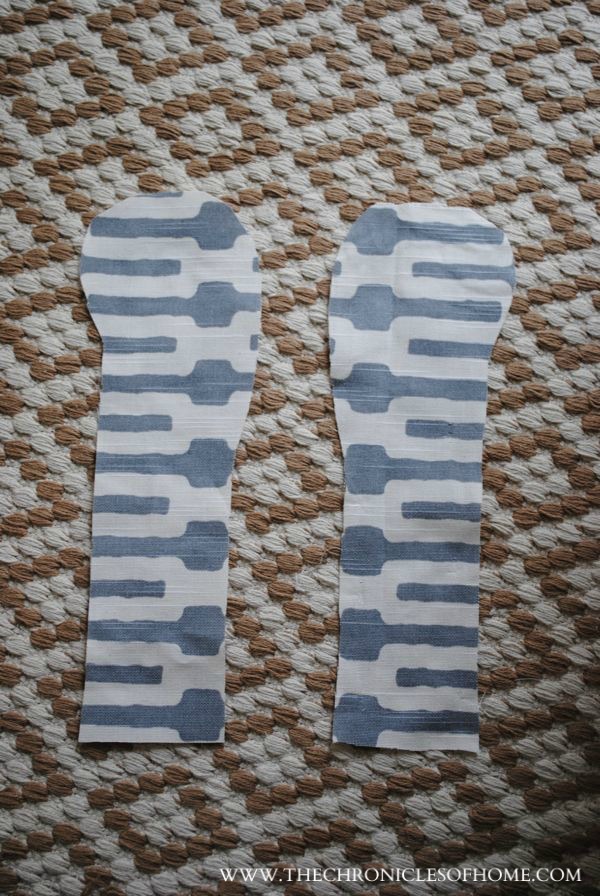
Cut two strips of fabric in roughly the shape of the fronts of the arms. Hold them in place and tuck and fold while hammering upholstery nails in to get a smooth and even look. This step can be tedious and challenging. Go slow.
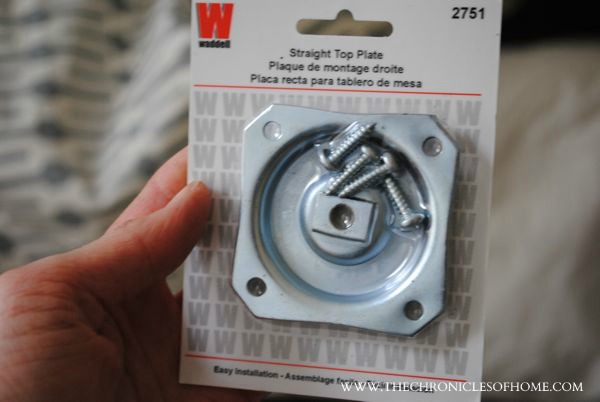
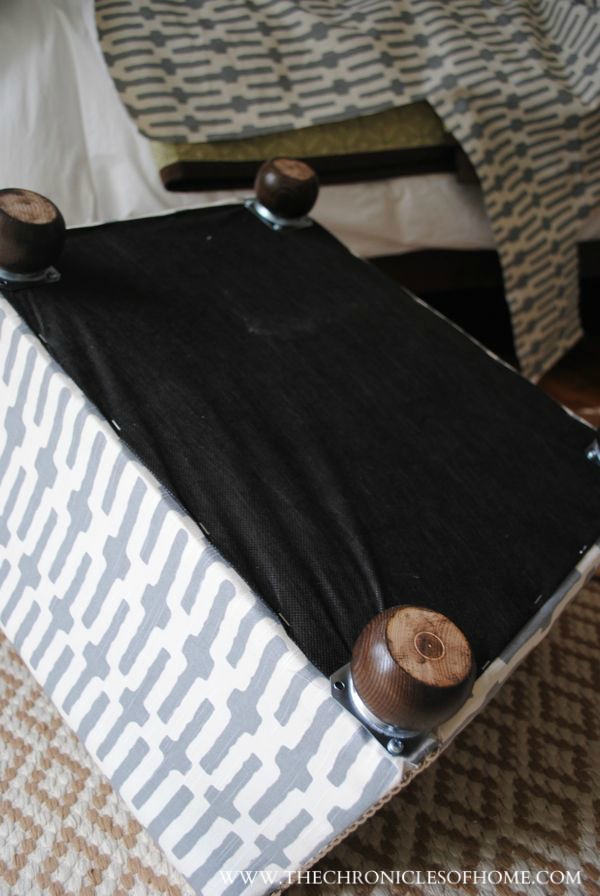
Flip the chair over and staple a piece of cambric underneath to cover the opening. Then attach metal mounting plates for the bun feet to the four corners.
Attach the feet and YOU. ARE. DONE!
- Use whatever length wood screw makes sense given the depth of wood you’re screwing into.
- At various points in the assembly give the chair a gentle shake and add extra screws if you feel like it needs more stability.
- I use a small flathead screwdriver, needlenose pliers, and a little prybar (sometimes called a cat’s paw) to remove staples and upholstery nails when necessary. Don’t be afraid to remove staples and nails and do them again to get it right.
- I order most of my upholstery supplies from DIY Upholstery Supply.
- My favorite wood screws are the brass cabinet screws from Ace Hardware. I find they don’t strip as easily as others I’ve tried.


How much did this cost and by what scale would you adapt if making it for a cat?