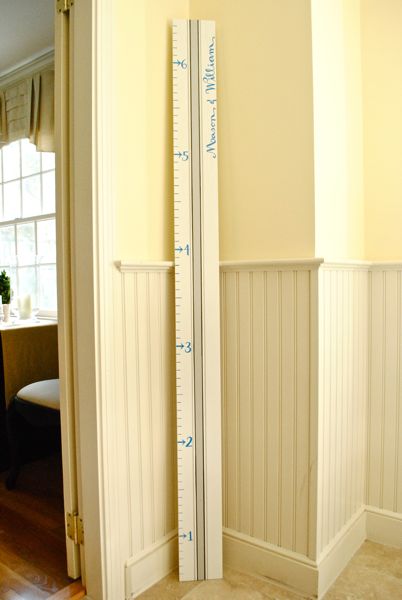
Now that my niece’s rocking chair is finished I’m shifting focus back to my friend’s sons’ room. I have a few items to make before I can start installing everything and the first DIY on my list was a growth chart that can hang on the wall in their room. Karen’s only requirement was that it be something she could take with her down the road if she moves.
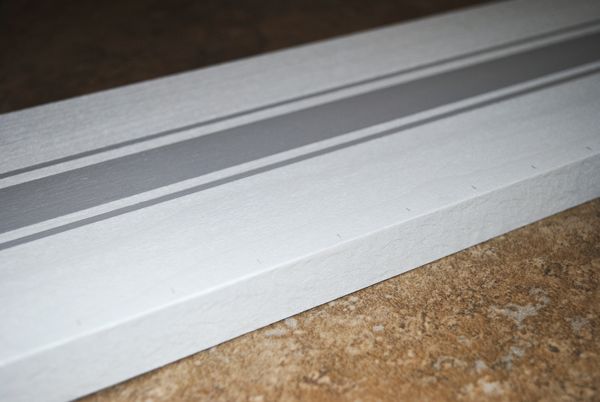
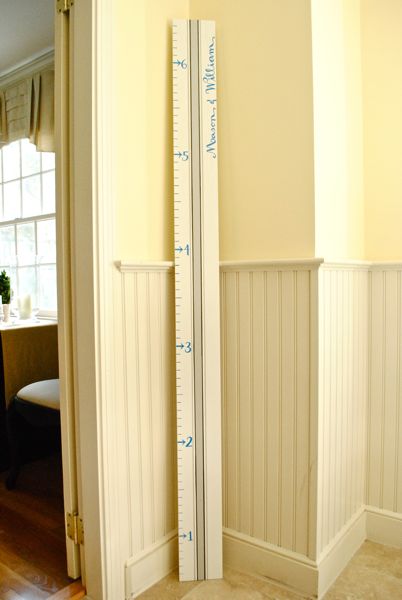
I bought a 6′ long poplar plank that was 5 1/2″ wide, lightly sanded it, and gave it one coat of white latex paint, letting this dry overnight. The next afternoon I taped off a line down the center and painted it in grey, let that dry to the touch, and then taped off thin lines on either side and painted those grey as well. While the thin lines were drying I marked off inches in pencil along the edge of the wood.
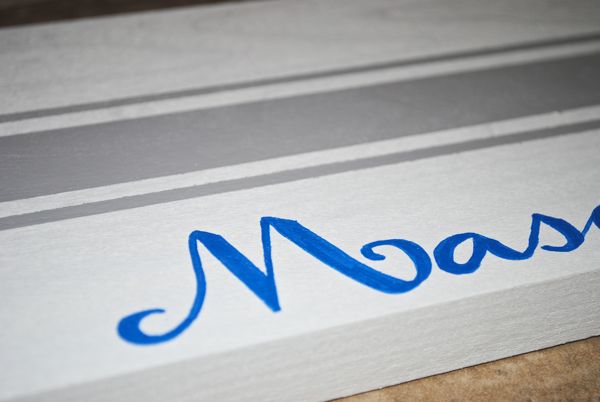
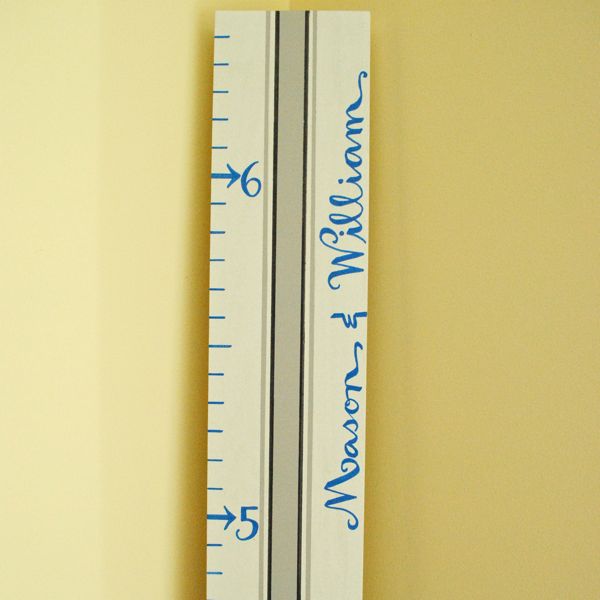
I wrote the boys’ names freehand along the top right side of the plank, using a Sharpie fine tip paint pen.
Finally, I used the paint pen to mark off the lines, making the half-inch and inch marks longer than the others. I freehanded the numbers and also added a black accent line on either side of the center grey line. If you’re not comfortable handwriting the names and numbers, this Etsy shop has great decals for a project like this.
I may go back and fuss with the numbers a bit this weekend but otherwise I’m happy with how this growth chart came out. I wanted something simple and clean that wouldn’t compete with everything else going on in the room. I also wanted it to be age-neutral so it wouldn’t look babyish when the boys hit their adolescent and teen years. Now that it’s finished I think it almost has a surfboard-inspired look to it, though I can’t say I was trying for that! But it’s all cool, dude.
So here’s where I stand with the DIY items before I start putting everything together in their room!
make throw pillows from old quilt
make upholstered headboards
spray paint picture frames
refinish side table
Depending on how productive my weekend is, who knows, I may be ready to start setting things up next week.
Happy weekend, all!

Love it! I wish I had done one for my girls when they were little?
This is exactly what I have been looking for! I have been staring at this 7 foot long board in my laundry room for the longest time, trying to figure out how to turn it into a measurement chart. Thanks for the visual!
Oh good, so glad you’re feeling inspired, Amanda!
This is such a cute project. We’re thinking of doing it as a gift to new parents. Do you think they’ll appreciate it?
I think that’s a GREAT idea!!
This is the cutest!! Putting it on my to do list for a Christmas gift this year!
This is the cutest!! Putting it on my to do list for a Christmas gift this year!
Hi there! Stumbled across your blog and love it, especially love how your DIY growth chart turned out! Love the idea in a kid’s room!
A few months back I asked my husband to help me make one for our boys and we had fun preparing the board, but got stuck on creating a neat, professional way to put on numbers and tick marks. We tried numerous methods, and weren’t happy with any of them, so decided to design a DIY vinyl decal that you can just transfer onto the board and were finally happy with it!
Since then, knowing how popular this project is, we actually opened a shop on Etsy to sell the decals for other DIY-ers who wanted to make a board but didn’t have the creativiy or time to hand draw out or stencil numbers and tick marks. If you’d like to take a look, or recommend the shop to others in your post as an option who might be frustrated by the same step, it’s: http://www.etsy.com/shop/LittleAcornsByRo
Maybe it will be a help to others out there!
Thanks and best wishes!
Ro
Love your decals! I would totally have used them had I known about them before making this. Been thinking of making one for my daughters too (the original was for a friend) and I will definitely use your decals when I get to the project. Thanks for sharing!