I finally needed to replenish our supply of oats this week and as such was able to complete a little project I’ve had on my to-do list for awhile – a headband stand for Ada’s ever-growing collection. She hasn’t worn a clip or bow in her hair for months now, adhering strictly to a ponytails and/or handbands only policy. So we needed a way to corral the headbands a little more neatly than my previous method. Which was piling them up on top of each other in one of her dresser drawers.
These oatmeal-containers-turned-headband-stands are all over Pinterest. Whomever came up with the idea originally, well hats (or headbands!) off to you, because a large Quaker Oats container is the absolute perfect size for holding headbands securely in place without stretching them out even a smidge.
I’ve seen a lot of these stands covered in scrapbook paper but wanted to do a fabric cover since I have so much in the way of fabric scraps. Here’s the process I followed.
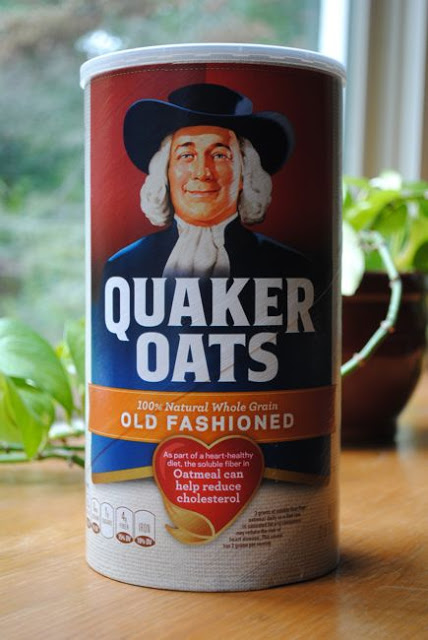
Take an empty large Quaker Oats container (or any brand the same size).
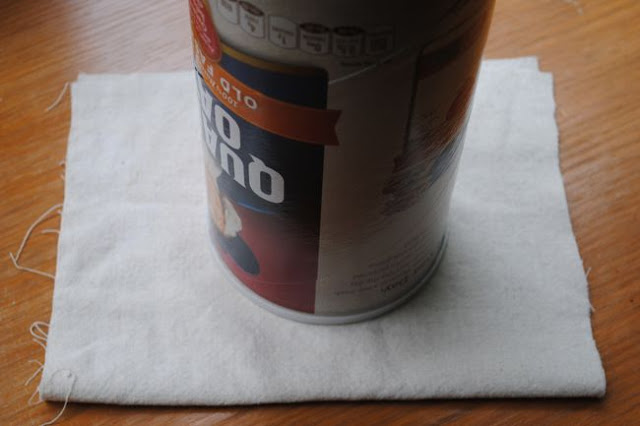
Place it cap side down on top of the fabric you’ll be using to cover the container and cut the fabric a bit larger than the lid. I used an old oatmeal colored tablecloth and doubled my fabric to be sure all the writing on the container was concealed.
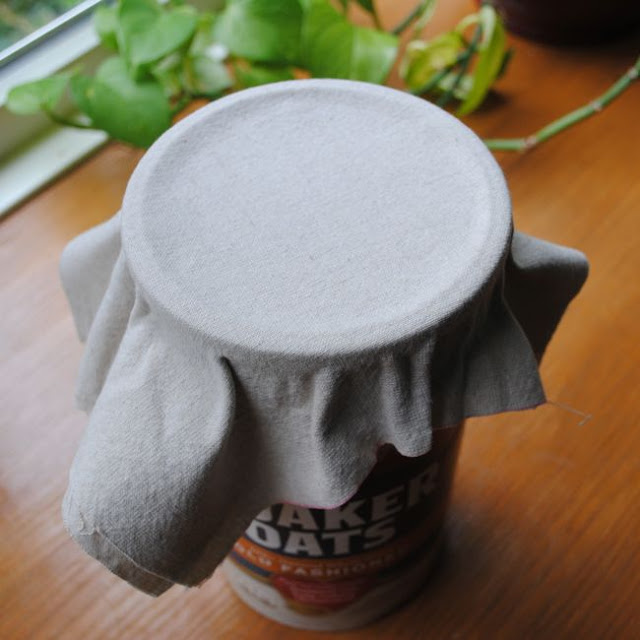
Spray both the lid and the fabric (non-printed side if you’re using a print) with spray adhesive (I used Elmer’s) and press the fabric firmly on top and down the sides a bit, smoothing the fabric to avoid any wrinkles. Trim excess fabric so there aren’t any big lumps or bumps when you cover the rest.
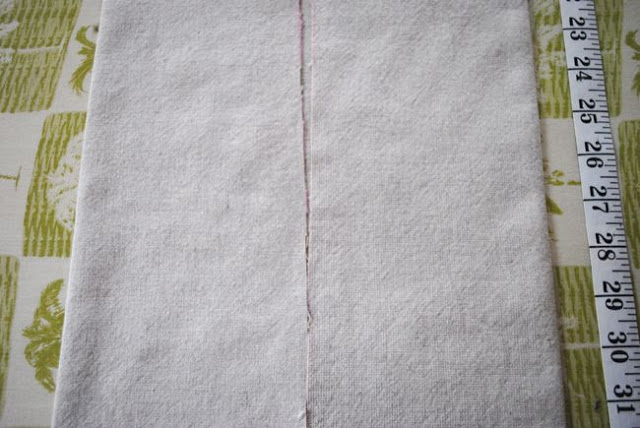
If you’re doubling your fabric like I did, measure the top-to-bottom length of the container and double it. Measure the distance around and add an inch. My measurements were 19 1/4″ x 17″. I folded the fabric in half (the length measurement) and ironed the edges flat.
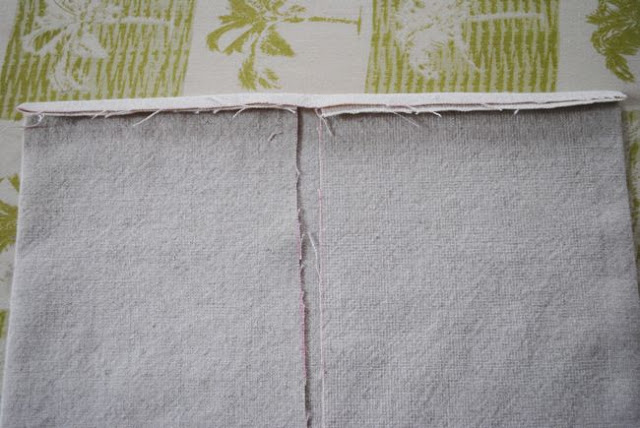
Then I folded 1/2″ down on one side and ironed that flat. This is the “finished” edge that will close the seam once you wrap the container.
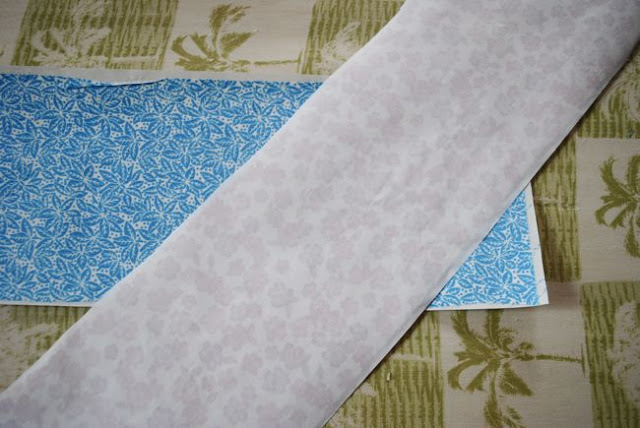
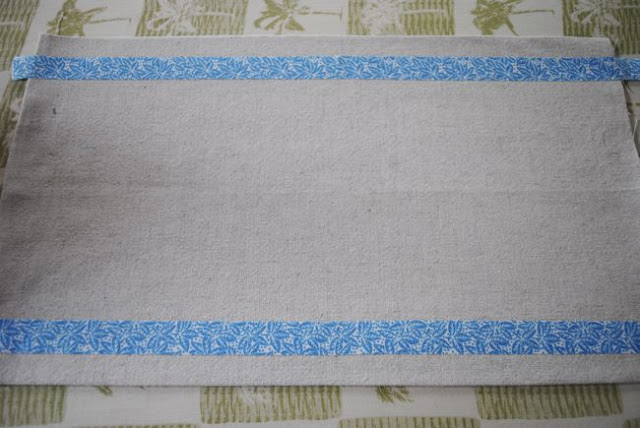
For the decorative fabric strips I used fusible webbing – fantastic, no-sew product for anything that’s not going to be heavily laundered. I bought it by the yard at JoAnn Fabrics. I ironed both my accent fabrics onto a strip of the webbing, with the print facing up.
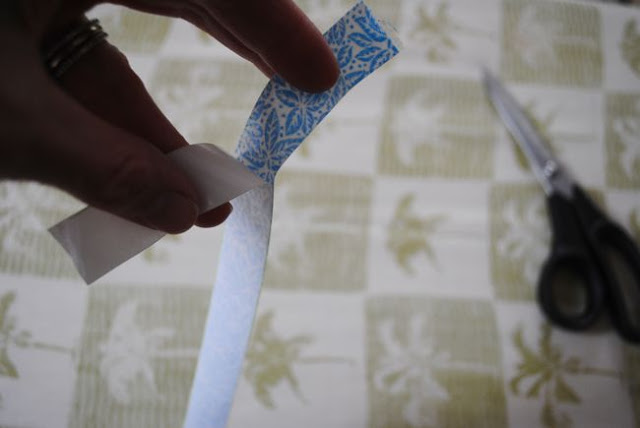
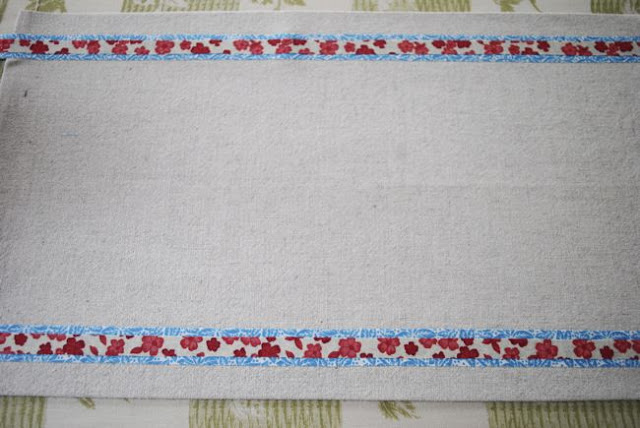
I cut the back fabric 3/4″ wide and the front one 3/8″, then peeled the backing off, ensuring the “glue” stayed stuck to the reverse side of my fabric. Very easy – reminded me of double stick tape, just more permanent!
I lay the background strips on top of my ironed container cover, glue side down, eyeballing the placement, and then ironed on top to set them in place.
I placed the front fabric on top, eyeballing placement again, and repeated the ironing process.
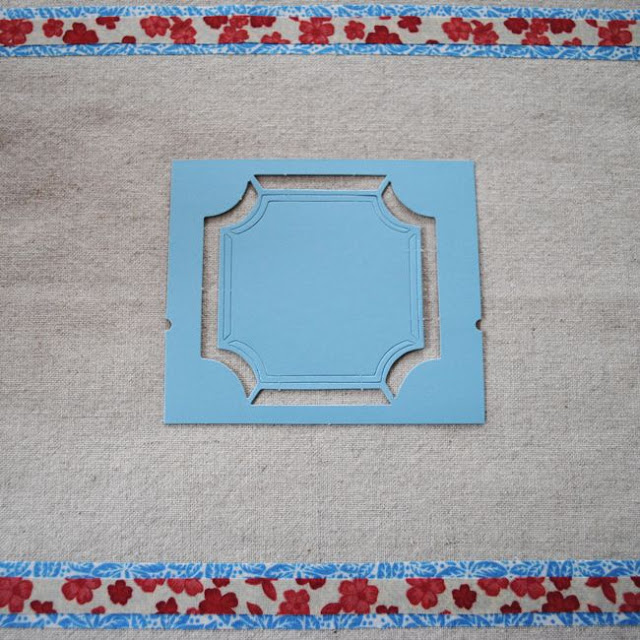
I had a stencil set by Martha Stewart Crafts that I’d bought at Michaels about a year ago and it includes letter stencils as well as some borders. I chose the border I wanted to use and placed it in the center of my container cover.
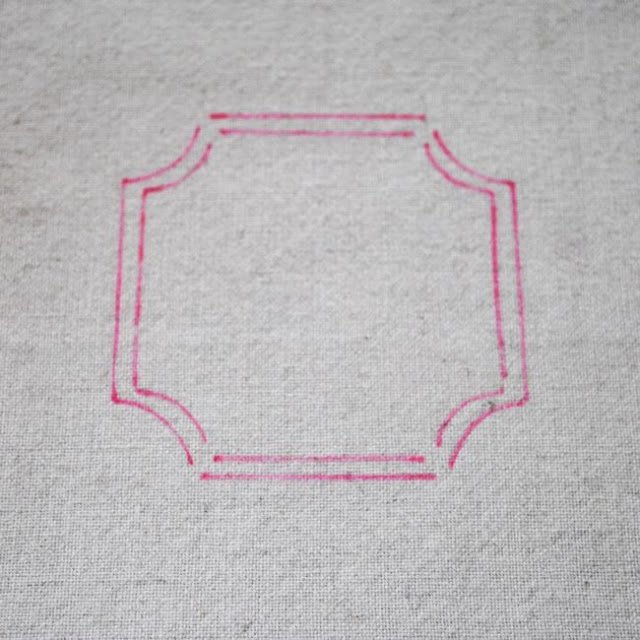
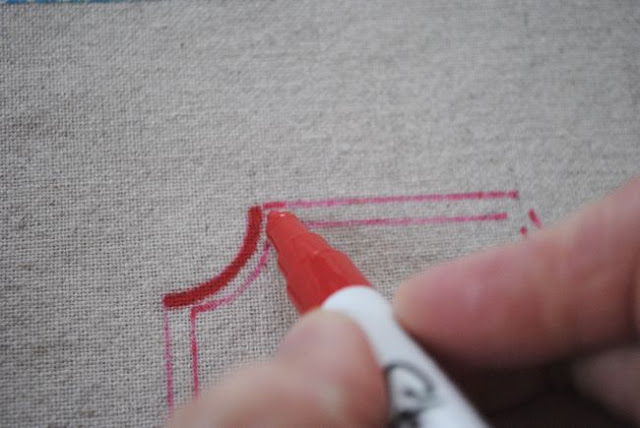
I used a fine tip marker to trace the design onto the fabric.
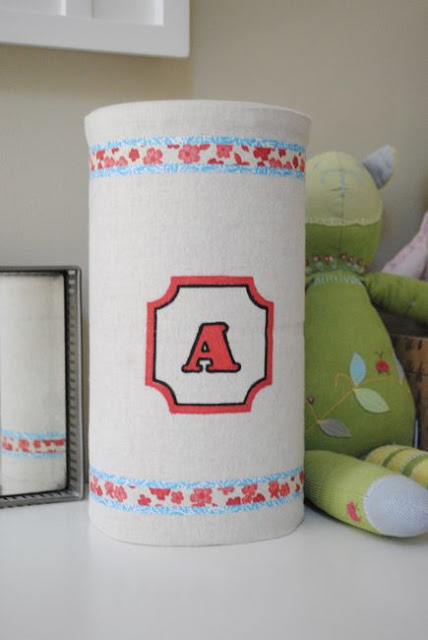
Then I used a paint pen to fill in the lines freehand. After the border was complete I repeated the process with an “A” stencil in the center.
Once the stenciling was complete, I carefully applied spray adhesive in a strip a few inches wide to the back of my fabric and smoothed it over the oats container, ensuring the edges lined up, continuing in small sections until the oats container was covered. Once I got to the back, I put an extra generous dose of adhesive on that edge I’d ironed under and pressed it down for a nice neat seam in the back.
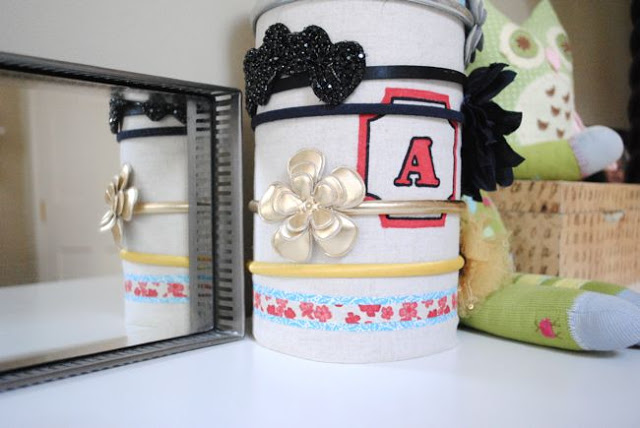
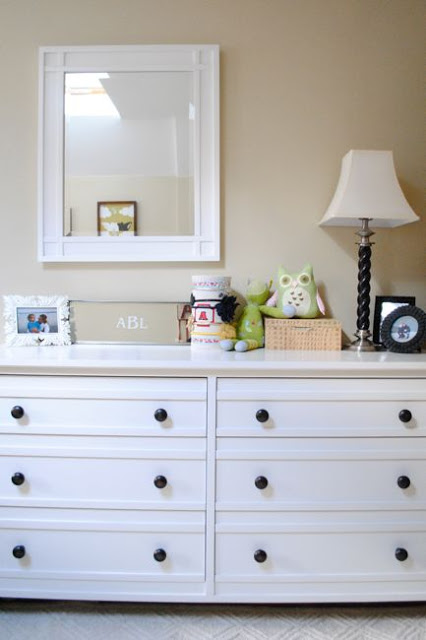
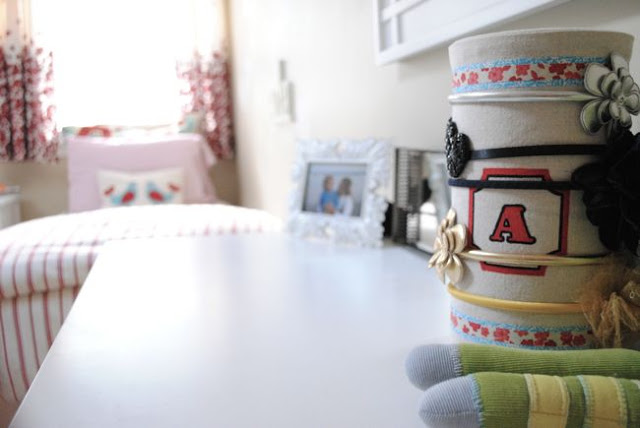
I decided to outline the letter “A” and the inside of the border with a black paint pen for a little extra definition. After about an hour of work total, I popped the finished headband stand onto Ada’s dresser…
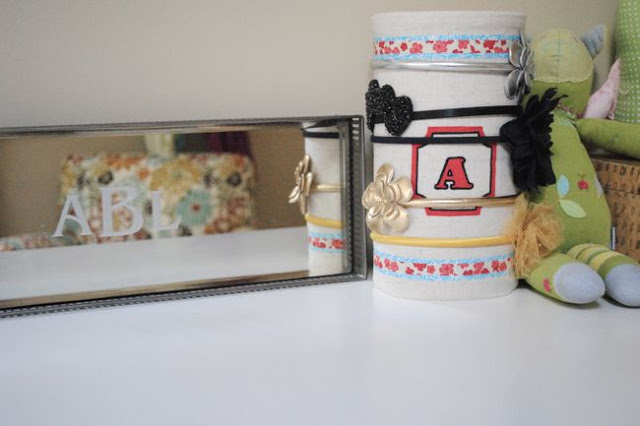
…and very happily relocated her headbands from their jumble in the drawer to their new, organized, and accessible home.
I chose the turquoise and red accent fabrics to coordinate with the colors in her upholstered chair (seen in the mirror reflection below) as well as the colors on her twin beds and window curtains.
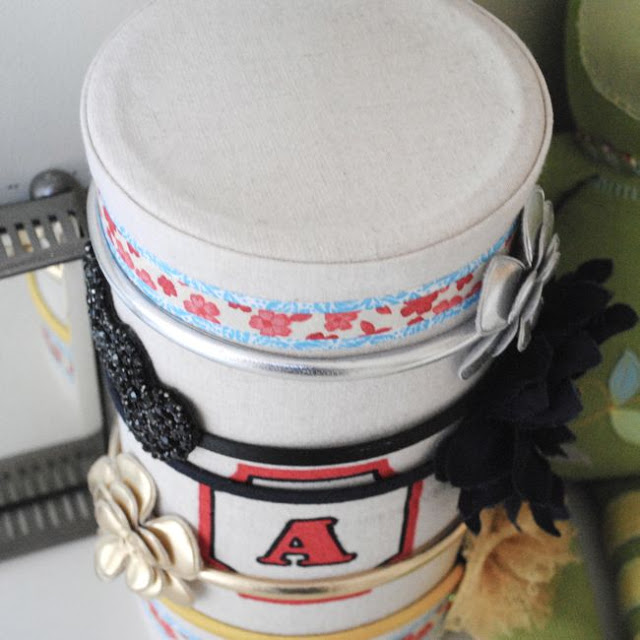
A view from the top so you can see how the finished top seam should look.
Organization and a cute accent for a girl’s room…not bad for an hour’s work and $0!

very cute! I’m dying to do this too. My girl has about given up on the clips as well. it’s mostly headbands much to my dismay!