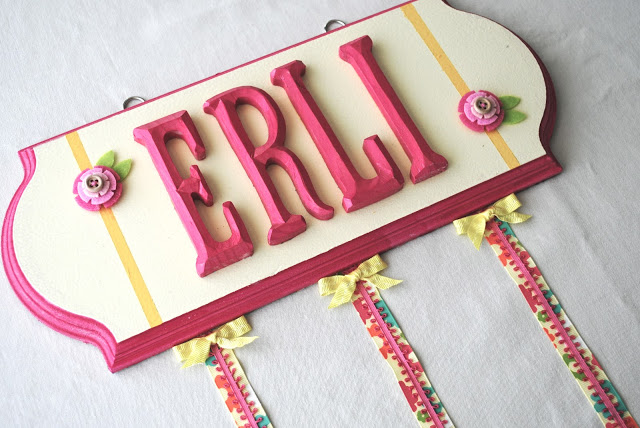
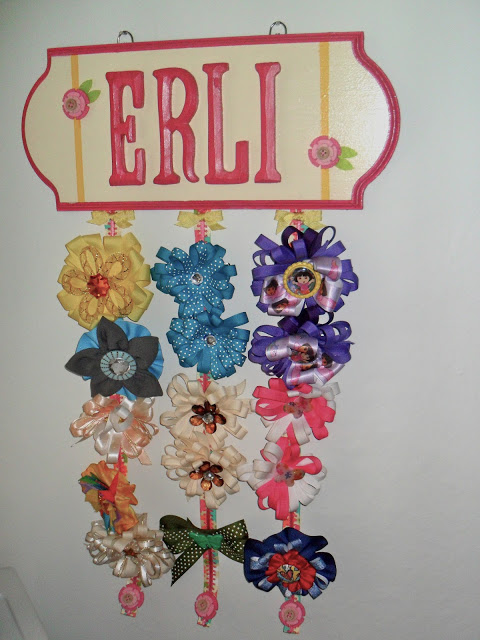
About a month and a half ago I posted about the adorable, handpainted, personalized hair bow holders my cousin made for Ada and Ellie. Scott’s cousin, Erin, saw the post and requested a similar bow holder for her darling daughter, Erlianyss (Erli for short). Erin said not to worry about matching to a bedroom color but to go with something “girly” and also pointed out that Erli has a lot of big hair bows.
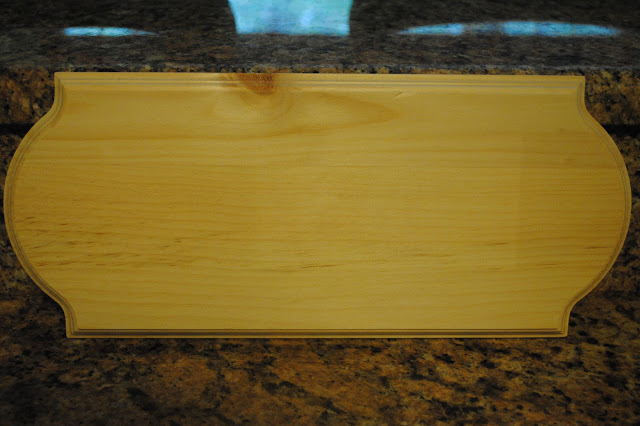
So…”something girly.” Seemed to me like pink was in order, so that’s the color I based the bow holder around. I purchased all of my supplies at Michael’s, starting with a wide wood plaque.
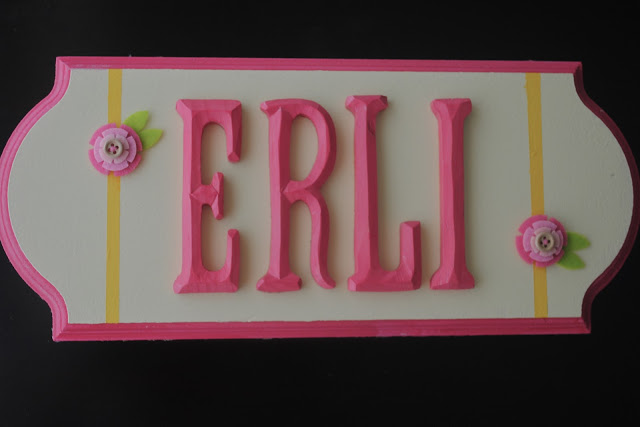
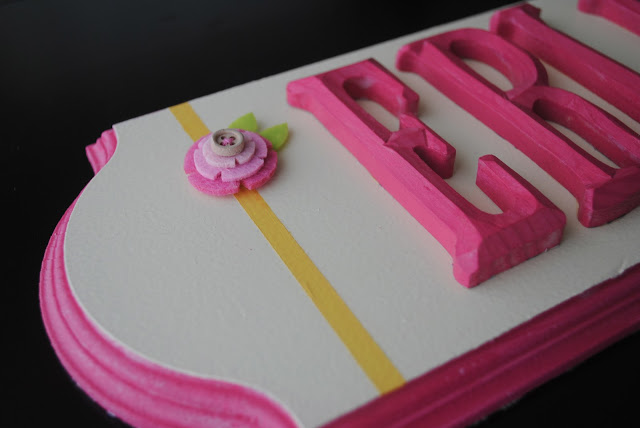
I went with a wider version of Ada’s and Ellie’s bow holders so I could space the ribbons out a bit more, given the tip from Erin that Erli has a lot of big hair bows. Since the plaque itself was wider I bought wooden letters to spell out her whole nickname instead of just an “E.” I painted the edges of the plaque and the wooden letters strawberry pink. Then I used a small foam roller and some leftover pale yellow paint from our kitchen walls to paint the top of the plaque. After the yellow had dried I taped off one thin line on each side of the plaque and added a brighter yellow accent line.
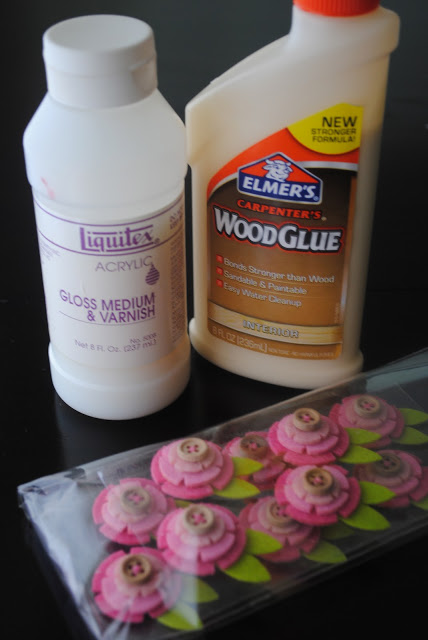
After the yellow lines had dried I brushed on some gloss varnish I had left over from…I kid you not…a college art class 14 years ago. I bought this bottle in a tiny art supply store in Gettysburg, PA and it is still perfectly good. So if you want to buy a bottle of the stuff, well, it should last you a long, long time. The varnish gave the whole thing a nice soft sheen. I used wood glue to attach the letters to the plaque, centered between the yellow lines, and then added the little felt-and-wood-button flower accents, which I found in the bridal section of Michael’s.
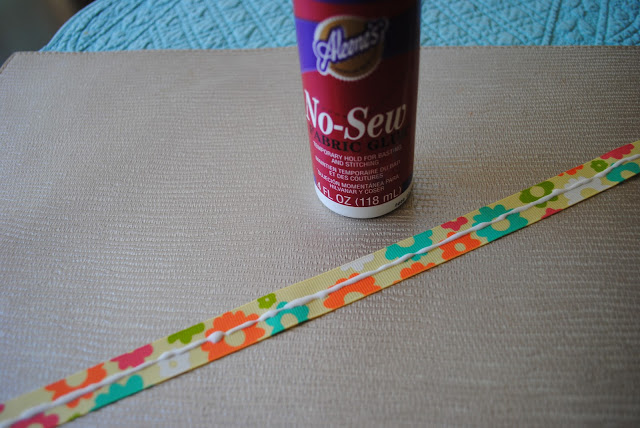
Next up were the ribbons. I layered two together by running a strip of Aleene’s No-Sew Fabric Glue down the center of a yellow floral ribbon and pressing a thinner strawberry pink ribbon down on top of the glue. I tried putting the glue on the pink ribbon and then pressing it down but I found it was easier, less messy, and more exact to run the glue down the bottom ribbon.
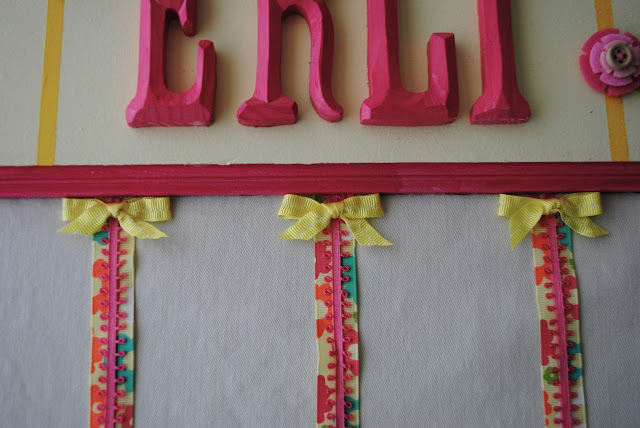
After the glue on the ribbons was completely dry, I turned the plaque over and marked three equidistant spots near the bottom to attach them. I added a bit of glue to each spot and pressed the ribbons into place. At the top of the back I attached two metal hanging loops (found them in the picture frame section of Michael’s), spacing them equal distance from the outer edges to make sure the plaque would hang straight on the wall.
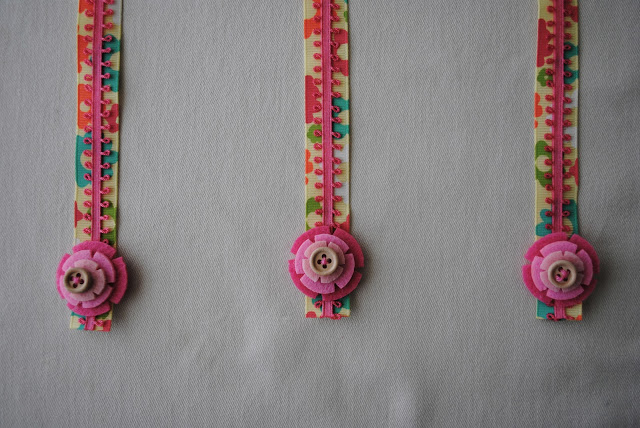
Once the glue holding the ribbons to the plaque was dry I added a few final accents to the front of the ribbons. I took three more of the felt-and-button flowers (green leaves removed because I liked the look better) and glued them to the bottoms of the ribbons.
