- Do not buy upholstery nails from JoAnn Fabric unless you are working with very soft wood. I spent hours – hours – trying to hammer these in and they were warping and breaking left and right. It was one of the more frustrating experiences I’ve had in my life as a handywoman. I shrieked and smacked the carpet with a hammer at one point. Not my finest or most patient moment. I finally went and bought a bunch of the nails from Lowes (where I had gotten the ones for the upholstered bench) and while there was still the occasional break or warp, it was no where near what I’d been experiencing with the JoAnn ones.
- Buy about double the amount of upholstery nails you think you need. Mine were $1.30 per box of 25 and you can always return any you don’t use. Much easier than running out four times for more nails. Which I did. Four times.
- No sewing skills are required for reupholstering. It is a lot of folding, pulling, stapling, and nailing. It does require some level of patience.
- Do not put batting where screws are going to go. The screws can go through foam just fine but will wrap the batting around themselves so tightly it will take you an hour to cut it away. Again, unfortunately, learned from experience. Just cut holes in the batting where the screws are going to go, it’s invisible once the fabric goes on.
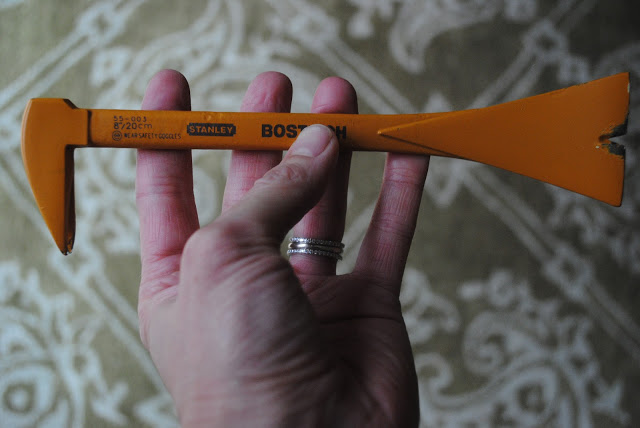
- Get yourself a tack remover or cat’s paw (see photo below) for any nailheads you do have to remove. Much, much easier than trying to pry out with a screwdriver and needlenose pliers.
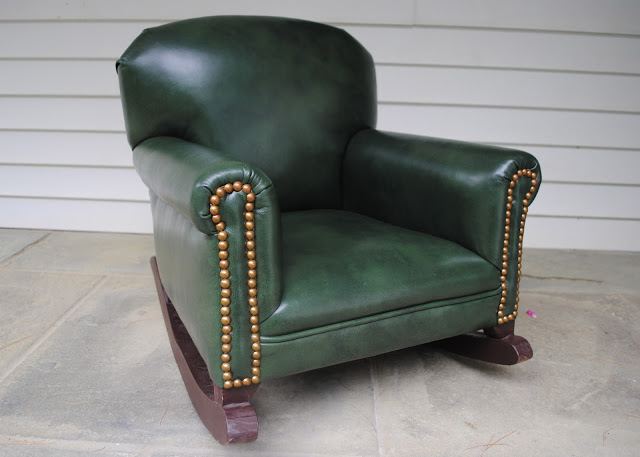
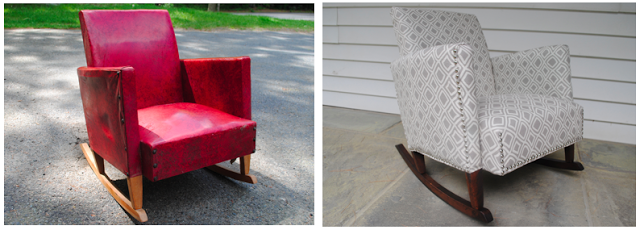
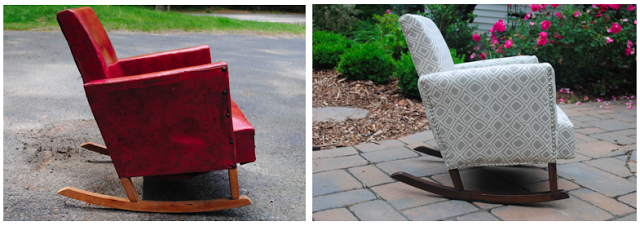
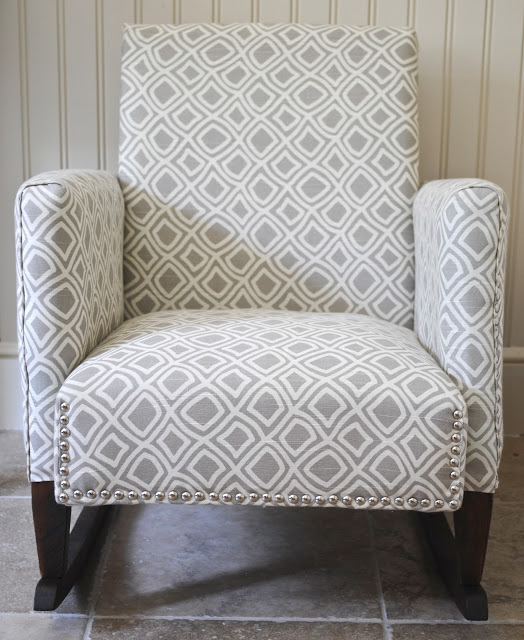
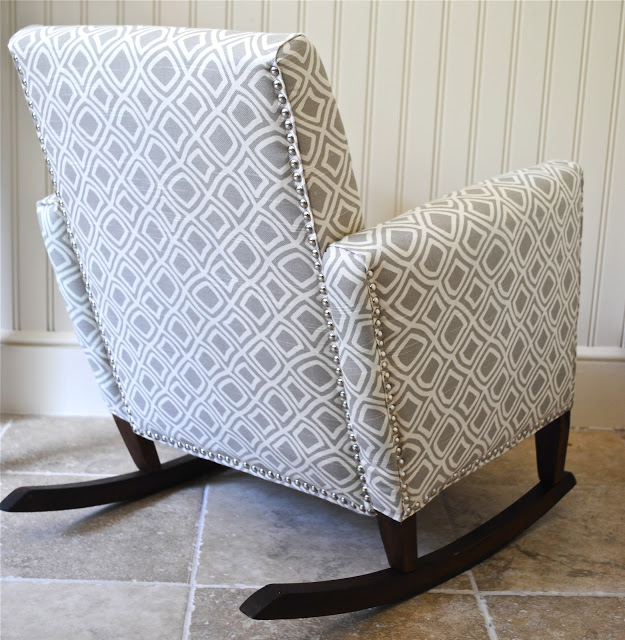
I have had pretty much a lifelong obsession with child-sized upholstered rockers. I’ve mentioned before that my great-grandfather was an upholster…and man do I wish now that he had lived to 112 so he could have passed his trade to me! As a first birthday gift to my mom, he made a child-sized replica of a full-sized dark green leather chair he also made. Here I am, around 18 months, climbing into “my” (really my mom’s) chair.
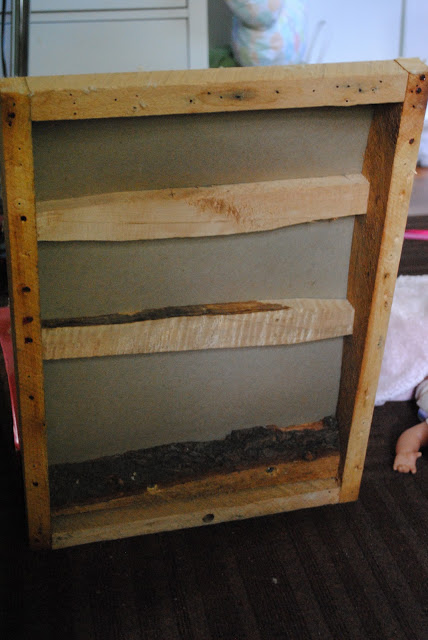
This is the back side of the chair back. I thought it was pretty cool how roughly hewn the pieces were. The bottom piece still has bark on it! I so wonder who built this and for whom. And, in case you are wondering, that is not one of children lying on the floor to the right of the chair, but an abandoned babydoll. This is usually the way of things in my “studio.”
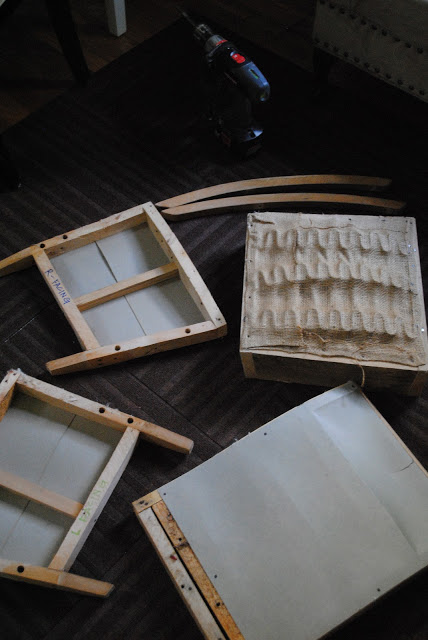
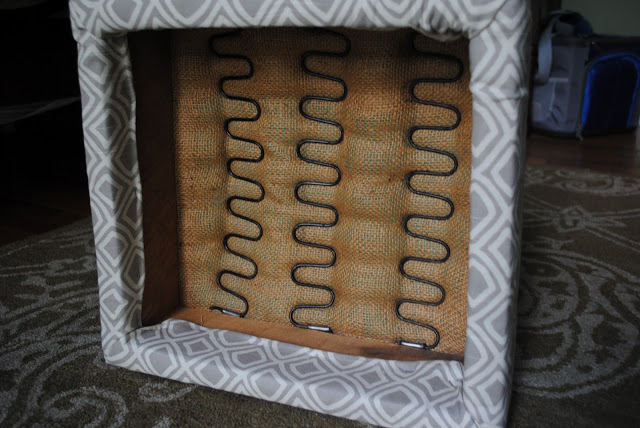
And here are the six components, all disassembled: a seat box with springs, back, two sides, and two rockers.
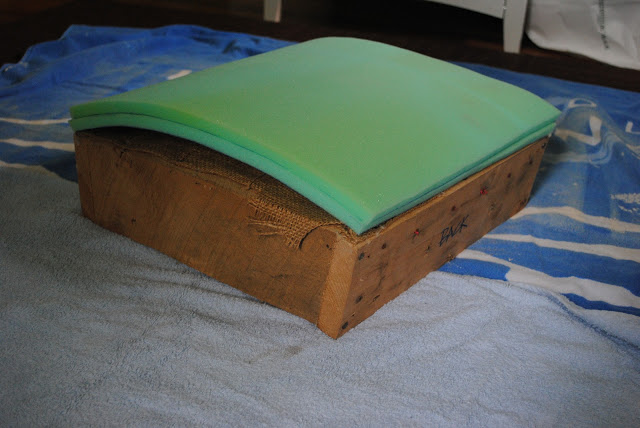
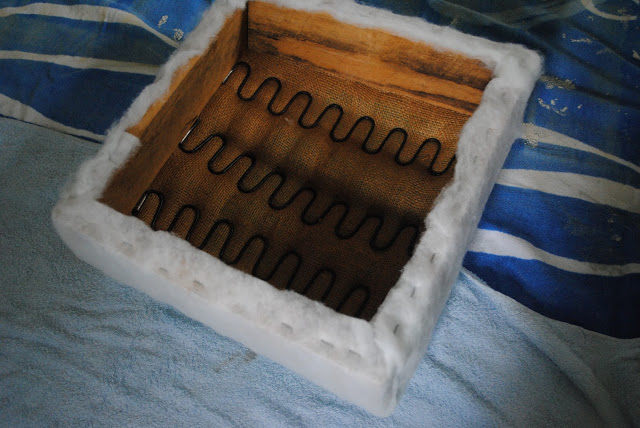
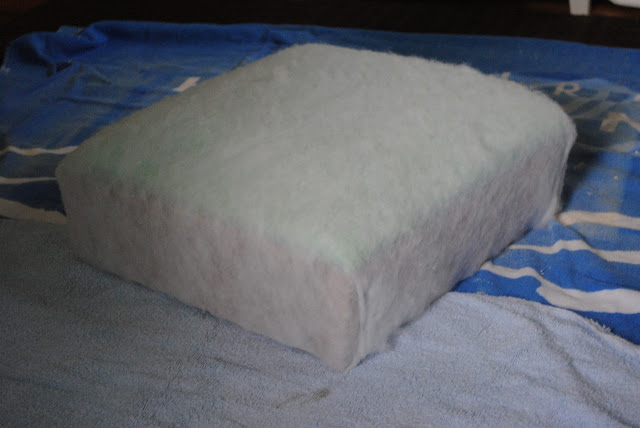
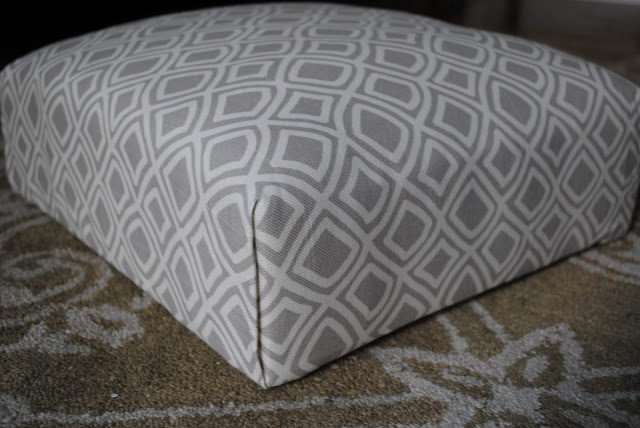
After the batting is in place it’s time to drape your fabric over and start playing. As far as I can tell, there is no science to this. Perhaps this is why having furniture reupholstered costs so darn much! It is art, darling. But, seriously, I draped the fabric over the seat and adjusted it so the pattern was fairly straight on all sides, then cut slightly larger than I needed so there was enough excess to pull and staple underneath. Think of it as very similar to wrapping a present. If you are a stellar present-wrapper, I think you can do this. You want the fabric smooth, the edges and corners sharp and as flat as possible, and the fabric pulled very taut since it will stretch a bit over time.



This is adorable! You did a great job. Thanks for the tip. I have an old chair I am thinking of tackling for our new house. Found you through Everyday Occasions:)
This turned out amazing. I really want this chair! Where are you planning on selling it?
Wow that is a transformation. I did a similar redo with a really yucky old rocker very similar to the one you did. You can check it out here: http://www.quirkyquail.blogspot.com/2011/12/little-rocker-for-new-little-prince.html
I love how your great grandpa was an upholsterer and you are carrying on the tradition. Your children will thank you some day.
This looks great! What kind of fabric did you use and where did you buy it?
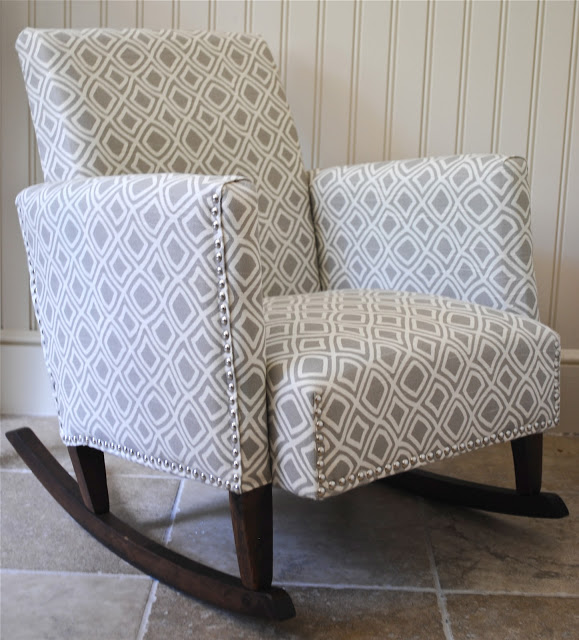
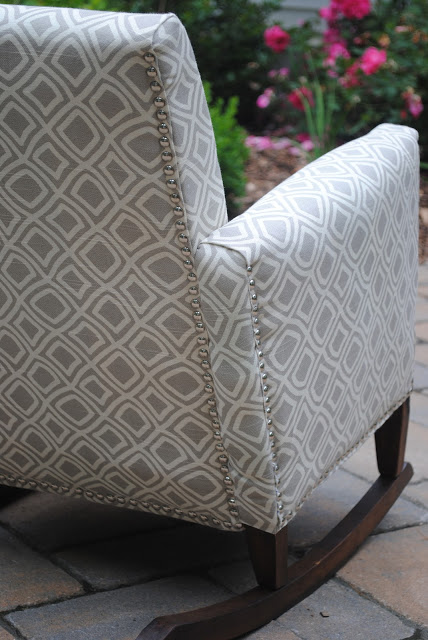
I love it too…and unfortunately it’s been discontinued. I couldn’t find it anywhere recently. It’s by Duralee, the pattern in Kilburn, and the color is grey. If you find any, let me know!
Thank you for the info. I found it in a grey/green at fabric.com, but not plain grey. Do you know about how many yards you used for this project?
http://www.fabric.com/ProductDetail.aspx?ProductID=20AB823F-DD72-42B8-85B1-2F78F61343C5&cm_mmc=CJ-_-RYVentures%2C+LLC-_-3874493-_-10369056
I had 3.5 yards on hand to be safe. I did get the original fabric from Fabric.com. It looks like it’s sold out in Surf from them as well but they have some orange, yellow, and navy left!
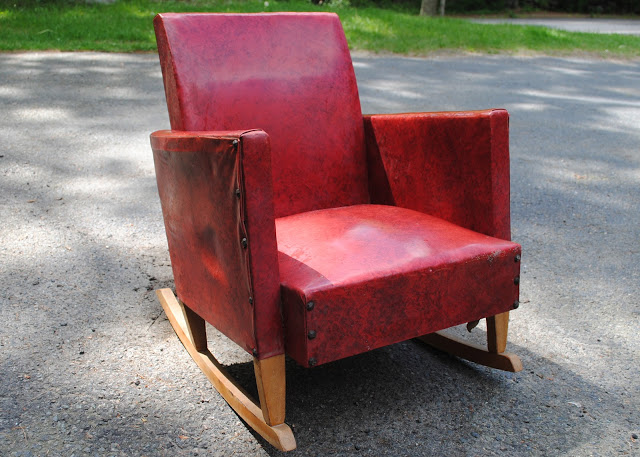
Hi! I went down the rabbit hole of your various upholstery projects trying to get a sense of ‘stuff’ and tools you use… and I literally have the exact rocking chair in our basement. Mine is yellow and silver (classy) but it’s that same old vinyl and I totally figured it would be a practice upholstery for me! Question: What size foam do you use most often? 2″? (And where the heck do you find it… JoAnn always seems mucho expensive). Also… tips on piping size? I think I have 1/4″ but never know if there’s a gold standard… THANKS! Hope mine looks even 1/2 has nice as this one!!
The foam kind of varies project to project – depends how much height you want and who’s going to be sitting on it. 4″ is probably most common for adults, 2″ is fine for a child’s chair. I order a lot of my upholstery supplies from DIY Upholstery Supply (online). I’ve bought foam at JoAnn too but always with a coupon (they almost always have a 40% off one) because of how expensive it is. Piping just depends on how big you want it to look – no right or wrong :)
Where do you recommend getting fabric? And what type?
Online Fabric Store, Fabric.com, Lacefield Designs all have good online selections. You want something upholstery weight. Vinyl is also good for kids’ chairs because it’s wipeable!