I used to be an exclusively envelope-closure pillow seamstress. Zippers intimidated the heck out of me. But then I discovered something that changed all of that.
Zippered pillow covers are really easy to sew.
Even easier than an envelope-closure pillow, which requires lots of measuring and cutting and lining up.
If you too are a zippered-pillow-phobe, read on and I will show you how very easy they are to make.
You will need:
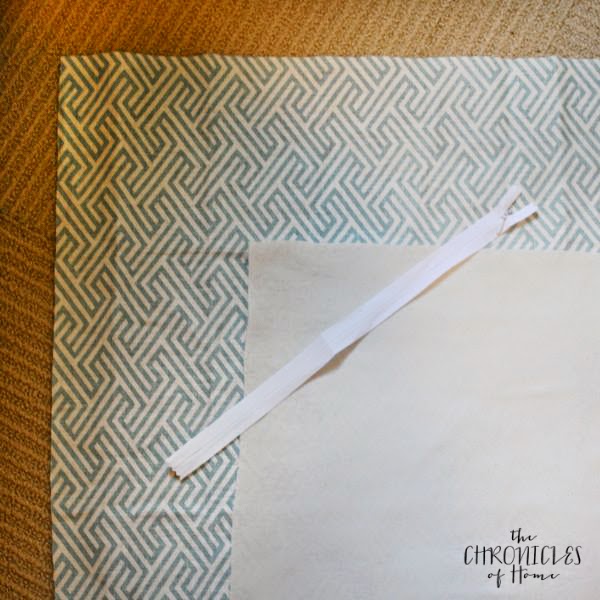
- a square of fabric for the front of your pillow, cut 1″ wider and longer than the size of the finished pillow
- a square of fabric for the back of your pillow, cut 1″ wider and longer than the size of the finished pillow
- a zipper about 2″ shorter than the finished width of your pillow (you can cut the end of the zipper if needed)
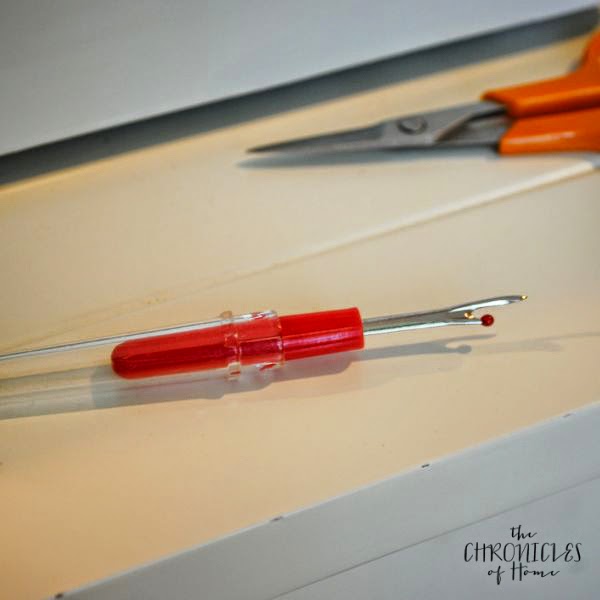
- a seam ripper (mine came with my sewing machine)
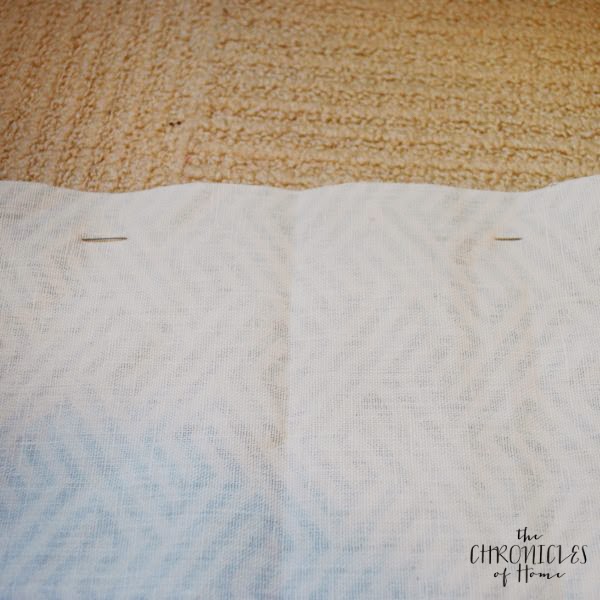
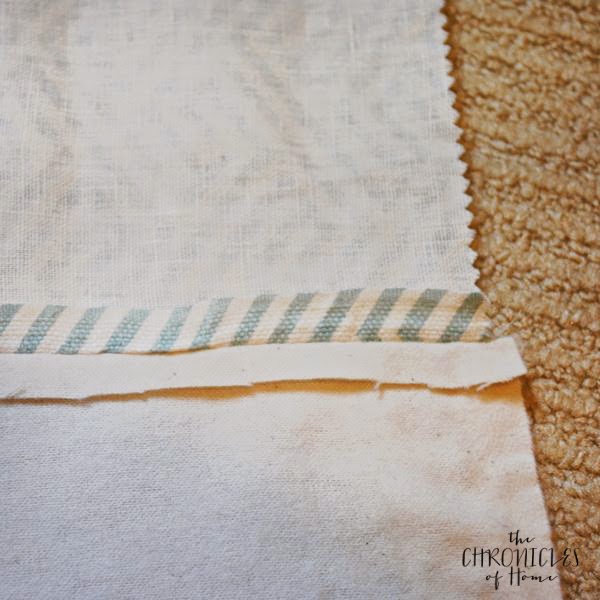
Decide which edges of the fabrics will be the bottom of the pillow and pin those edges together inside out.
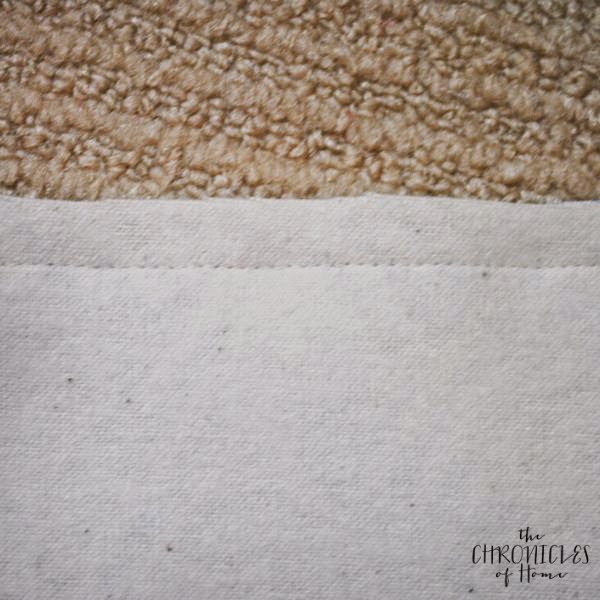
Sew a straight seam 1/2″ from the edge you just pinned.
Spread out the seam you just sewed and iron it flat.
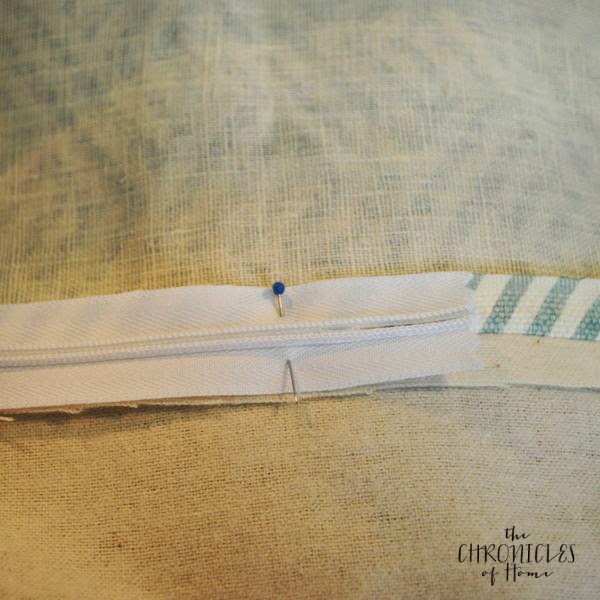
Lay the zipper on top of the flattened seam, face down, with the teeth centered over the seam. Pin the zipper in place.
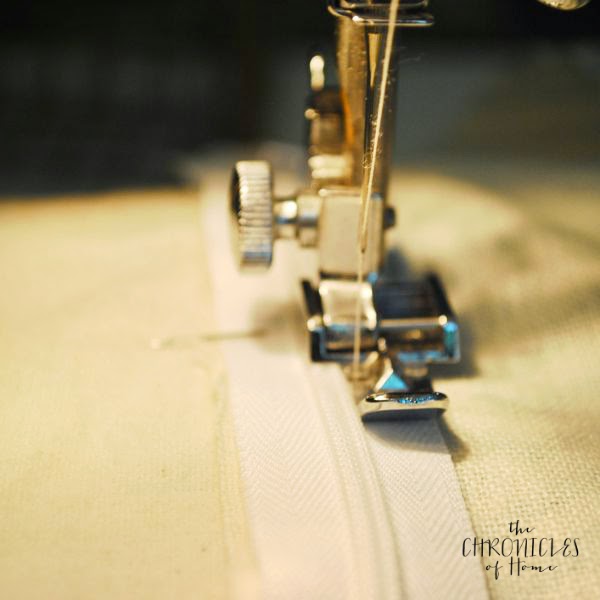
Use a zipper foot on the sewing machine to sew a straight seam along one side of the zipper teeth.
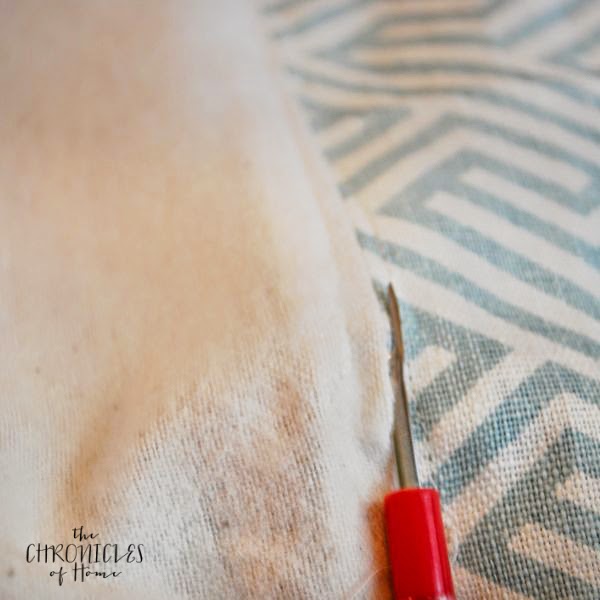
If you are not familiar with a seam ripper, this is what they usually look like.
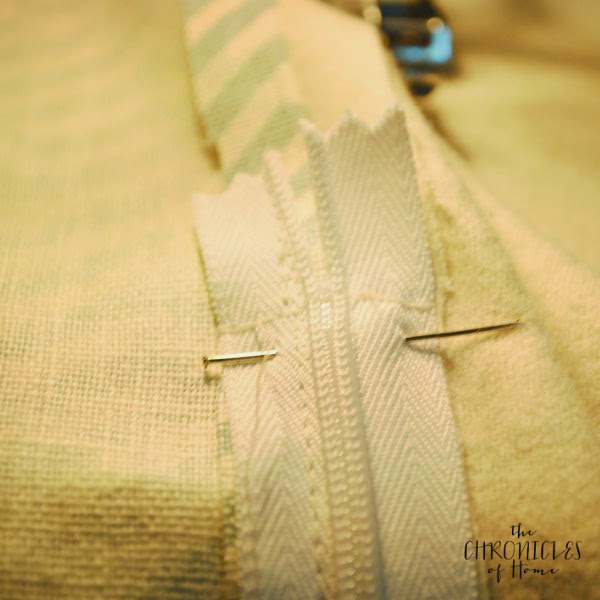
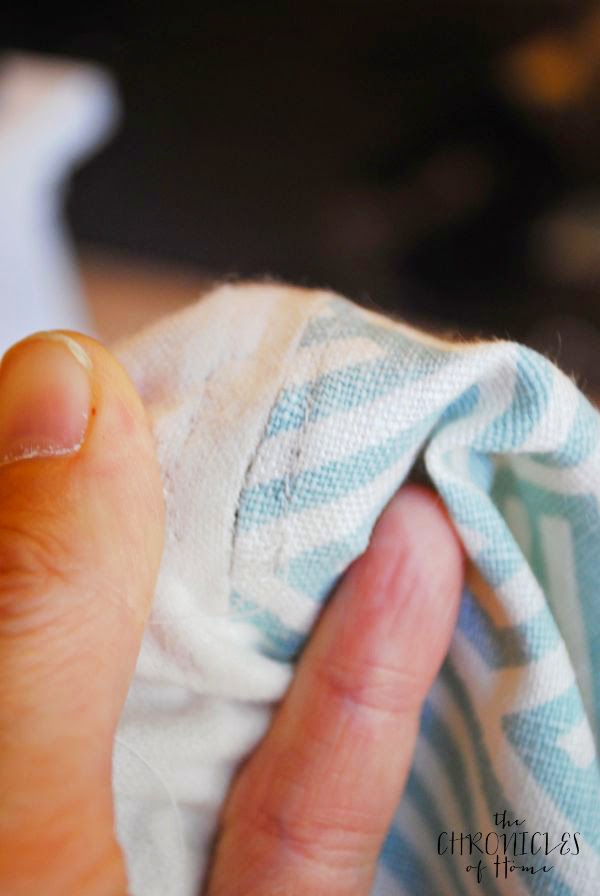
You really, really want one of these! Turn the fabric right side up and pull the seam apart a bit so you can see the threads.
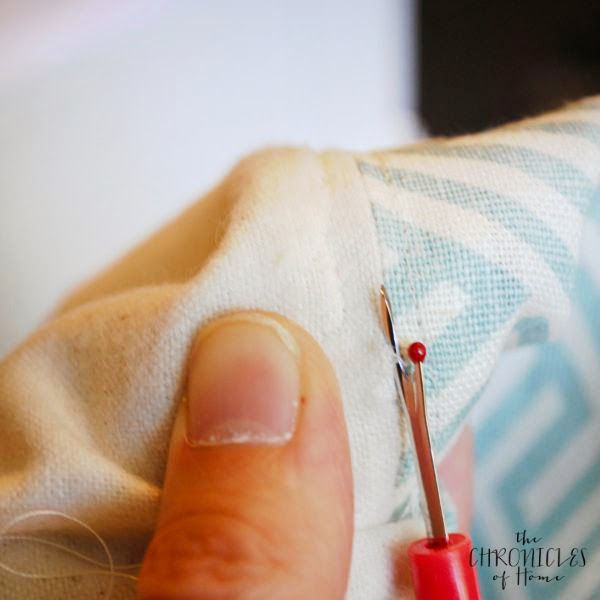
Slip the sharp end of the seam ripper under a thread at the end of the zipper (not the end of the pillow cover) and push it up to cut the thread.
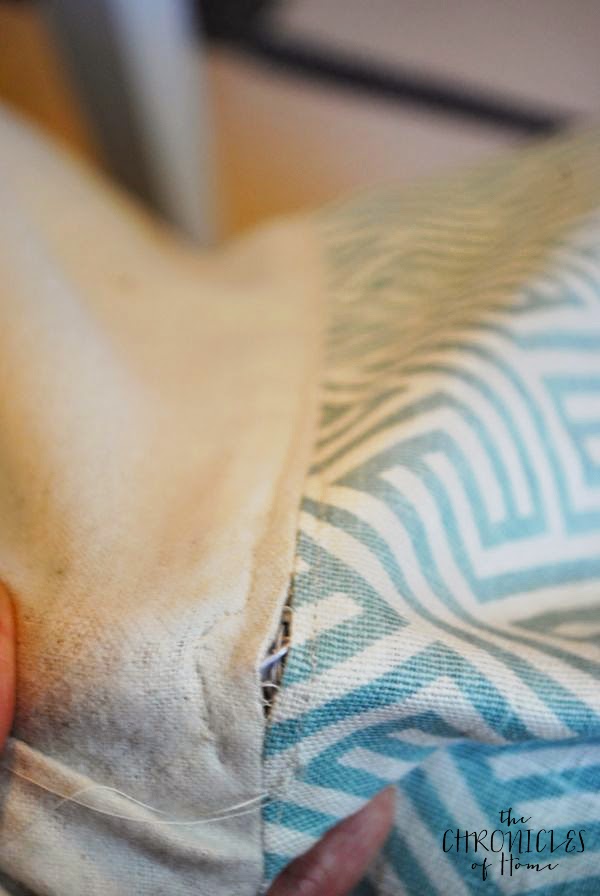
Give the area another little pull apart and the seam will start to unravel, revealing the zipper underneath.
Now put the seam ripper inside the opening, with the red ball inside (this protects your fabric from tearing) and carefully push all the way along the seam until you get to the other end of the zipper.
Unzip the zipper, flip your fabric inside out again, and sew the remaining three open sides shut with straight seams, 1/2″ from the edges.
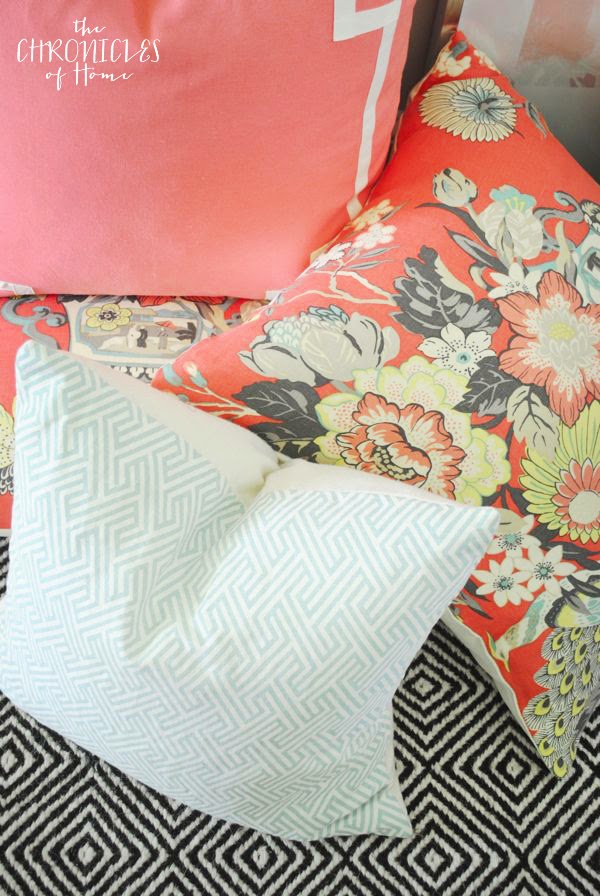
Flip your cover right side out, stuff it with a pillow insert, and you are finished!
So much easier than an envelope closure pillow, truly.
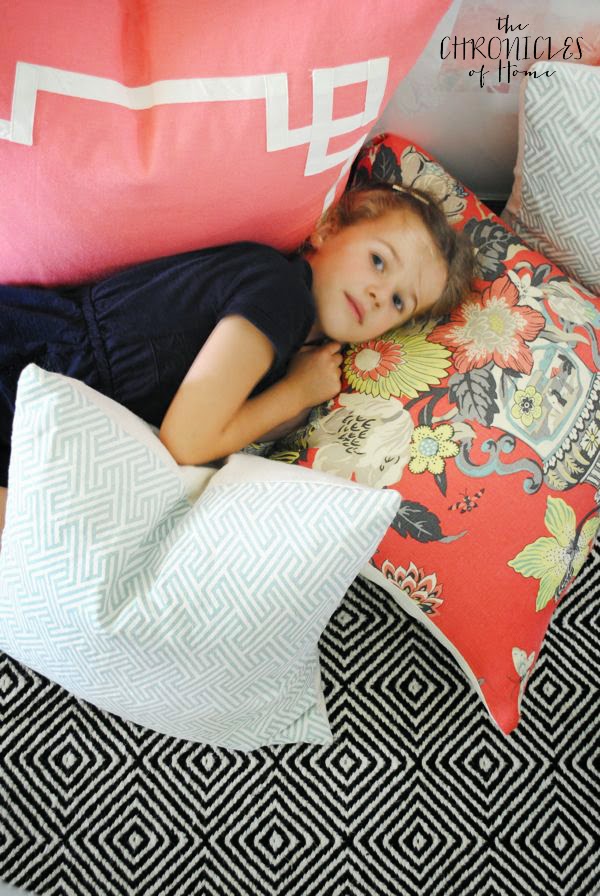
And, seriously, was I really thinking I could pile pillows on the floor and not have a little pillow-diver show up??
Have you tried sewing a pillow cover with a zipper? Do you agree that it’s so easy once you give it a try?


Can’t wait to give it a try!! Super easy!
So much easier than I thought!
you make it look so easy- zippers have always scared me!
If you can thrift and paint furniture like a ninja, no doubt you can ninja a zipper too.
Love that pretty combo!! Umm, yes, I’m quite familiar with a seam ripper, unfortunately! Great tutorial!
I had no idea what it was for the first several years I had my sewing machine – so invaluable!
Love those fabrics! They all look so great together! OK, this may make me stop staring at my sewing machine and actually use it! xoxo
Heck yes, warm that baby up!
What a beautiful pillow! Loved the tutorial. What a great way to do it. It turned out just wonderful!!
That’s the way my mom taught me :)
This is one of the best tutorials ever!!!
Thank you – this is one of the nicest comments ever! :)
I’m totally fearful of zippers. In fact I just did an envelope pillow the other day. Way to make zippers look less frightening!
I tell you, I have never gone back to the envelope closure since the day I tried it this way. I had this, “What?? That’s IT?” moment where I couldn’t even believe how much easier it was.
Great tutorial! I was so afraid the first time I tried to sew a pillowcase with a zipper, but it’s really not too bad!
Same here!
This is fabulous. I tried sewing a pillow with a zipper, and epically failed a few months ago. Seeing your tutorial, I can already pin point a few things that I did wrong!
Oh good – try again, my dear! It gets easier :)
You seriously just changed my life. Thank you!
That is so great to hear, thanks for the nice comment!
I tried this method already and it’s so easy
I will be trying this! Thanks so much for sharing ~ :)
xo
Pat
Oh good, hope it helps!
That does sound easy! I’ll have to try it next time I make a pillow. Thanks!
Excellent – hope it works for you too. This technique (which my mom taught me) simplified the process so much for me!
What a timely post! I have been wanting to make some pillows but was so unsure about how to put the zipper in. Thanks! And, yes, unfortunately, I am very familiar with a seam ripper! lol
I’m so glad – hope it helps you…and that you only need the seam ripper for “on purpose” things :)
Hi, You can also switch to a basting stitch – long stitch – for the area where you’re going to put the zipper, making it even easier to pull the threads out once the zipper is in. I LOVE this idea and I’m getting rid of the envelope instructions I have on my craft table as I write this! THANK YOU!!!
I actually do the basting stitch – forgot to mention that part. Thanks for chiming in with it!
Pinning! I can only do the ones you sew shut. Really want to make some pillows for our couch and guest room!
Holy crap! That makes it so much easier than the other ways I’ve seen to do it! Thank you!