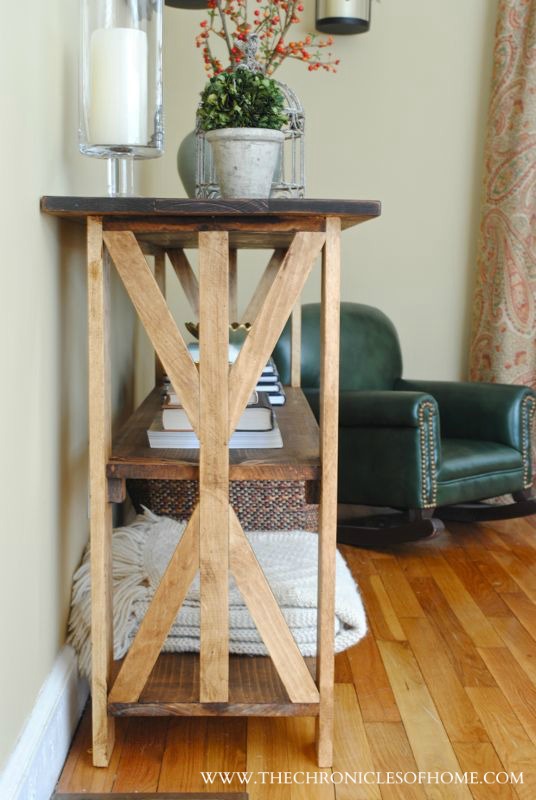
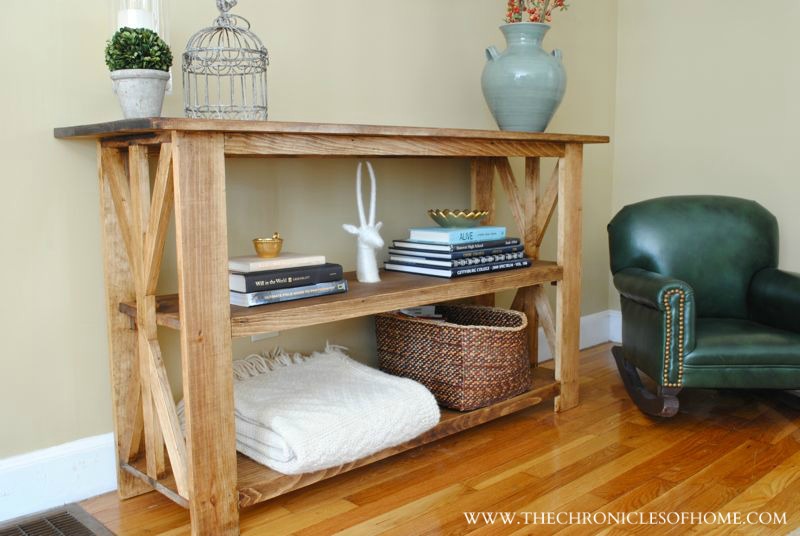
As promised, here is the tutorial for building your very own X base console table, which I shared with you on Tuesday.
A few suggestions before we get into the details on wood cuts and assembly.
- This one is important – make sure you use a thin drill bit to pre-drill holes for all of the screws. The wood will split otherwise.
- I have 6 40″ cuts in the list below. These are the last pieces you’ll put on the table and I waited to cut them until right before I was ready to attach them. I measured each space to be absolutely sure there was exactly 40″ there and a few of them were bigger or smaller by just a tiny bit. I’d recommend doing the same so the boards sit really flush on the finished table.
- Stain the wood BEFORE assembly. I waited until after the table was built and those X sides were a pain to do.
- You can use any wood you like, really. I used pine and to save a little money chose “common pine” for the inside shelves. If you do this, be picky, look them over carefully to make sure they’re straight and don’t have any cracks or knots where you don’t want them. I chose boards with a few knots because I liked the rusticity of them. I used “select pine” for the three top boards because I wanted them to be very straight and smooth.
And now on to the materials you’ll need to build this X base table!
Materials
- 5 – 8′ long 1x2s
- 2 – 6′ long 1x4s
- 3 – 6′ long 1x6s
- 3 – 4′ long 1x12s
- 1 1/4″ wood screws
- 1 1/4″ finishing nails (I used a nail gun – makes the assembly a lot faster)
- miter saw
- table saw or circular saw to cut the 1x12s
- drill, drill bits, screwdriver head
Cuts list
- 2 – 1x12s cut to 47″
- 1 – 1×12 cut to 45 1/2″
- 2 – 1x2s cut to 24 1/2″
- 4 – 1x4s cut to 28 1/2″
- 3 – 1x6s cut to 52″
- 6 – 1x2s cut to 40″ (*see note above)
I’ll explain how to cut the angled X pieces below.
Start by centering the 24 1/2″ 1x2s on the short sides of the 47″ 1x12s and attach by driving two wood screws through pre-drilled pilot holes at each end.
For the X pieces, cut the top of a 1×2 at a 25º angle. Line the angled end up against the corner edge of the top 1×12 and mark where the bottom crosses the center side piece. Cut the bottom angle along that mark at a 65º angle.
For the remaining X pieces, cut one side at a 25º angle then use the first one you cut to trace where the bottom 65º angle should be.
Attach to the 1x12s by driving wood screws through pilot holes. Use a finishing nail at the bottom of each X piece to attach it to the center side piece.
***Things don’t always go exactly as I plan or picture. The Xs on the ides of my table didn’t line up perfectly in the center like my diagram shows:

I didn’t include the shelf supports in the cut list because they don’t have to be any specific size. Take some of the scrap 1x2s you have leftover and cut four equal little squares or rectangles to be the support pieces for the center shelf. Mark where you want the bottom of your shelf to fall on all four sides (make sure it’s the exact same place on each side so the shelf is level) and use finishing nails to attach the supports at each mark.
I realized just now that I lined up the supports a little differently than I show here. The diagram shows them flush with the outside edge of the legs, but I actually lined them up with the inside edge of the legs.
Slide the 45 1/2″ 1×12 inside the table and lay on top of the supports. Attach to the supports using finishing nails.
For the top, center one of the 1x6s on the top of the table and use finishing nails to attach. Attach the remaining 1x6s on either side.
Attach the 40″ 1x2s to the six shelf faces using finishing nails. Remember to do a quick measure of each shelf face before cutting these pieces to make sure you don’t need to add or take away an eighth of an inch or so.


absolutely beautiful!! What are the dimensions of this table? Also I don’t see the 1X4’s on the cut list for the legs, were they just cut in half?
Thanks for catching this, Ashley!! I just added the cuts for the 1x4s – they should each be 28.5″ each. The finished table is 16 1/4″D, 29 3/4″H, 52″W.
What brand and color stain solution did you use and how many coats did you use each? This is really beautiful!!
Just one coat – pretty sure it was Minwax PolyShades Antique Walnut. Can’t believe I didn’t write it down anywhere here!
Thanks! I don’t really understand the part where you had to cut the angles. Could you explain further? Did you use a protractor?
Hi! I’m having a table made for me and I wanted to check something. If the dimensions are 72 x 36 x 17,and we are doing the x sides and just one middle shelf, does there need to be middle posts/legs (as a lot of the x consoles styles have?) We have a 10 month old who’s mobile and climbing now, and with the length of the table I’m hoping it doesn’t need additional support in the middle for the shelf to be sturdy.
Thanks in advance for any advice!
Nicole
It sounds like it would be okay the way you explain it, but I’m having trouble picturing what you mean about the legs. Whomever is building it for you should be able to advise on the best layout for soundness.
It sounds like it would be okay the way you explain it, but I’m having trouble picturing what you mean about the legs. Whomever is building it for you should be able to advise on the best layout for soundness.
Does the middle shelf have to be included for support of the whole console table or can that be left out and just have the bottom shelf?
I don’t know for sure having only built it that one way but I think it would be fine with just the top and bottom!
Do you have plans for end tables. I made the sofa table and the wife wants end tables to match. Ty so much for the detailed plans
I don’t, sorry! Only made the console.
I don’t, sorry! Only made the console.