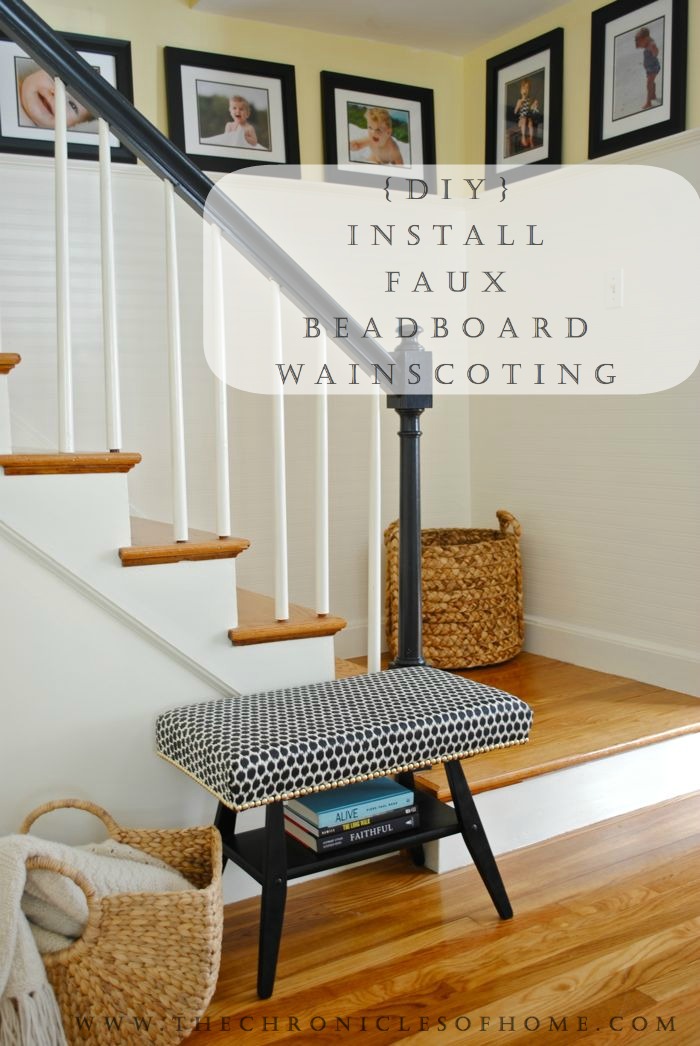
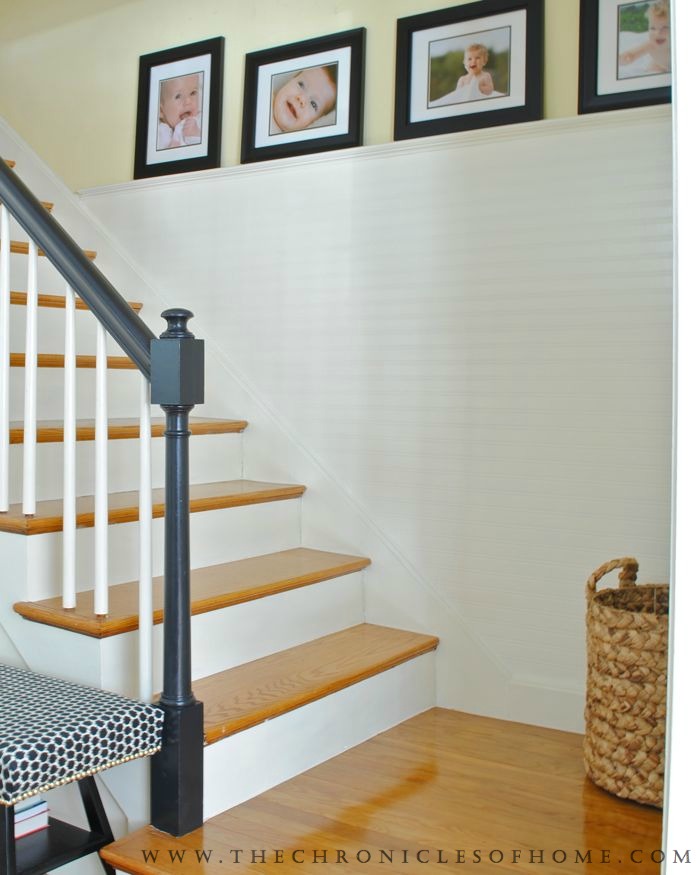
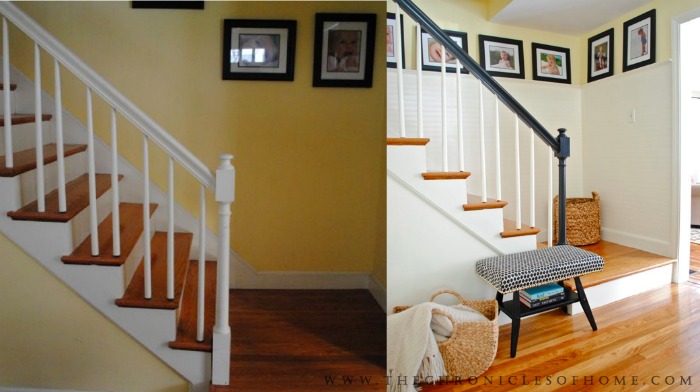
Yippee! Our staircase’s transformation from plain and dark to wainscoted and bright is complete! I wonder how long it will take for me to walk in the door, look at the gleaming wood stairs, beadboard walls and picture ledge, and not break into a grin. If you need a refresher on the steps that got us here, click here to see how we removed the old runner on the stairs, and here to see the painted risers and black banister.
The only thing that held me back from jumping right into this project with wood planks in hand was that to do it “right,” I’d have had to rip up a lot of the existing moulding around the stairs and then deal with putting new ones up and all the angles and effort and time it would take just didn’t seem worth it.
Enter Carmel from Our Fifth House. A couple weeks ago I was reading her post about an update to her mudroom and she talked about a paintable beadboard wallpaper she got at Lowe’s for $19.99 a roll. And she swore it looked like the real thing. I was sold.
The beadboard we have in our kitchen is hardcore beadboard, really deep grooves and beautiful. What we have in our guest bath has slightly less deep grooves and this wallpaper looks more like that, but Carmel was right, it really does look like the real thing once you get a coat of paint on it.
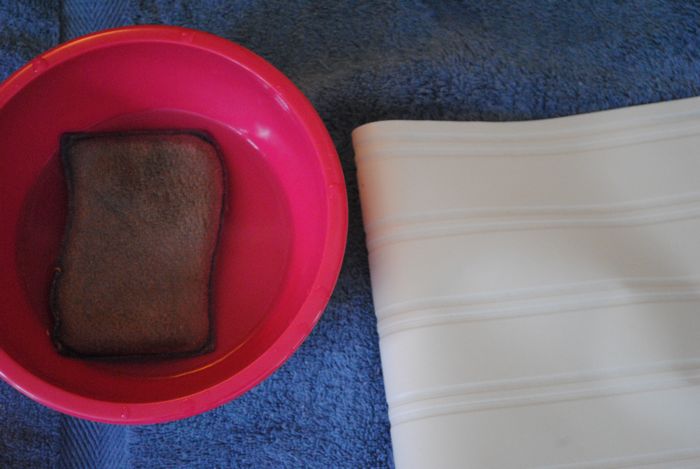
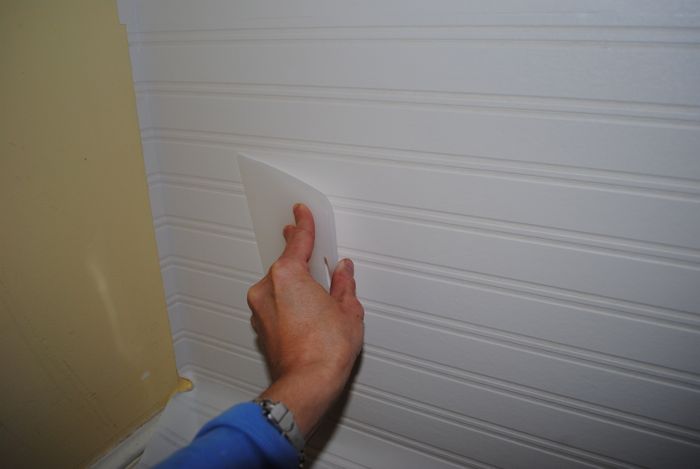
I started by drawing a level line on the wall where I wanted the top of the beadboard to go and then cut a strip of the wallpaper slightly wider than what I needed. I laid the piece on towels, sponged the glue side very generously with water, then carefully lined the top edge up with the line on the wall and smoothed it into place with my hands. Then I used a plastic smoother tool (does it have a “real” name??) from the wallpaper department at Lowes and really pressed and smoothed the paper into place. If any glue seeps out you just wipe it away with the sponge.
To get the edges where there was overhang nice and sharp, I used a straight edge and a razor blade. I continued until I’d covered all the space below the line I’d drawn on the wall. I caulked around the edges for a really smooth and finished look.
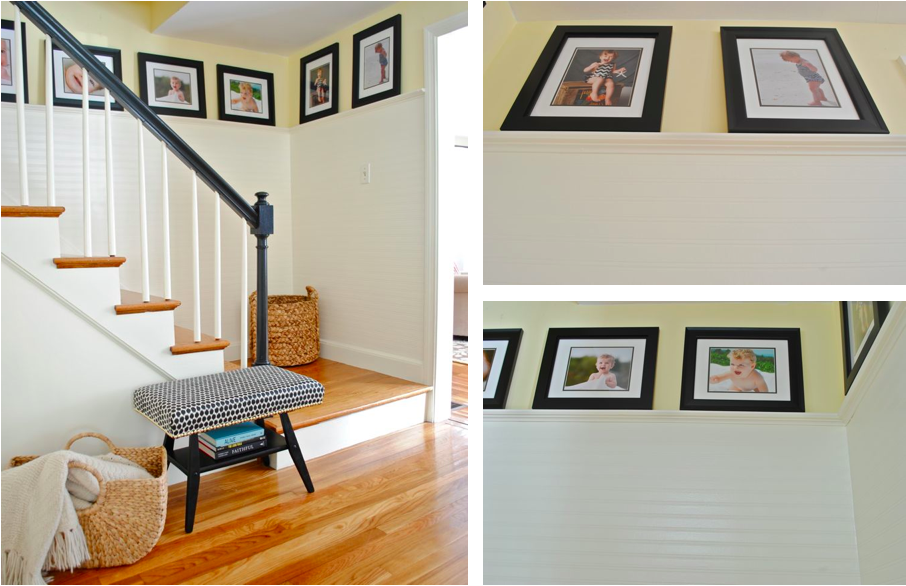
I used a miter saw to cut the boards for the picture ledge, which is made of cove moulding underneath and a rounded edge ledge piece on top, and attached both pieces to the wall using a nail gun. I let the wallpaper dry overnight then gave it one coat of paint, two coats on the picture ledge, and after another 24 hours drying I propped the pictures of my baby girls from 3 months – a year on the ledge. I used a little piece of sticky velcro on the back of each one to give them a little extra grab on the walls.
Honestly, I could not be one bit happier than I am about how this came out. I LOVE it. It cost around $30 with the wallpaper and wood, everything else I already had on hand.
The before and after shot:
I’m all for the real thing when it comes to beadboard and other wainscoting, but in this case, the time, cost, and effort I saved were so worth taking a shortcut. And other than you all who now know my secret, don’t expect me to tell people it’s not real. They’ll never know!

How is the beadboard wallpaper holding up? I’ve read some reviews that it dents a bit with use. I’m guessing the stairs are a pretty high-traffic area. Thanks!
We actually moved from this house in December! But it held up well while we were there. Some small dents for sure but nothing very noticeable.